
8.23.2014
8.03.2014
baguette notes
Having recently sampled the village baker's traditional baguette in La Borne, Menetou-Salon, Bourges, Henrichemont and a few others, I'm back on the trail with the biggest challenge being I'm making a couple in a home oven vs big batch in a commercial oven. My thinking lately has still been with covered baking in order to get a crackly crust, but instead of an inverted pan, I'm switching to keeping the bread in the pan similar to the dutch oven variant. However, a baguette is a little trickier since there aren't many 20"+ cast iron pans. I can't even find a 20" pullman. Anyway, just a couple photo notes.
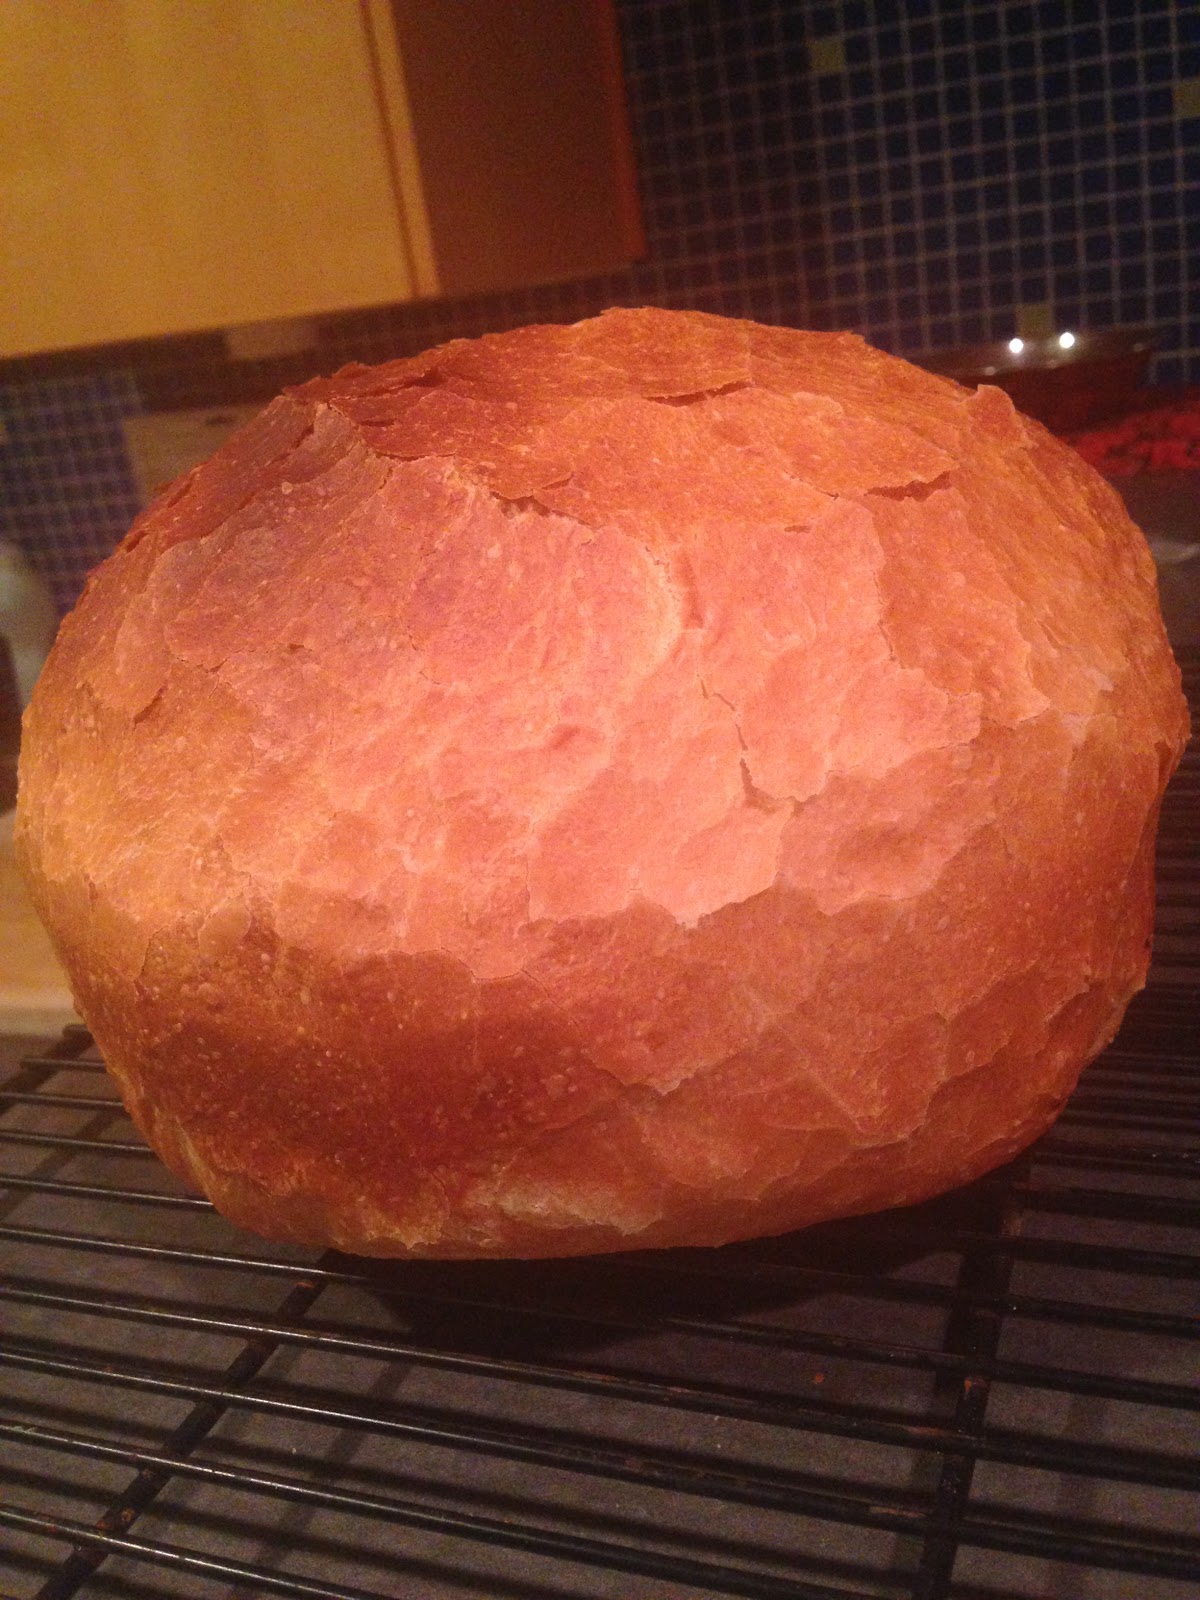
Crackly yeasted boule from Dutch oven.

Cooking in an aluminum tube capped with foil. I slid out the par baked loaf and let it crisp in convection. Logistically a pain, but the bread showed pretty good volume.

A little snipping of the aluminum stove pipe and tabbing the ends to close it off and I might have a custom length baguette pan. Off to testing. The bread shown is not from this design but another covered type baking. I used an inverted foil tent. The inverted from top just isn't going to entrain the native moisture adequately like a Dutch oven can, the bread needs to sit in the pan. Here goes...

Next iteration. This one baked in an aluminum tube pan (on parchment) and the top covered with foil until the last 5 min. Not bad. Crust and docking looks ok, flavor and texture good. Not great. Next iteration just fabricated...
6.07.2014
carbonation, stat! (carbonation of my barley/corn ale)
I made the first beer in years that I liked, just sampled it the other day. It was a small 1.5 gal batch of malted barley and malted corn (4:1), infusion, fuggles hops early addition and nottingham yeast. I went nuts trying to keep clean and it paid off! I sugar primed a small sample, let it bottle condition and it was great. I then wanted to carbonate the rest in PET bottles with a carbonator cap and realized my tank was empty and no one fills them on Saturdays - bastards!
Here's my rapid carbonation method. I popped 5 grams of dry ice into each liter of brew and capped it securely. It dissolves in a few minutes. I'll chill and it's ready. I'll let you all do the calculations to confirm I placed the equivalent of 2.5 volumes of CO2 in each liter of beer. And don't worry, no need to use the Redlich-Kwong equation of state (that's a joke).


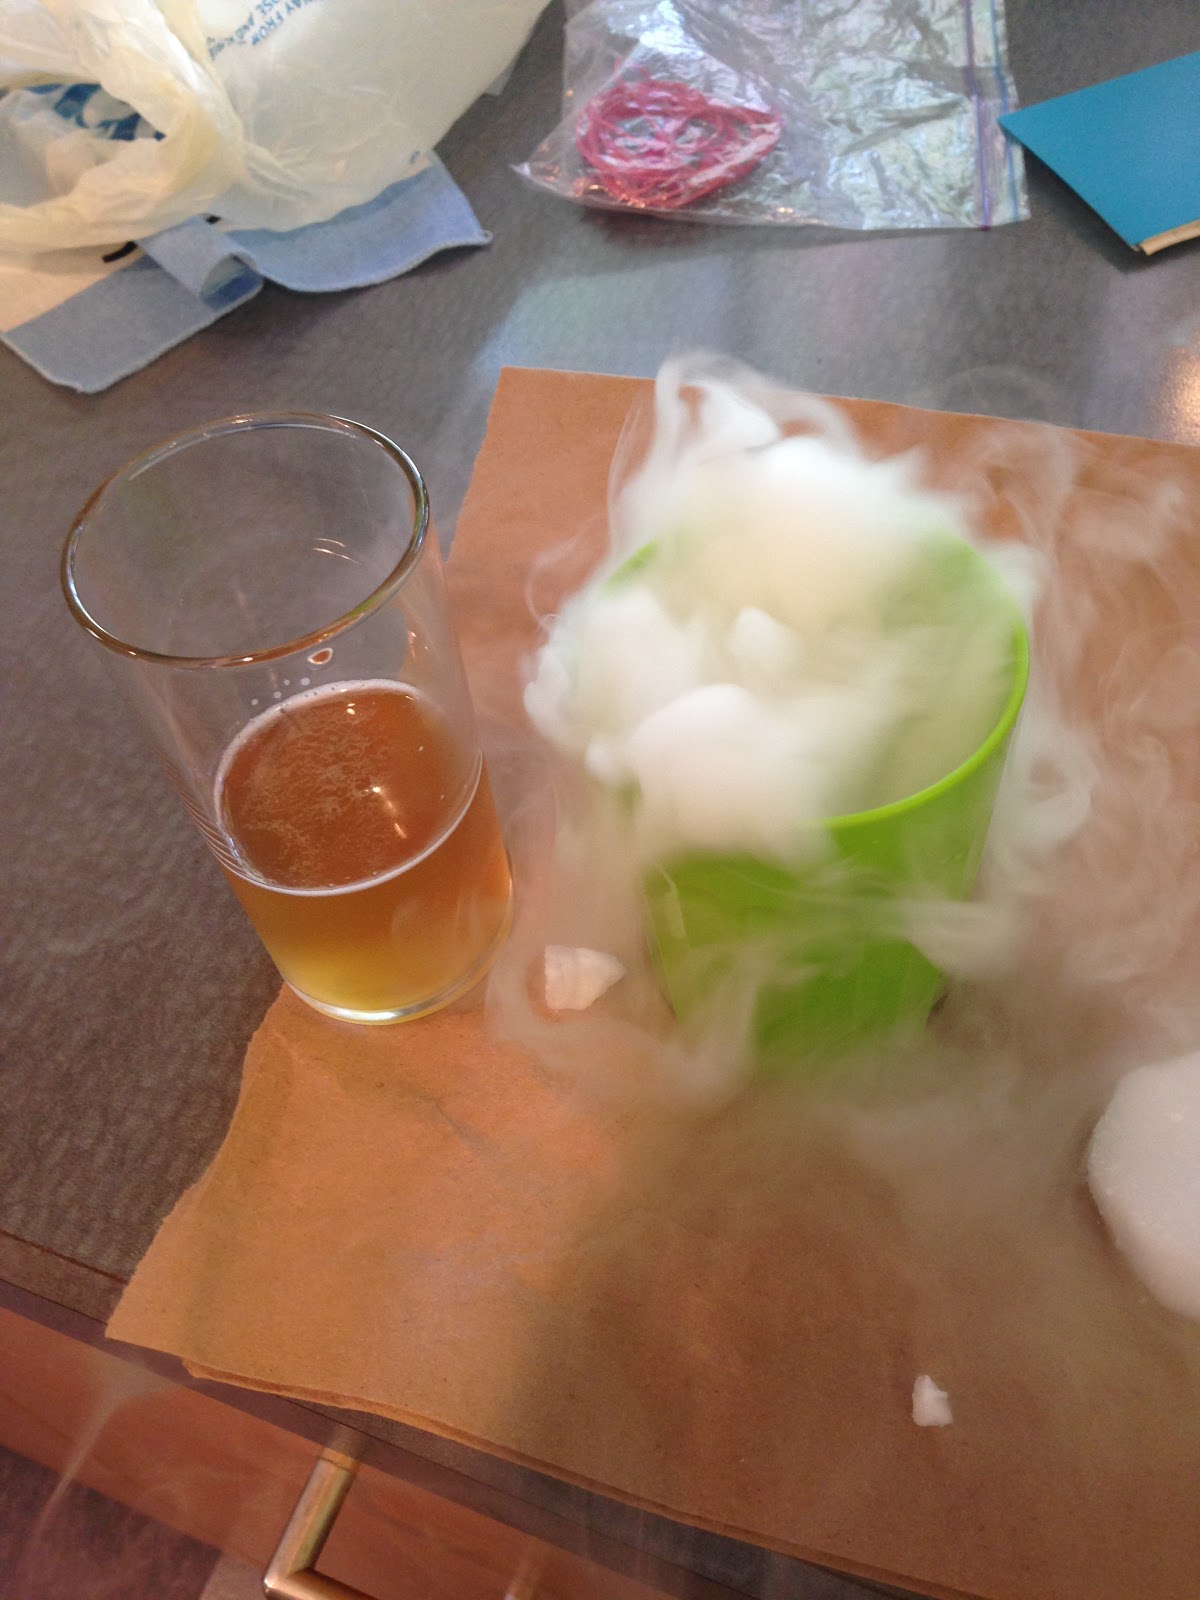
Then the extra dry ice was used for my amusement. I tossed some in warm water and watched it. I also tossed some chips in my mouth and pretended I was a rabid dog with all the smoke pouring out of my mouth. The girls were away, so no one could see how hilarious I was.
Warning: I have put dry ice in my mouth a thousand times, it was one of the many ways we'd amuse ourselves in graduate school - I am a professional! This can result in a great deal of harm if done incorrectly.
6.05.2014
sous vide in the oven?
I placed 3 qts of water and a thermocouple datalogger in the oven over the past couple days to see if an oven could hold a stable temperature. The water's heat capacity certainly helps to smooth out the fluctuations, but I didn't realize how much. This is just an excerpt of many hours of evaluation, but wow, it's pretty darn stable. I was also surprised how much lower the temp of the water was compared to the atmosphere inside, must be the inefficiency in heat transfer? Whatever, looks good enough to plan a big slab o steak!
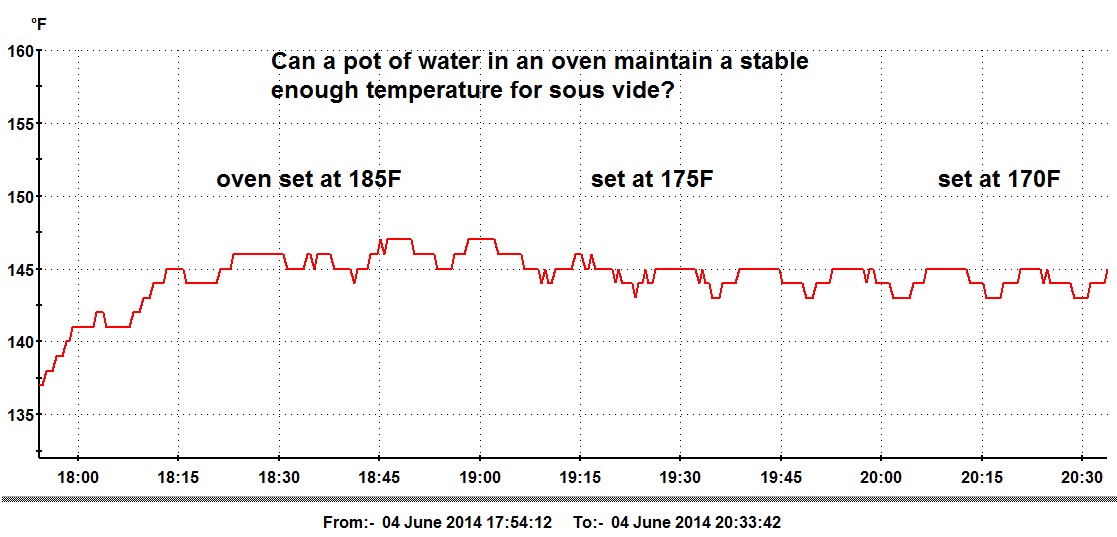
In all 3 temp ranges, I didn't wait long enough for complete equilibration, but it looks promising. Click on image to make it more readable.
Given the length of time required to equilibrate this system, it's lame compared to any circulator, but still a fun observation and good for intermittent use.
Given the length of time required to equilibrate this system, it's lame compared to any circulator, but still a fun observation and good for intermittent use.
6.03.2014
an Arzak egg
I've been watching The Mind of a Chef series on Netflix, this popped up on season 1, episode 4, a cool way to poach an egg. Here's how it played out during my morning.


This is great, no streams of egg white running around the water, many eggs could be done at once, if I don't lose my credit card, I can quite likely control the cooking a little better. Do this people!
5.21.2014
a basic bread
A couple friends recently expressed an interest in baking bread. They said they had limited experience so I wanted to step outside my usual tedious practices and create a list of ingredients and procedure that would be accessible to anyone. The following is what I came up with, it's a robust preparation. The bread is a basic yeasted loaf derived from a straight dough (a straight dough is one where everything goes in all at once and mixed), it's a fast riser but uses the fridge for a slow fermentation. The next day the dough warms up and is ready for the oven about 1.5 - 2h after coming out of the fridge.
The dough is slightly enriched with fat and sugar, it's not crispy, but is a pretty good all purpose bread for sandwiches, alone with butter but still good for a bread and cheese night. Below is the recipe and procedure in a series of images (this post is incomplete and will be finished when I get the rest of the images).
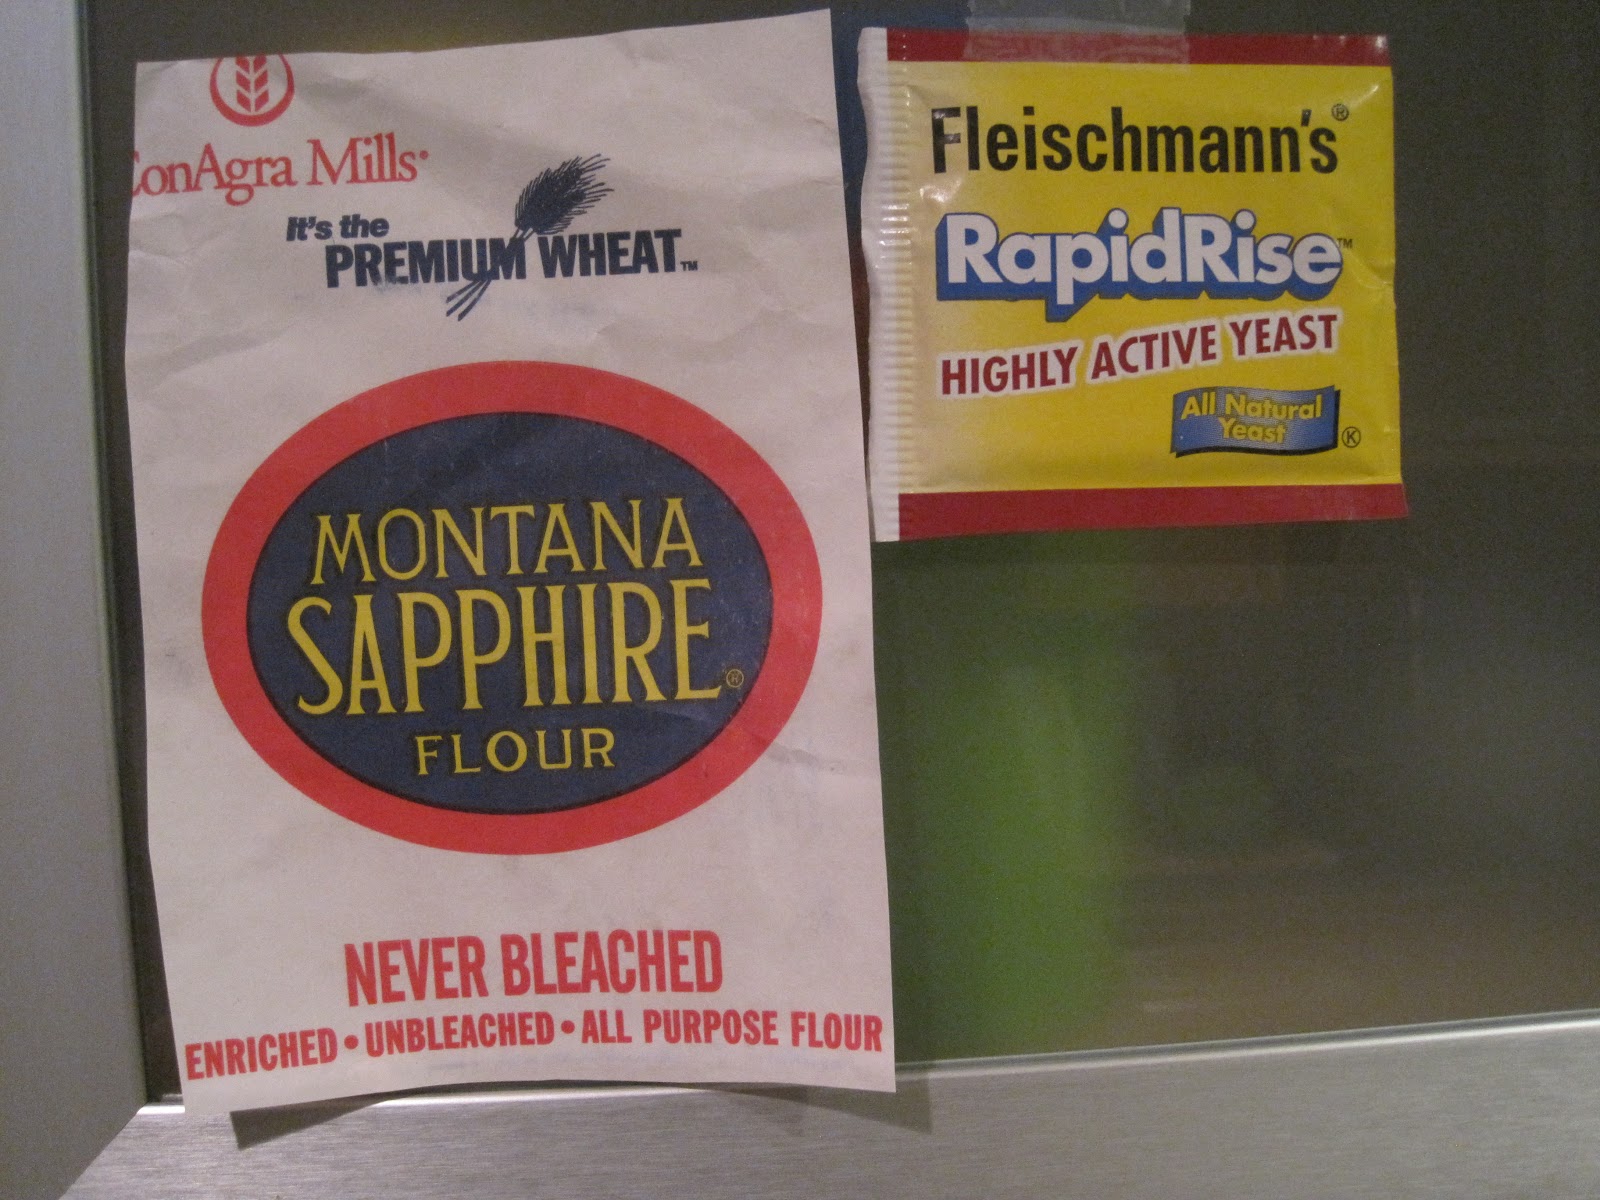
If you make this loaf, please read through it completely and then jump in. My only strong preference regards ingredients. I think this loaf is best when using Montana Sapphire unbleached white flour (it's a mix of Montana and Colorado wheat) and Fleischmann's Rapid rise yeast - the single packet.
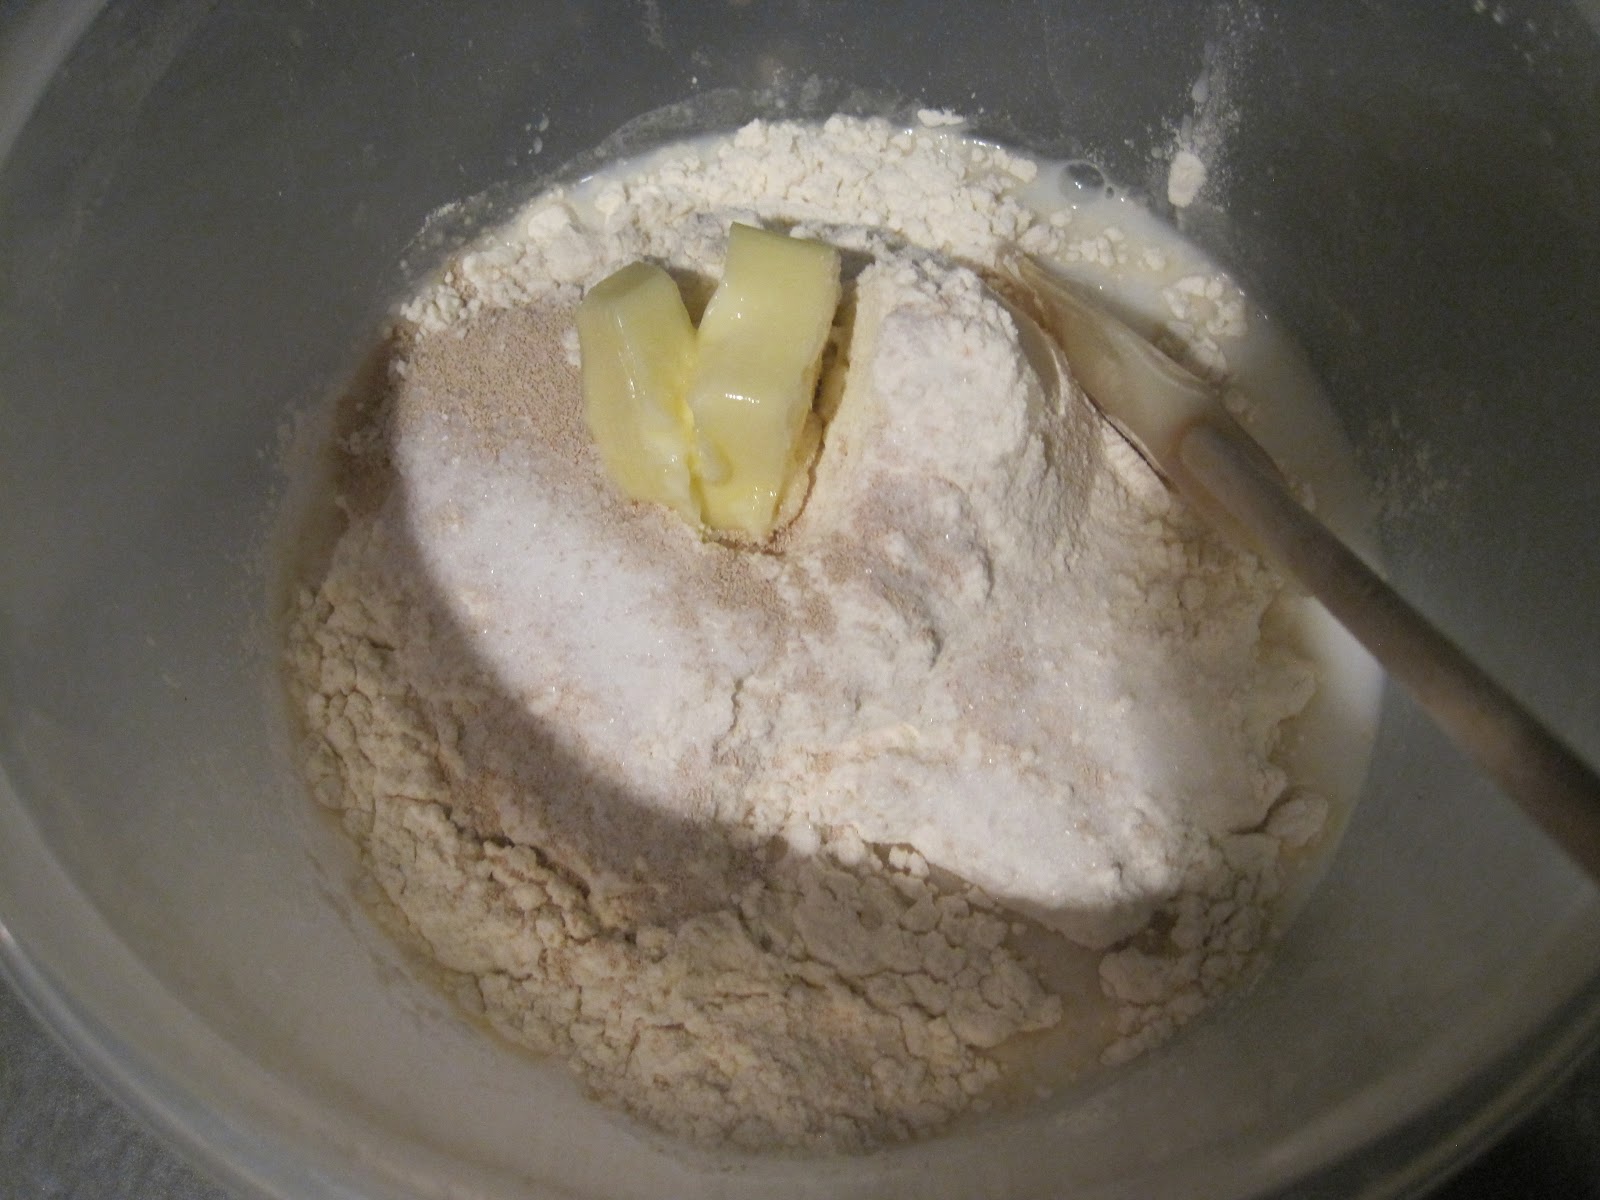


The dough is prepared from:
water, 1 cup (tap, cold)
unbleached white flour, 2 1/2 cups
salt, 1 teaspoon
butter, 1 tablespoon soft
sugar, 2 teaspoons
instant active yeast, 1 packet
My preferred ingredients for this preparation. Montana Sapphire can be tricky to find, some Giant Eagle stores carry it.
Here are all of the ingredients placed in a plastic 10 cup capacity bowl. They were added in the order presented, but order of addition doesn't matter.
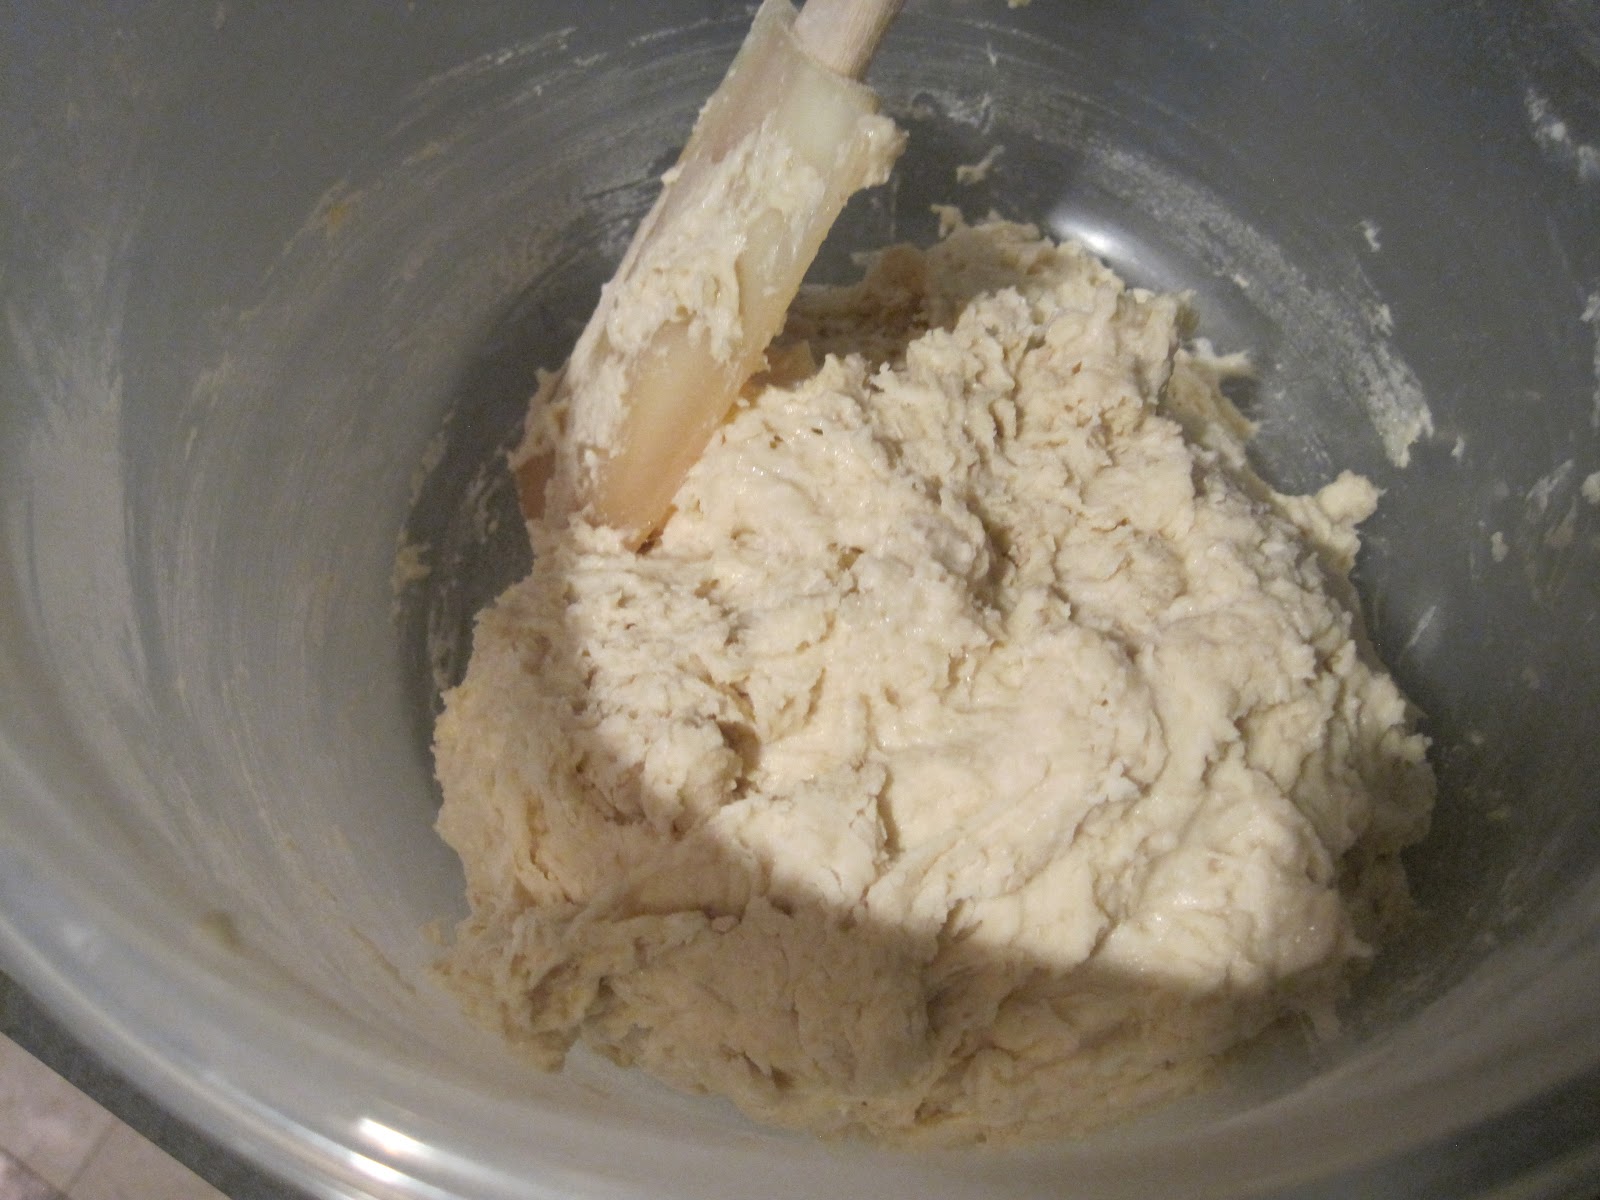
Mix the ingredients with a wooden spoon and just keep grinding it all together...
As you mix more and more, the shaggy lump gathers together. Don't worry how much it's mixed. At the shaping stage, we'll be doing "turn and folds" to shape it which will finish the kneading. This stage is just a crude mixing. Note: I used a spatula, a wooden spoon is more effective at mixing this thick mass.
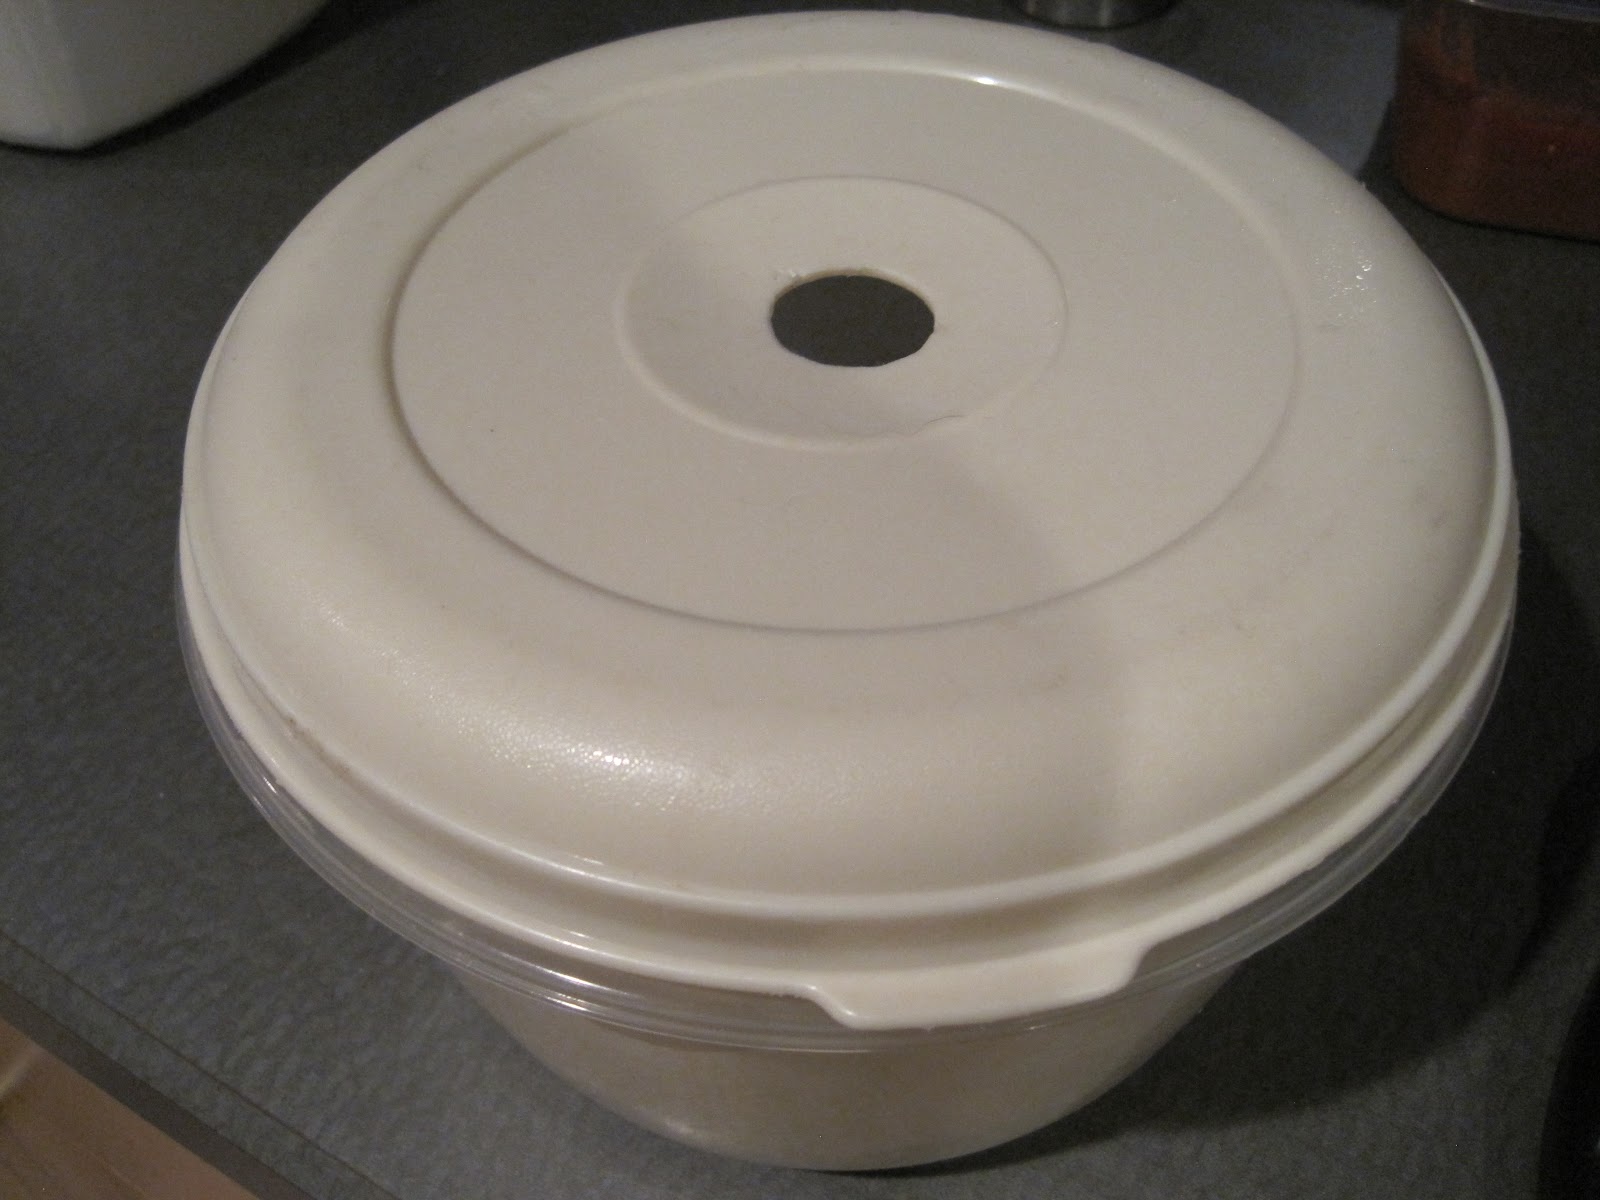
This is my bread tub. I have a hole in the lid to let gas escape (it only needs to be a pinhole). This tub gets tossed in the fridge for a day or so. When ready to bake, take it out. Next we shape the dough into a loaf.
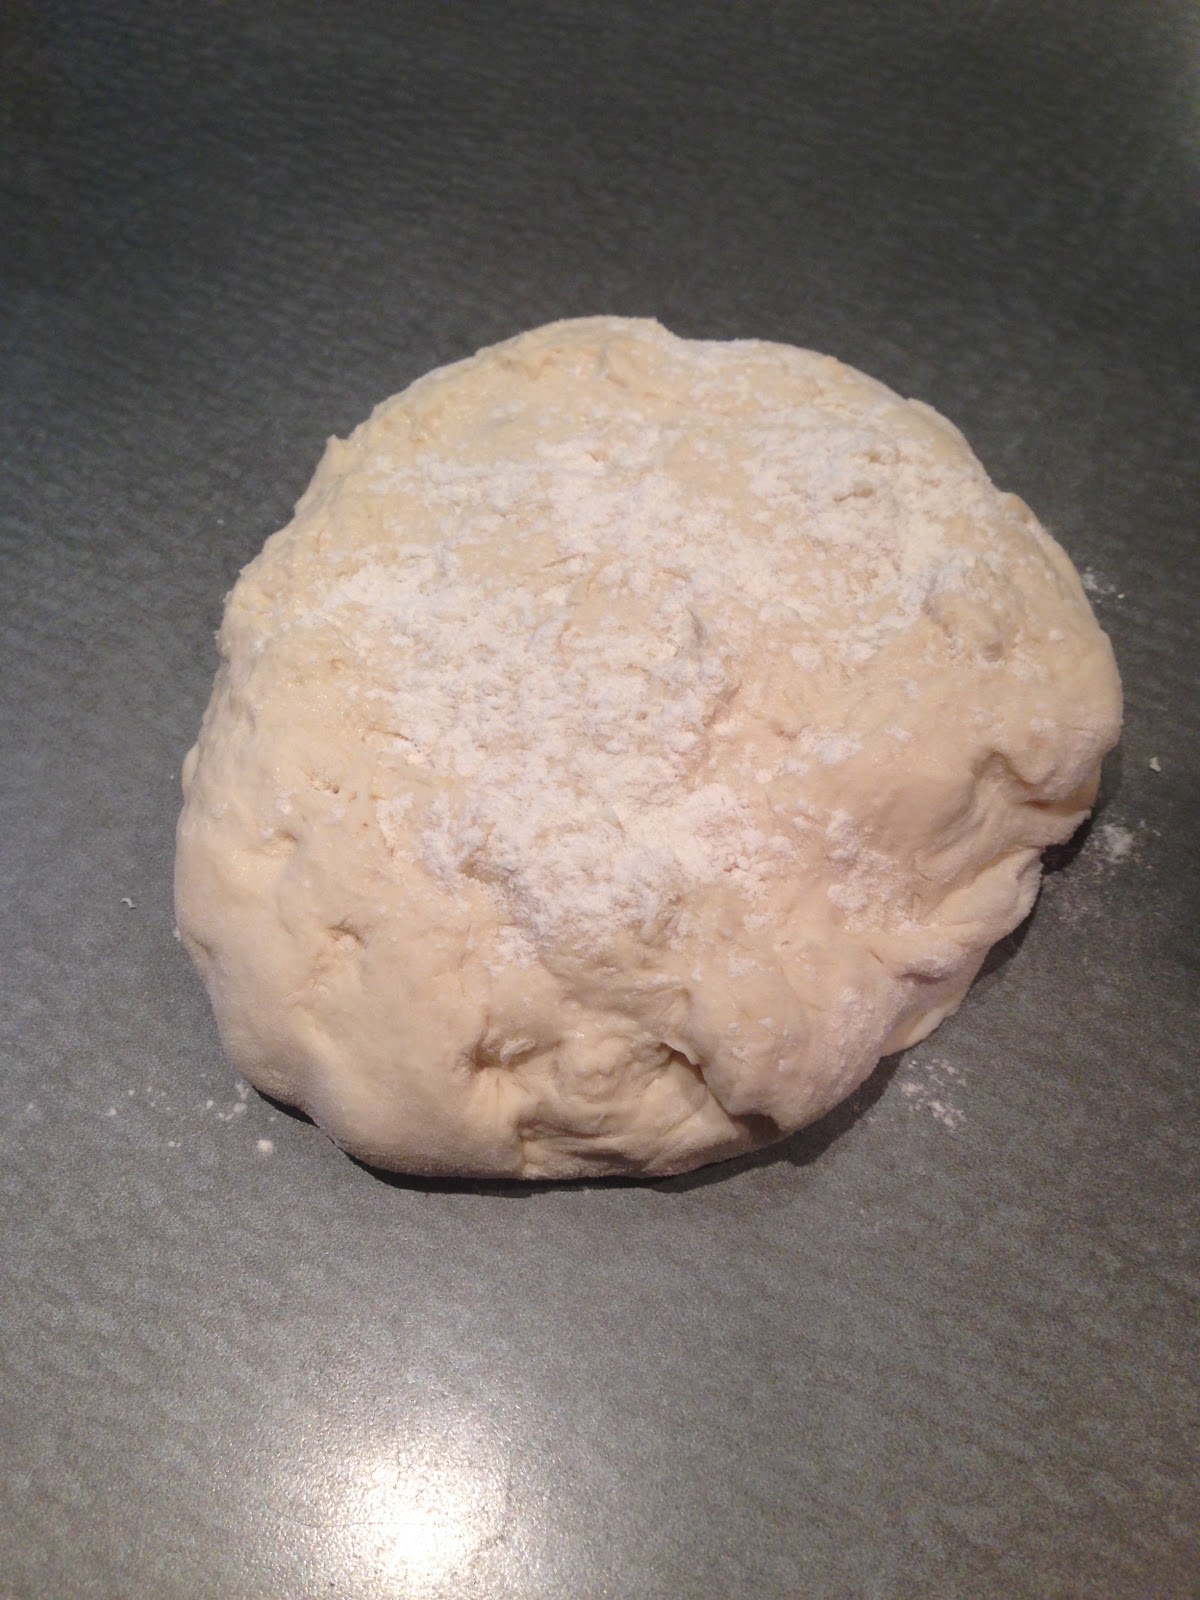
Out of the fridge a day later, the lump has become a pretty smooth dough. To the shaping!
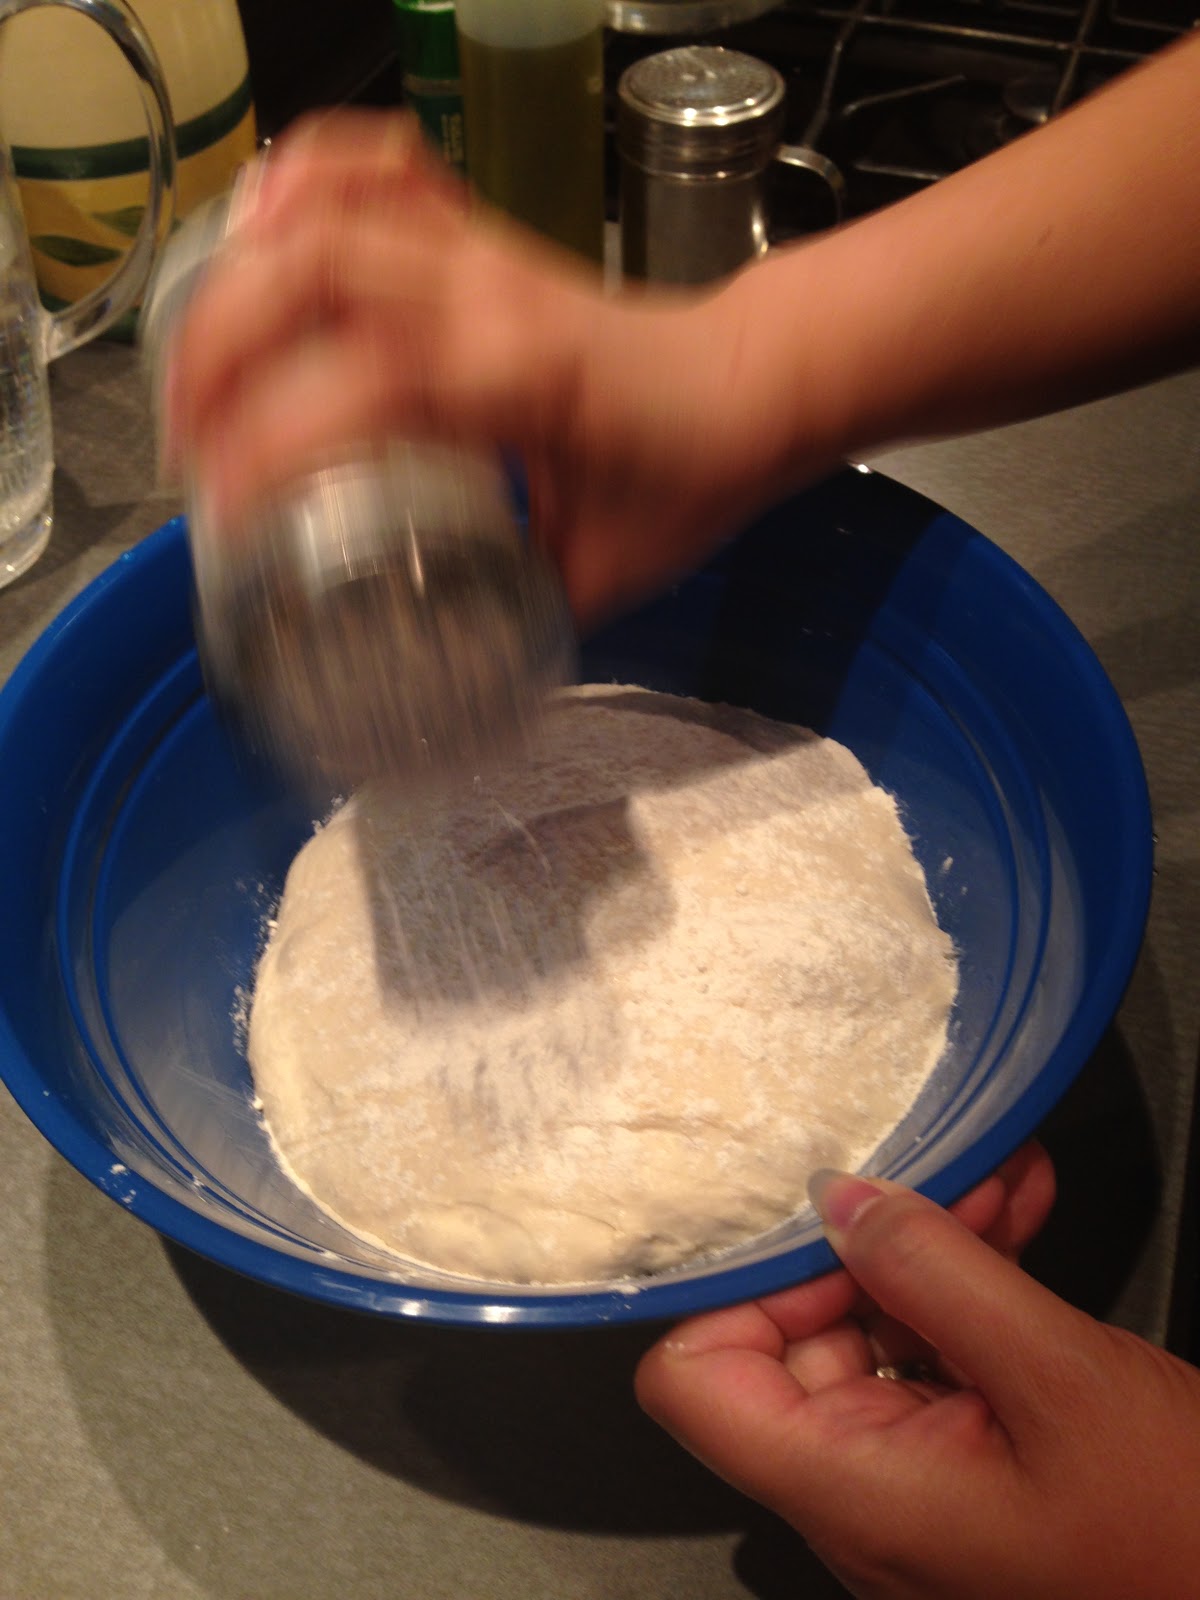
Sprinkle the satiny looking dough with flour (and use blinding speed). Then scoop your hand around the dough, pulling it off the side of the bowl. You'll have to turn the bowl while wiggling your hand between the dough and the wall of the container to loosen it. Then plop it, floured side down, on to the counter.
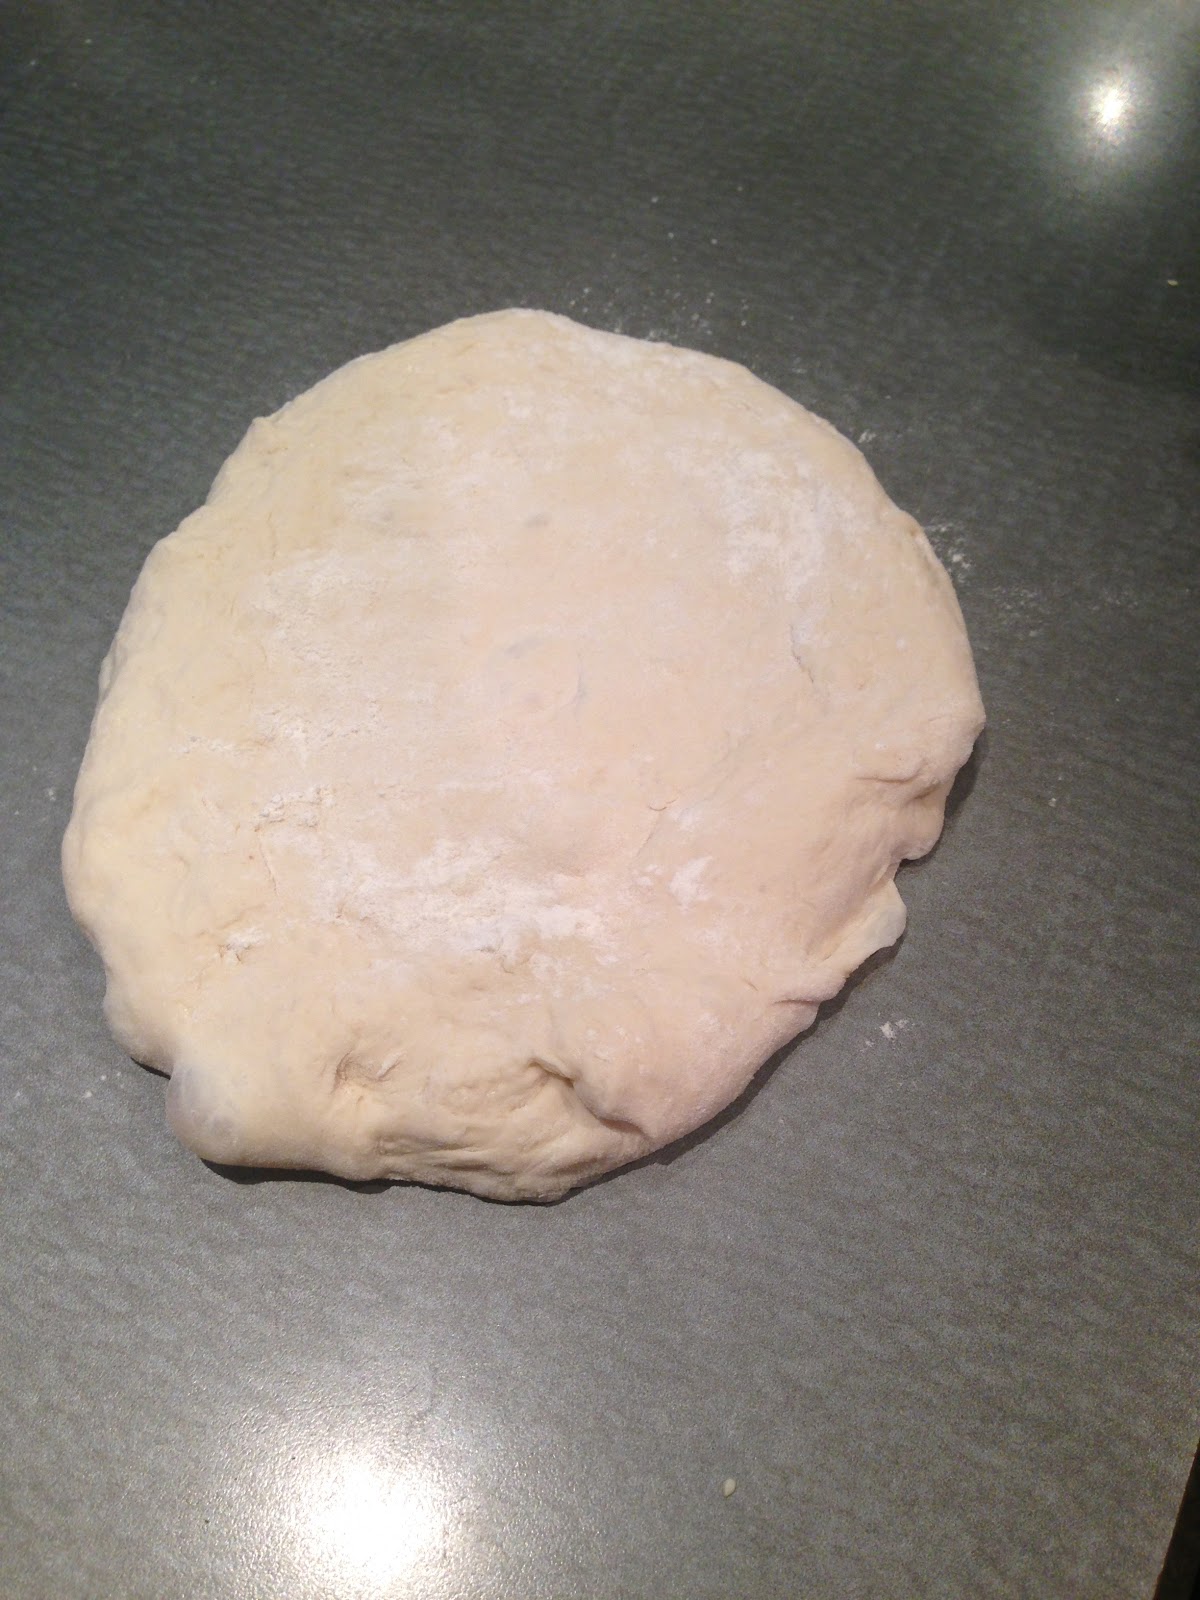
Sprinkle more flour on the top and squash it into a chubby disc ...
..thusly. As if it were a square, grab each "side" and fold it into the middle. Squash it down in between each fold. Continue to work around the other 3 sides. I didn't do images for all of these turns. The turning and folding is a continuation of kneading from the initial mixing of ingredients. With each turn and fold, the dough will become tighter and resist your feeble efforts to shape it. Stay with it, teach it who's boss.
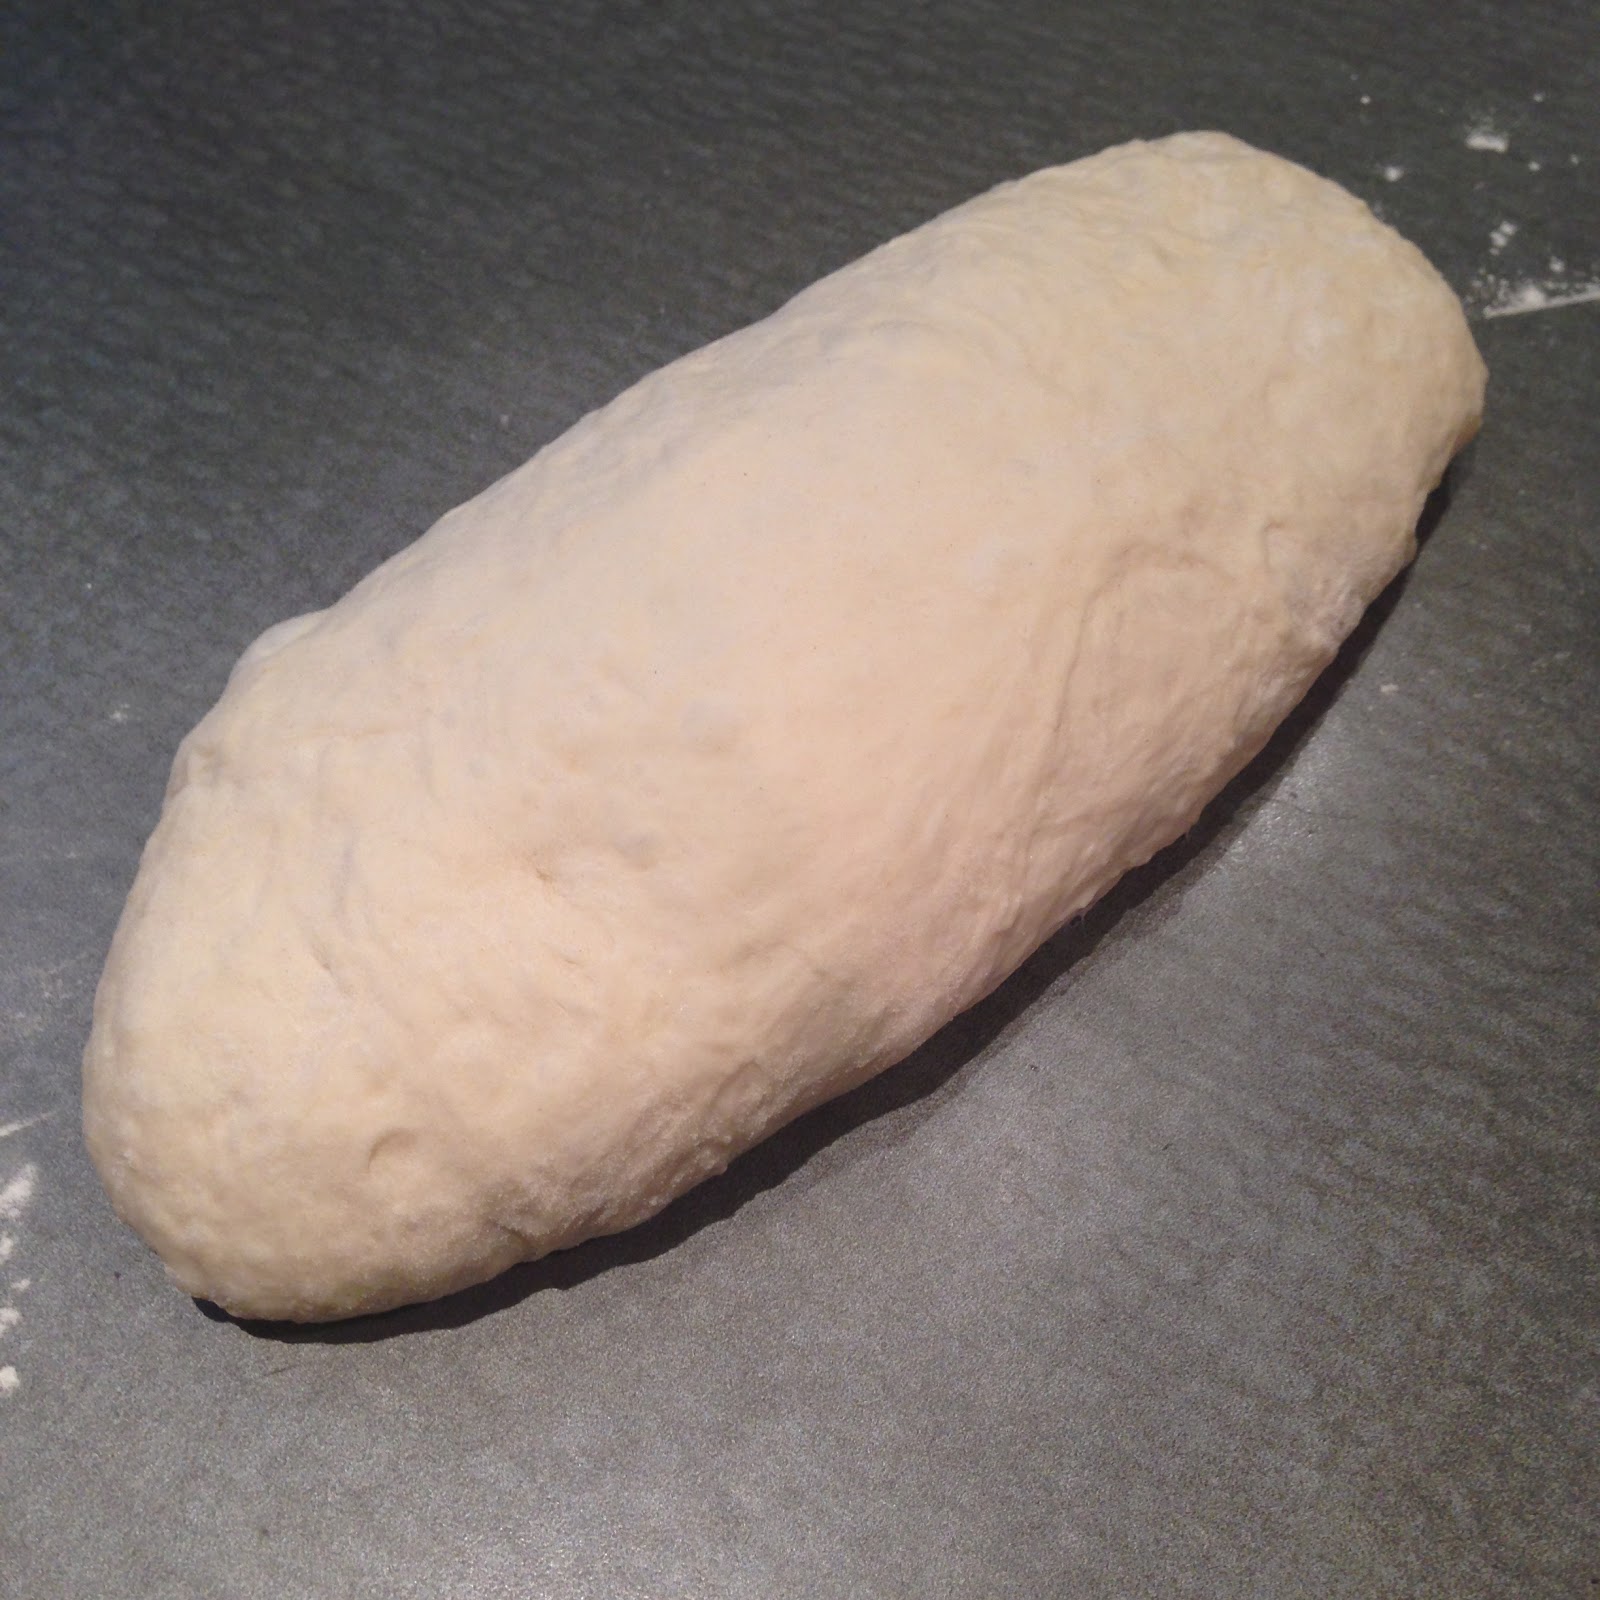
After the turn and folds, squash it into a squat disc, fold it in half, turn the seam side down, and roll it around a bit until it looks like like this. Want sesame seeds on it?? Moisten the surface, sprinkle sesame seeds on the outside and pat them in the moist surface with your hand gently. Then pick up the dough and place it seem side down into a baking pan lined with parchment.
{more images to go here,
the photography staff took a break for dinner}
The dough then gets covered with a barely-moist paper towel and is allowed to proof until ready. If it's shaped immediately out of the fridge, the proof will take about an hour. When it is fully proofed is nearly impossible to describe in words. This blob will increase in volume during the proof to approximately double. An hour is is good first guess. If the dough overproofs, it'll flop in the oven, if it slightly underproofs, it'll be fine. This proof time is something you'll have to just practice with, the end point varies depending on temperature and humidity in your kitchen.
Docking: Just before it goes in the oven, the surface is dusted with a tiny bit of flour and a knife used to cut a vent in the top.
The parchment-lined pan holding the loaf is placed in a preheated 425F oven for 30-35 minutes. No additional humidity is needed for the this bread.
Final bread, ca. 1.1 pounds.
5.06.2014
A simple bread
Over the past year or so I spun into a frenzy in baking. I've pumped medium pressure steam into my oven via a hacked pressure cooker, premixed various additions into my flour, played with special pans (one an inverted aluminum gutter) and baking surfaces. I actually have had only limited success.
In preparation for a micro class tutorial, I decided on a simple loaf using common equipment, no convection oven, no balance, no microbalance, but counterintuitively using a fast yeast and long aging to impart ease and hopefully flavor. I'll update this post with a fairly long sequence of pics so I can use it for future reference, but for now, this is a pretty solid daily loaf, ca. 1.1 pound, easily scaleable, easy to prep, slightly enriched, derived from a 67-70 hydration dough.

4.29.2014
Long ago, I was famous
Tonight, I went to OSU to see Trish receive a distinguished award for one of her papers. While eating about 2 pounds of bacon-wrapped scallops, one of her fellow faculty members mentioned the time he saw us on a Weber Grills commercial. The commercial was originally filmed before YouTube was popular and then an abbreviated version got archived. Here it is.
It was fun to be famous.

4.08.2014
Pressure Cooker Prep: Kale, Chicken and Bean Soup
The love affair with my pressure cooker continues. Once familiarity is gained with cooking times for a few grains, legumes, hearty greens and/or cuts of meat, toss away the cookbook and get moving. Most beans, if soaked/hydrated a few hours ahead cook in 6-8 minutes on high (high on a pressure cooker is about 15 psi, low is about 10 psi) or about 10-12 minutes if unsoaked. Brown rice takes at least 12 minutes, but has a huge window for error, 15-20 minutes and it still won't be too soft. We've been enjoying brown rice bowls recently: brown rice topped with sauteed veggies/meat/sauce. Meats do well in a slow cooker, but I still prefer a long low temp braise for fatty cuts. Once in a while I'll cook a small chunk of pork shoulder in about 30 minutes with star anise, cinnamon and cardamon - this gives some meat and a great broth to use for pho in short order.
Last night I thought of 3 ingredients that would cook in about the same amount of time: unsoaked navy beans, chopped kale (the bagged stuff) and trimmed and cubed chicken thighs (breasts overcook and nearly disintegrate in a slow cooker). I tossed everything in the pot with a few slivers of garlic, some olive oil, a little pork fat (because it's lent), s&p and a quart of water and locked it down on high for 12 minutes. Boom, soup! I topped it with a squirt of olive oil and reggiano.

My pressure cooker based on @TestKitchen's rec, a Faygor 8 qt (amazn link).
3.21.2014
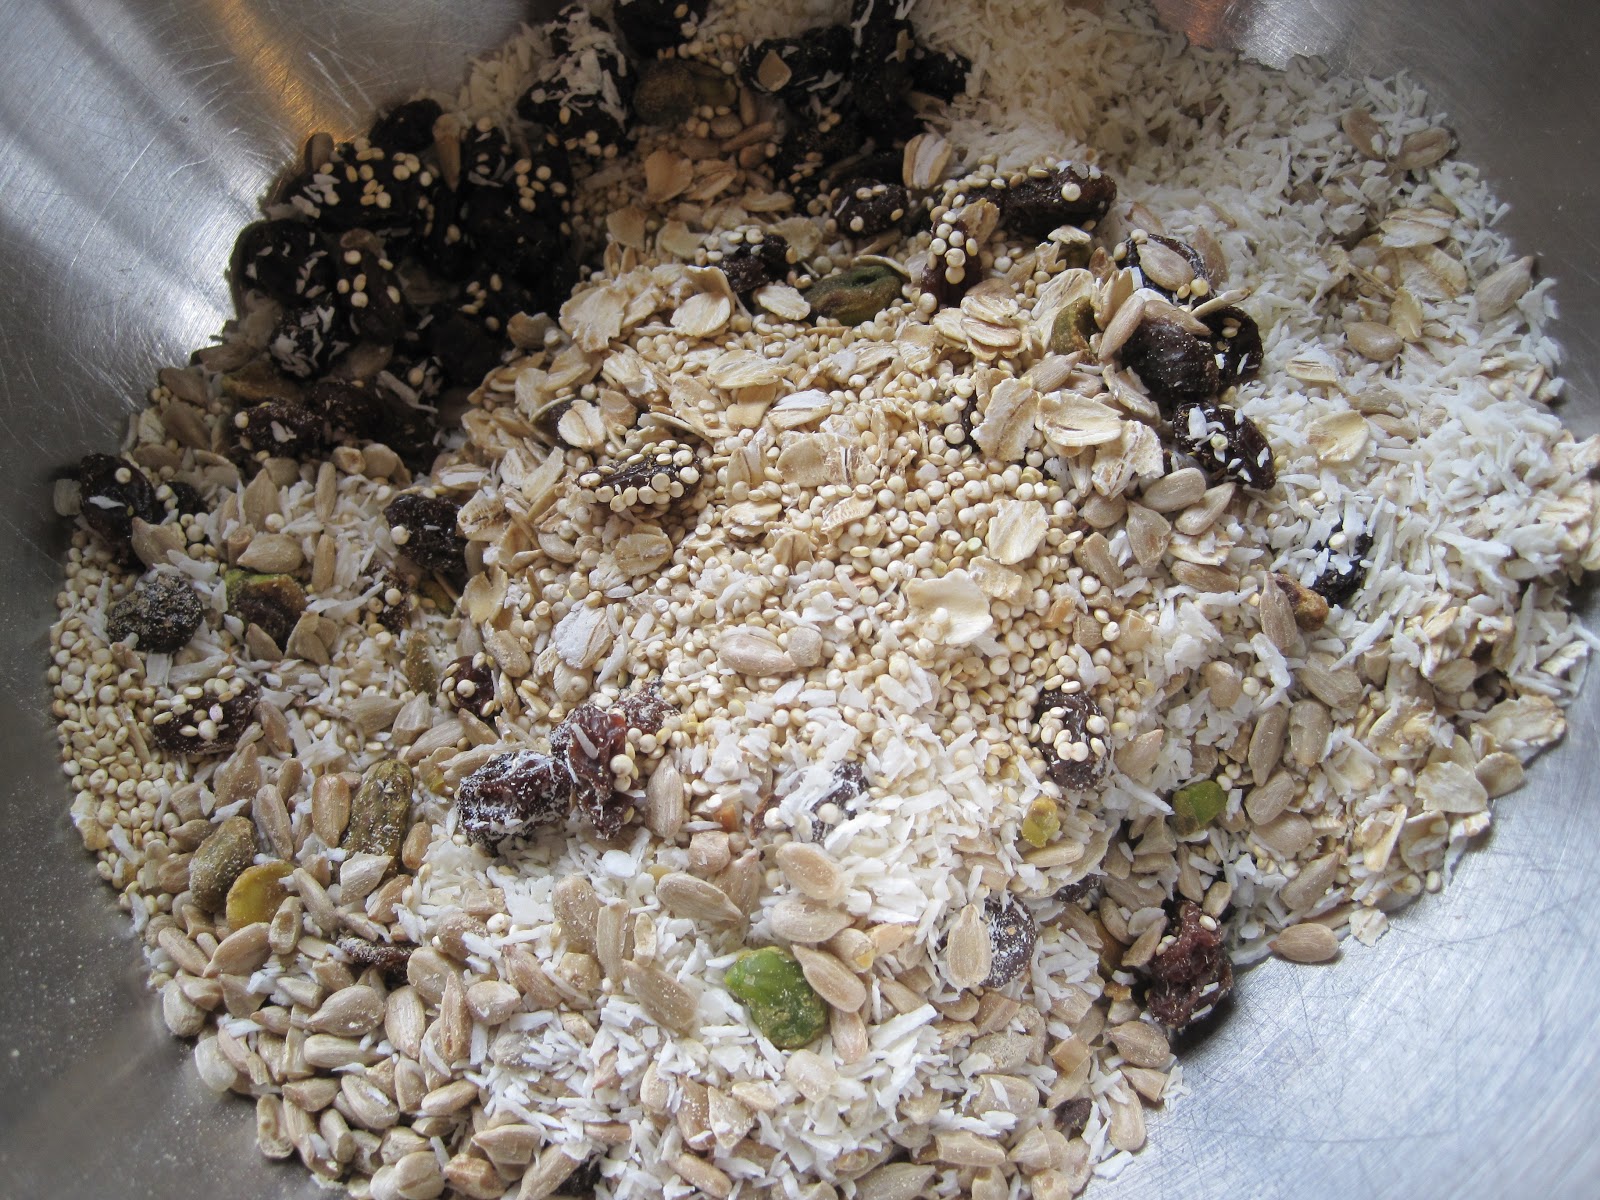
granola bars
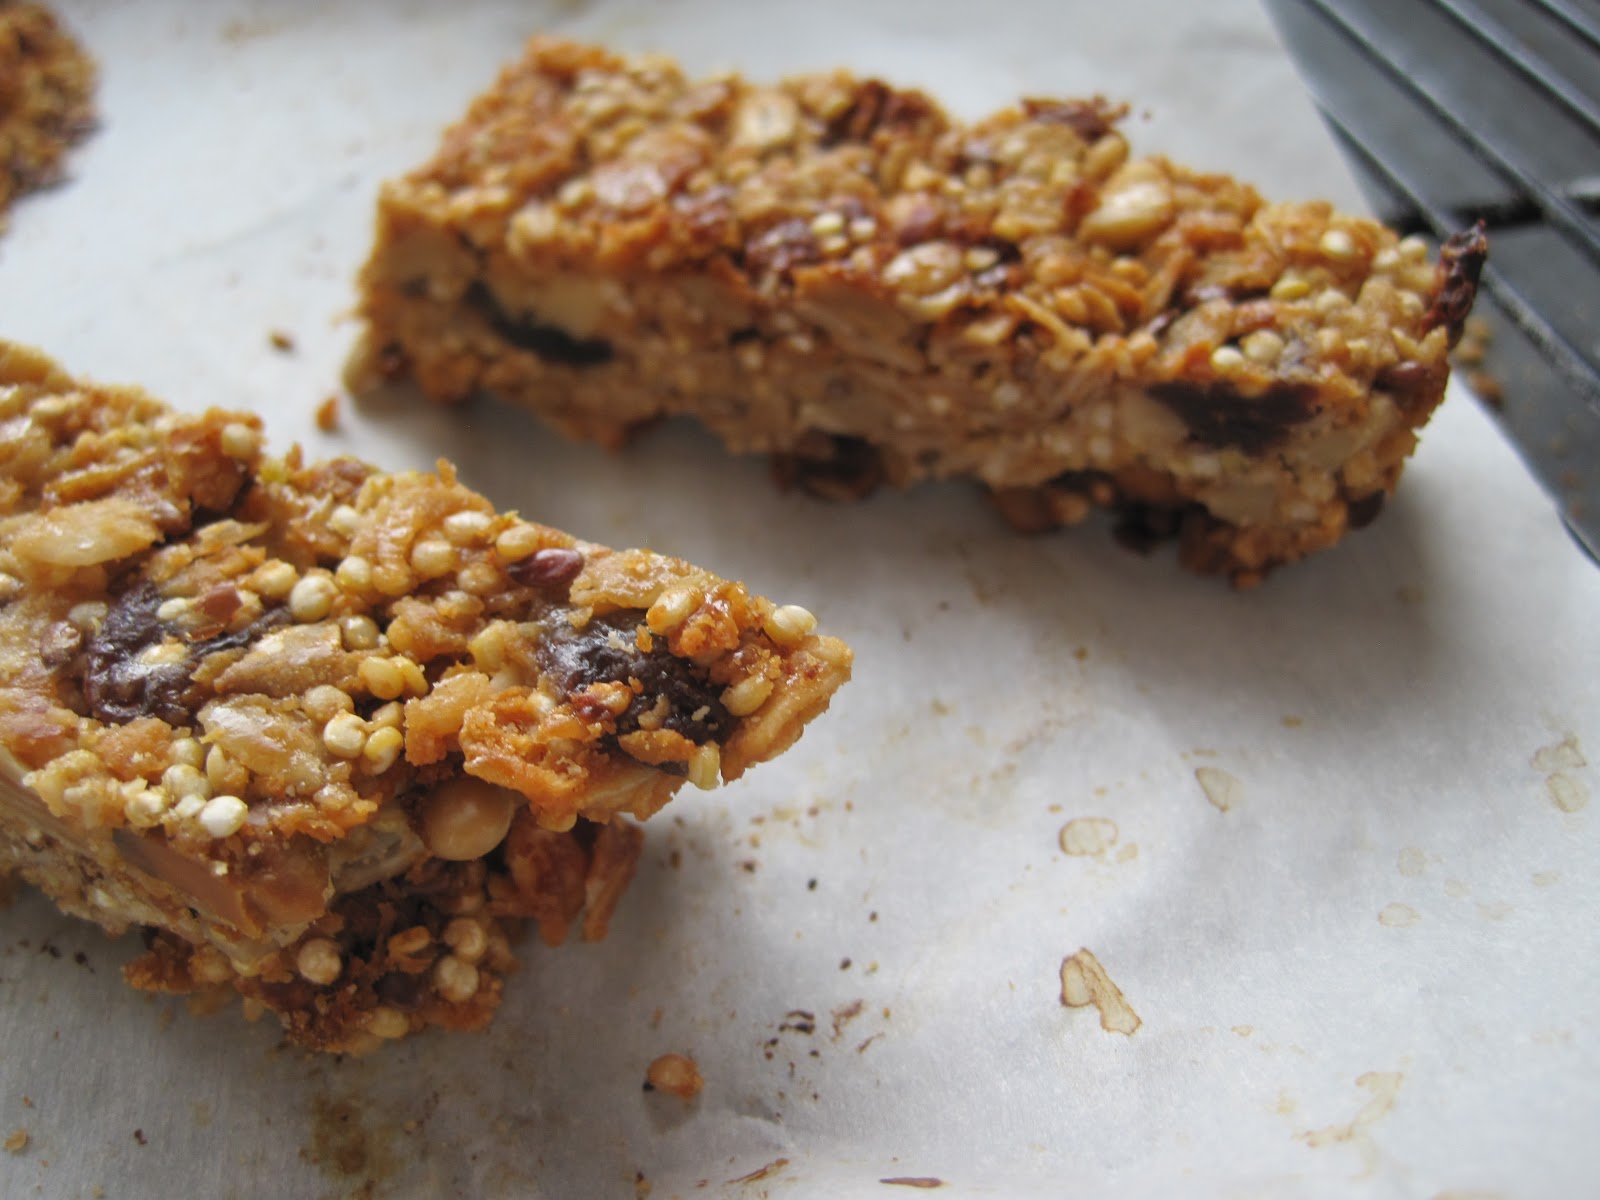
There are a trillion recipes online and another trillion on the shelves of the supermarket. This prep is barely mine, I tweaked @CookingLight's cranberry pistachio granola bar. Their's had great ingredients but fell apart when cooled and cut, really crumbly. So here's my modifiication.
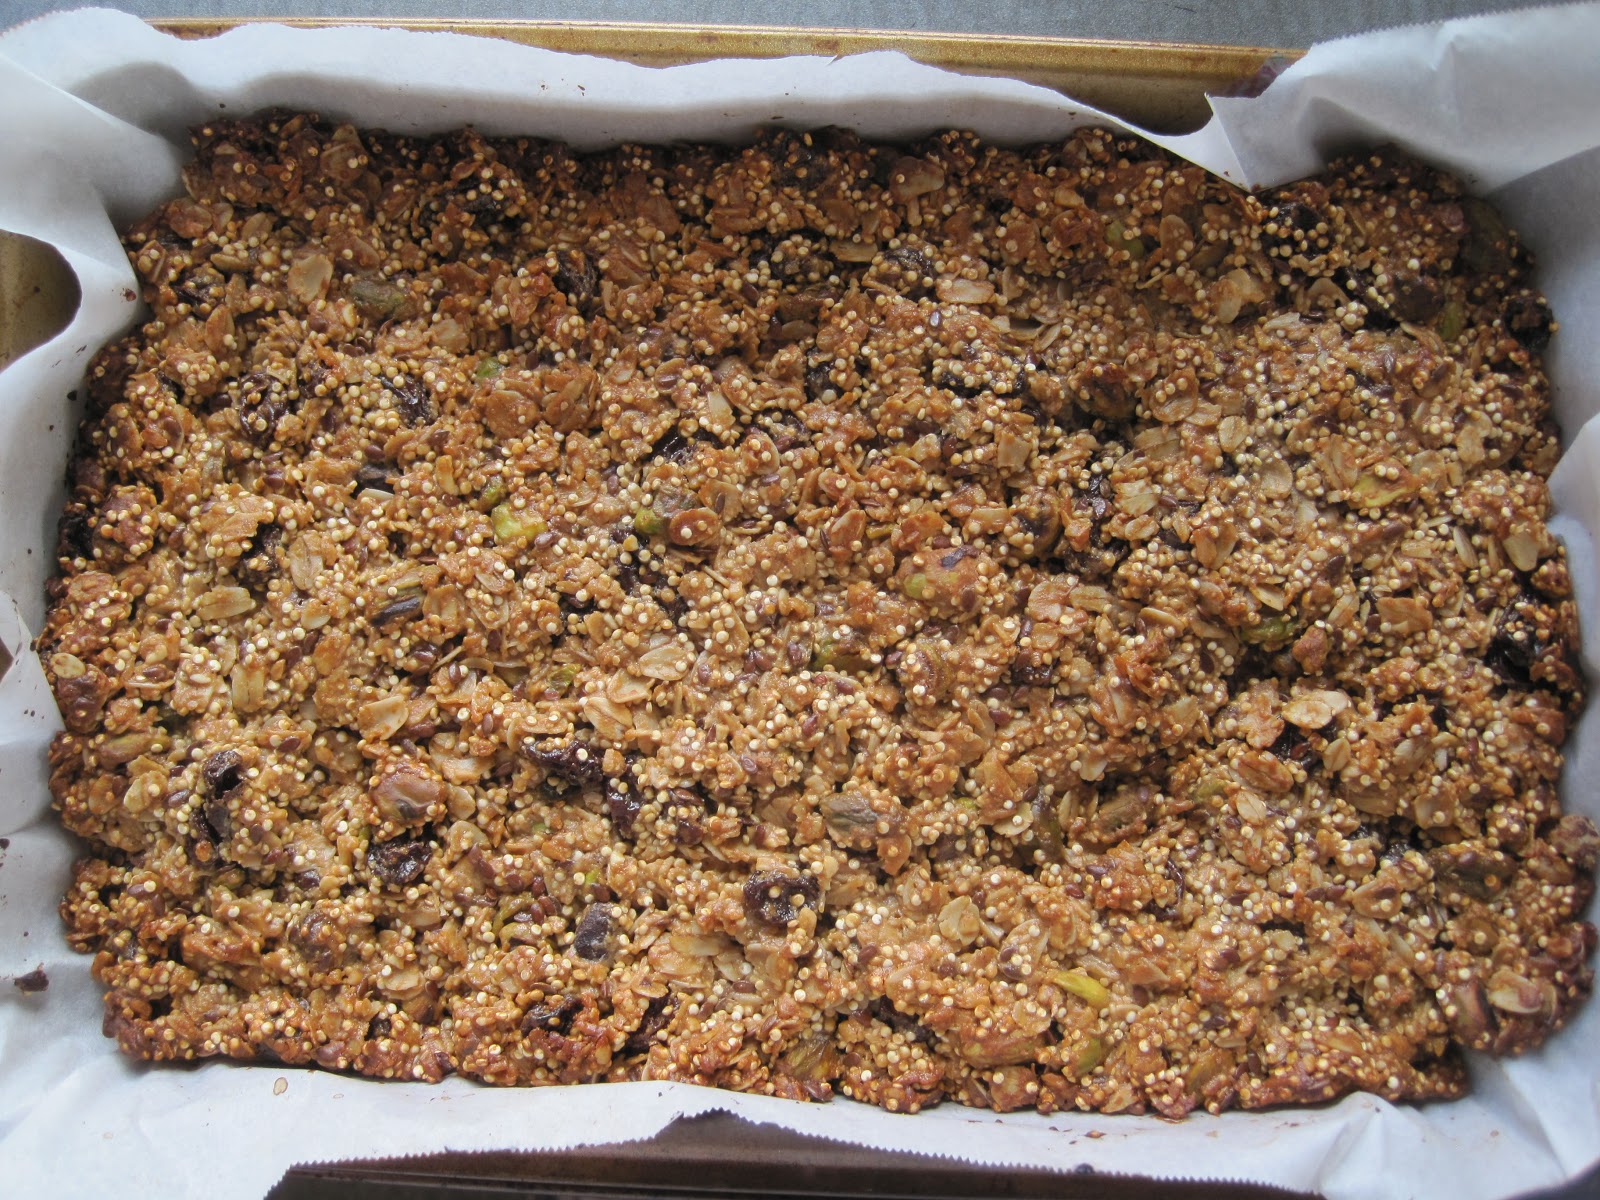
What separates this bar from others?
1. It doesn't taste like most shitty bars of sweetened rolled oats.
2. The raw quinoa adds a crunchy textural component.
3. They hold together in a bar, but aren't too firm.
4. The pistachios are pretty awesome, don't use a substitute for them.
5. Using the fresh ground peanuts as peanut butter, this is pretty unprocessed, but doesn't taste like a raw bar.
Dry ingredients:
rolled oats 100 g (1C)
quinoa 140 g (3/4 C)
raisins 100 g
pistachios, salted roasted 80 g (1/2 C)
unsweetened coconut 30 g (1/3 C)
flax seed 25 g (2 T)
Gloppy ingredients:
peanut butter, ground in store 150 g
honey 150 g
nutella 20 g
Warm up the gloppy ingredients in a sauce pan until pretty hot and add to dry ingredients. Mix. Add to parchment lined 11" x 7" pan, press lightly to fill pan, bake at 350F for 25 minutes. Let cool at least an hour in the pan. Remove from pan, cut into bars slowly with a serrated edge knife - they are still kind of soft, so go slow. Let the bars sit out on the counter - away from dogs - about a day, they'll firm up.


2.20.2014
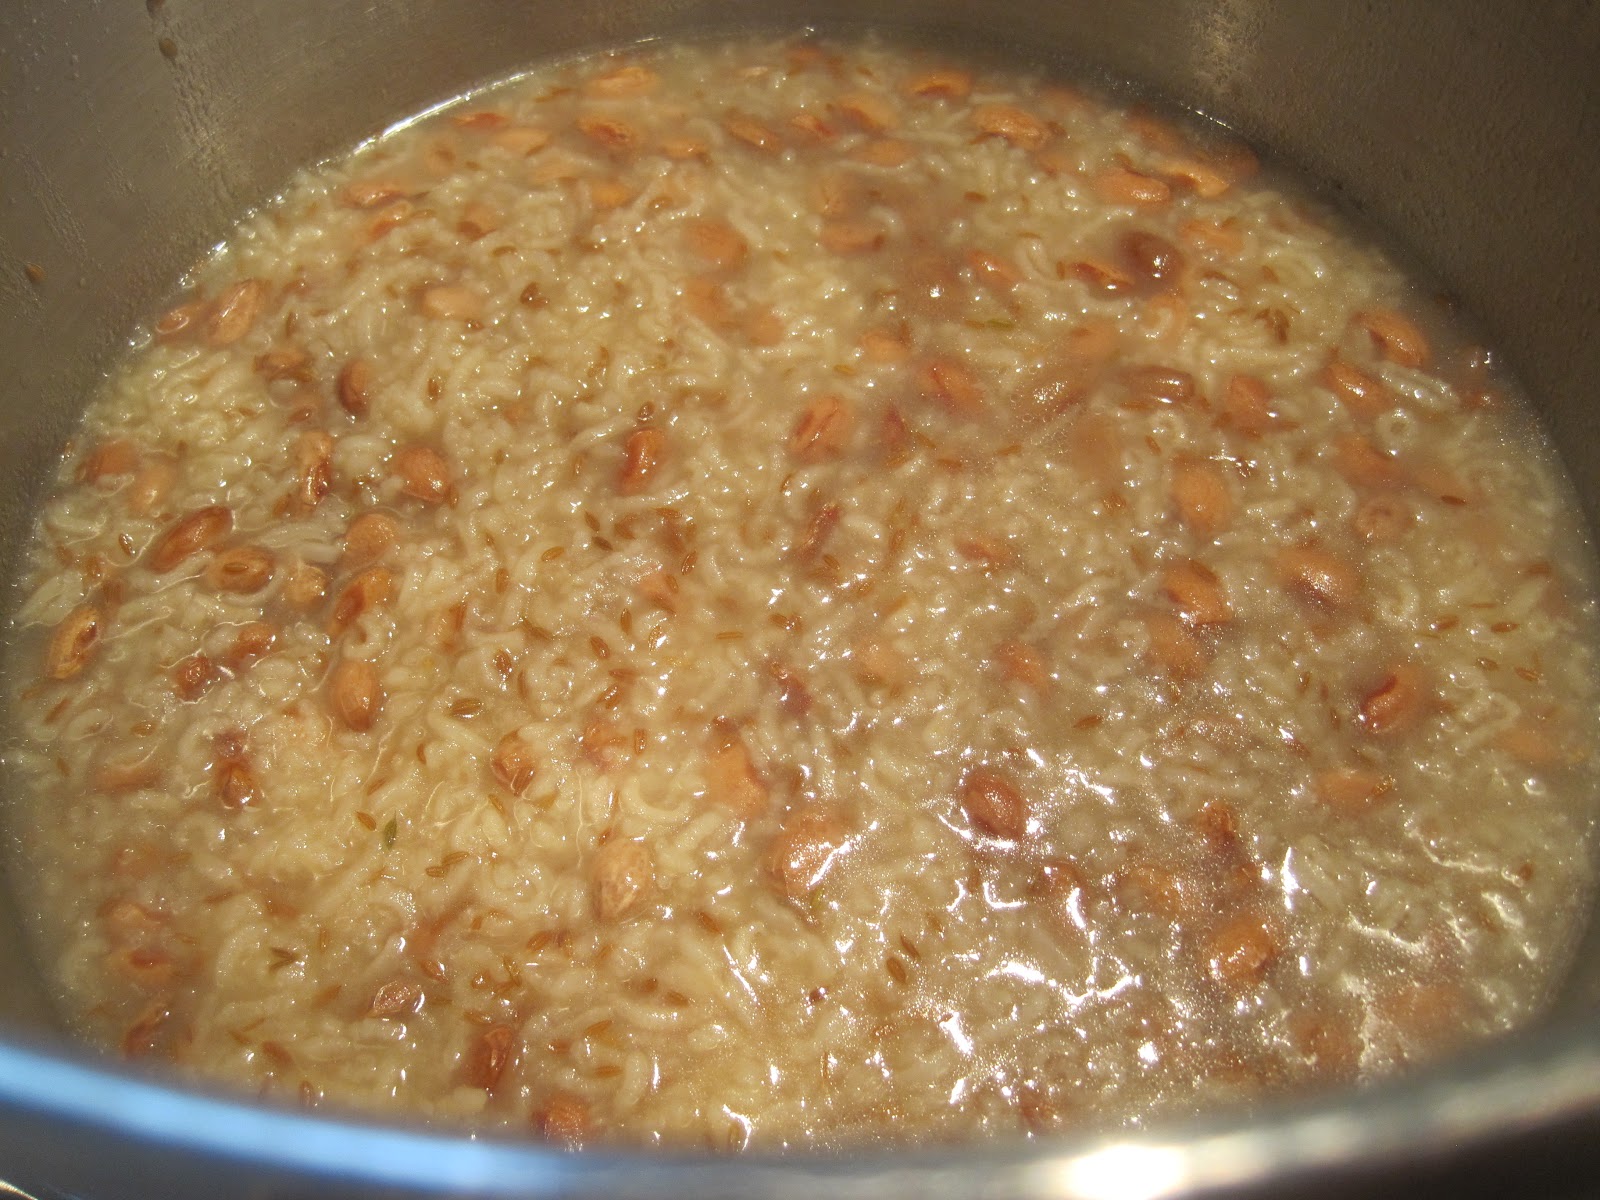
pinto bean and basmati rice chips
Not sure why I've been dabbling in gluten free territory lately, I think it's the different set of physical and rheological properties that intrigues me about the building blocks involved.
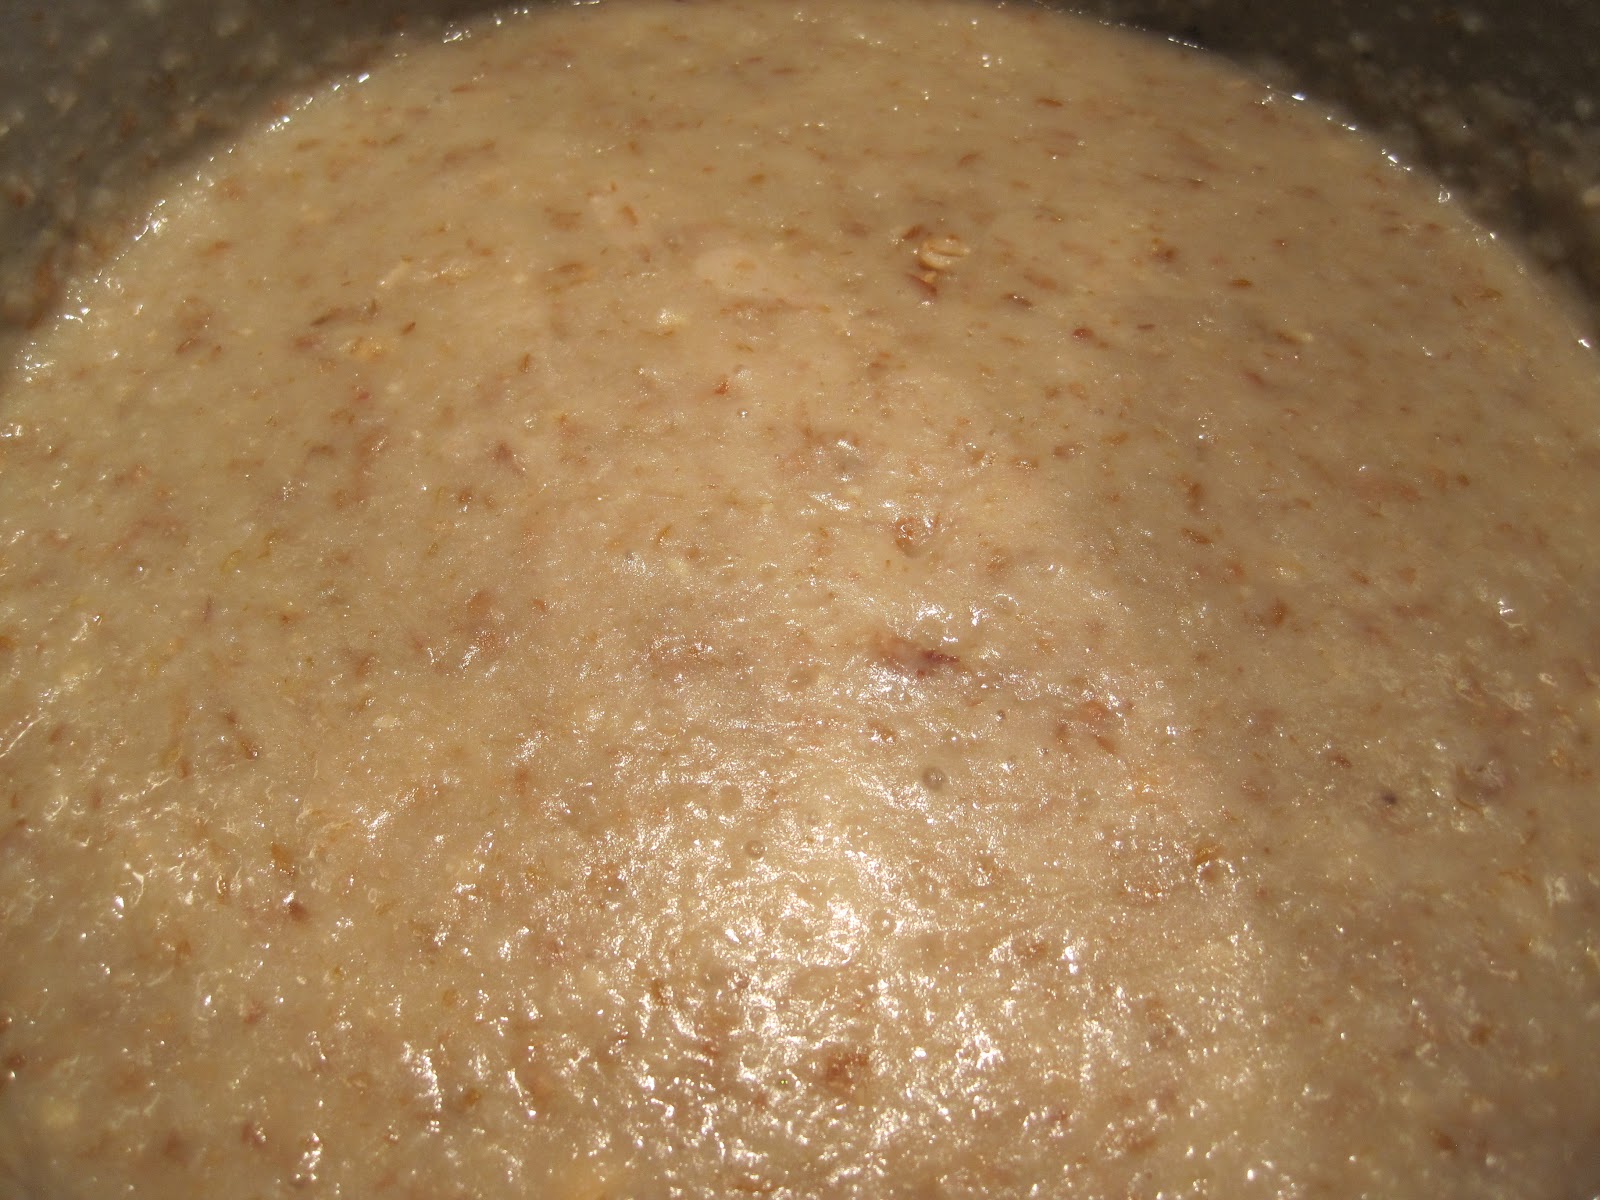
Today's adventure is a snack food. The snack food literature (and there most definitely is a great deal of food science dedicated to the snack) has many wheat free snacks. When beans are used, the snack almost always involves a fraction of rice. This observation coupled with my bean-only experiments resulting in crackers that are too delicate, leads me to believe gelatinous over-cooked rice helps bind things together.
My most recent "chip" is a 1:1 mix of beans and rice with some added fat, salt and spice and baked. I've only made these a couple times and frankly may not do it again. They're a lot of work. I was more interested in watching the transformation of the beans and rice than I was in making anything novel or economical. And, after this, you won't flinch when you pay $4 for a bag of chips. Formation of the chip and baking was the most laborious part of the prep - this is where a continuous process and different equipment would be required for production.


2.19.2014
fries, french fries
I've watched Heston Blumenthal's Triple-Cooked Chips many times. I actually went through the arduous process once and it works well. However, there are limits on the amount of time one has to live. These take a very long time to prepare.
The method calls for a step where the potato is boiled until the surface is rough and it is just about to fall apart. Then, the tedious task of drying out the flesh is required prior to deep frying (twice). This is achieved by a brief period of freezing.
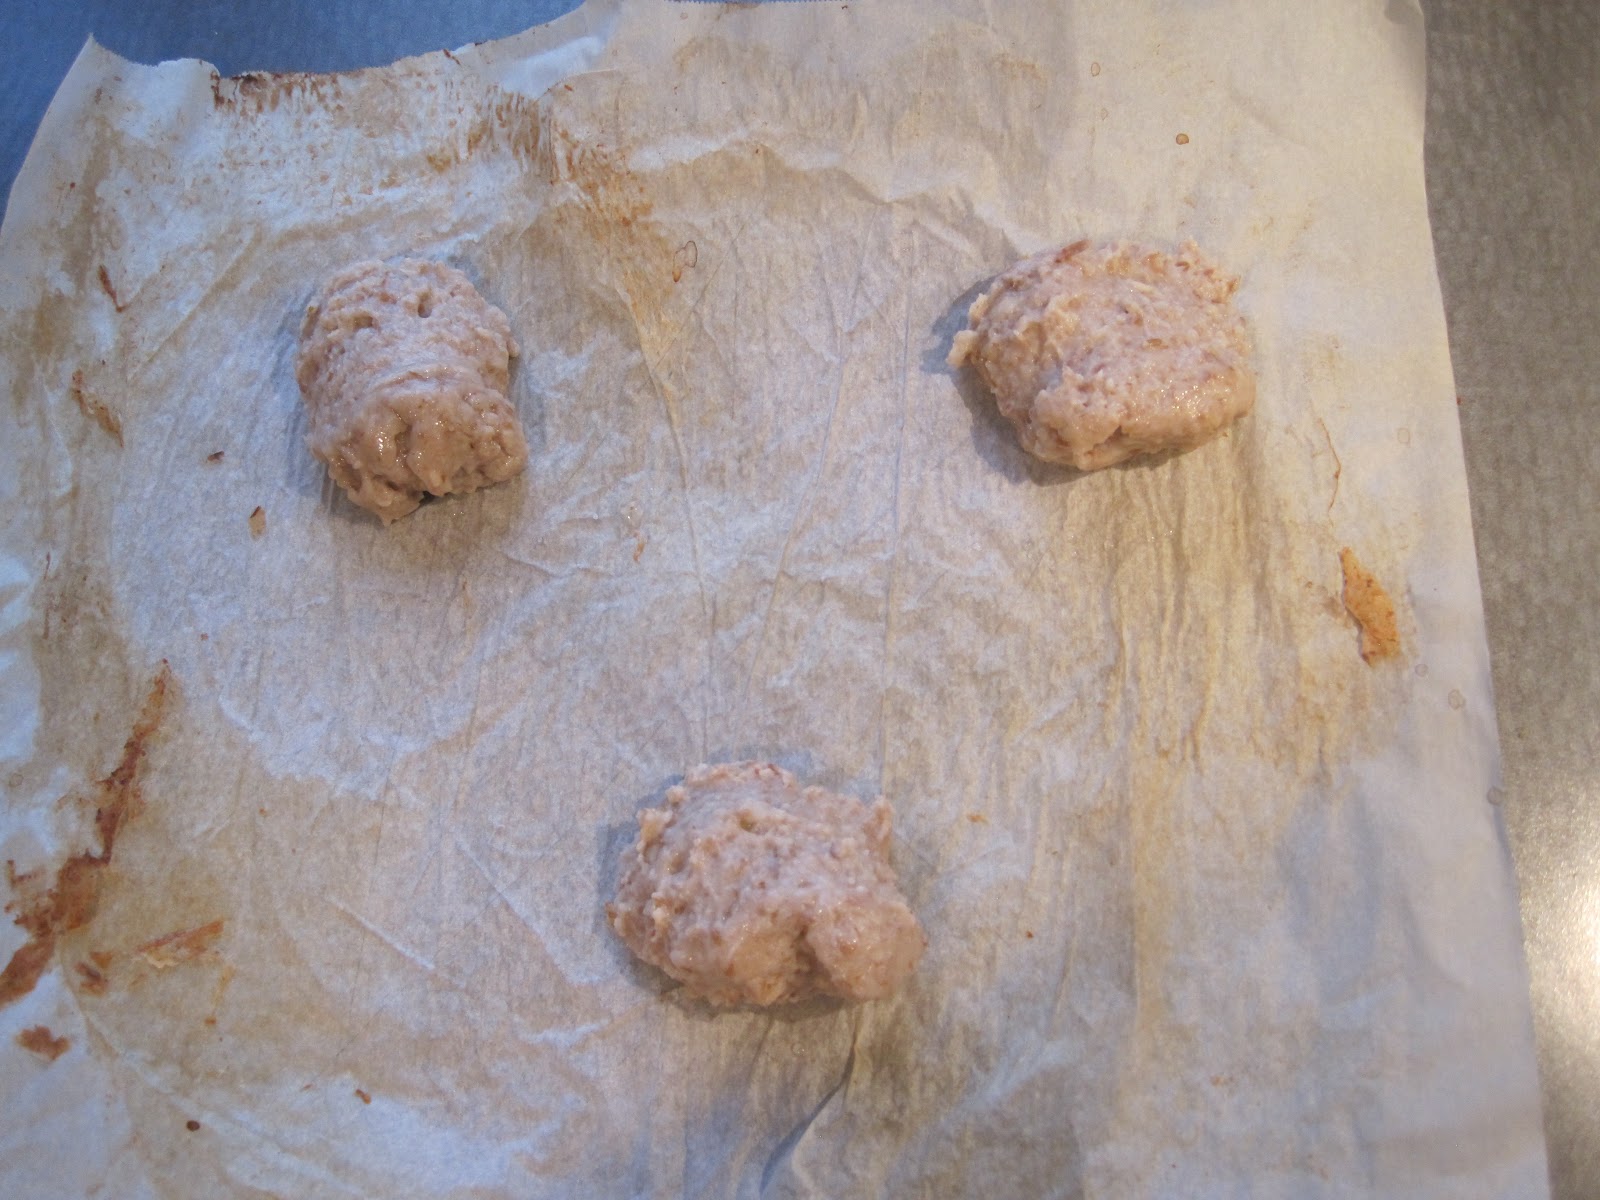
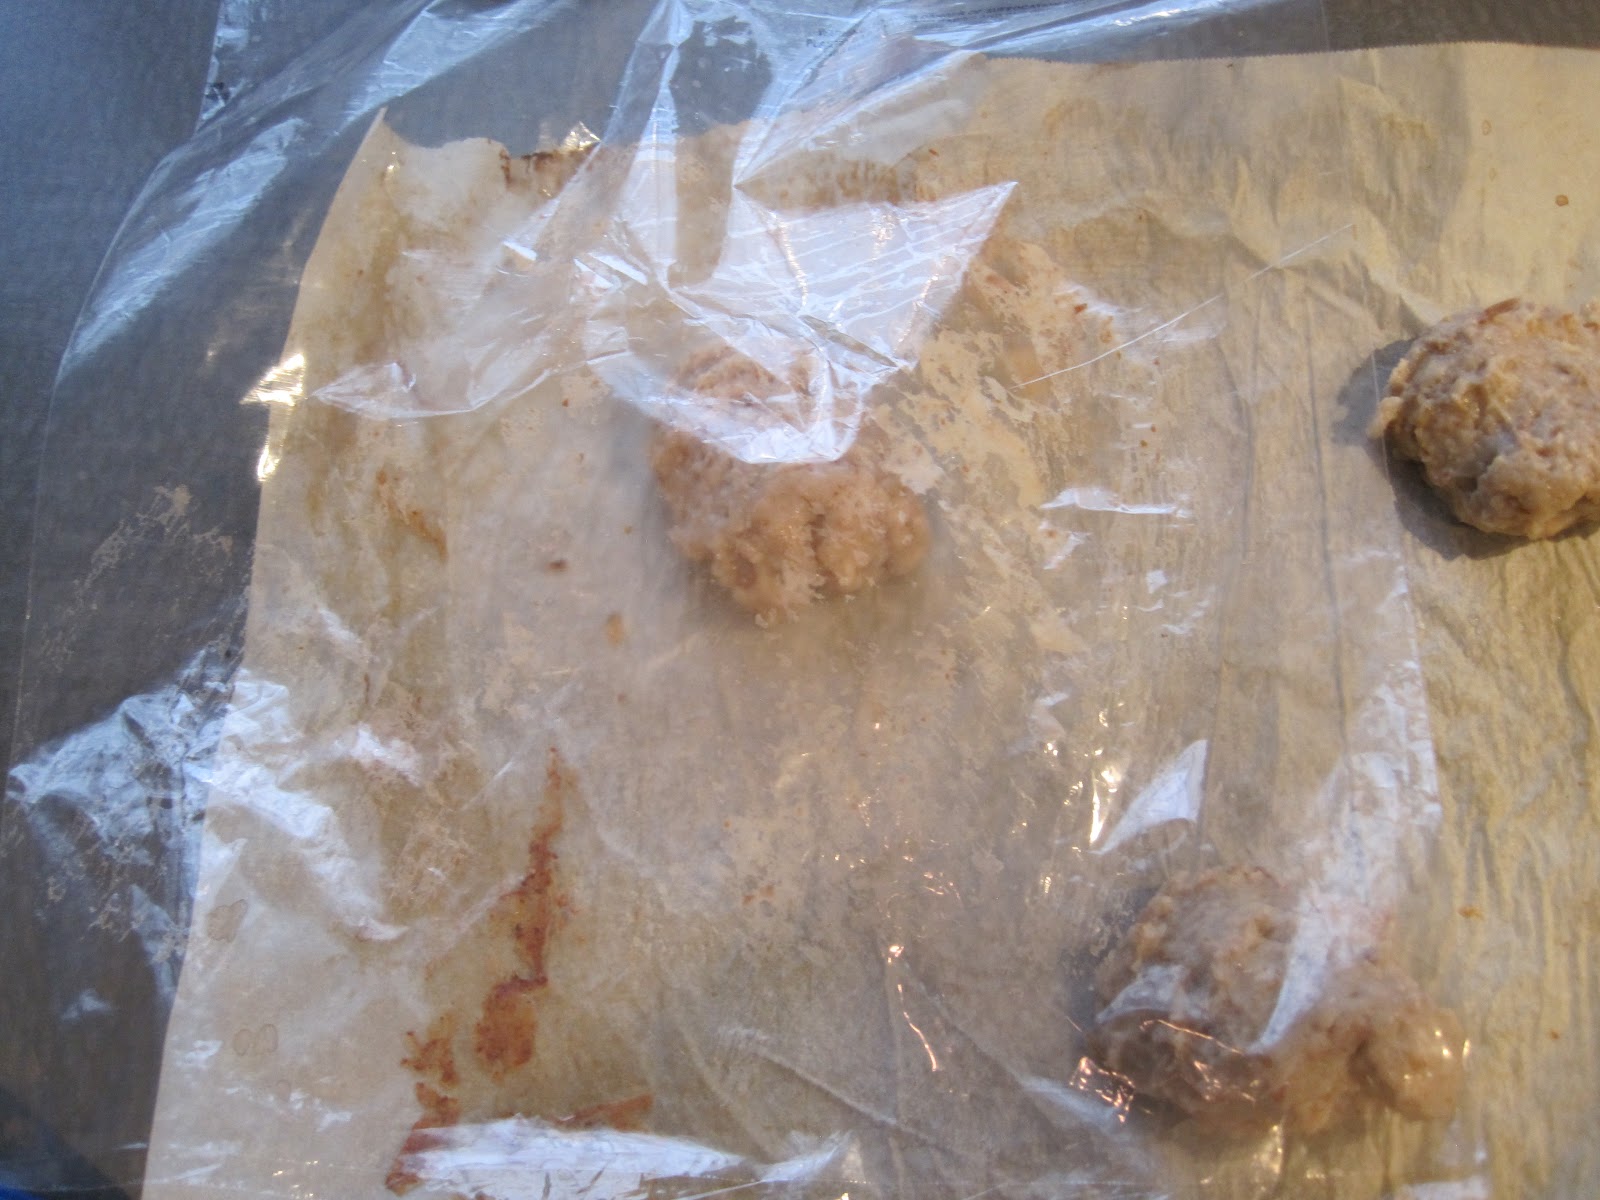
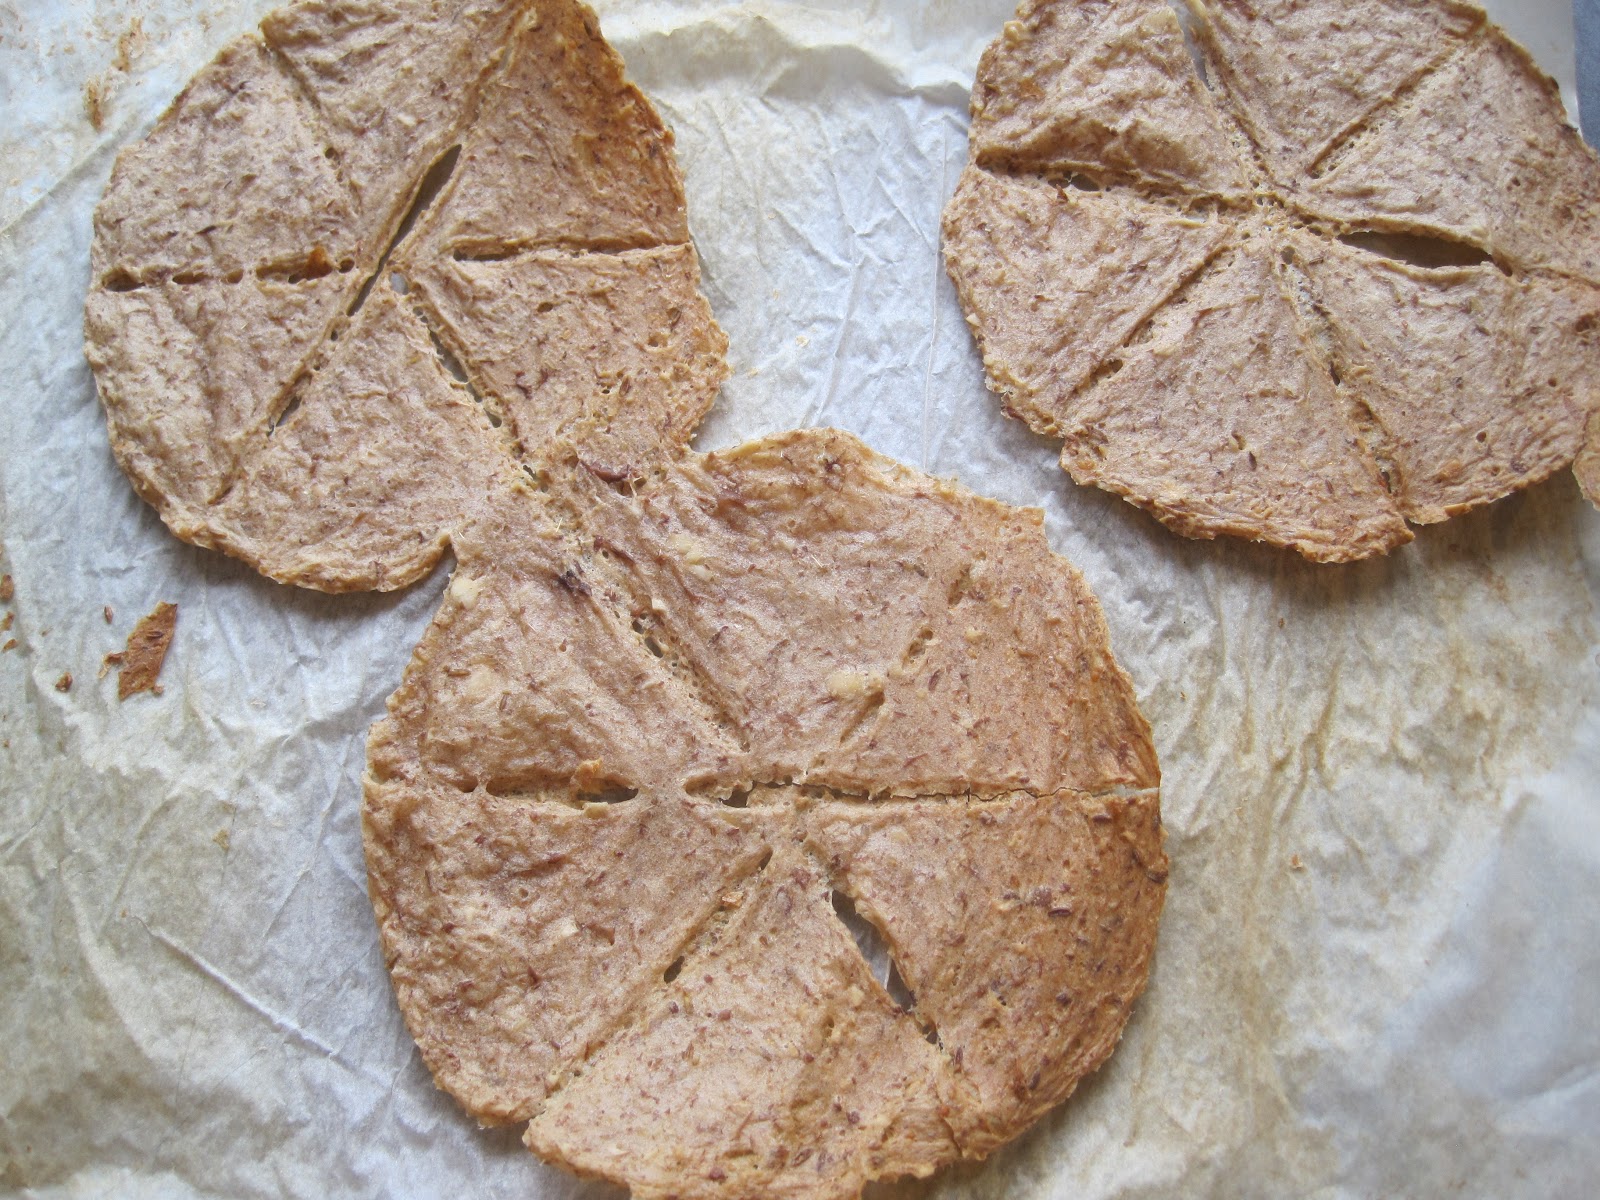
When a potato is fully baked and sliced - the surface appears similar to the boiled potato, only it's very dry - bone dry. If a good fry requires a fully cooked and dry potato flesh, this starting point looks better. I baked a few russets at 425F for an hour (the hour includes oven warm up time). They cooled overnight and then they were sliced into fry pieces.

Baked and sliced into fry shapes.
These were deep fried in canola oil at 350-375 until crisp. Done. I need to play with the deep fry temps in order to build a good crust without them getting too dark. These fries were the best I've ever made.
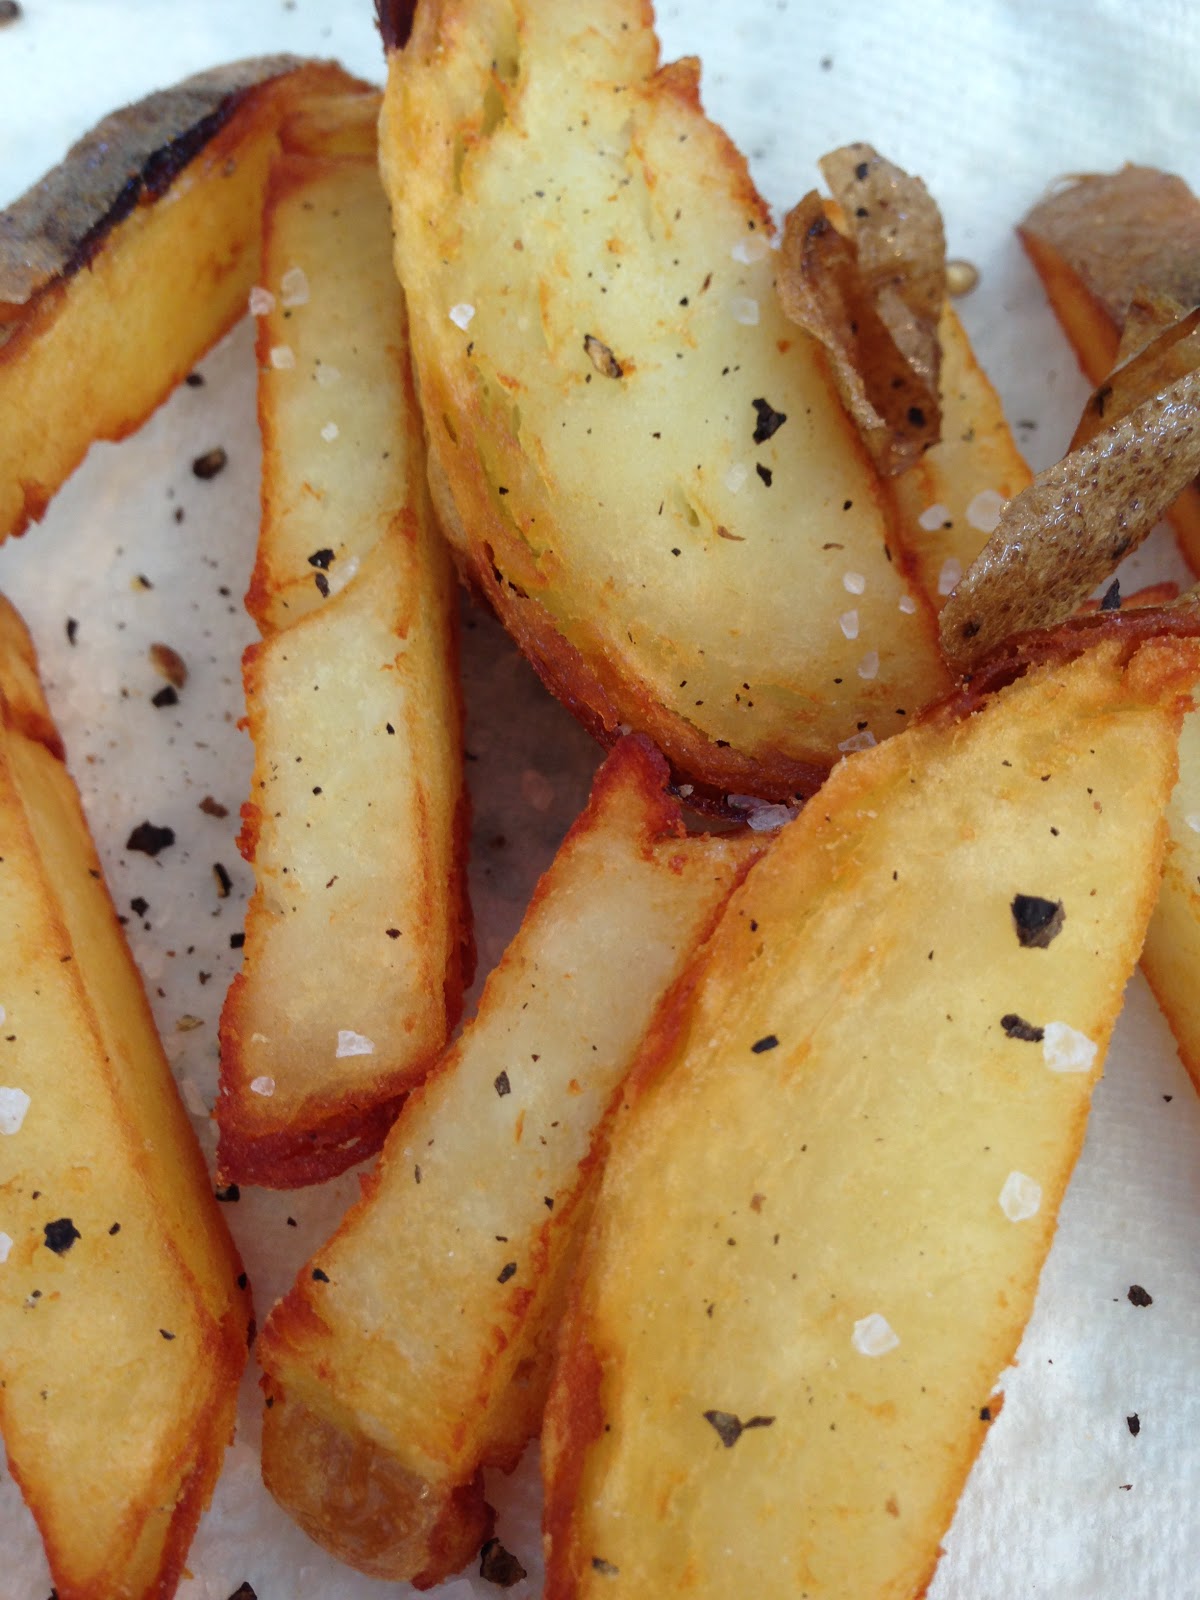
Sprinkled with coarse salt and cracked pepper. Very crisp. I wish I photographed the profile, the crust was nice.
2.07.2014
How I came to Know the Value of the Pressure Cooker
Sometime back I was obsessing over humidity in my oven while baking. Having read about these steam injection deck ovens, I got an itch to try baking with steam. Not an ice cube on the floor of the oven steam, I wanted a ca. 10-20 psi intermittent blast applied in early stages of baking.
Off to the thrift store, I found a cheap pressure cooker. First I removed all safety exhaust ports from it, tapped some new threads and affixed a few pieces of pipe, a copper tubing outlet and a gauge.
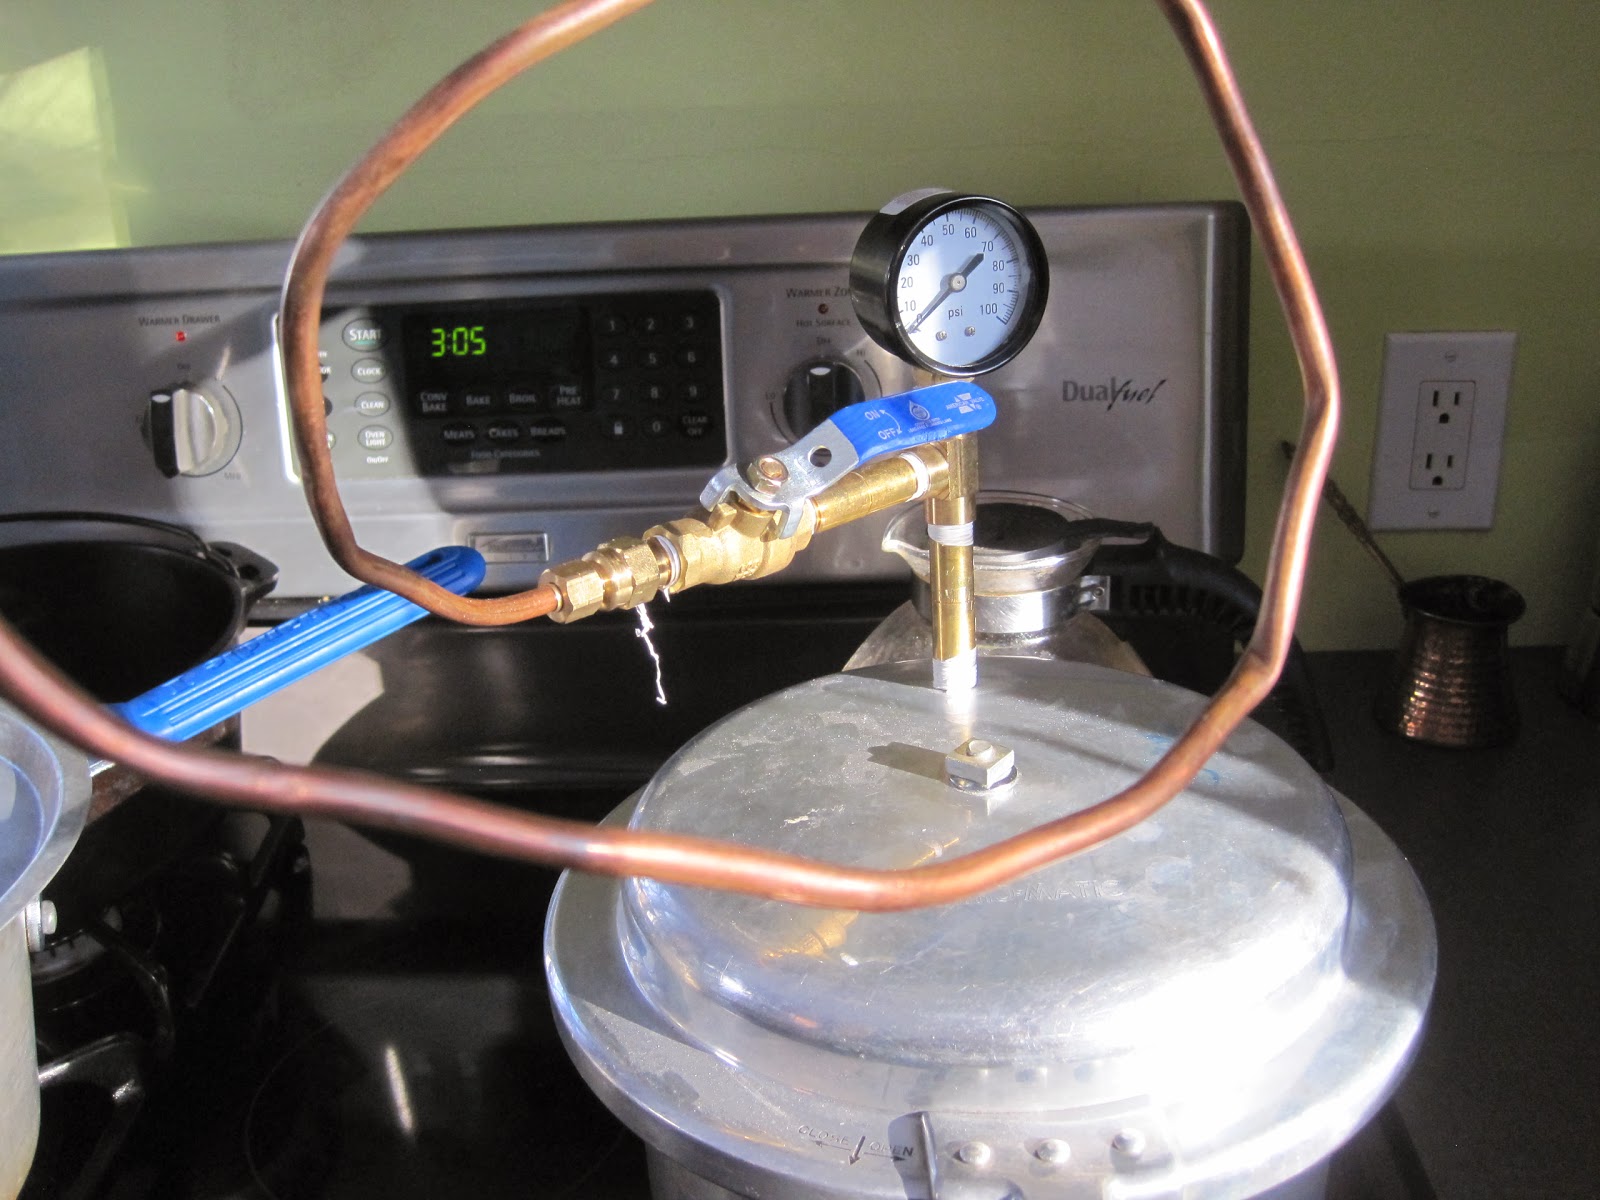
Then, I tried using my contraption in our new sucky winter climate. I thought if I pumped steam into sub zero temps, I could create a snow machine. This didn't work either.
Then, even though it had no safety ports, I tried something crazy - standing over it the entire time and moderating the pressure manually - I tried beans in it. Soaked garbanzo beans cooked in a light brine at about 10 psi for30 minutes cooked to a consistency I've not experienced in a can. Not soft, but more done than the can and more done than I've been able to achieve by slow simmering. I then tried other beans, e.g., toor dal for sambar, red kidneys, a pork butt(!), etc. etc. This thing is amazing! Why am I so late to the party?
I spent some time with America's Test Kitchen watching their pressure cooker video and bought a safe one, the Faygor Duo. I can't wait to explore legumes and stews in a way I never have before.
Subscribe to:
Posts (Atom)


