2.20.2014

pinto bean and basmati rice chips

Not sure why I've been dabbling in gluten free territory lately, I think it's the different set of physical and rheological properties that intrigues me about the building blocks involved.

Today's adventure is a snack food.  The snack food literature (and there most definitely is a great deal of food science dedicated to the snack) has many wheat free snacks.  When beans are used, the snack almost always involves a fraction of rice.  This observation coupled with my bean-only experiments resulting in crackers that are too delicate, leads me to believe gelatinous over-cooked rice helps bind things together.

My most recent "chip" is a 1:1 mix of beans and rice with some added fat, salt and spice and baked.  I've only made these a couple times and frankly may not do it again.  They're a lot of work.  I was more interested in watching the transformation of the beans and rice than I was in making anything novel or economical.  And, after this, you won't flinch when you pay $4 for a bag of chips.  Formation of the chip and baking was the most laborious part of the prep - this is where a continuous process and different equipment would be required for production.

Pinto beans (1/2 C, 100 g), basmati rice (1/2 C, 100 g), lard (24 g), salt (10 g), cumin (2T) and water (1 L) was charged to an 8 qt pressure cooker and cooked on high (ca. 15 psi) for 30 minutes.  This leaves just enough water so no scorching happens and the overcooked rice and beans don't have to be removed from the water.

 Then the hot mixture is pureed with an immersion blender.  No sliced fingers!

Let the mixture cool completely, it'll be stiff and disgusting looking.

Place 3 ice cream scoops of the glop on a parchment paper, ca. 11" square.

Place a piece of plastic over the lumps and squash with a pan to a 6-7" disc.  It squashes easily.

Squashed.  The plastic will pull off easily IF the mixture is completely cooled.

Peel off the plastic and repeat on the other two lumps.

Score the discs with a pizza cutter and place the parchment and glop onto a sheet pan and bake at 350 about 30 minutes - there's a lot of water in this mush, that's why the long bake time.

They'll look tan to brown when done.  Pull them off the parchment and when cool, break them apart along the lines you made with the pizza cutter.

Eat.

2.19.2014

fries, french fries

I've watched Heston Blumenthal's Triple-Cooked Chips many times.  I actually went through the arduous process once and it works well.  However, there are limits on the amount of time one has to live.  These take a very long time to prepare.

The method calls for a step where the potato is boiled until the surface is rough and it is just about to fall apart.  Then, the tedious task of drying out the flesh is required prior to deep frying (twice).  This is achieved by a brief period of freezing.  
When a potato is fully baked and sliced - the surface appears similar to the boiled potato, only it's very dry - bone dry.  If a good fry requires a fully cooked and dry potato flesh, this starting point looks better.  I baked a few russets at 425F for an hour (the hour includes oven warm up time).  They cooled overnight and then they were sliced into fry pieces.
Baked and sliced into fry shapes.

These were deep fried in canola oil at 350-375 until crisp.  Done.  I need to play with the deep fry temps in order to build a good crust without them getting too dark.  These fries were the best I've ever made.
Sprinkled with coarse salt and cracked pepper.  Very crisp.  I wish I photographed the profile, the crust was nice.

2.07.2014

How I came to Know the Value of the Pressure Cooker

Sometime back I was obsessing over humidity in my oven while baking.  Having read about these steam injection deck ovens, I got an itch to try baking with steam.  Not an ice cube on the floor of the oven steam, I wanted a ca. 10-20 psi intermittent blast applied in early stages of baking.

Off to the thrift store, I found a cheap pressure cooker.  First I removed all safety exhaust ports from it, tapped some new threads and affixed a few pieces of pipe, a copper tubing outlet and a gauge.

Voila.  I had fun with this thing.  I did pump my oven with steam while baking baguettes but obtained a most terrible crumb in the resulting bread.  It's too painful a series of experiments to discuss here.  What I learned adds to my growing body of experience that it's pretty challenging to bake a loaf a day in a conventional oven.  Big professional ovens filled to capacity are likely to win when it comes to bread.  But, it was a fun few days of attempts.

Then, I tried using my contraption in our new sucky winter climate. I thought if I pumped steam into sub zero temps, I could create a snow machine.  This didn't work either.

Then, even though it had no safety ports, I tried something crazy - standing over it the entire time and moderating the pressure manually - I tried beans in it.  Soaked garbanzo beans cooked in a light brine at about 10 psi for30 minutes cooked to a consistency I've not experienced in a can.  Not soft, but more done than the can and more done than I've been able to achieve by slow simmering.  I then tried other beans, e.g., toor dal for sambar,  red kidneys, a pork butt(!), etc. etc.  This thing is amazing!  Why am I so late to the party?

I spent some time with America's Test Kitchen watching their pressure cooker video and bought a safe one, the Faygor Duo.  I can't wait to explore legumes and stews in a way I never have before.

2.01.2014

grain free pizza - part 1 (in a series)

I don't know who started the cauliflower substitute for a pizza crust, but I find it a bad choice on every level imaginable.  It's like making tofu into a hotdog shape.  It's wrong.  Stop doing it.


Continuing on my burning bridge theme, I'm skeptical of the 1/8th of the planet who are now gluten free.  I am however sensitive to a friend who can't eat grain  AT ALL!  He doesn't have a shocking or dangerous reaction to it, but he can't have it.  How am *I* supposed to express appreciation to a friend who doesn't eat grain?  

So, I've been thinking about a grain free alternative for pizza for a long time.  What persistently comes to mind is a potato skin as the foundation of toppings to substitute for a dough derived from wheat flour.  It's starchy for sure, the papery skin sounded great as a bottom layer and hopefully the scant residual potato would cook soft - maybe like the bloomed interior of a wheat flour dough?  

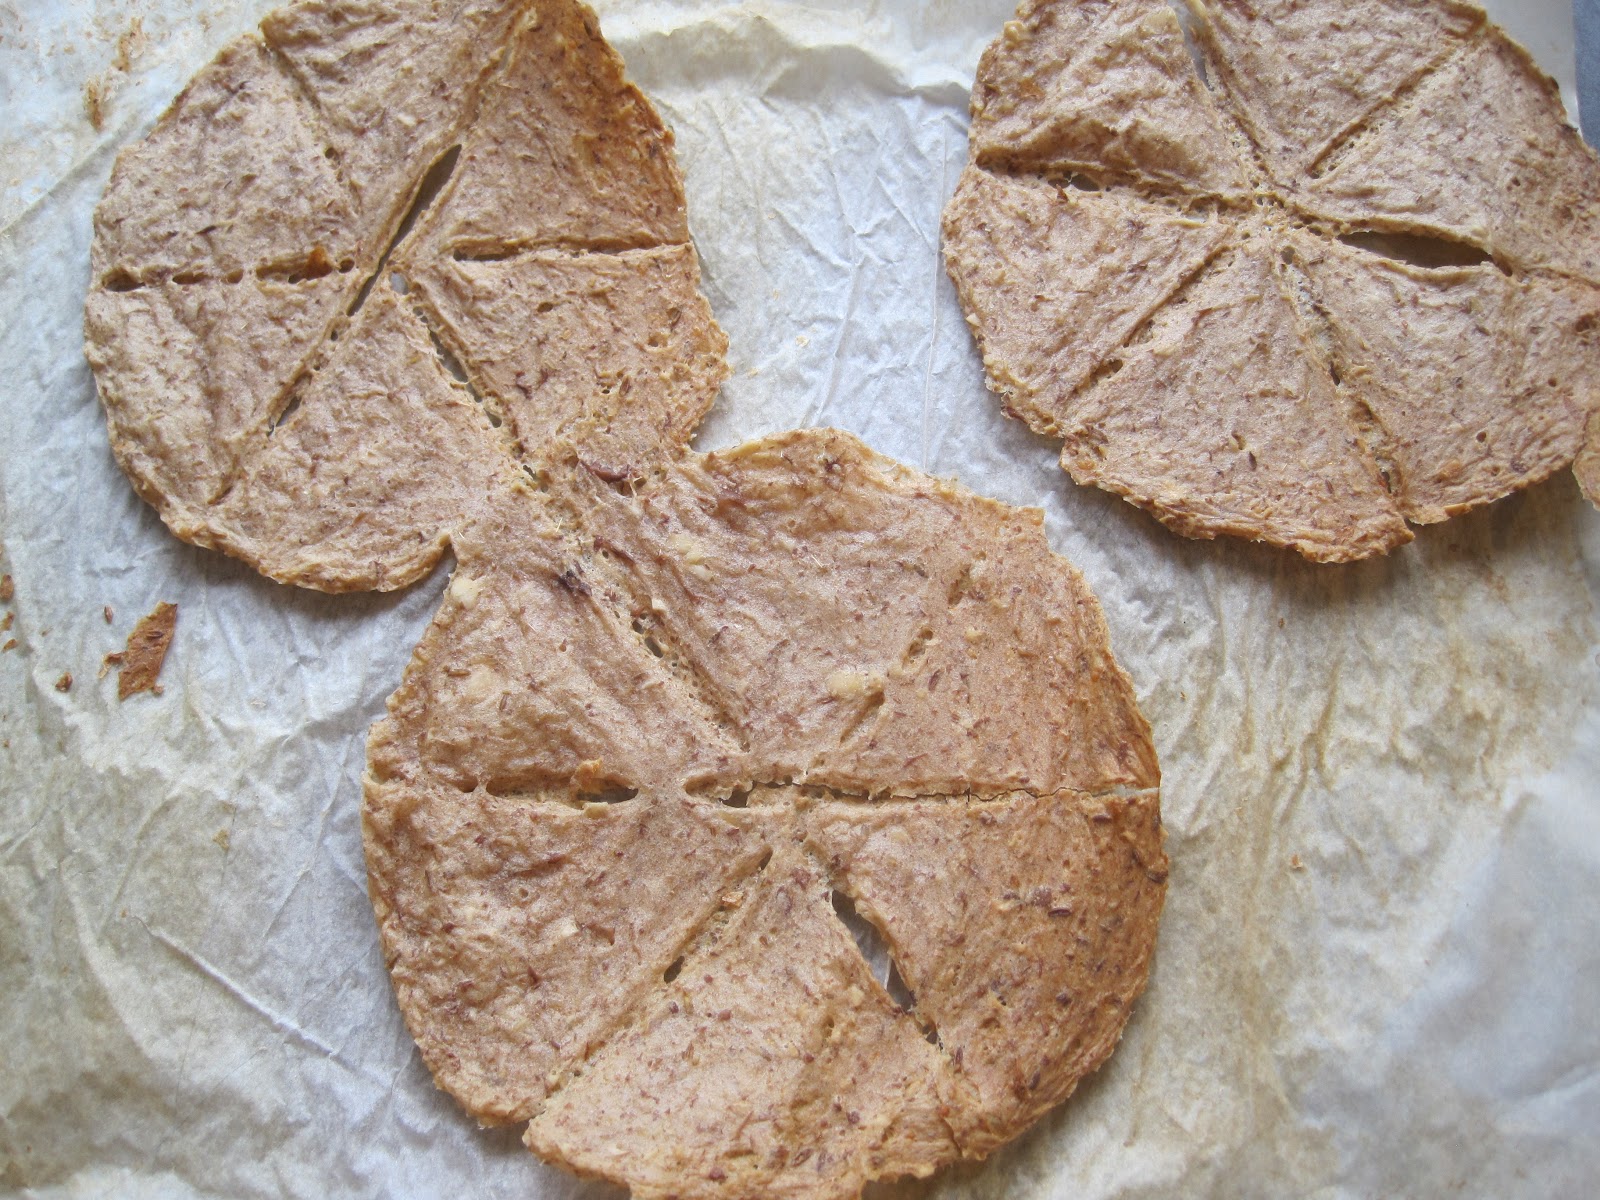
But is this just another version of stuffed potato skins?  Then the horrible images of Applebees frozen & reheated potato skins came stampeding into my memory bludgeoning my hopes of a satisfying creation.  But I forged on.  Like many foods I think about, this involves few ingredients and process.  I decided to jump in with a quickie today.  Here's my first shot:

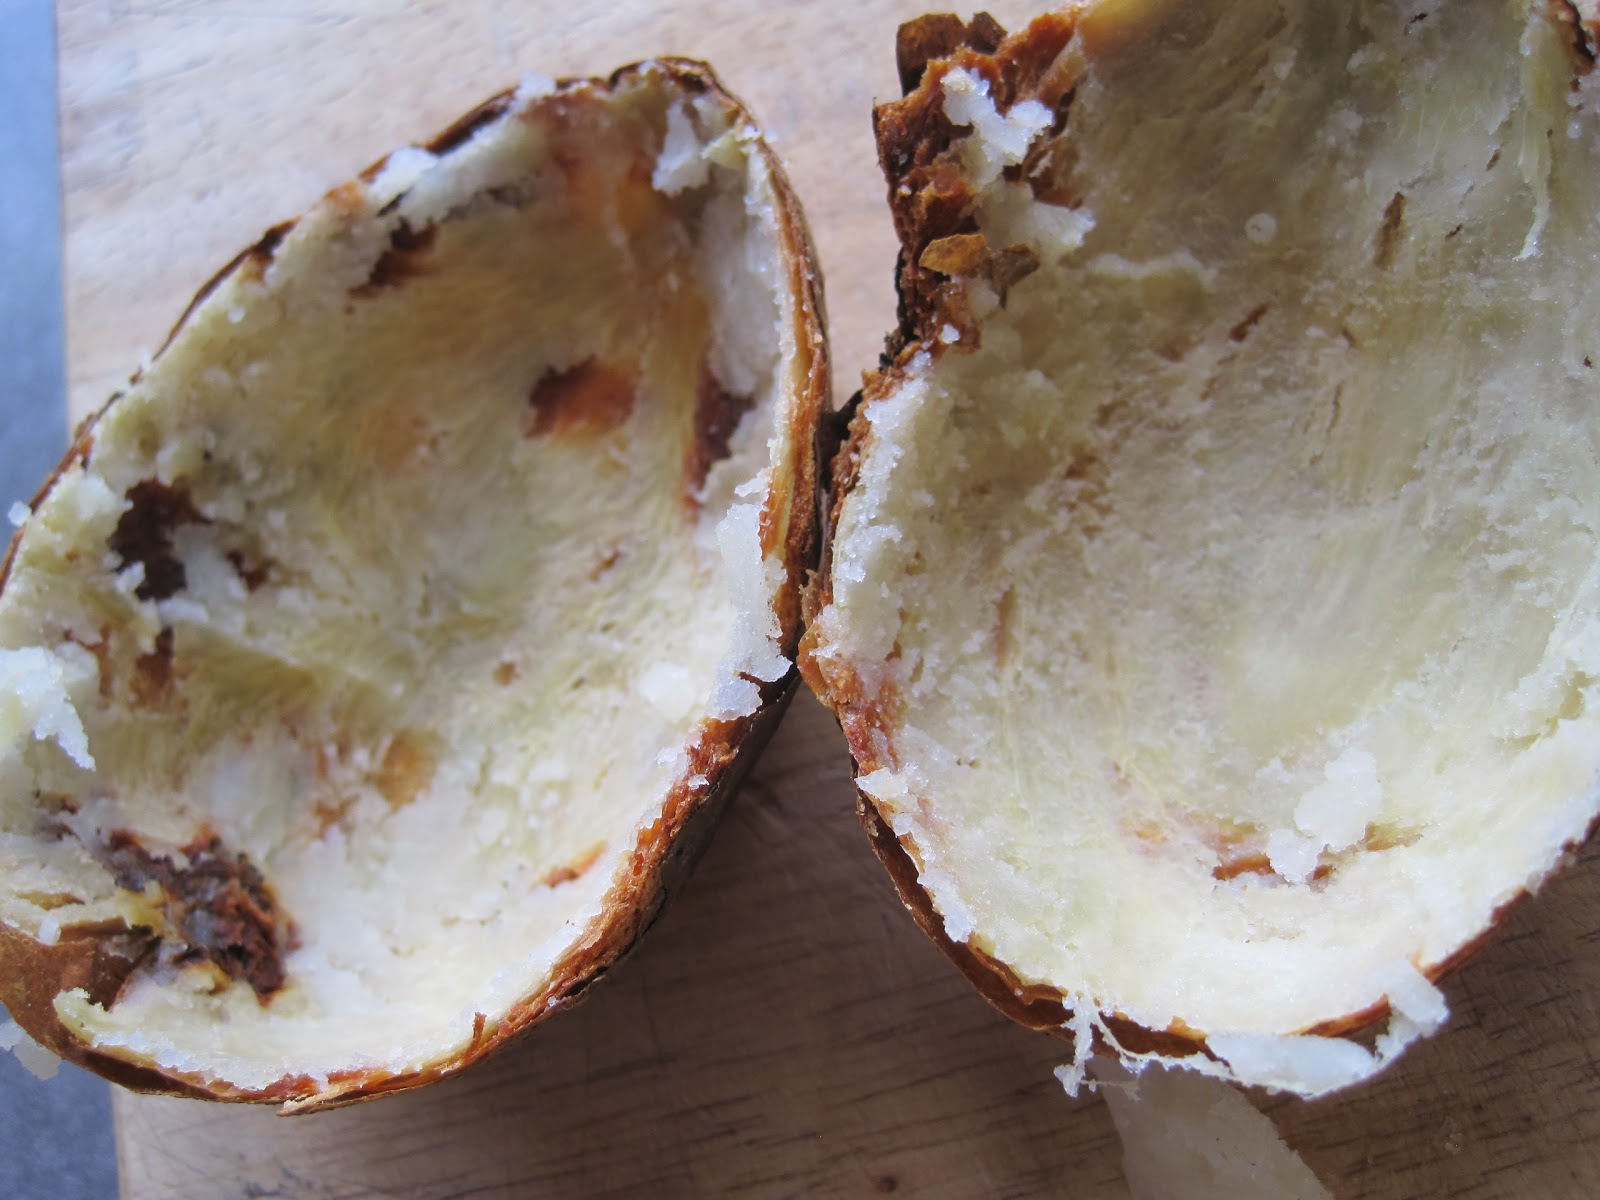
 These were baked in a 425F oven for 1h 20 minutes.

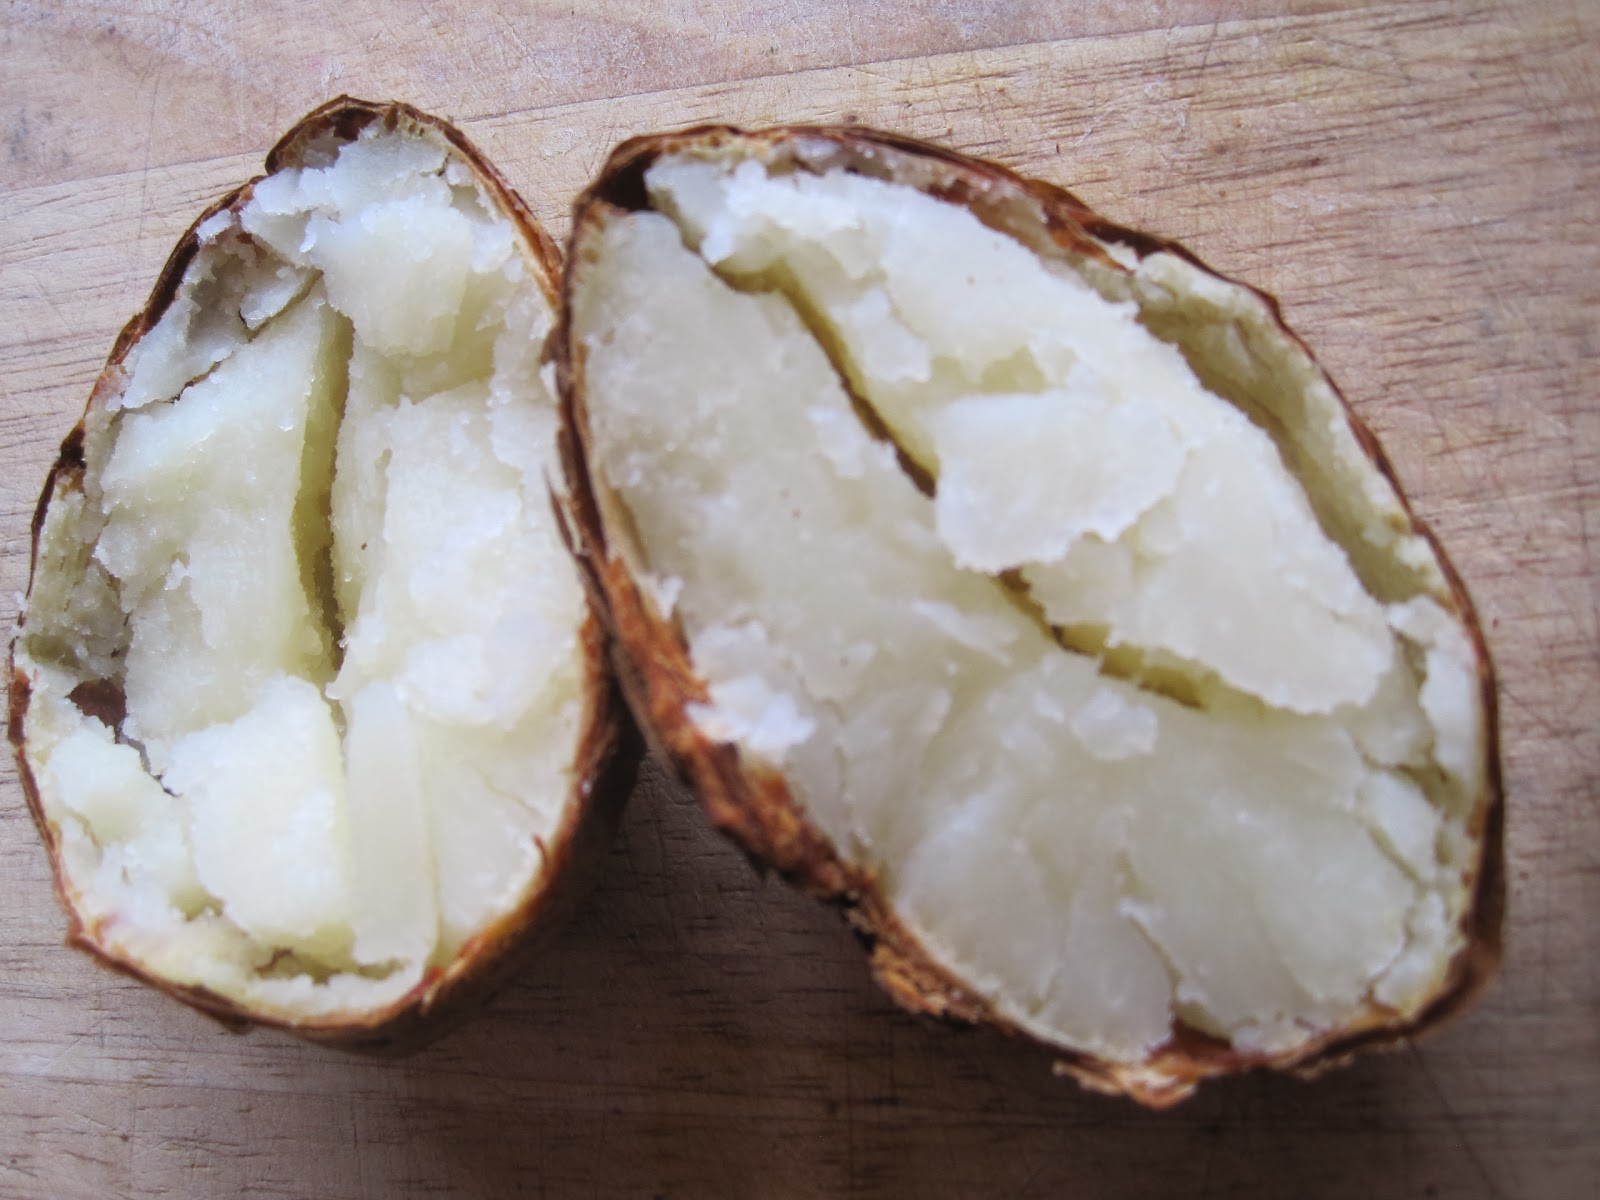
Split open, observe how well separated the skin is from the flesh.  The skin is crisp, the flesh is extremely tender.  Without even a sprinkle of salt, the potato is sublime.  Shocking how tough it is to get a good baked potato.

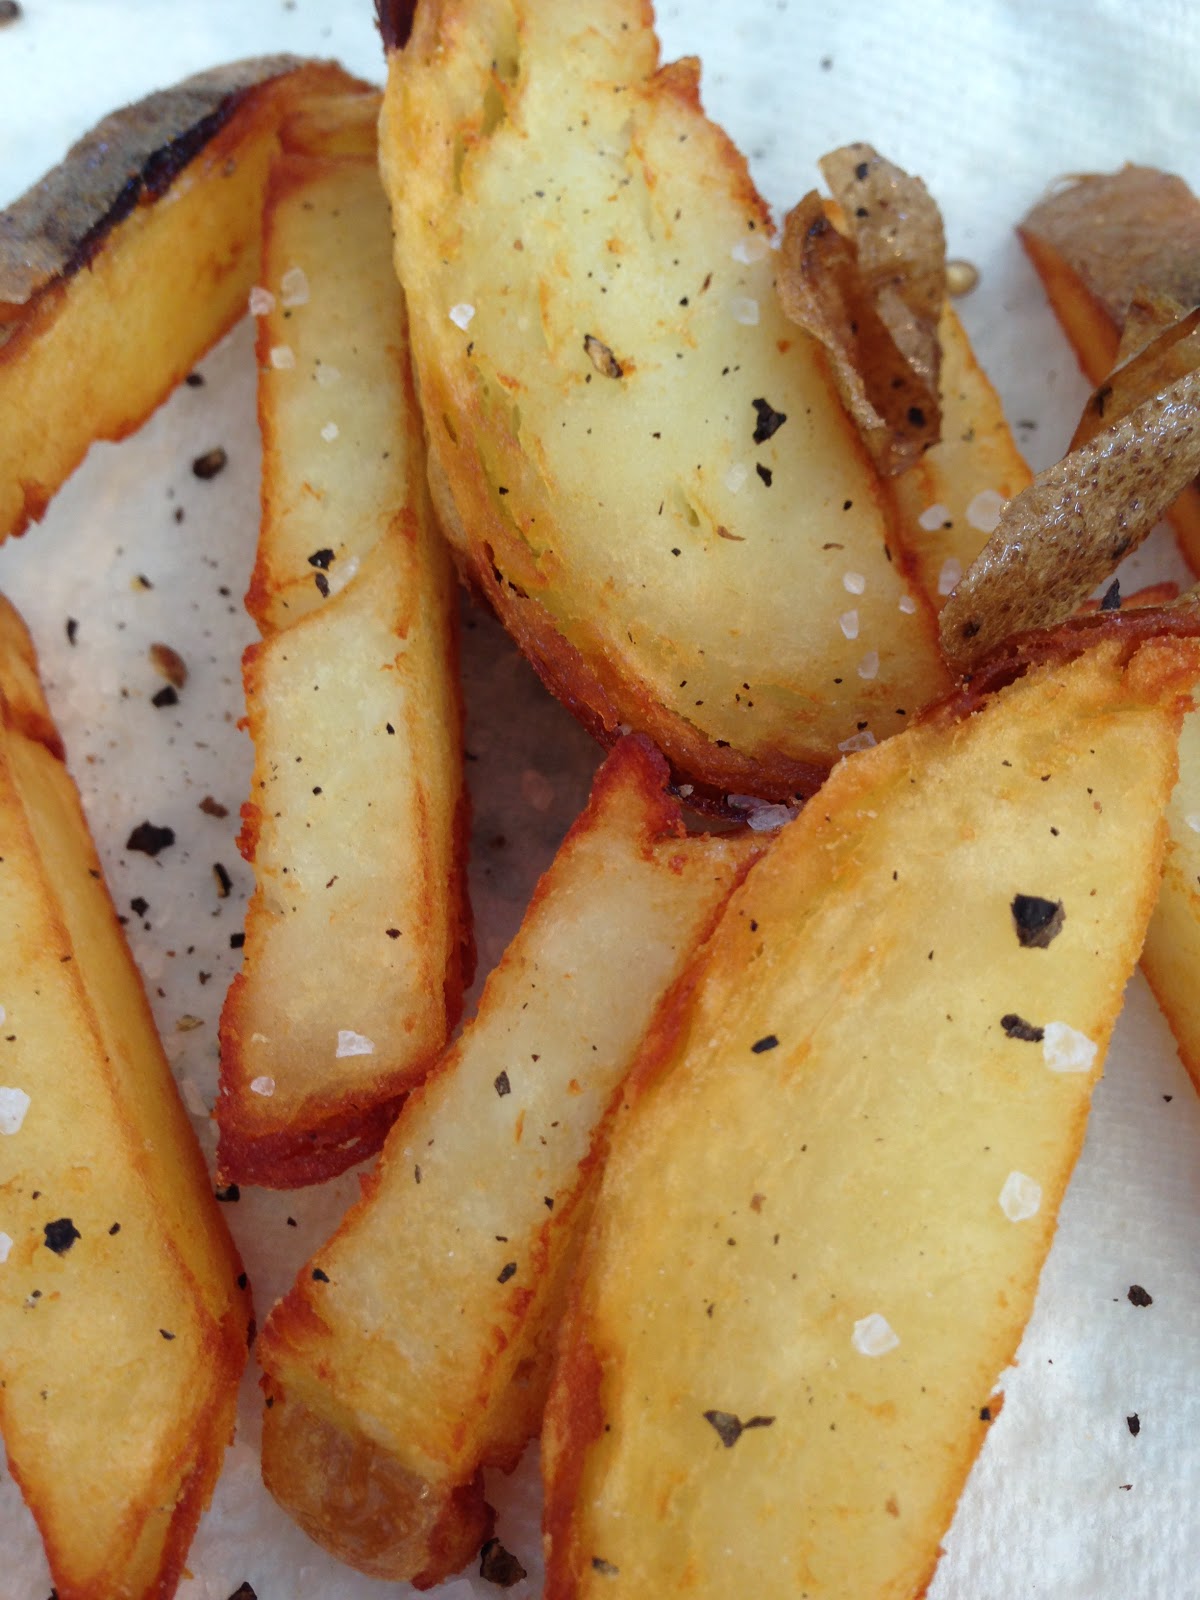
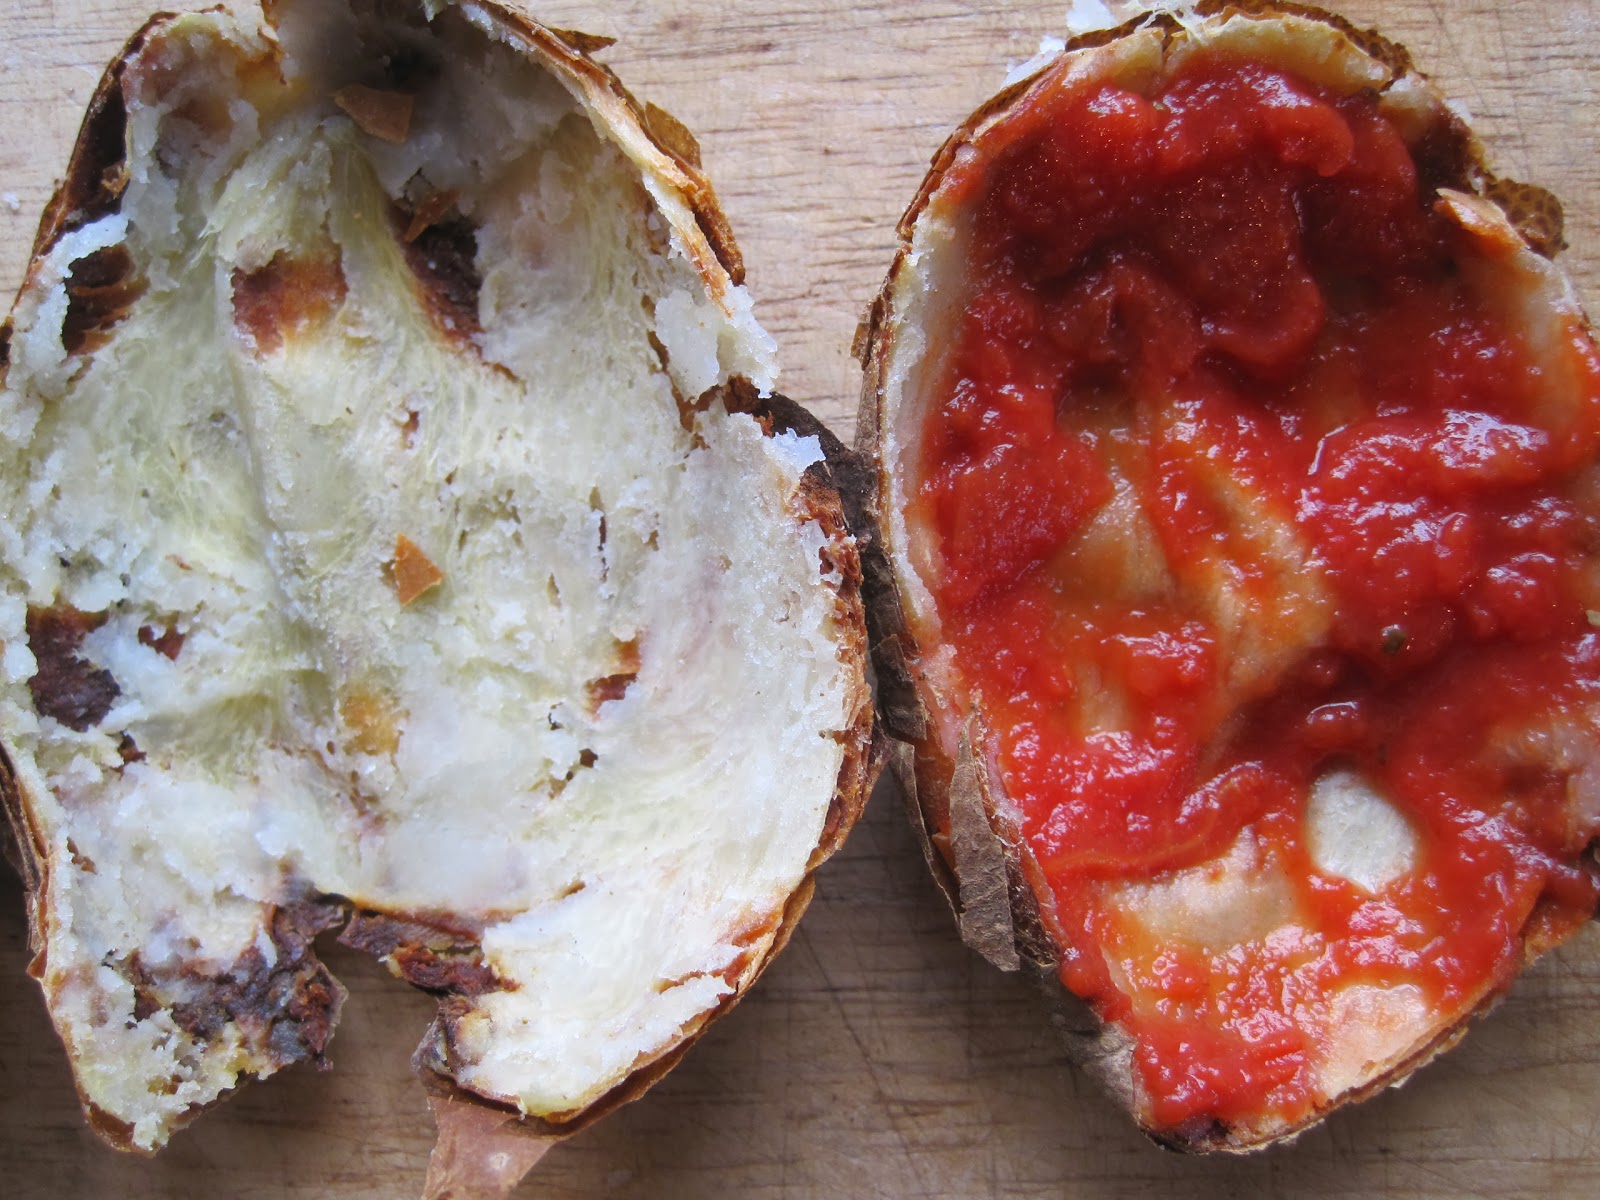
I scraped the potato out using a spoon.  Tough to tell from the photo, but there is very little potato left and the crispy skins, on cooling, became supple enough to work with.

I smushed the skin to the size of approximately an English muffin pizza.  This size element is a serious limitation unless I find a way to patch several skins together into one pizza shell.  The tomato sauce is just some raw tomato with herbs, off the shelf, nothing big.

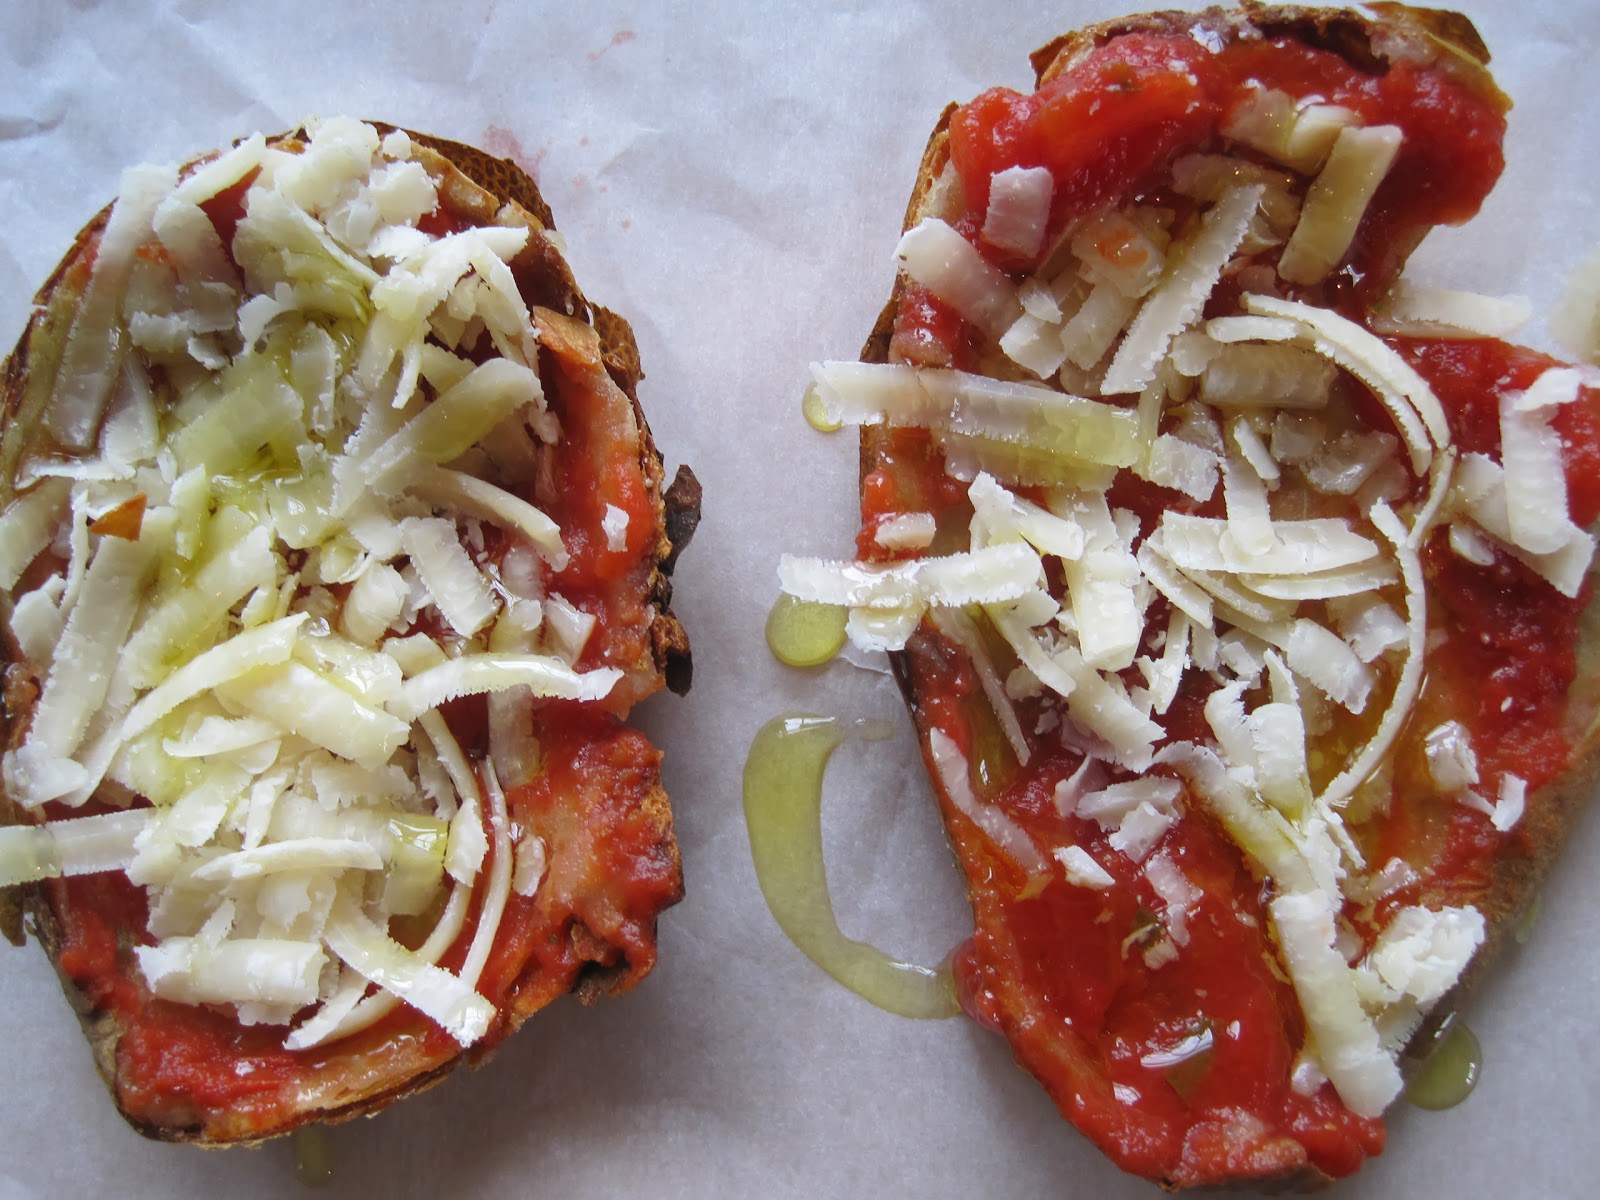
 I had no mozzarella on hand so I used parmesan and finished it with a squirt of olive oil.  The two mini pies were placed on parchment.

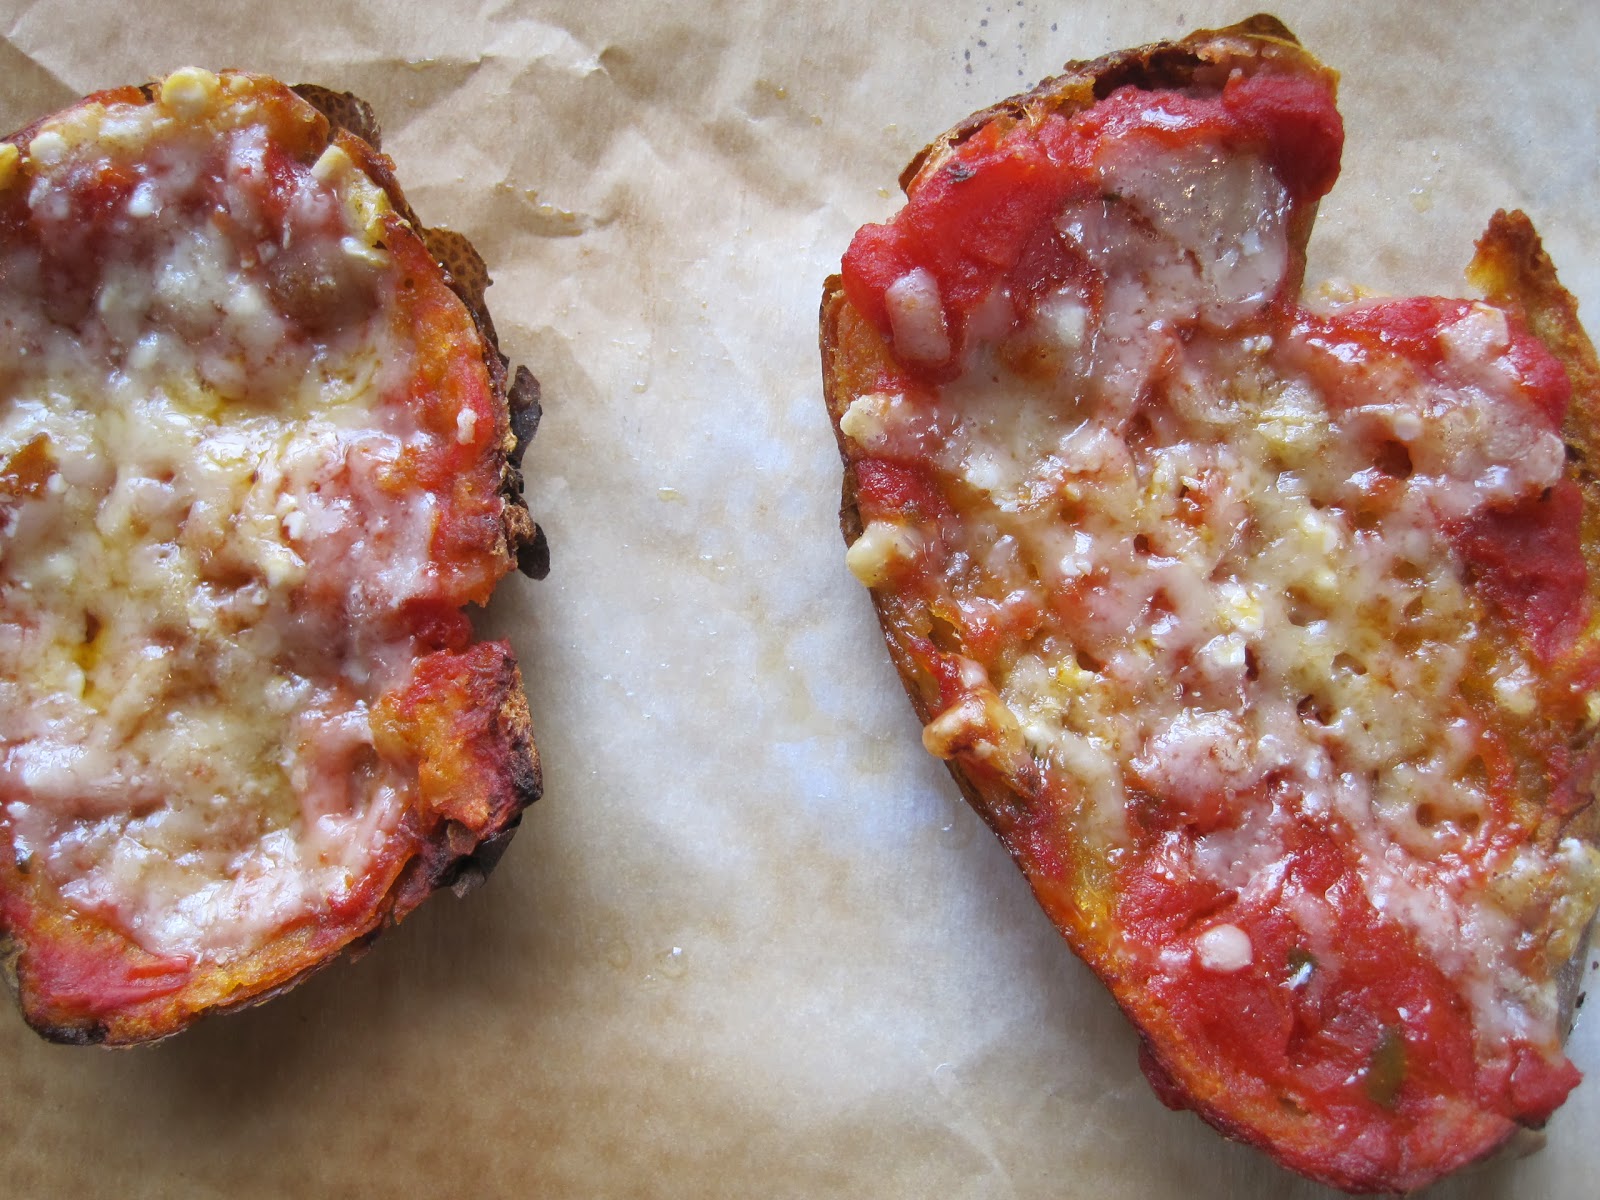
Into a 425F oven until melty and bubbly on top.  I found the taste of the base surprisingly good.  I need to try again with a bigger potato, maybe patch some skins together, better quality tomato and mozzarella, fresh basil on top, etc.  This is special.  Stay tuned for updates.