12.30.2014

south indian food notes

Having settled down a bit from my trip to Bangalore, I have some notes, things I wanted to remember.  It wasn't a food adventure, but I did get to taste enough to get a good sense of southern Indian food.  And, it was amazing.  I had one chicken dish and one merguez appetizer and that's it for meat for two weeks.  I never yearned for meat though, too satisfying.  Given that I was there with a specific purpose that was not pleasure, I was dedicated, above all else, to staying healthy, so very little produce either.  Still, not disappointed at all.


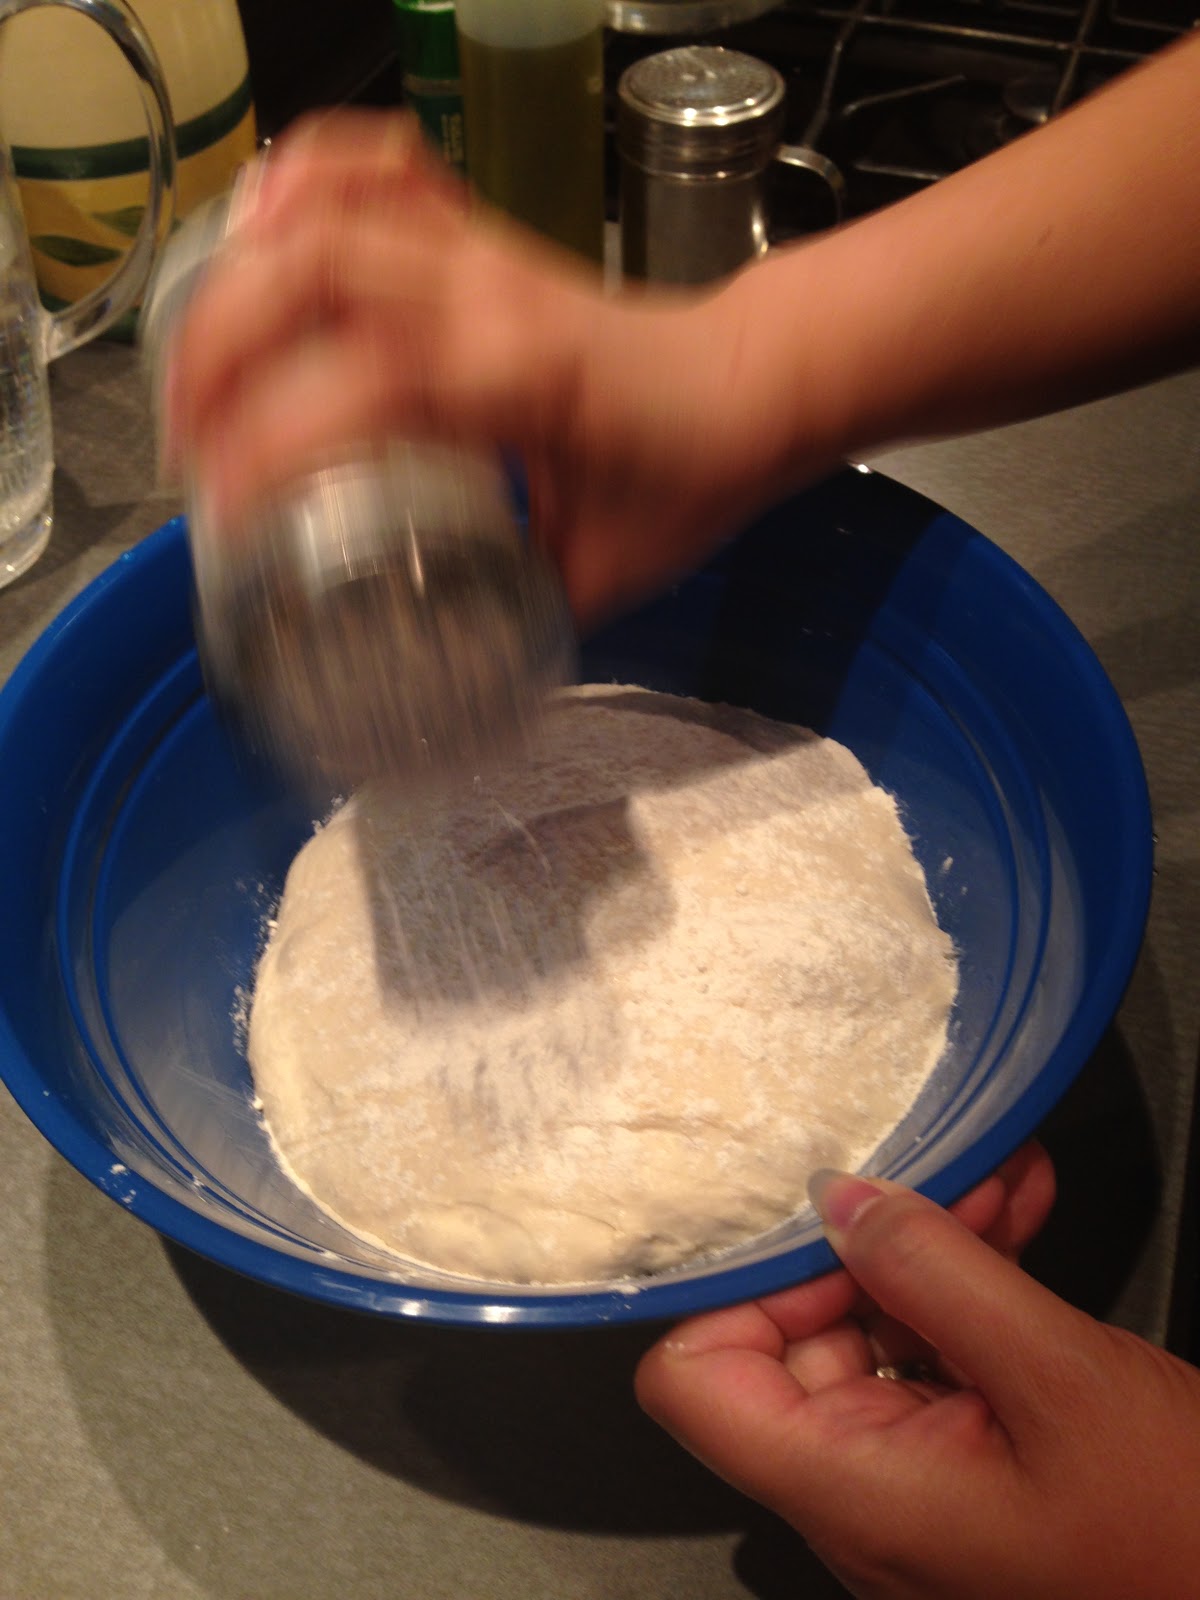
1. Dal.  Pretty much any bean and sauce dish eaten with flatbread.  I was astounded at the diversity of legumes used for dal preparations: moong, urad/black gram, lentil, etc.  My favorite was dal mahkani which I actually made as my first dish to my family once home (made from urad dal and kidney beans).  I was pretty proud of it and it wasn't hard.  I used Sanjeev Kapoor's prep.

2. Authoritative sources of Indian cooking.  YouTube is a bitch.  So much good information, so much noise.  While in India, many of my acquaintances spoke highly of Sanjeev Kapoor, they think he's a god.  So, I've used a few of his recipes and have not been disappointed yet.  This is no small finding.  He has a chain of restaurants in the south called The Yellow Chilli.  I went once and it was decadent, simple food but extraordinary buffet. So check out Sanjeev Kapoor's YouTube channel and a website, equally good, is Vah Reh Vah for recipes/vids, etc. 

3. Texture.  Some time back, I fell in love with a pressure cooker for cooking beans.  Soaked or not, a pressure cooker cooks beans to a doneness I've never experienced.  Canned legumes are ok, but they are still al dente.  The legume consistency in a dal is, in pressure cooker time, a few minutes beyond the can.  In order for the bean to bean to become one with the sauce, it has to be beyond al dente but not disintegrating.  It takes a little practice, every bean is different, but getting it right is the difference between eating a firm legume in a rich sauce/soup versus a silky smooth legume perfectly incorporated into the surroundings.  I now strive to cook my beans perfectly before they go into the final preparation.

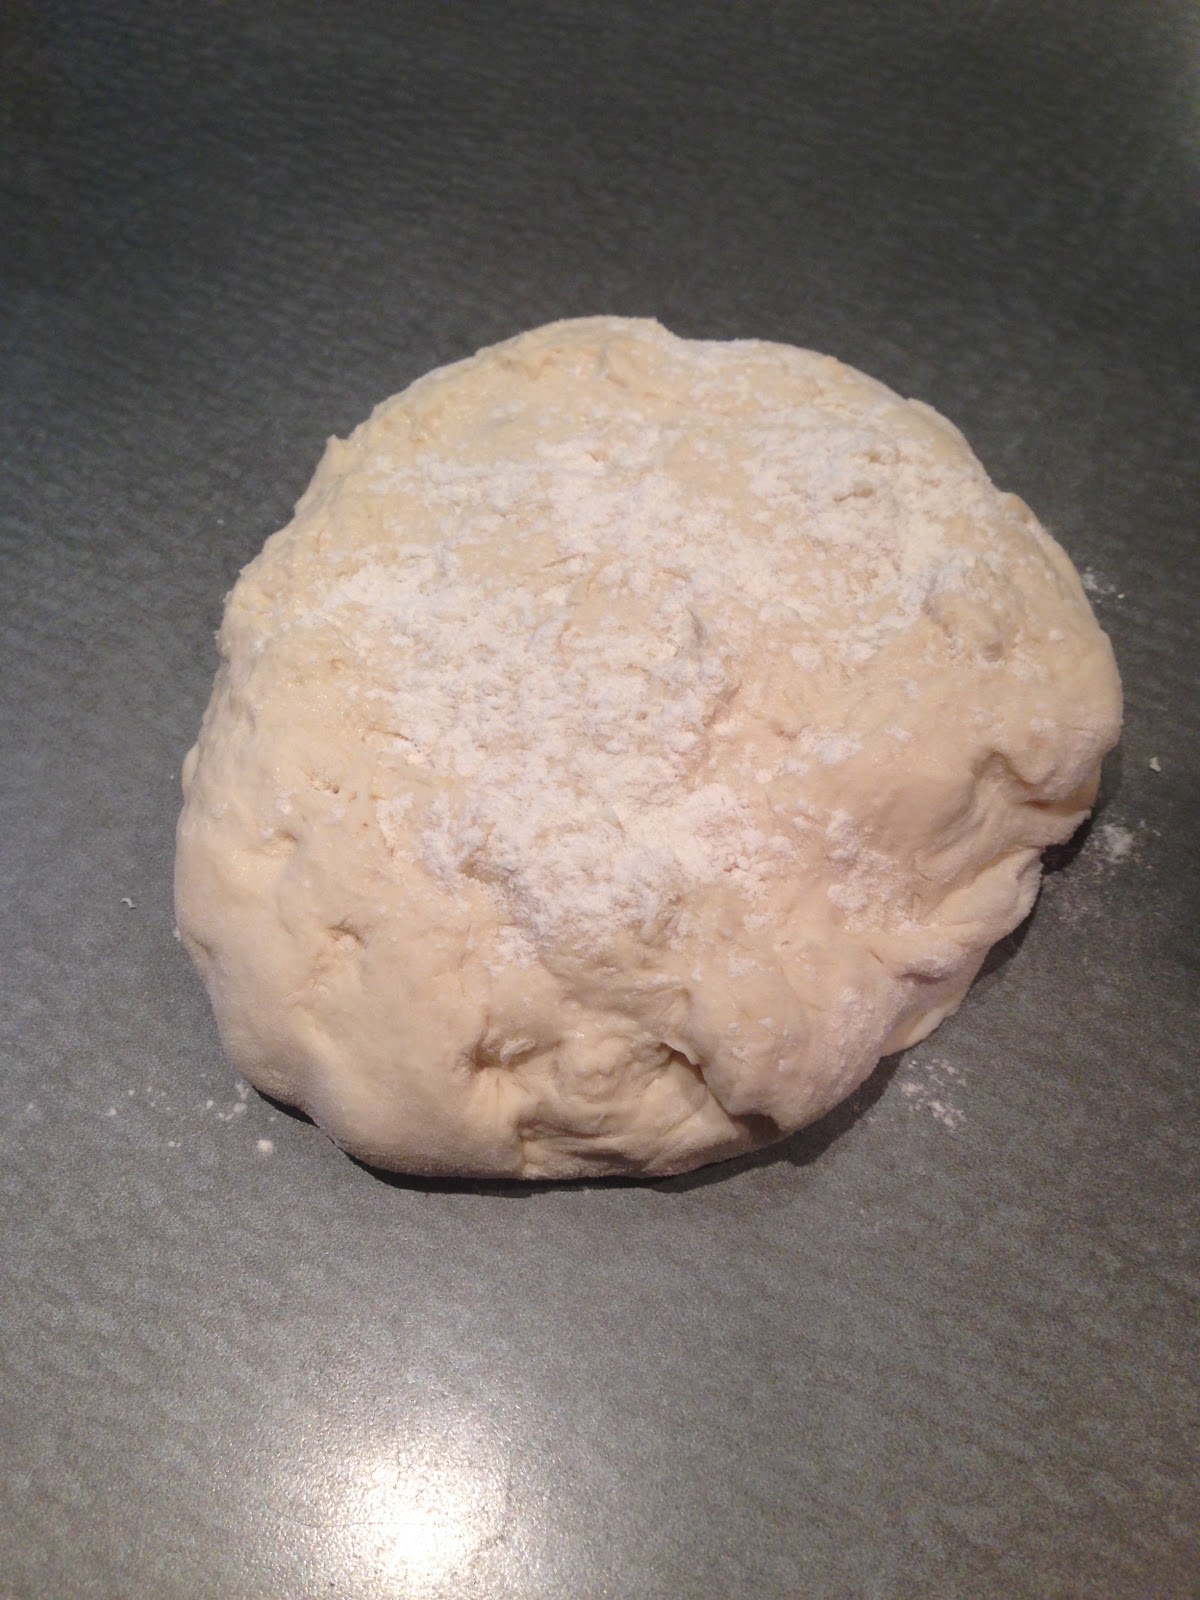
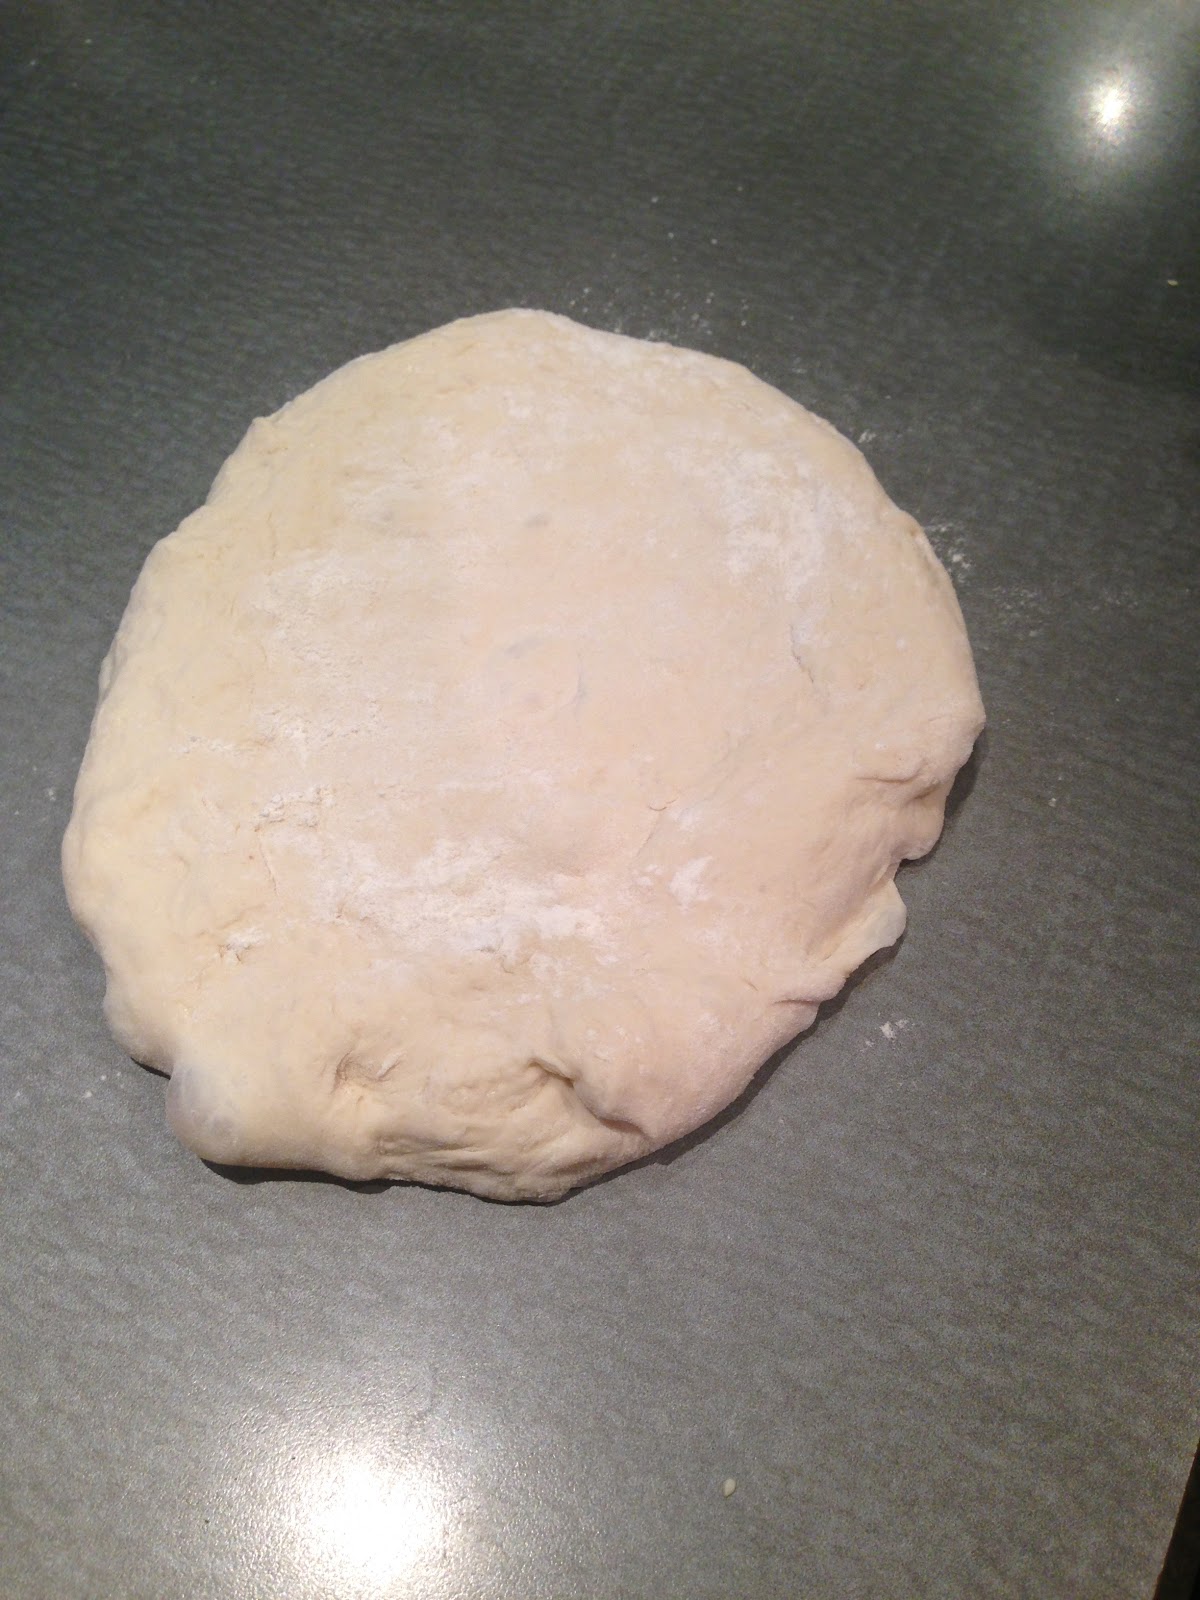
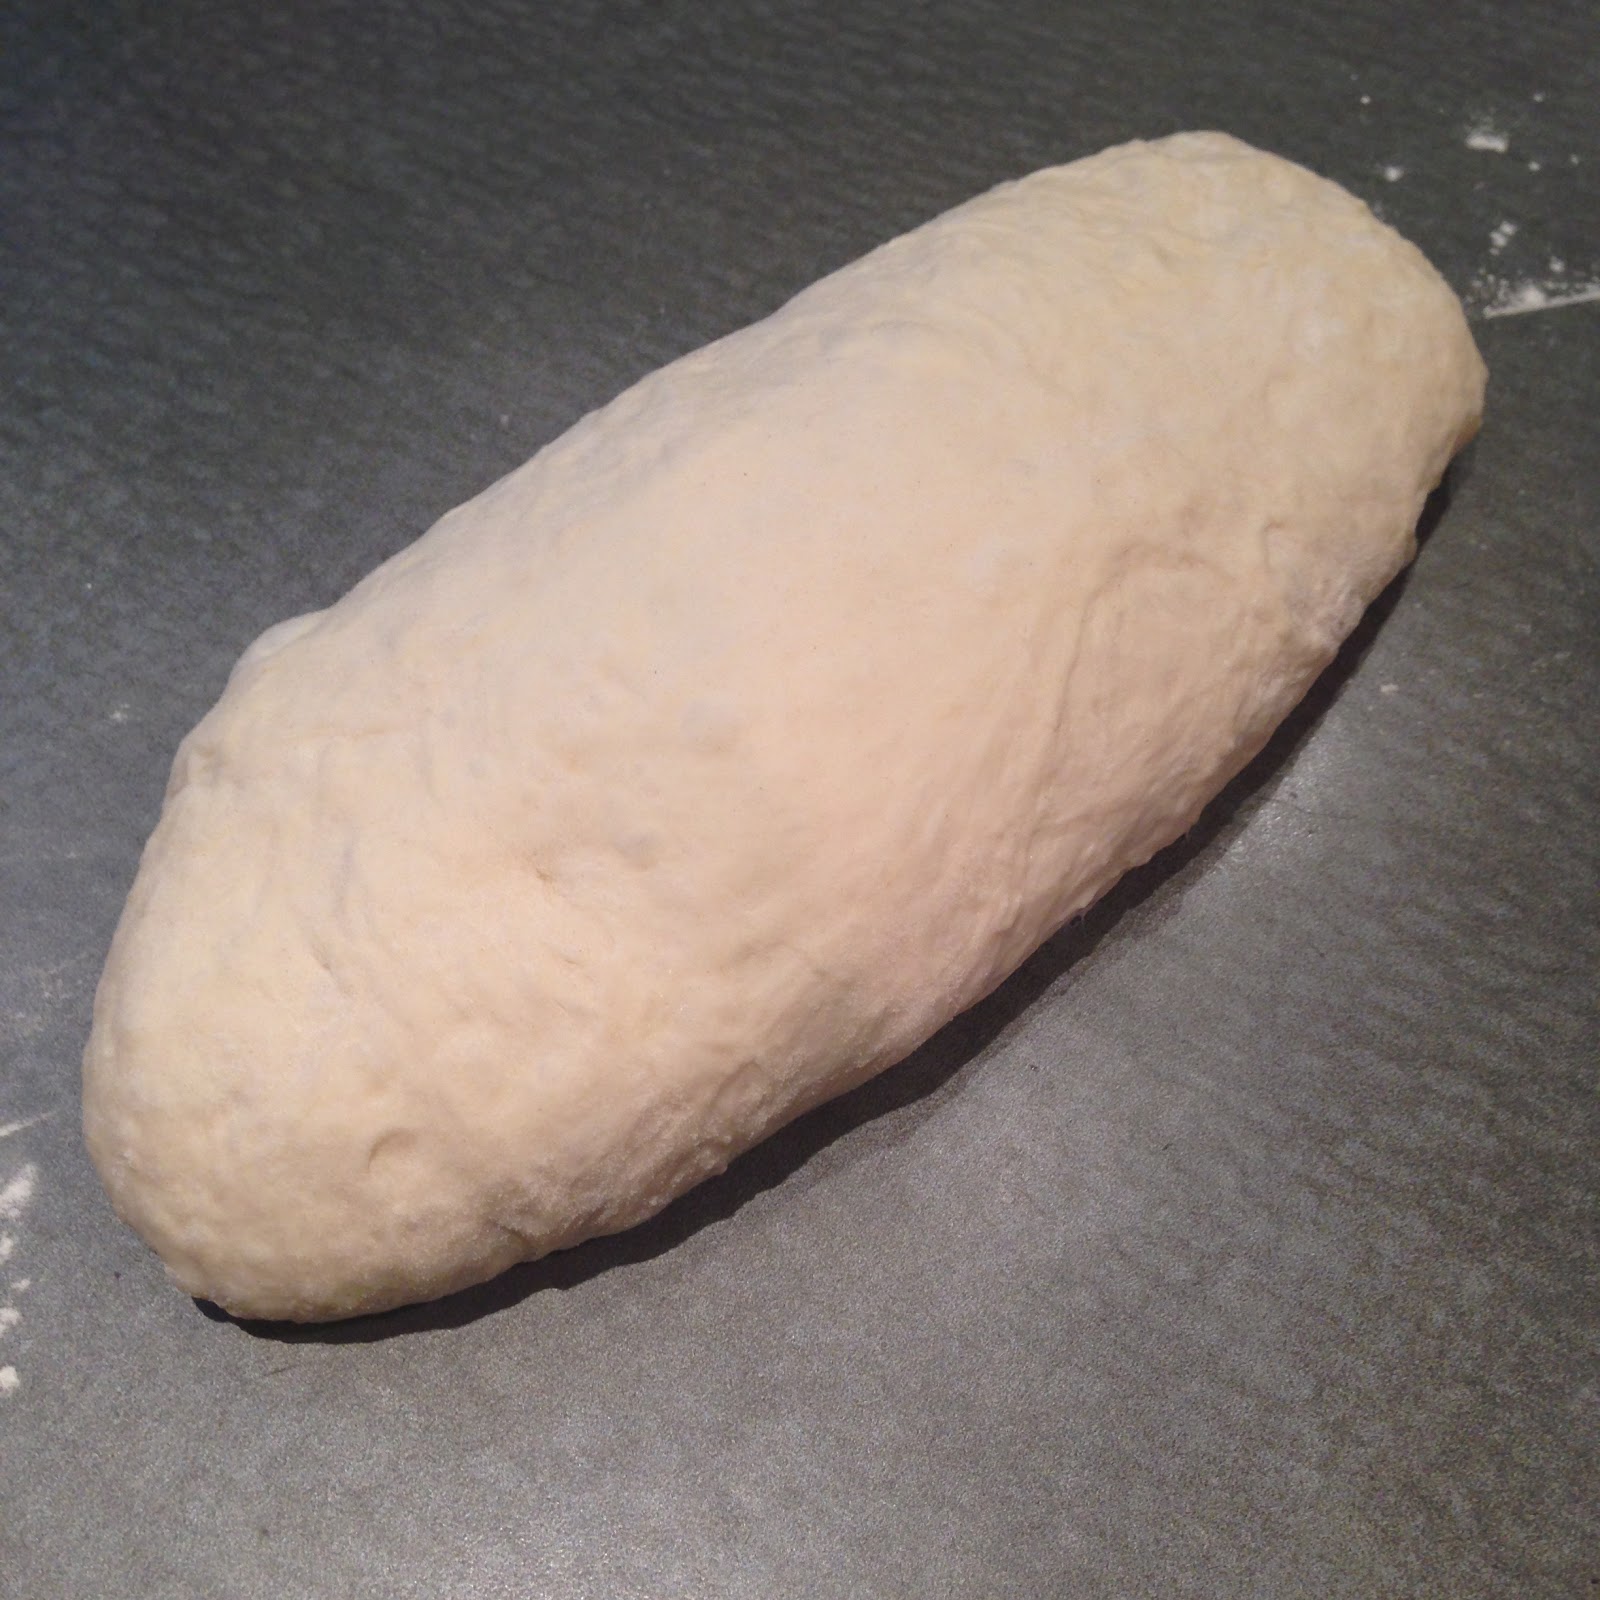
4. Breads.  Holy shit is there no consensus!  Paratha, kulcha, roti, chapathi, naan, puri, poori, etc.  It was shocking to hear how few people were able to describe the differences in the broad classes of these breads.  Paratha and kulcha were my favorite of the trip, layered essentially, something like a croissant lamination but unleavened with a leaner dough and cooked on a stovetop.  I've been able to parlay discussions with the locals into improved chapathi skills and I'm hunting down authoritative sources for an Indian bread book.  For the record, I prefer my chapathi super thin but perfectly separated into two layers on cooking on the stove top, an ideal I'm approaching with greater consistency by the day.

5. King Fisher.  India - move along, there's more to life than King Fisher beer!  If I didn't have @ArborBrewIndia on occasion 10 min walk from my hotel - I'd never have had a good beer during my visit.

6. Dosa.  The pancake made from a batter derived from finely ground and fermented rice and lentils was a centerpiece of my breakfasts.  Sometimes I'd have masala dosa, seasoned potatoes wrapped in the dosa or sometimes I'd have it plain and used it to dip in my sambhar.  The non-sweet breakfasts were wonderful and satisfying.  The sambhar, a soup of tamarind, vegetables and toor dal was unique every morning.  It was perfect for dipping the dosa.  

7. My plans? 2015 will have me searching YouTube for dals, breads, sambhar recipes, chutney preps and lassi recipes.  We're lucky in Columbus, all the ingredients, markets and resources are here to make great authentic Indian cuisine.

 Dal mahkani made a few nights after I got back from urad dal and kidney beans.

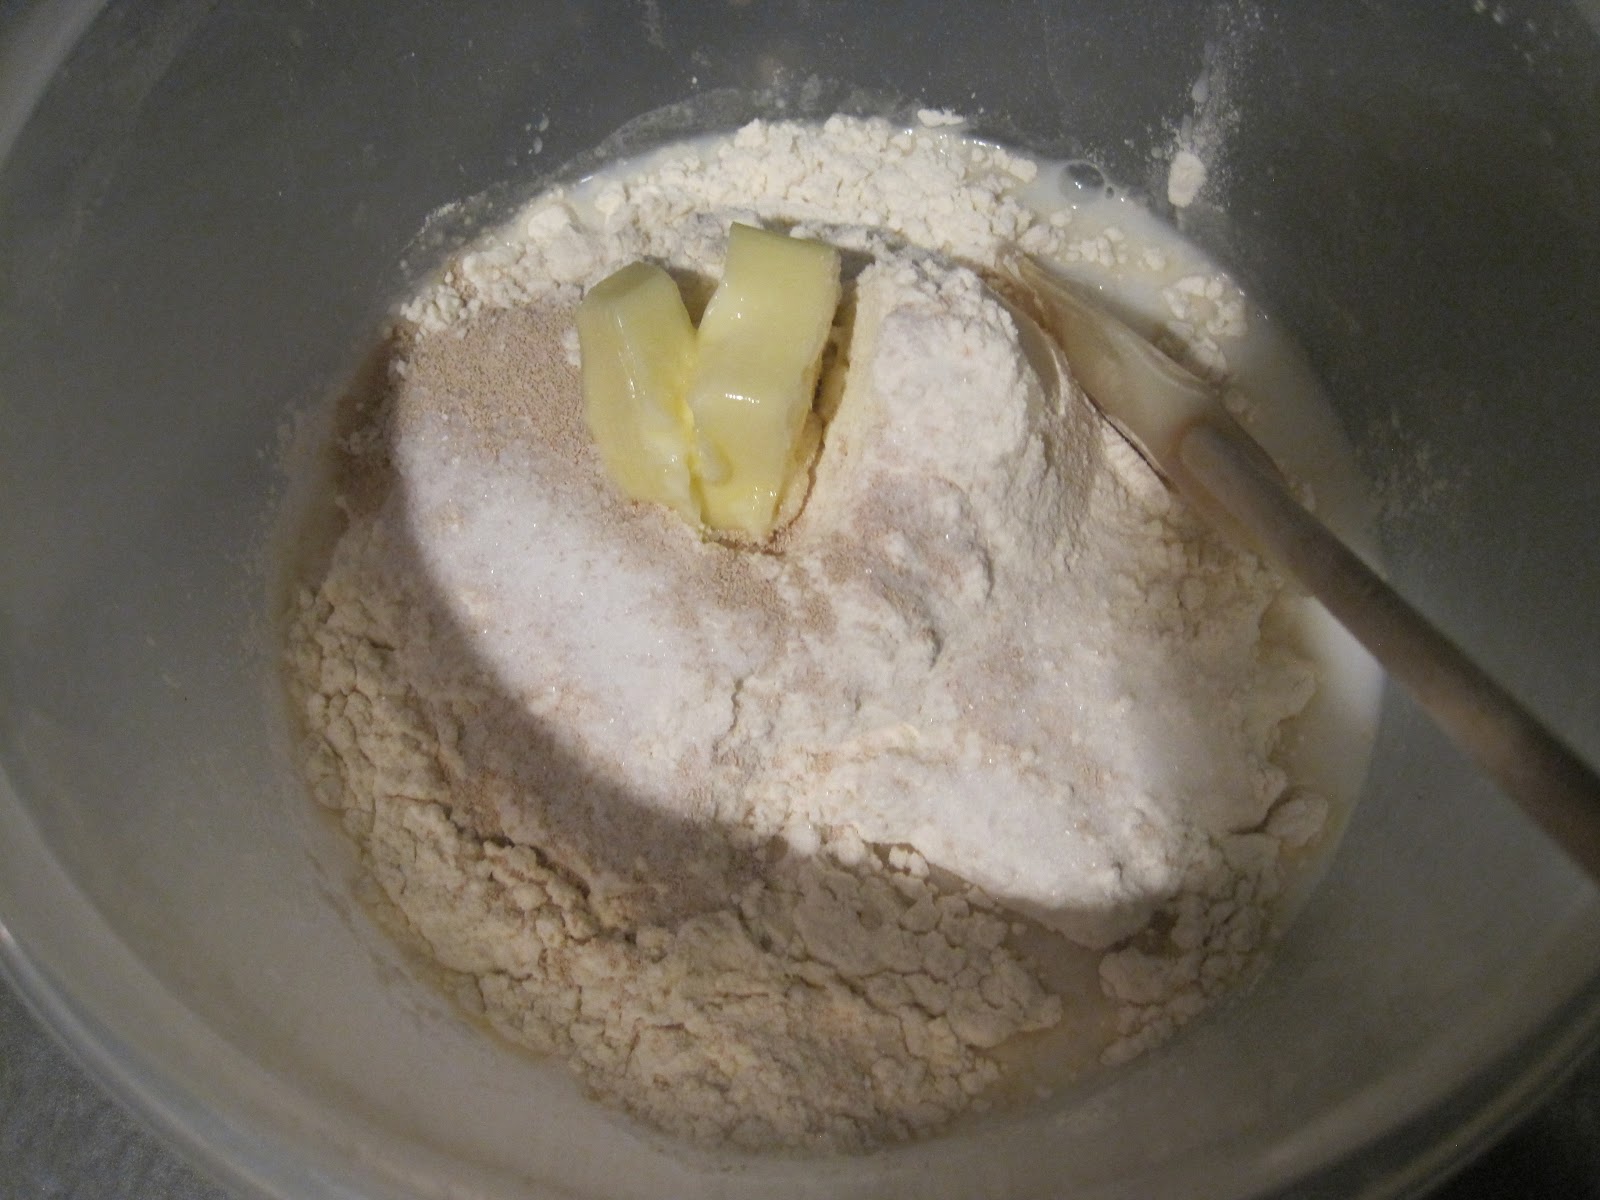
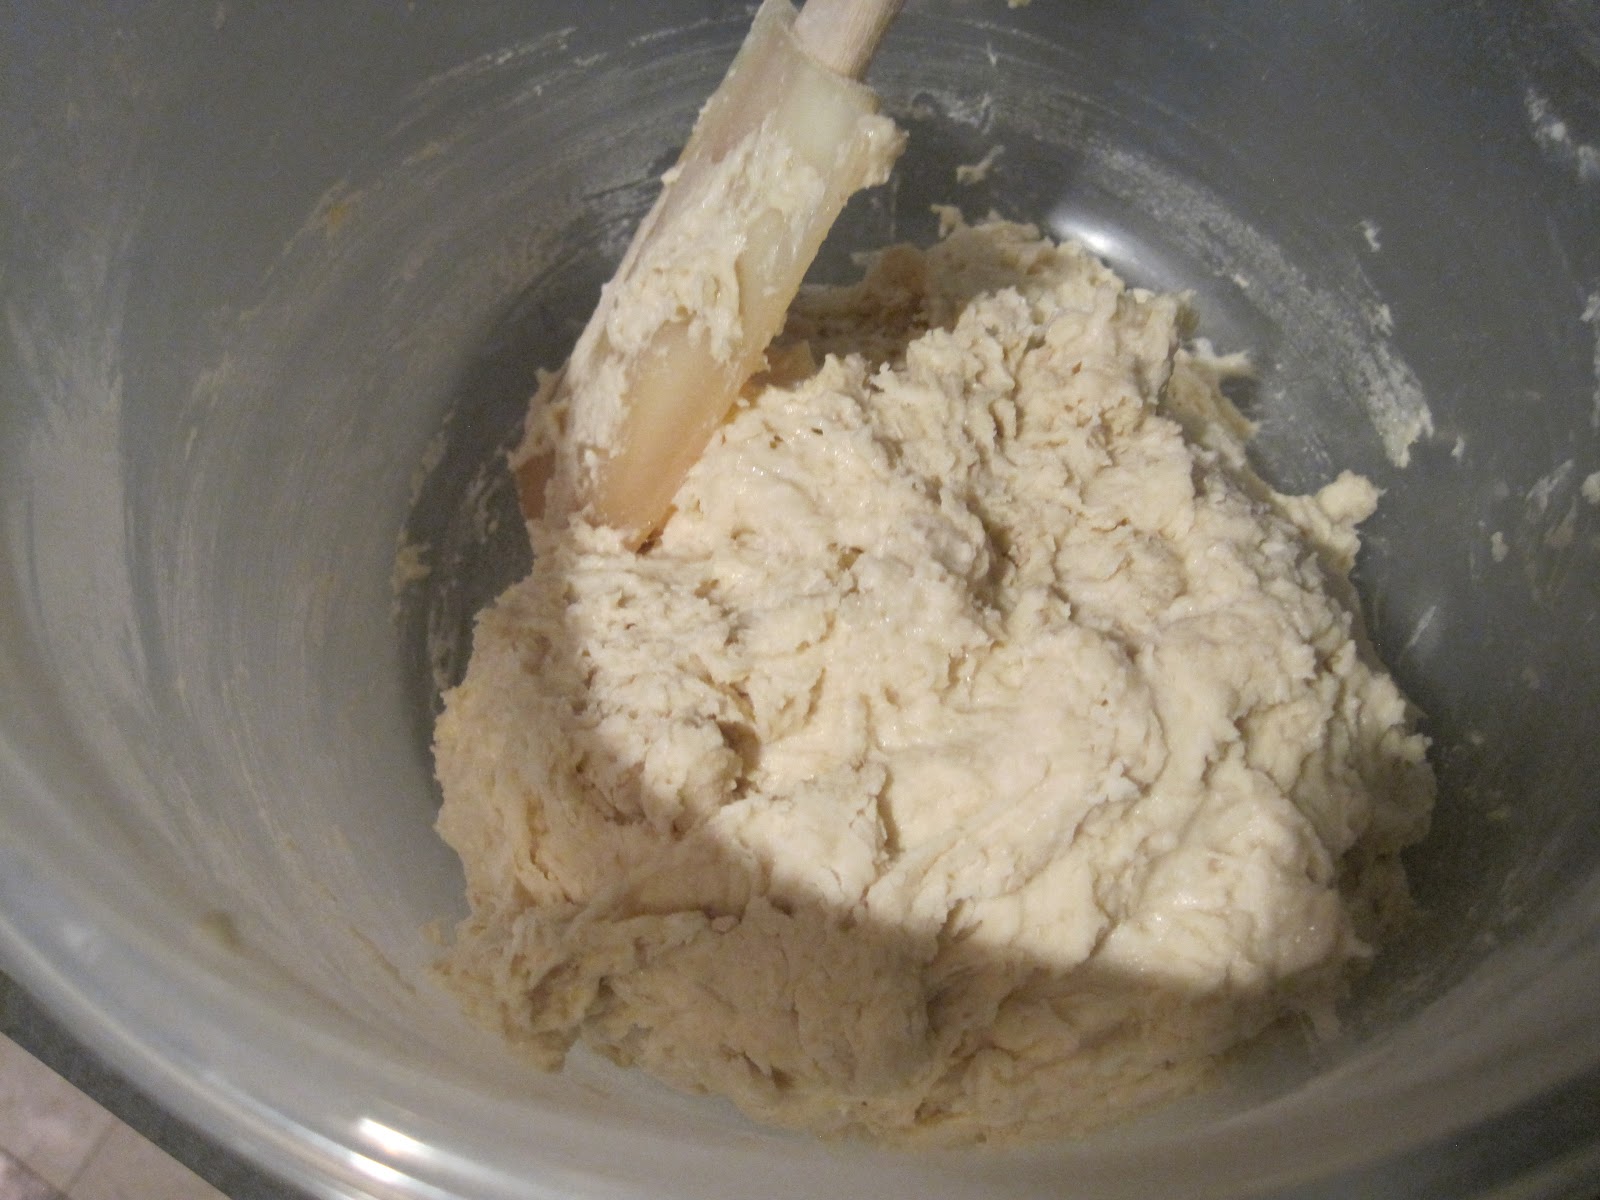
Chapathi for the meal. 

12.03.2014

mac n cheese

Dishes like mac n cheese are exciting to me.  A few ingredients and a million ways to put them together.  And, even though it's just a few ingredients, the results can be sublime or disasterous.

Most common, a cheese sauce is made from a roux and cheese.  It's always been touchy for me.  Sometimes smooth, sometimes grainy, just not reliable.  Cheese and condensed milk is pretty good, better than a roux, definitely more reliable.

Then a year ago I saw this Modernist Cuisine variation that uses just water or milk and cheese *plus* a few grams of sodium citrate.  While not entirely sure if it's a pH thing or an ionic strength phenomena - I don't care.  It's kind of shocking.  Warm up some water or milk, add the sodium citrate and cheese, whisk away and boom!  Cheese sauce smooth as velveeta in a few minutes.  I dumped in my cooked macaroni, blanched cauliflower, pepper, topped with panko, baked and dinner.  I'll be playing with this for some time, it's quite a trick.

For the 3 of us:
milk, 200 g
sodium pyrophosphate/sodium bicarb mix, found at Mediterranean Imports for 50 cents a packet, 14 grams
cheese, 90 grams sharp cheddar, 90 grams mozzarella
coarse pepper
dijon mustard (1T)
pasta (180 g dry) cooked in salted water
small head of blanched cauliflower
some rendered bacon

Some action shots

Here's what I used instead of sodium citrate.

It's a mix of sodium pyrophosphate, same as mentioned in the original article and sodium bicarb (that just fizzes and adds more sodium to the sauce.

The smooth smooth cheese sauce after the addition of milk, sodium salts, cheese, mustard and whisking over low heat - decadent!

Added macaroni, blanched cauliflower, topped with panko and baked at 350F convection until bubbly and tasty looking.

That's it.  Find this ingredient and go nuts - it's pretty incredible.

11.09.2014

roasted roots

In the zillion years we've been using heat to cook food, how is uncertainty possible when it comes to roasting vegetables?

Listening to a recent @atkradio podcast, Chris Kimball asks Mario Batali for his favorite goto fast dish.  Batali describes a bunch of 1-2" square chopped vegetables with olive oil, salt and pepper roasted at 425F for 30 minutes.  In my hands, using mostly root vegetables, this yielded an inconsistently cooked bunch of veggies.

Slowing things down a bit, I used an enamel-coated steel pan filled with root vegetables (yellow beats, russets, carrots, green onions), roughly 1" cubed and tossed with olive oil, salt, pepper and cumin (peppercorns and cumin crushed coarse) and some rosemary.  This was baked at 325F for almost an hour and a half (no convection) and was followed by the addition of a coarse chopped plum tomato and baked for an addtional 20 minutes. This produced a uniformly cooked bunch of veggies with plenty of tooth and some crunchy bits.  A great meal where no one noticed the absence of meat.

feel free to click and see the englarged and still unfocused decadence

11.03.2014

multiple poached eggs

Ease of cooking influences my food choices at home.  I love poached eggs, but at my skill level, I can cook a single one per pot of water.  Serving up a single poached egg at a time when 2 people want 2 each makes for a pretty crappy breakfast.

I  spent some time thinking about getting an egg to vortex itself in place so I could get a bunch cooked in one pot of water.  After 3 pages of doodles and  many trips to the thrift store trying to imagine a solution, I ended up with a simple tomato paste can - top and bottom removed - to keep the egg in place while it starts to firm up in the boiling water.  The can is lifted off the egg during cooking and the eggs stay separated.  This video shows the tomato paste can in action.  It's not perfect, but in the 3.5 min vid, I was able to produce 3 pretty perfect eggs for our breakfast.  I'll keep thinking about it, but good for now.


11.01.2014

panko and butter: crispy topping for your casserole du jour

The weekday casserole: tuna/mac/veggies, mac n cheese, etc. They all need a final touch to make the mundane special.  Only a few decades late to the scene, I finally realized the beauty of panko and often use that for a final topping.  But, it still needs some fat to get the top coat good and crispy, but how to get a smattering of fat uniformly distributed over the crumbs before going to the broiler?  Frozen butter on the big holes of the box grater!

 Click for a larger image.  This is frozen butter put through the big holes of a box grater uniformly spread over the panko topping for a recent mac n cheese.

Tossed in a broiler for a few before serving.  Pretty cool.

10.26.2014

pizza notes

Inspired by some thin crust favorites like California Pizza Kitchen (no comment @feedmybeast) and Rubino's, I've been looking for a super thin crust for sometime.  Tonight's came up short, but an interesting run.

Key to any pizza cooking method: top and bottom must cook at the same rate.  When the bottom starts to get some ashy spots, the top should start bubbling.  I thought the cornerstone of this crackly and tender super thin crust would be a cast iron pan.

 I used a 15" round cast iron pan one notch below center of the oven and preheated at 450F w convection.  Convection mode turns on top and bottom heating elements alternately for more uniform exposure to heat.  I was worried about heating only from the bottom with the dark colored steel.

 Dough balls.   My usual pizza dough [water 180 g, flour 300, Fleischmann's  fast yeast 3 g, salt 5 g, sugar 5 g, olive oil 25 g] one long rise then scaled to 150 g lumps and rounded.

Instead of pushing out with my hands and tossing, I rolled them out to 12" diameter rounds and gave them ca. 5-10 min rest before topping.

Frankie made her shell into a calzone with just sauce and cheese (kids?).  I topped ours with (in this order): tomato puree, arugula, prosciutto, mozzarella and olive oil.  Cooked until it looked like this. 

It was ok, but nothing like CPK or Rubino's.  I'll try again with 200 g instead of 150 g of dough and maybe alter my dough recipe - not sure exactly.  I'm not sure why I even posted this, maybe with hindsight and the help of these notes I can figure out a better next move.

9.20.2014

garganelli (like penne with an overlap)

The other night, I was into my 47th viewing of Big Night.  I love the movie.  At one point they begin making a timpano, a drum-shaped, pasta-encrusted, baked macaroni type of casserole The first step is making the macaroni for it.  The screenshot below is Primo and Secondo making the individual pasta.

From what I've been able to determine, it's garganelli, a type of pasta that looks like penne embossed with a heavy ridged pattern and done individually (unlike the smooth, extruded tube that is penne).  It's made on a wooden jig with a pattern engraved in it and a tiny rolling pin.  The pasta rolls into a tube, then gets mashed into the indentations on the wooden jig.


I got a little obsessed when I saw this.  Not so much for the timpano, but the patterned pasta looked tasty.  I also never imagined making little pieces of pasta would be feasible (but it is!). I looked it up and made a jig (these can be purchased somewhere, but I'm too cheap) out of a 2 x 4 and burned the grooves into it using an angle grinder.  The metal cutting blade on my grinder burned the grooves into the 2 x 4 making a nice pattern that looked appropriate for this type of pasta.  I used a 5/16" diameter oak dowel for the mini rolling pin.


The next thing to consider was the dough for the pasta.  It had to be dry enough to retain the shape of the impressions from the jig, *release* from the jig and mini rolling pin, but also soft enough to roll out.  Pasta sticking to equipment is a big consideration in how dry/wet dough is mixed.  

My preference is to roll pasta by hand.  I like to use a rolling pin, because I hate to clean extra equipment.  I realize rollers can achieve a thinner pasta with slightly better texture, but I still like to roll my own.  I used the following dough recipe (3 servings)

egg, 3, then add enough water to make the total =150 g (the contents of a large egg is 50 +/- 2 g)
olive oil, 15 g
salt, 3 g
unbleached white flour, 300 g

mix together, knead lightly, squish into a ball and let rest at least 15 minutes.  Scale to 10 x 40-50g logs.  Roll each log into a long strip, ca. 1.5 - 2.0" wide and ca. 14" long. 

Cut the pasta strips into little rectangles.  Each piece will get wrapped around the dowel, then rolled slowly and firmly into the grid of the rolling jig.  This will crimp the dough closed and give the requisite exterior pattern.   See next 3 images.

 Pasta rolled around the dowel.

 Once rolled around the dowel, use the dowel like a rolling pin and press the wrapped piece into the grooves.  A pasta this dry should not stick.

As the wrapped pasta is rolled/mashed into the grooves, the diameter of the tube will expand and release itself from the dowel; slide the pasta off of the dowel and admire your teeny weeny work of art.

Final product.

9.07.2014

Firedome: Pizza on a Weber Kettle, a 5 year retrospective

5 Years ago, I burst out of my 9to5 gig at about 11:00 am.  With a strange idea, a pocketful of index card notes and a vacation day, I made this.  Then I modified it a million times and made the same thing, but kept the flange of the lid intact, it's a much more stable build.  I've tweaked this thing many times and always returned to a similar design.

Cooking on this is not like a normal wood fired pizza oven that uses burning embers as the heat source.  This uses burning wood - not just embers - to do the job.  Study a bunch of ovens and you'll appreciate this difference.  The biggest change between my modified kettle now and when it was conceived - I use hardwood and no briquettes to fire it, less ash, hotter and easier to maintain a fire by loading wood on the fly.  It's not too much effort to maintain a fire for hours.

After 5 years, I still get excited cooking on it.  When @lleian expressed an interest in trying one out,  I was ecstatic at the chance to share and offered to make one for her.  She dropped off a CraigsList standard issue 22.5" kettle.  A few bucks in hardware and some blissful minutes with my angle grinder and voila, a Firedome pizza oven.

Consider the following post a user's manual for a new Firedome.

The new grill.  Standard 22.5"Weber kettle with a door cut into the lid (stays open for cooking) and ca. 8"diameter hole cut into the base to kick up some air flow.  It's basically a starter chimney big enough to make a pizza in.   Here's how to light it.
 To ignite this beast, ignite a few briquettes, ca 10 or so.  These will be used to start the wood.  I use a chimney starter - or a large can of tomatoes with holes drilled in it.

Once the briquettes are started, dump ém out. '

Add a few logs.  I get dry hardwood at the supermarket.  Two bundles will get you about 4 hours of cook time.

Place the Firedome lid on with the door lid open.  Keep passing in logs.  Sometimes they stick out.  Ideally, supermarket logs would be 3/4 the size they are, You can cut a bundle in half or let them hang out while they fire up.  The best igniting bundles have smaller diameter pieces.  Large logs burn slower and not as hot.  Toss in logs and let things burn down for about 40 minutes.

Check the surface of the pizza stone for temperature.  When it's at least 600-700F you're ready.  For surface measurements use an IR thermometer.  With a little practice, getting a cooking stone temperature close to 900F is possible.  But 700F is a little easier to cook on.  The pie should cook uniformly bottom and top.  900F is tricky, takes practice and familarity.

Stone's hot, fire is cresting over, ready!

Before I cook pizzas, I take a 100 g piece of dough and make a test pita.  If it puffs and cooks uniformly top and bottom, it's ready.  My usual pizza dough is: unbleached white flour (Montana Sapphire 600 g), water (400 g), Fleischmann's rapid rise yeast (1 pkt), salt (2t), sugar (2t), olive oil (50 g).  This sits in the fridge about a day before baking.

@lleian Godspeed.  This is an insane way to cook pizza but worth it.
And, thanks for the SPAM MUSUBI!!!

9.04.2014

chicken and chickpeas, 25 minutes to a great meal

Some time back, triggered by @TestKitchen's work with pressure cookers, I began and continued my love affair with my Faygor 8 qt pressure cooker.  Last night I winged it and came up with something pretty special.  A hearty and flavorful Indian meal of chickpeas and chicken (thighs).  The key to this dish's success is the chickpeas and chicken thighs cook in about the same time in a pressure cooker.

I happened to make it the night before because I knew I was going to be busy, but it would've been good the night I made it. Also, no pics, we ate it all!  I don't usually post dishes we had for dinner here, but I'm proud of this.

onions/carrots, finely chopped, 1C
ginger/garlic, mix ground or finely diced into a paste (2 cloves garlic, bunch of ginger)
tomatoes, fresh or canned, ca. 14 oz
olive oil 2-4 T
mustard seeds 2T
cumin seeds 2T
paprika, spicy, not sweet, 2T
salt, ca. 1T
pepper, 1T
garam masala, 1T
coriander seed 1T
coriander ground, 1T
boneless chicken thighs, trimmed of fat, 2 lbs
dry chickpeas, 400 g/2C dry, soaked in salted water 2-24 hours, drained
coconut milk, a can

I made this all in the pressure cooker:  Saute chicken a few pieces at a time in olive oil.  Remove chicken when it's browned - I had to tear mine off the bottom of the pan, don't worry.  Add to the pot all spices and saute until fragrant.  Then add onion, garlic/ginger and tomato, this will deglaze the pan.  The whole seed spices will nearly disintegrate on cooking, don't worry about them.  Dump in the sauteed chicken, chickpeas and 1L water.  Bring to boil, cap it, let cook on high pressure a full 25 minutes!  That's a lot in a pressure cooker.  Let it release pressure and gaze upon the magnificence of your dish.  Add the can of coconut milk (or some cream) and serve over rice.  SO GOOD.

Next time I do this, I'll put a pic here.


8.03.2014

baguette notes

Having recently sampled the village baker's traditional baguette in La Borne, Menetou-Salon, Bourges, Henrichemont and a few others, I'm back on the trail with the biggest challenge being I'm making a couple in a home oven vs big batch in a commercial oven.  My thinking lately has still been with covered baking in order to get a crackly crust, but instead of an inverted pan, I'm switching to keeping the bread in the pan similar to the dutch oven variant.  However, a baguette is a little trickier since there aren't many 20"+ cast iron pans.  I can't even find a 20" pullman.  Anyway, just a couple photo notes.

Crackly yeasted boule from Dutch oven.

Cooking in an aluminum tube capped with foil.  I slid out the par baked loaf and let it crisp in convection.  Logistically a pain, but the bread showed pretty good volume.

A little snipping of the aluminum stove pipe and tabbing the ends to close it off and I might have a custom length baguette pan.  Off to testing.  The bread shown is not from this design but another covered type baking.  I used an inverted foil tent.  The inverted from top just isn't going to entrain the native moisture adequately like a Dutch oven can, the bread needs to sit in the pan.  Here goes...

Next iteration.  This one baked in an aluminum tube pan (on parchment) and the top covered with foil until the last 5 min.  Not bad.  Crust and docking looks ok, flavor and texture good.  Not great.  Next iteration just fabricated... 

6.07.2014

carbonation, stat! (carbonation of my barley/corn ale)

I made the first beer in years that I liked, just sampled it the other day.  It was a small 1.5 gal batch of malted barley and malted corn (4:1), infusion, fuggles hops early addition and nottingham yeast.  I went nuts trying to keep clean and it paid off!  I sugar primed a small sample, let it bottle condition and it was great.  I then wanted to carbonate the rest in PET bottles with a carbonator cap and realized my tank was empty and no one fills them on Saturdays - bastards!


Here's my rapid carbonation method.  I popped 5 grams of dry ice into each liter of brew and capped it securely.  It dissolves in a few minutes.  I'll chill and it's ready.  I'll let you all do the calculations to confirm I placed the equivalent of 2.5 volumes of CO2 in each liter of beer.  And don't worry, no need to use the Redlich-Kwong equation of state (that's a joke).

Here's a pet bottle with the flat beer dispensed from my secondary and a block of dry ice from Graeter's.

I pounded the piece into little pieces and weighed out 5 grams.

Tossed the CO2 chips in, capped it and tossed the bottles in the fridge.

Then the extra dry ice was used for my amusement.  I tossed some in warm water and watched it.  I also tossed some chips in my mouth and pretended I was a rabid dog with all the smoke pouring out of my mouth.  The girls were away, so no one could see how hilarious I was.  

Warning:  I have put dry ice in my mouth a thousand times, it was one of the many ways we'd amuse ourselves in graduate school - I am a professional!  This can result in a great deal of harm if done incorrectly.

6.05.2014

sous vide in the oven?

I placed 3 qts of water and a thermocouple datalogger in the oven over the past couple days to see if an oven could hold a stable temperature.  The water's heat capacity certainly helps to smooth out the fluctuations, but I didn't realize how much.  This is just an excerpt of many hours of evaluation, but wow, it's pretty darn stable.  I was also surprised how much lower the temp of the water was compared to the atmosphere inside, must be the inefficiency in heat transfer?  Whatever, looks good enough to plan a big slab o steak!

In all 3 temp ranges, I didn't wait long enough for complete equilibration, but it looks promising.  Click on image to make it more readable.

Given the length of time required to equilibrate this system, it's lame compared to any circulator, but still a fun observation and good for intermittent use.

6.03.2014

an Arzak egg

I've been watching The Mind of a Chef series on Netflix, this popped up on season 1, episode 4, a cool way to poach an egg.  Here's how it played out during my morning.

 A 1 gal food storage bag was lightly oiled on the inside corner, an egg cracked into it and the bag was tied off leaving an air gap (oops).

It was tossed in water that was boiling and then left to simmer, ca. 190-200F.  Then I realized I lost my credit card for the second time in a month last night at Crest and ran around the house checking clothes pockets looking for it.  So, I'm not sure how long it cooked, ca. 7 minutes.  The unused portion of the tied off bag just rested on the side.  The air bubble enabled the egg to float, I should've trimmed the excess bag.

Having realized my credit card was gone and unable to call Crest for yet another couple hours, the effort continued.  The egg bag removed and displayed for a photo op.

The bag was snipped away and the egg popped out. Despite the longer than intended cooking, the yolk was still kind of soft.

Some mini boules had just popped out of the oven, one was hollowed out to swaddle the just cooked egg and a little salt and pepper were added.  Down the hatch.

This is great, no streams of egg white running around the water, many eggs could be done at once, if I don't lose my credit card, I can quite likely control the cooking a little better.  Do this people!

5.21.2014

a basic bread

A couple friends recently expressed an interest in baking bread.  They said they had limited experience so I wanted to step outside my usual tedious practices and create a list of ingredients and procedure that would be accessible to anyone.  The following is what I came up with, it's a robust preparation.  The bread is a basic yeasted loaf derived from a straight dough (a straight dough is one where everything goes in all at once and mixed), it's a fast riser but uses the fridge for a slow fermentation.  The next day the dough warms up and is ready for the oven about 1.5 - 2h after coming out of the fridge.


The dough is slightly enriched with fat and sugar, it's not crispy, but is a pretty good all purpose bread for sandwiches, alone with butter but still good for a bread and cheese night.  Below is the recipe and procedure in a series of images (this post is incomplete and will be finished when I get the rest of the images).

If you make this loaf, please read through it completely and then jump in.  My only strong preference regards ingredients.  I think this loaf is best when using Montana Sapphire unbleached white flour (it's a mix of Montana and Colorado wheat) and Fleischmann's Rapid rise yeast - the single packet.

The dough is prepared from:
water, 1 cup (tap, cold)
unbleached white flour, 2 1/2 cups 
salt, 1 teaspoon
butter, 1 tablespoon soft
sugar, 2 teaspoons
instant active yeast, 1 packet

My preferred ingredients for this preparation.  Montana Sapphire can be tricky to find, some Giant Eagle stores carry it.

Here are all of the ingredients placed in a plastic 10 cup capacity bowl.  They were added in the order presented, but order of addition doesn't matter.

Mix the ingredients with a wooden spoon and just keep grinding it all together...

As you mix more and more, the shaggy lump gathers together.  Don't worry how much it's mixed.  At the shaping stage, we'll be doing "turn and folds" to shape it which will finish the kneading.  This stage is just a crude mixing.  Note: I used a spatula, a wooden spoon is more effective at mixing this thick mass.

This is my bread tub.  I have a hole in the lid to let gas escape (it only needs to be a pinhole).  This tub gets tossed in the fridge for a day or so.  When ready to bake, take it out.  Next we shape the dough into a loaf.


Out of the fridge a day later, the lump has become a pretty smooth dough.  To the shaping!

Sprinkle the satiny looking dough with flour (and use blinding speed).  Then scoop your hand around the dough, pulling it off the side of the bowl.  You'll have to turn the bowl while wiggling your hand between the dough and the wall of the container to loosen it.  Then plop it, floured side down, on to the counter.

Sprinkle more flour on the top and squash it into a chubby disc ...

..thusly.  As if it were a square, grab each "side" and fold it into the middle.  Squash it down in between each fold. Continue to work around the other 3 sides.  I didn't do images for all of these turns.  The turning and folding is a continuation of kneading from the initial mixing of ingredients.  With each turn and fold, the dough will become tighter and resist your feeble efforts to shape it.  Stay with it, teach it who's boss.

After the turn and folds, squash it into a squat disc, fold it in half, turn the seam side down, and roll it around a bit until it looks like like this.  Want sesame seeds on it??  Moisten the surface, sprinkle sesame seeds on the outside and pat them in the moist surface with your hand gently.  Then pick up the dough and place it seem side down into a baking pan lined with parchment.

{more images to go here, 
the photography staff took a break for dinner}

The dough then gets covered with a barely-moist paper towel and is allowed to proof until ready.  If it's shaped immediately out of the fridge, the proof will take about an hour.  When it is fully proofed is nearly impossible to describe in words.  This blob will increase in volume during the proof to approximately double. An hour is is good first guess.  If the dough overproofs, it'll flop in the oven, if it slightly underproofs, it'll be fine.  This proof time is something you'll have to just practice with, the end point varies depending on temperature and humidity in your kitchen.

Docking:  Just before it goes in the oven, the surface is dusted with a tiny bit of flour and a knife used to cut a vent in the top.  

The parchment-lined pan holding the loaf is placed in a preheated 425F oven for 30-35 minutes.  No additional humidity is needed for the this bread.

Final bread, ca. 1.1 pounds.