This is the culmination of a great deal of work making a Weber 22.5" kettle grill into a wood burning pizza oven that will rival any professional oven.
My friend Dave from Baltimore will wince in pain with each step of this handiwork you are about to see. {Dave, the end justifies the means. It will even look cool when finished, trust me.} I'm posting the steps as I go, sometimes I get busy, so this may take a long time to finish, but I hoped it would help to see the progress as it happens.
Other Firedome posts in the series will be listed at the bottom of this post.
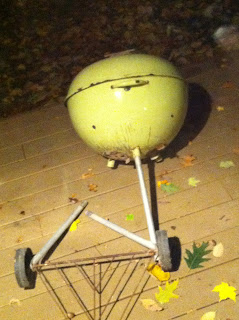 |
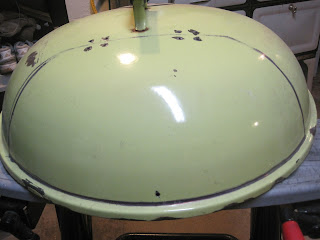
| Find grill in trash (thanks Paul, Kate and Jim for your contributions!) Pull off those legs, won't need them. <soapbox>Weber, that little tripod of legs on the grill is the suckiest part of the best kettle in the world.</soapbox> |
 |
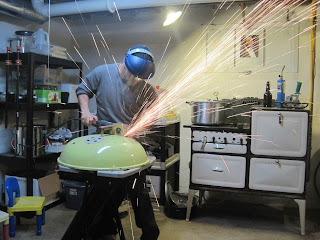
| Be safe |
 |
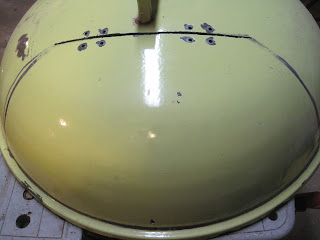
| Sketch circle in lower hemisphere to cut out. First remove any sliding vents. |
 |
| Once vents are removed cut a gaping hole in the bottom with angle grinder. It's tough cutting a circle with an angle ginder, so mine looks terrible, don't worry, it'll cook good pizza and no one will see this part anyway. Ideally, I should have had a nice circle and circumscribed a polygon and it would've looked nicer, but - you know, it's me, the opposite of a perfectionist, I want the pizza. |
 |
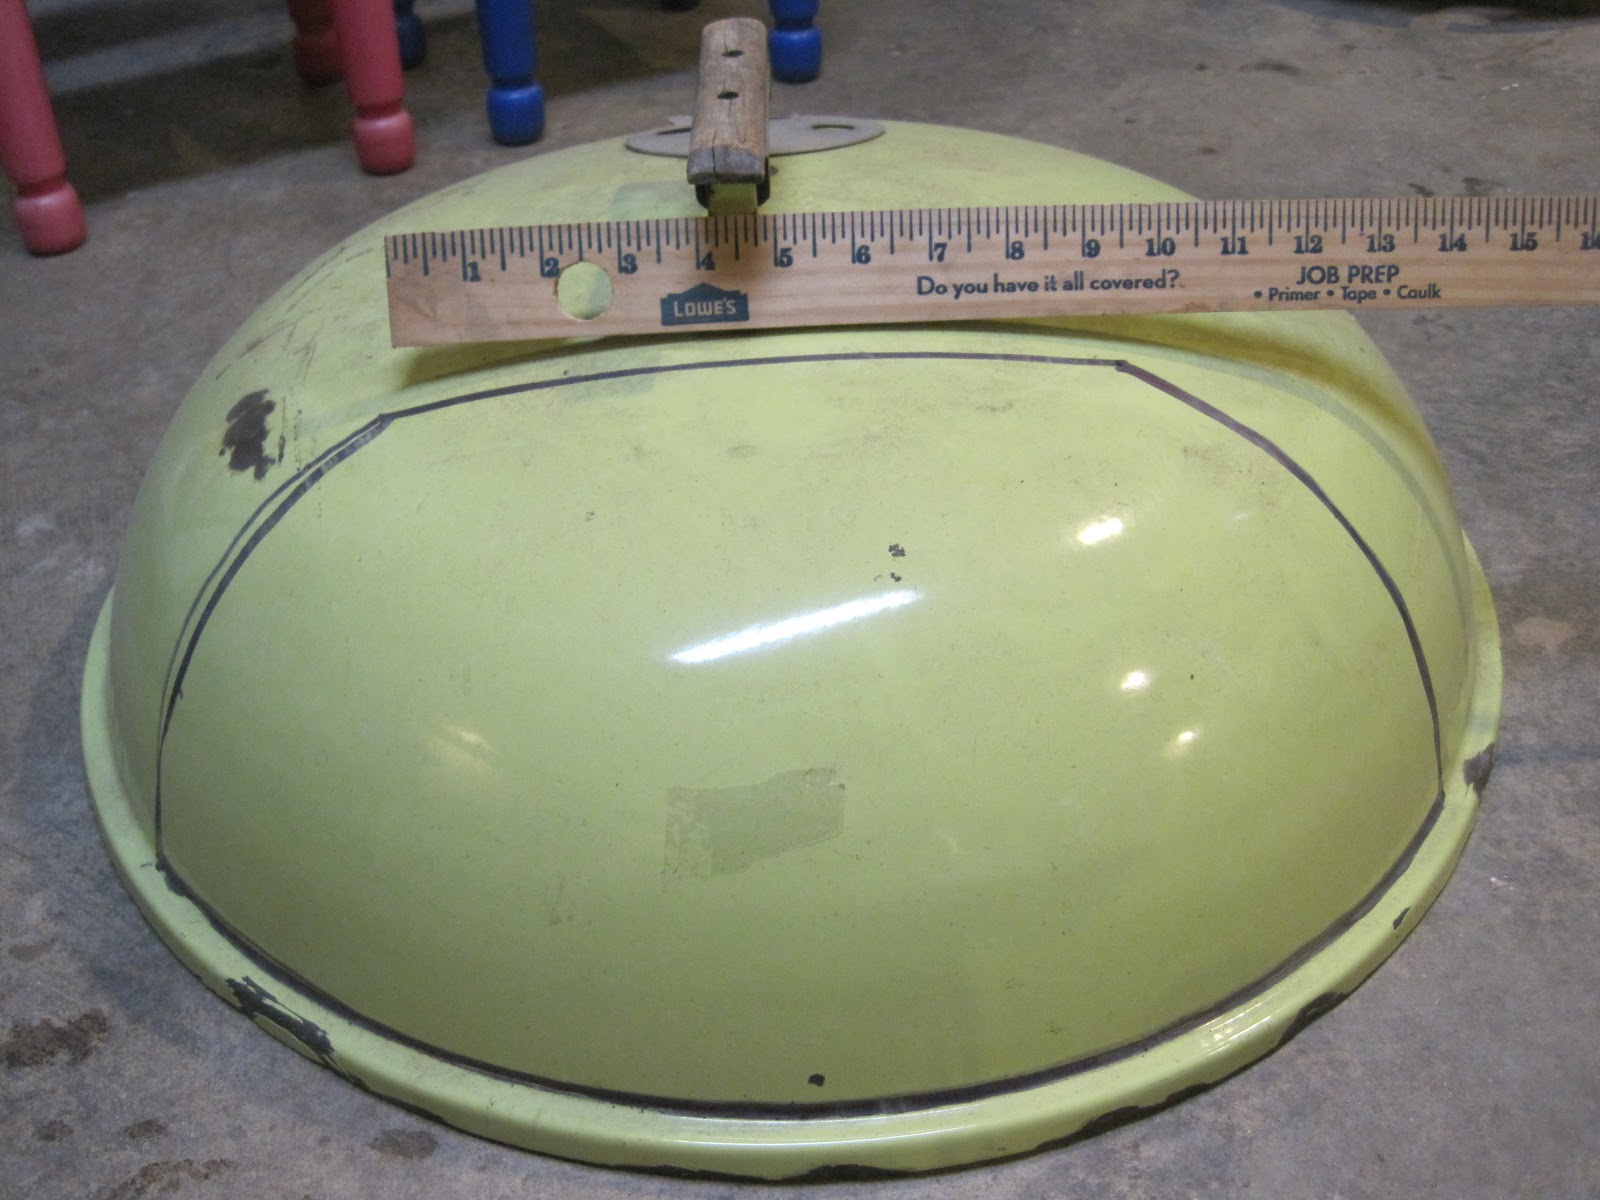
| Draw this shape on the top half. This is going to be the door. It's a trapezoid shape about 10" at the top and 20" along the bottom. The flange will stay intact. The top 10" line is about 1" away from the handle. I pretty much eyeballed this, it's a tough piece to navigate with a ruler. |
 |
| First we'll drill the holes that will hold the hinges. |
 |
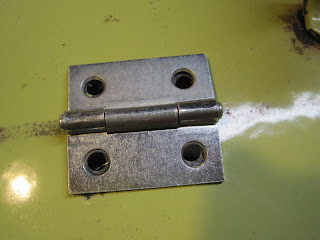
| These are 1.5" zinc coated hinges, they will rust immediately but will last years anyway. Lay the center of the hinges along that line. |
 |
| Tape down the hinges with clear or duct tape. |
 |
| This tape will enable you to make a punch on the surface of the dome so the drill won't travel when drilling the necessary 8 holes. |
 |
| I (ab)used a philips head screw driver and hammer to make a punch on the surface. Do this on all of the holes, remove the tape and drill out the holes with a 1/4" bit. |
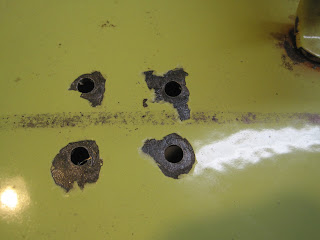 |
| Making the surface punch with the screwdriver shattered the porcelainized surface, it'll rust, don't worry, this job isn't about aesthetics. |
 |
| It doesn't look it from the image, but the holes align nicely with the hinge if you make the punches carefully. DO NOT ATTACH THE HINGE YET. We're going to cut that line first, THEN attach the hinge, having the holes in place before the dome is structurally compromised is easier. |
 |
| On the other side (the underside of the dome), buff the holes to remove burrs, they'll get in the way when securing the hinge with hardware (rivet or machine screw). |
 |
| Drill the little hole in the center of the lower line of the trapezoid, just above the flange. Later, we'll put a knob here to use to raise and lower the door. |
 |
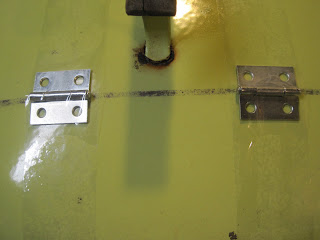
| The money shot. You may worship me now. Cut the top line of the trapezoid. |
 |
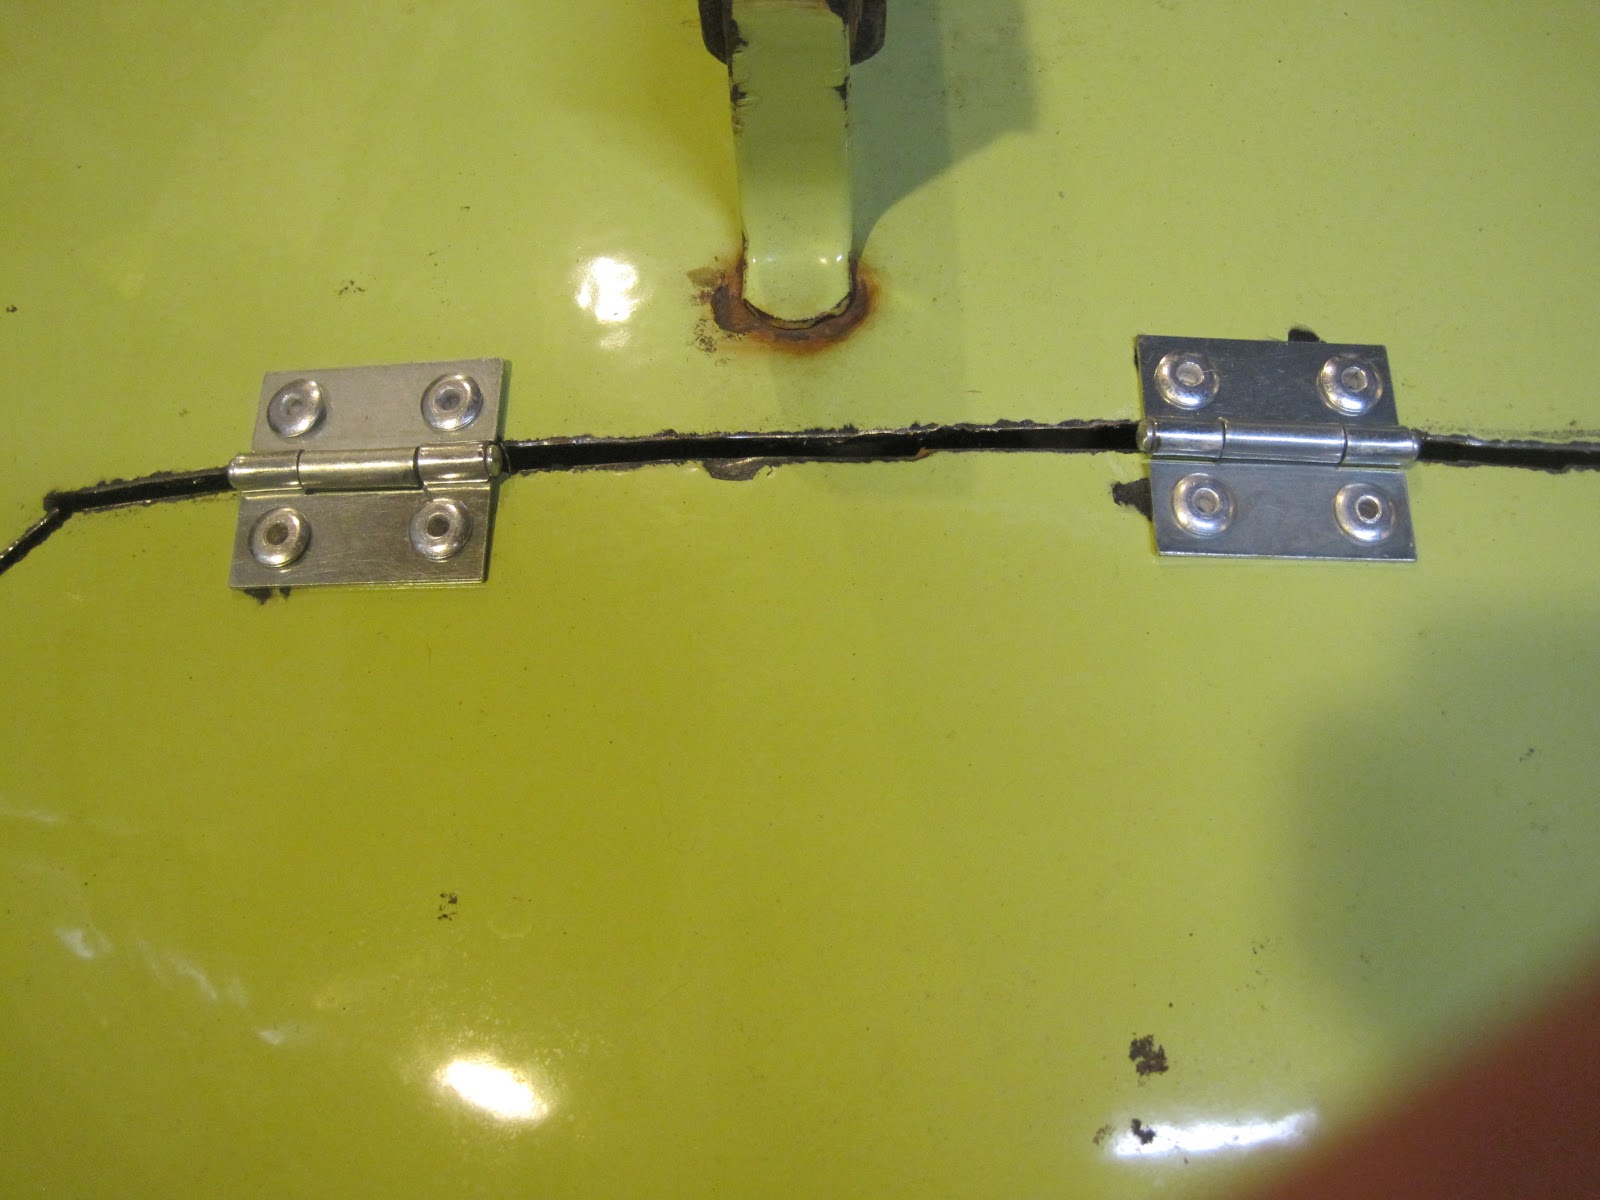
| Those pairs of holes drilled now straddle the cut. Put the hinge on and secure it. |
I secured the hinge with 3/16" pop rivets, use machine screws if you want, I enjoy rivets, they don't come loose. Repeat with the other hinge. The rivets are aluminum, but the hinge is Zn-coated steel. It'll rust after a run or two, but don't worry, I've had the hinges last over a year.
Put the other hinge on. Then cut out the rest of the door with an angle grinder.
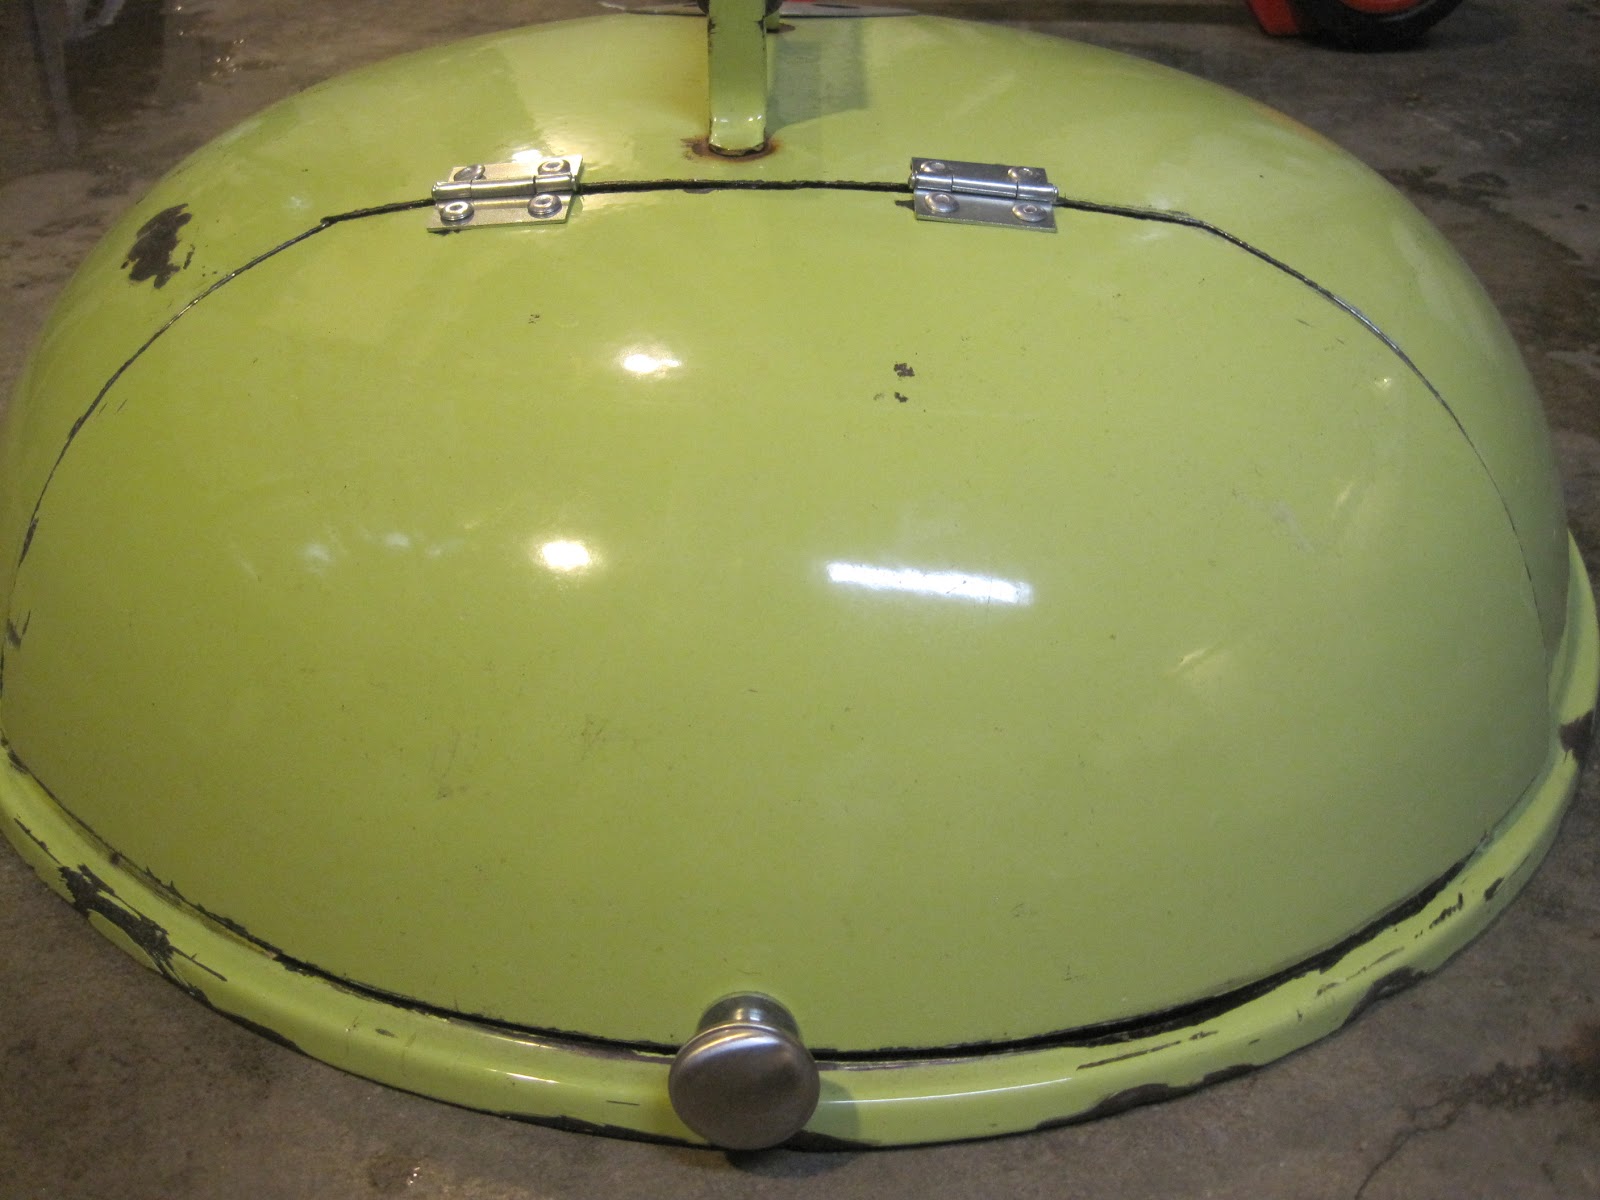
Attach a knob using a big fender washer so it overlaps over the edge, this will keep the door from swinging inside the opening. Realize, the door is cosmetic, it's not needed to cook or anything, I just like it, looks cool.
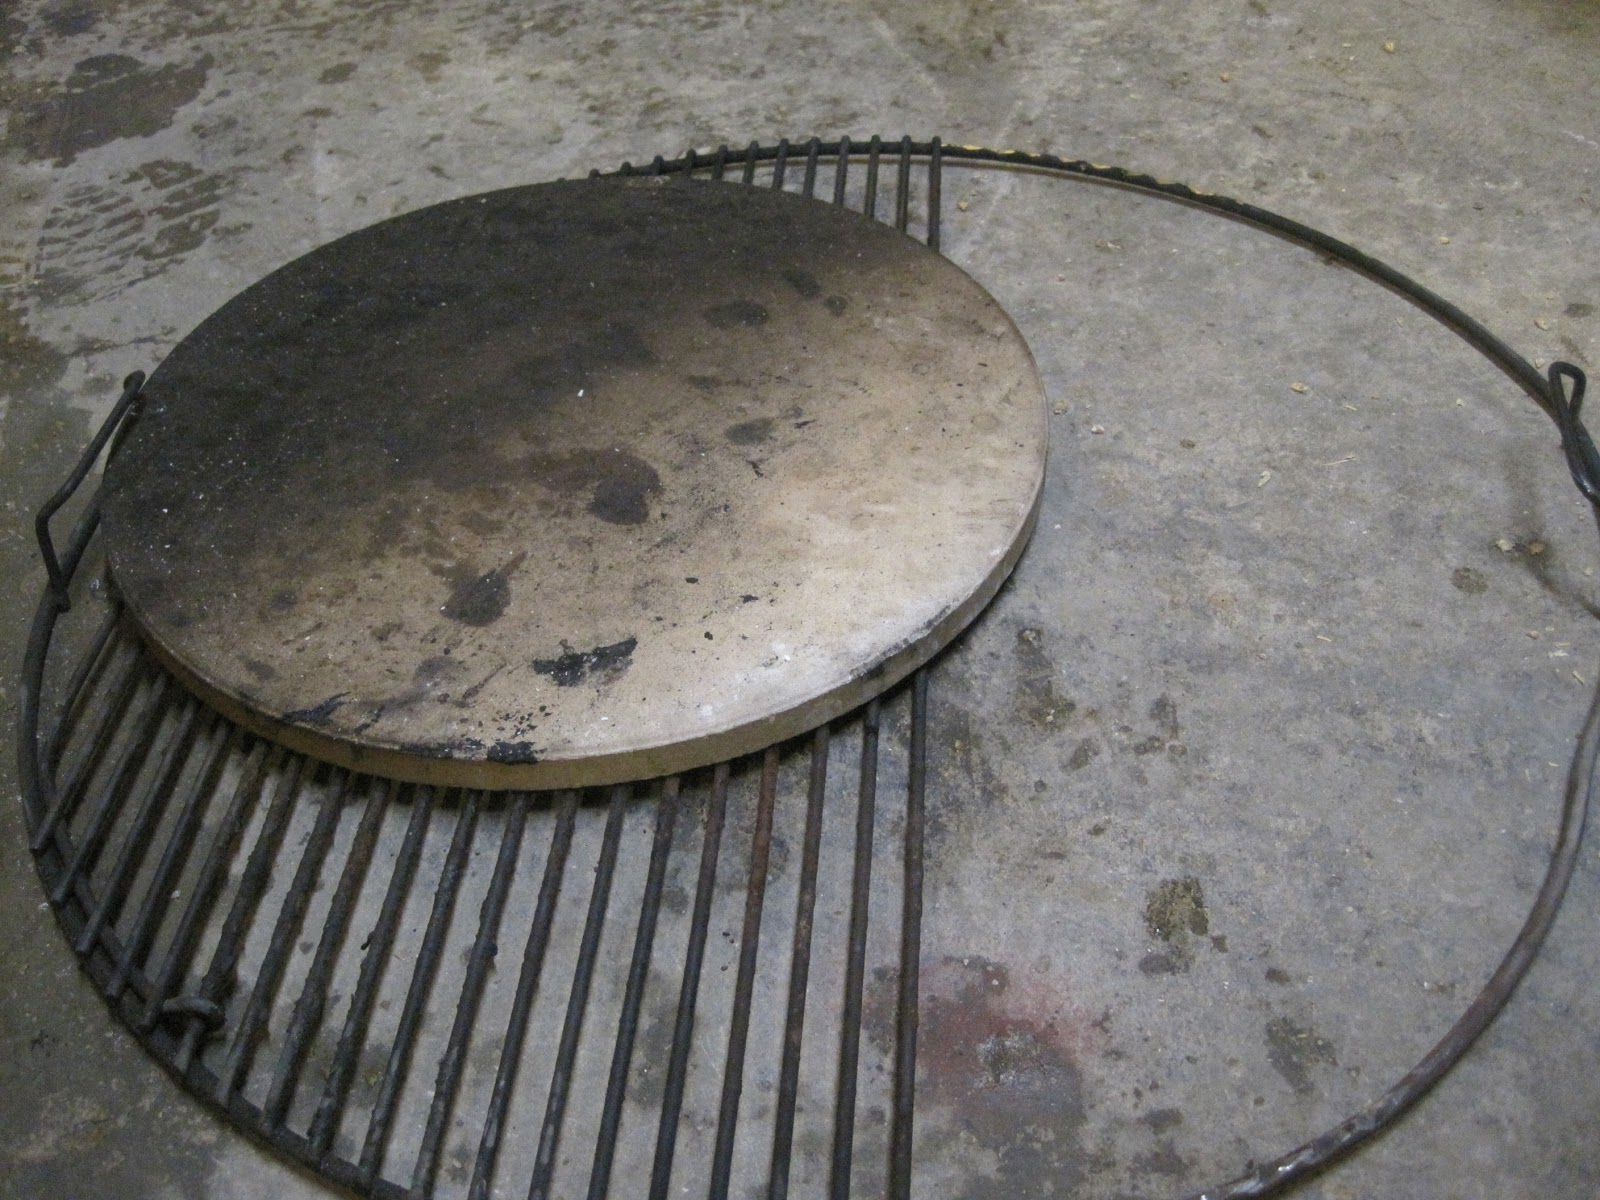
Final modification: the upper grate. Place your pizza stone on the top grate, mine is a 13" diameter. Got it at a thrift store and it's thick! I've had it for years. The ruler is there because I was too lazy to pick it up.
Remove all those cross bars with an angle grinder. This, when assembled, is where you'll be tossing your wood to fuel the oven.
Next, I'll assemble the entire thing atop a chimnea stand I found in the trash (works swimmingly) and fire it up for a quick pita test run. Stay tuned.
I use this thing a lot. I've had tons of flops with it during development, but it's when I learned the most. The equipment described here is pretty sound, I'm finished with mods on it (for now). I now cook with oven door open, I use supermarket oak for fuel (briquettes have too much ash for several hour raging cook sessions) and my heat source is on the side rather than in a circle around the stone. Presumably convection is a big force in this oven's fuel configuration. I routinely cook 20 pizzas at a run in a couple hours while dining with friends. The only part I can't describe is cooking with a raging fire. It takes a little practice. If you try this, be careful, have a garden hose available in case of an accident and have fun.
Firedome highlights (there are many more in the
archives):
1. The beginning of the project:
http://webercam.com/2009/06/weber-kettle-mods-firedome-pizza.html
2. Temperature profiles on various runs:
http://webercam.com/2009/06/firedome-2nd-run-data.html
http://webercam.com/2009/08/adventures-with-firedome.html
3. Why you just can't open the lid and toss a pizza on:
http://webercam.com/2009/06/firedome-experiment.html
4. Me tossing pizza
http://webercam.com/2010/09/in-which-i-drag-accomplice-in-to-help.html


4 comments:
Few questions:
I had never notice the hole in the bottom before. Is the lower grate in the grill the only thing between the fire and open air at the bottom? Does the stand catch ash and small coals as they fall?
Also, have you considered a steel plate instead of the pizza stone. Seems to be the rage right now. I had moderate success with a piece of steel in the kitchen oven this week. I blame operator error for the weaknesses. I'm not good at shaping dough yet. Anyhow, it was making me think that steel would work as the cooking surface and maybe I could rig the stone to hang over the steel plate to radiate heat down onto the pizza.
Hey Jon,
1. The gaping hole.
I've used the hole in the bottom half on and off for the duration, but have only been convinced in the past year that's it's the way to go.
2. The lower grate is the only thing between burning embers and your deck, I use mine on a little pad of pavers and beneath the grill is a pot to catch the embers. You'll see the entire stacked assembly when I finish this ridiculously long post.
3. The plate??
That idea is in the queue, but my biggest fear is cooking on a black surface. I really like the stone or a simple terra cotta drip tray. Cooking top and bottom uniformly is the biggest complaint among those who try this at home, the dark surface of aged steel might tip the balance. But, after this, I will be trying it.
I decided on doing this post now, because no matter how many changes I make lately, I can't beat the uniformity of cooking and ease of fuel charging than the current configuration, so it's a good time to accumulate it all in one place.
Dave - what is your thought about building a pizza oven in your back yard using salvaged firebrick from the 1890's and used industrial grade firebrick from a local source in order to obtain temps in the 1200 degree range. So free materials and free labor to get pizza perfection and a post that would be a marvel of your followers?
Truly - how could someone - not want that?
Very good written article. It will be supportive to anyone who utilizes it, including me. Keep doing what you are doing – can’r wait to read more posts.
read review
Post a Comment