A couple friends recently expressed an interest in baking bread. They said they had limited experience so I wanted to step outside my usual tedious practices and create a list of ingredients and procedure that would be accessible to anyone. The following is what I came up with, it's a robust preparation. The bread is a basic yeasted loaf derived from a straight dough (a straight dough is one where everything goes in all at once and mixed), it's a fast riser but uses the fridge for a slow fermentation. The next day the dough warms up and is ready for the oven about 1.5 - 2h after coming out of the fridge.
The dough is slightly enriched with fat and sugar, it's not crispy, but is a pretty good all purpose bread for sandwiches, alone with butter but still good for a bread and cheese night. Below is the recipe and procedure in a series of images (this post is incomplete and will be finished when I get the rest of the images).
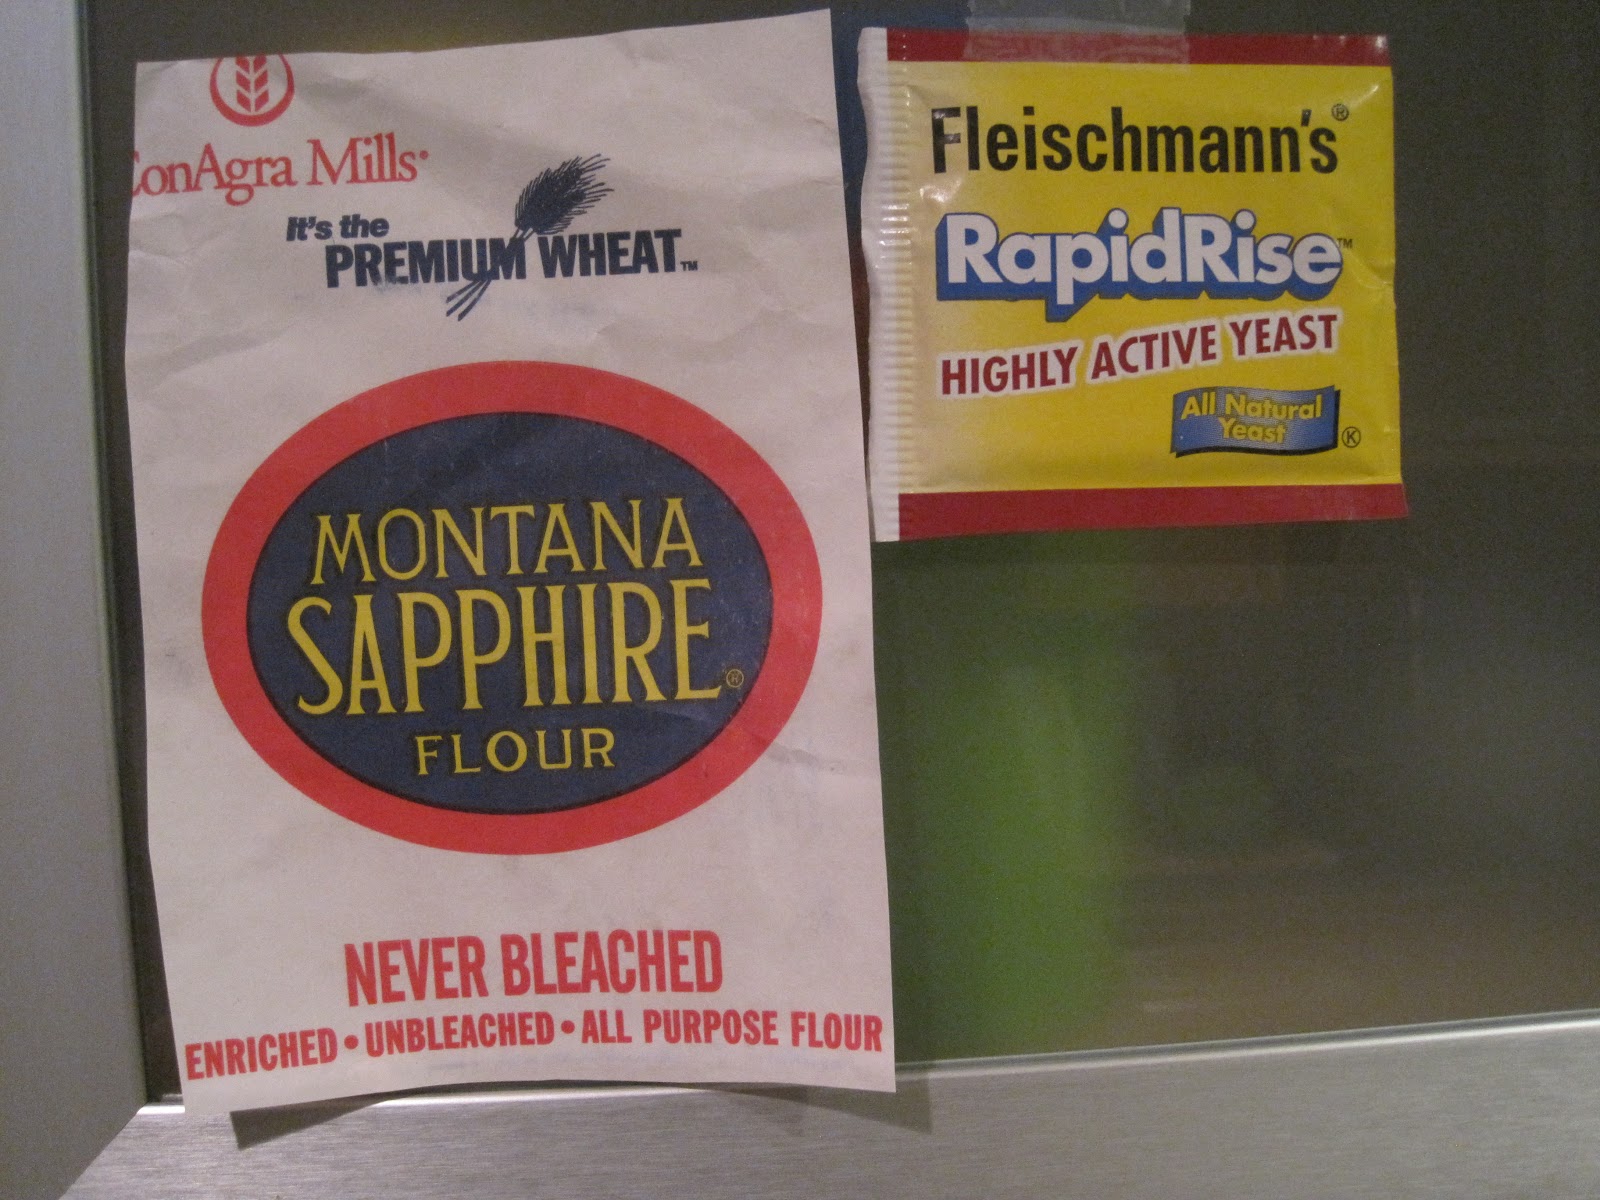
If you make this loaf, please read through it completely and then jump in. My only strong preference regards ingredients. I think this loaf is best when using Montana Sapphire unbleached white flour (it's a mix of Montana and Colorado wheat) and Fleischmann's Rapid rise yeast - the single packet.


The dough is prepared from:
water, 1 cup (tap, cold)
unbleached white flour, 2 1/2 cups
salt, 1 teaspoon
butter, 1 tablespoon soft
sugar, 2 teaspoons
instant active yeast, 1 packet
My preferred ingredients for this preparation. Montana Sapphire can be tricky to find, some Giant Eagle stores carry it.
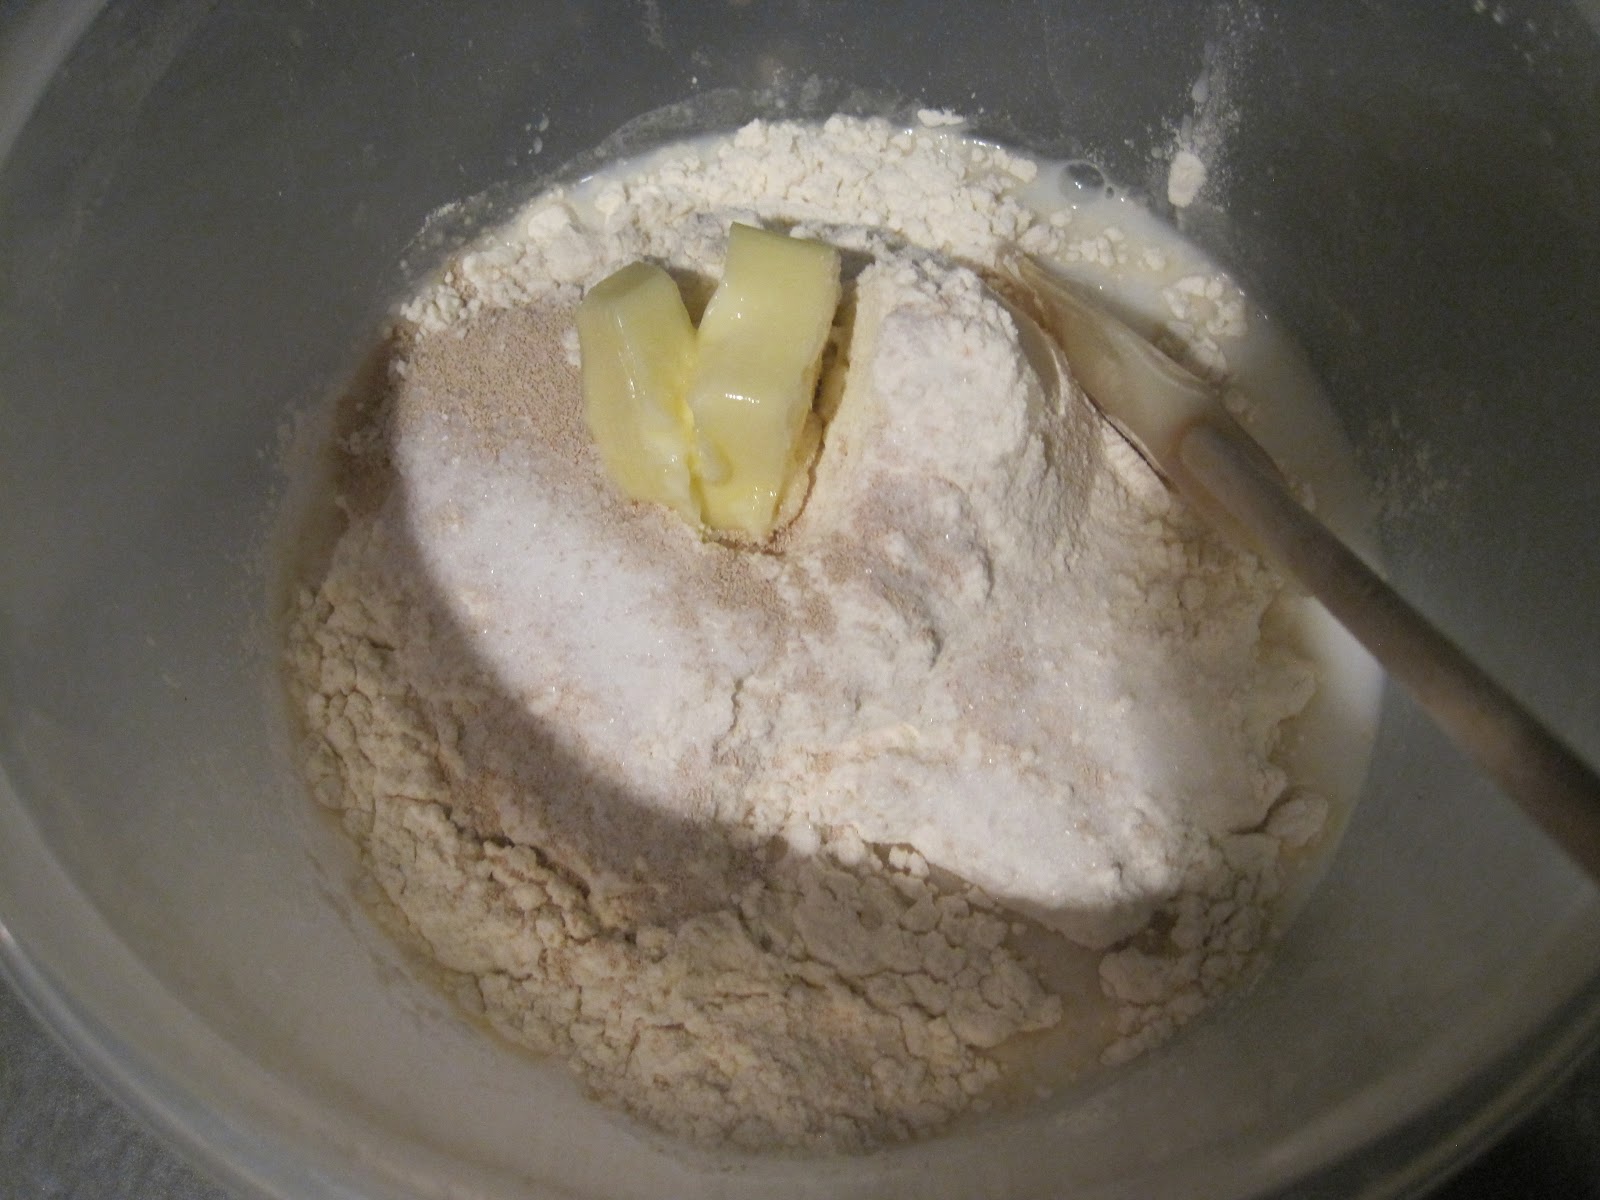
Here are all of the ingredients placed in a plastic 10 cup capacity bowl. They were added in the order presented, but order of addition doesn't matter.
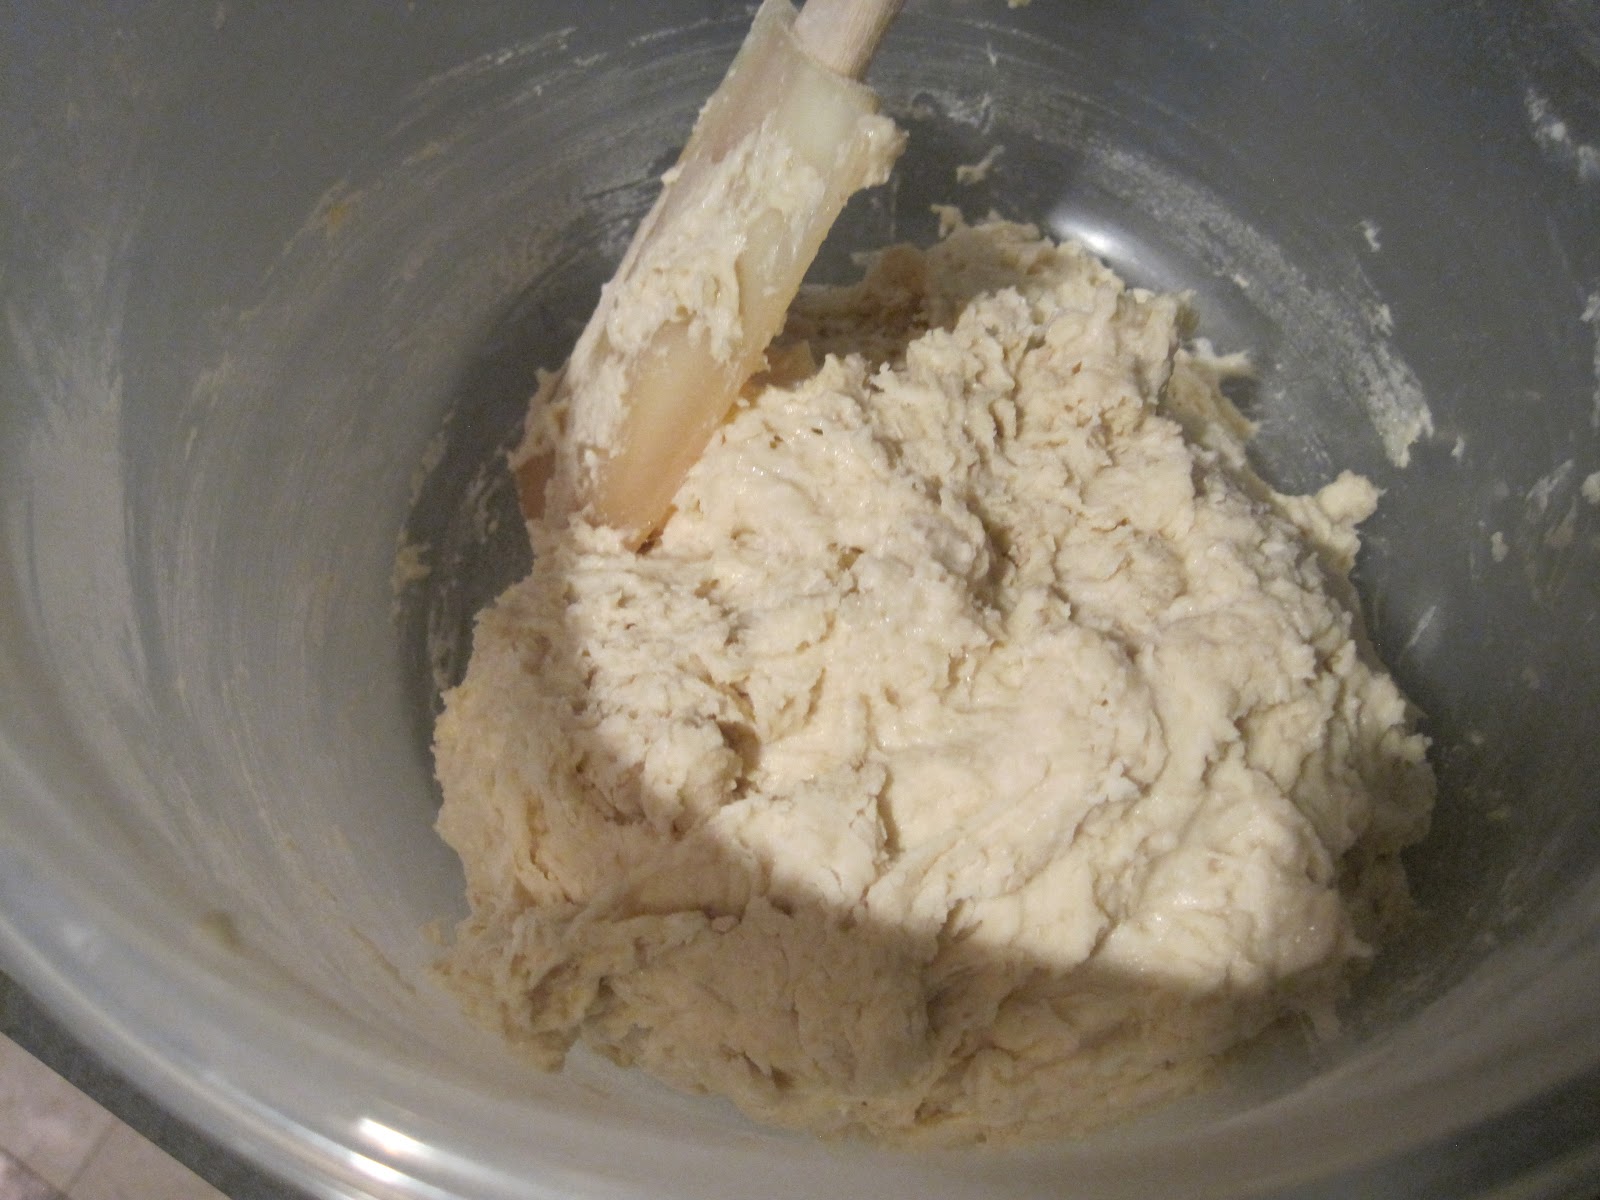
Mix the ingredients with a wooden spoon and just keep grinding it all together...
As you mix more and more, the shaggy lump gathers together. Don't worry how much it's mixed. At the shaping stage, we'll be doing "turn and folds" to shape it which will finish the kneading. This stage is just a crude mixing. Note: I used a spatula, a wooden spoon is more effective at mixing this thick mass.
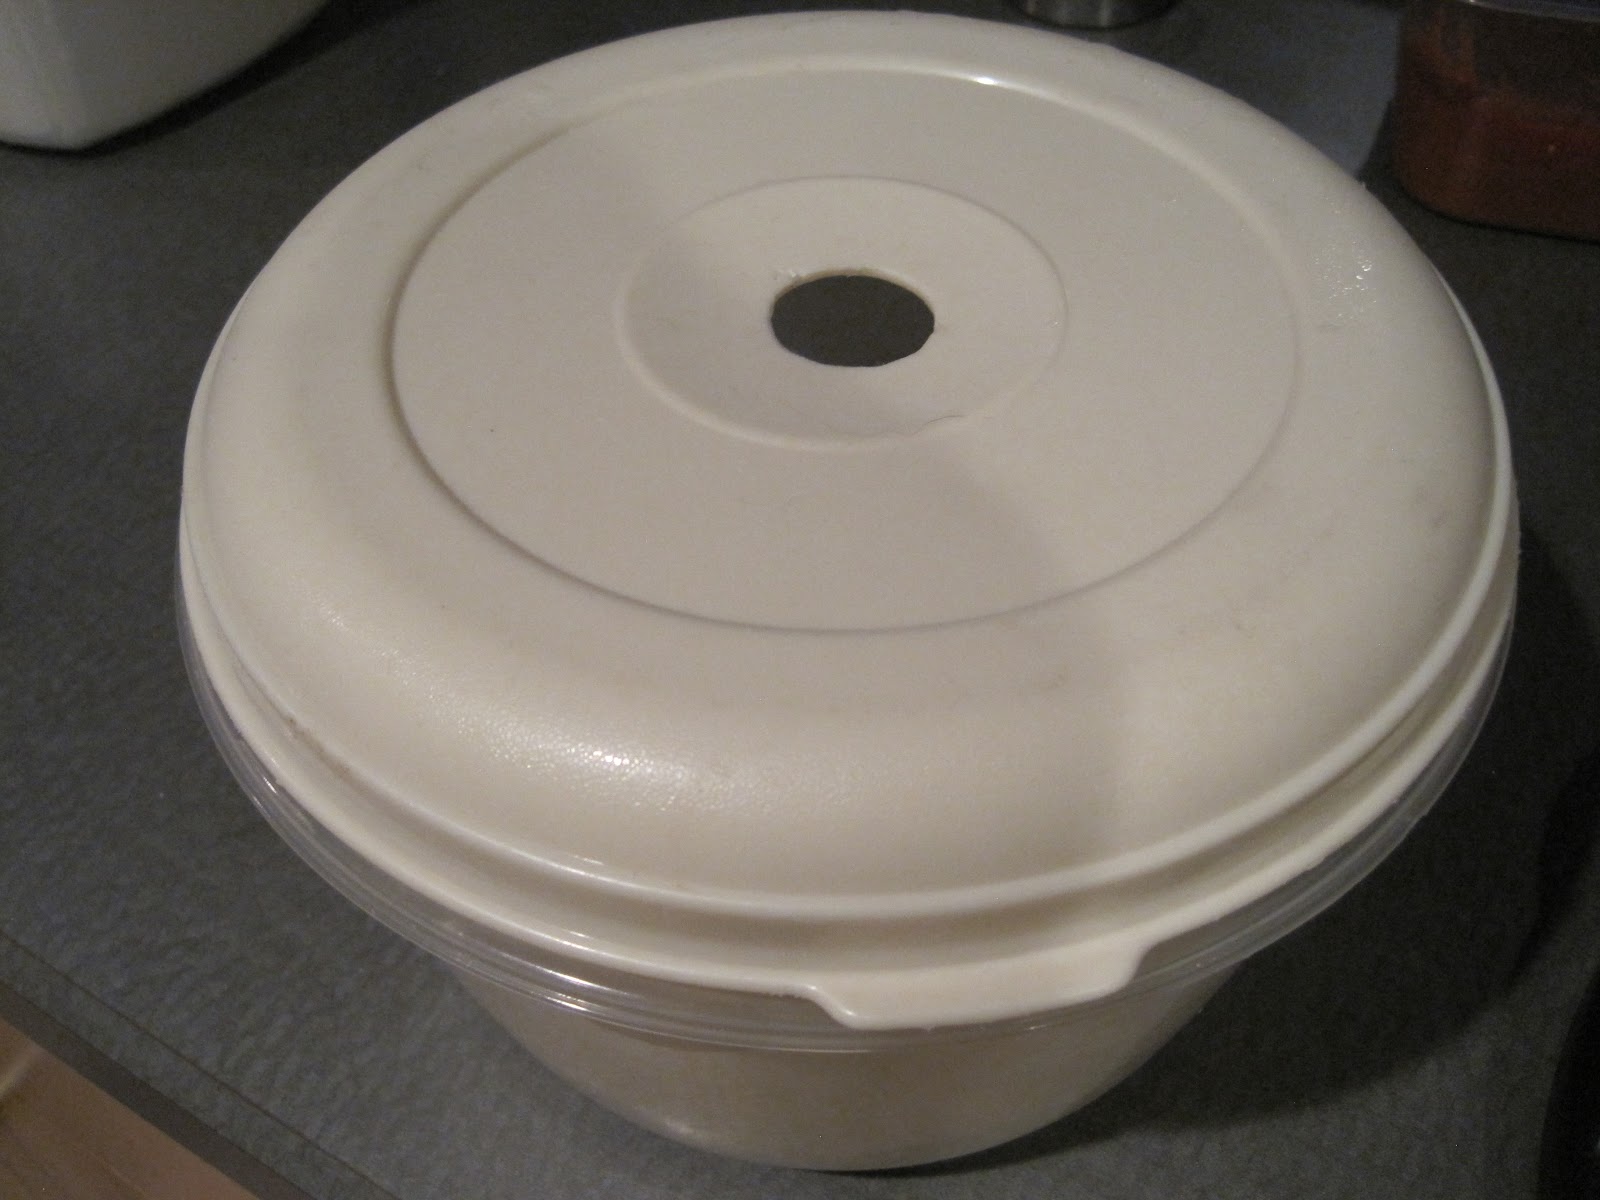
This is my bread tub. I have a hole in the lid to let gas escape (it only needs to be a pinhole). This tub gets tossed in the fridge for a day or so. When ready to bake, take it out. Next we shape the dough into a loaf.
Out of the fridge a day later, the lump has become a pretty smooth dough. To the shaping!
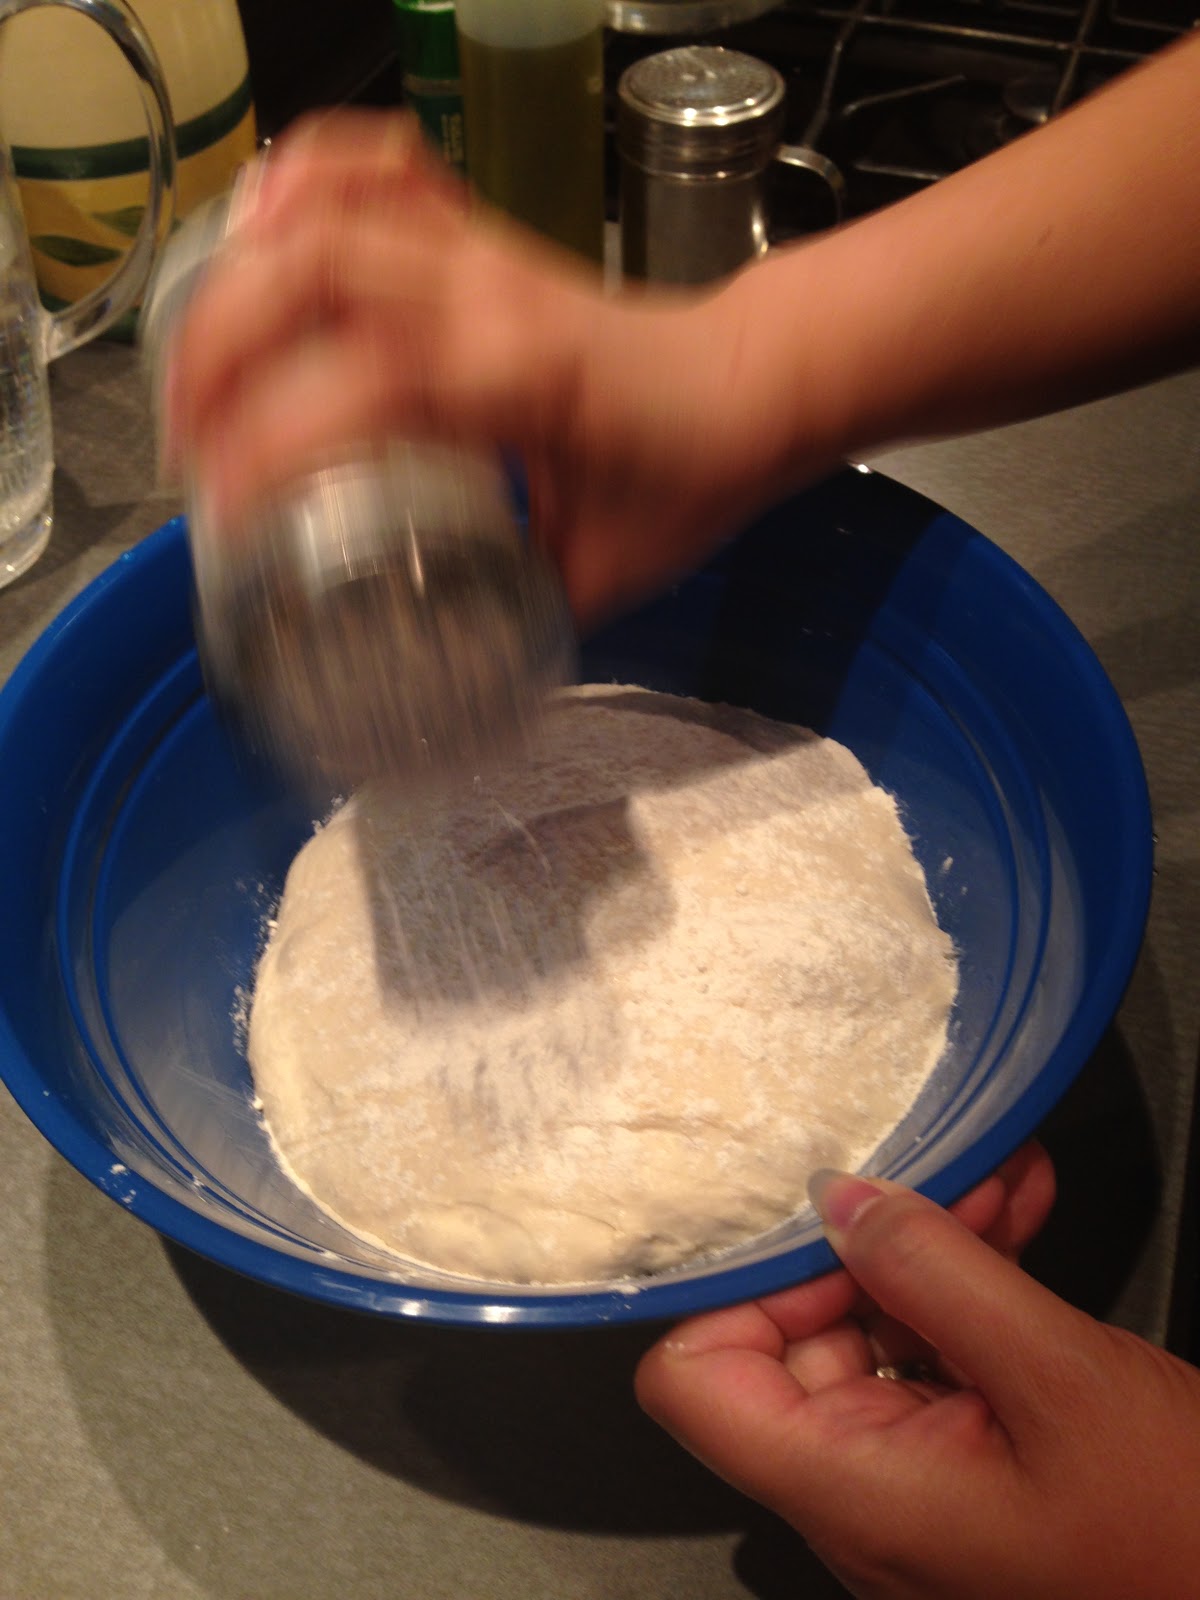
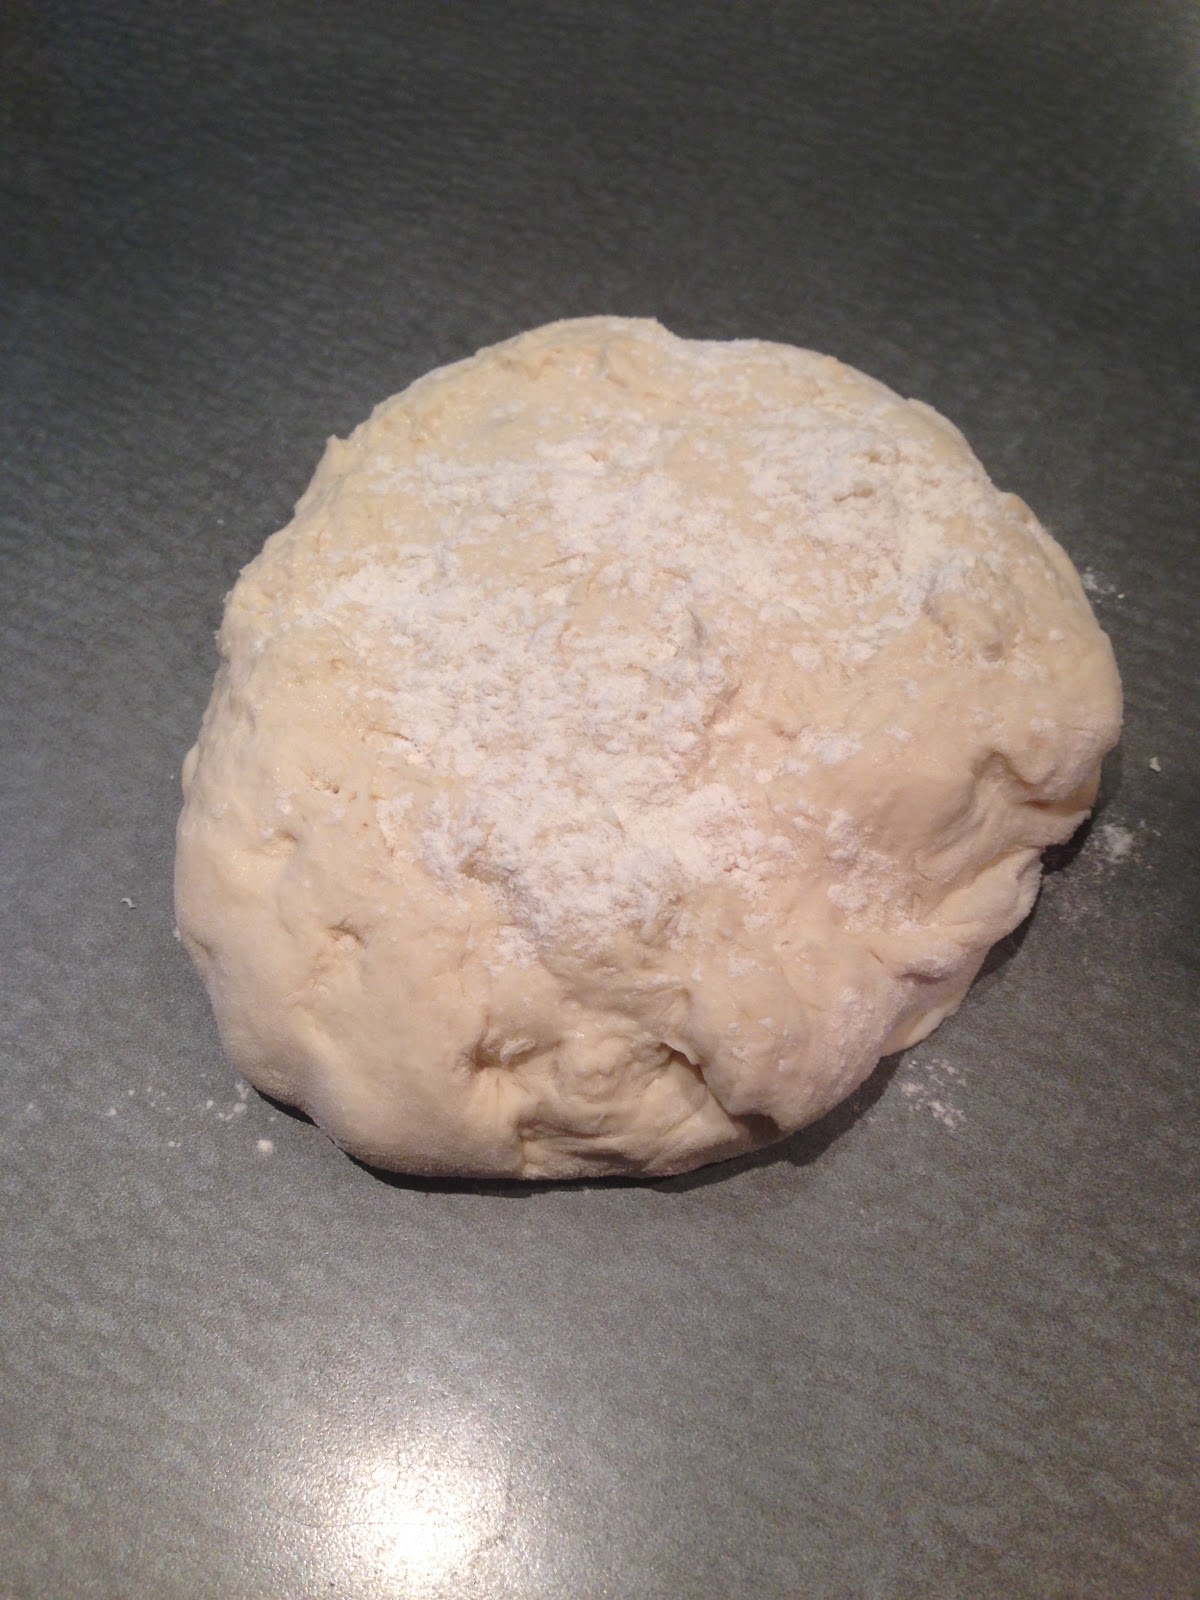
Sprinkle the satiny looking dough with flour (and use blinding speed). Then scoop your hand around the dough, pulling it off the side of the bowl. You'll have to turn the bowl while wiggling your hand between the dough and the wall of the container to loosen it. Then plop it, floured side down, on to the counter.
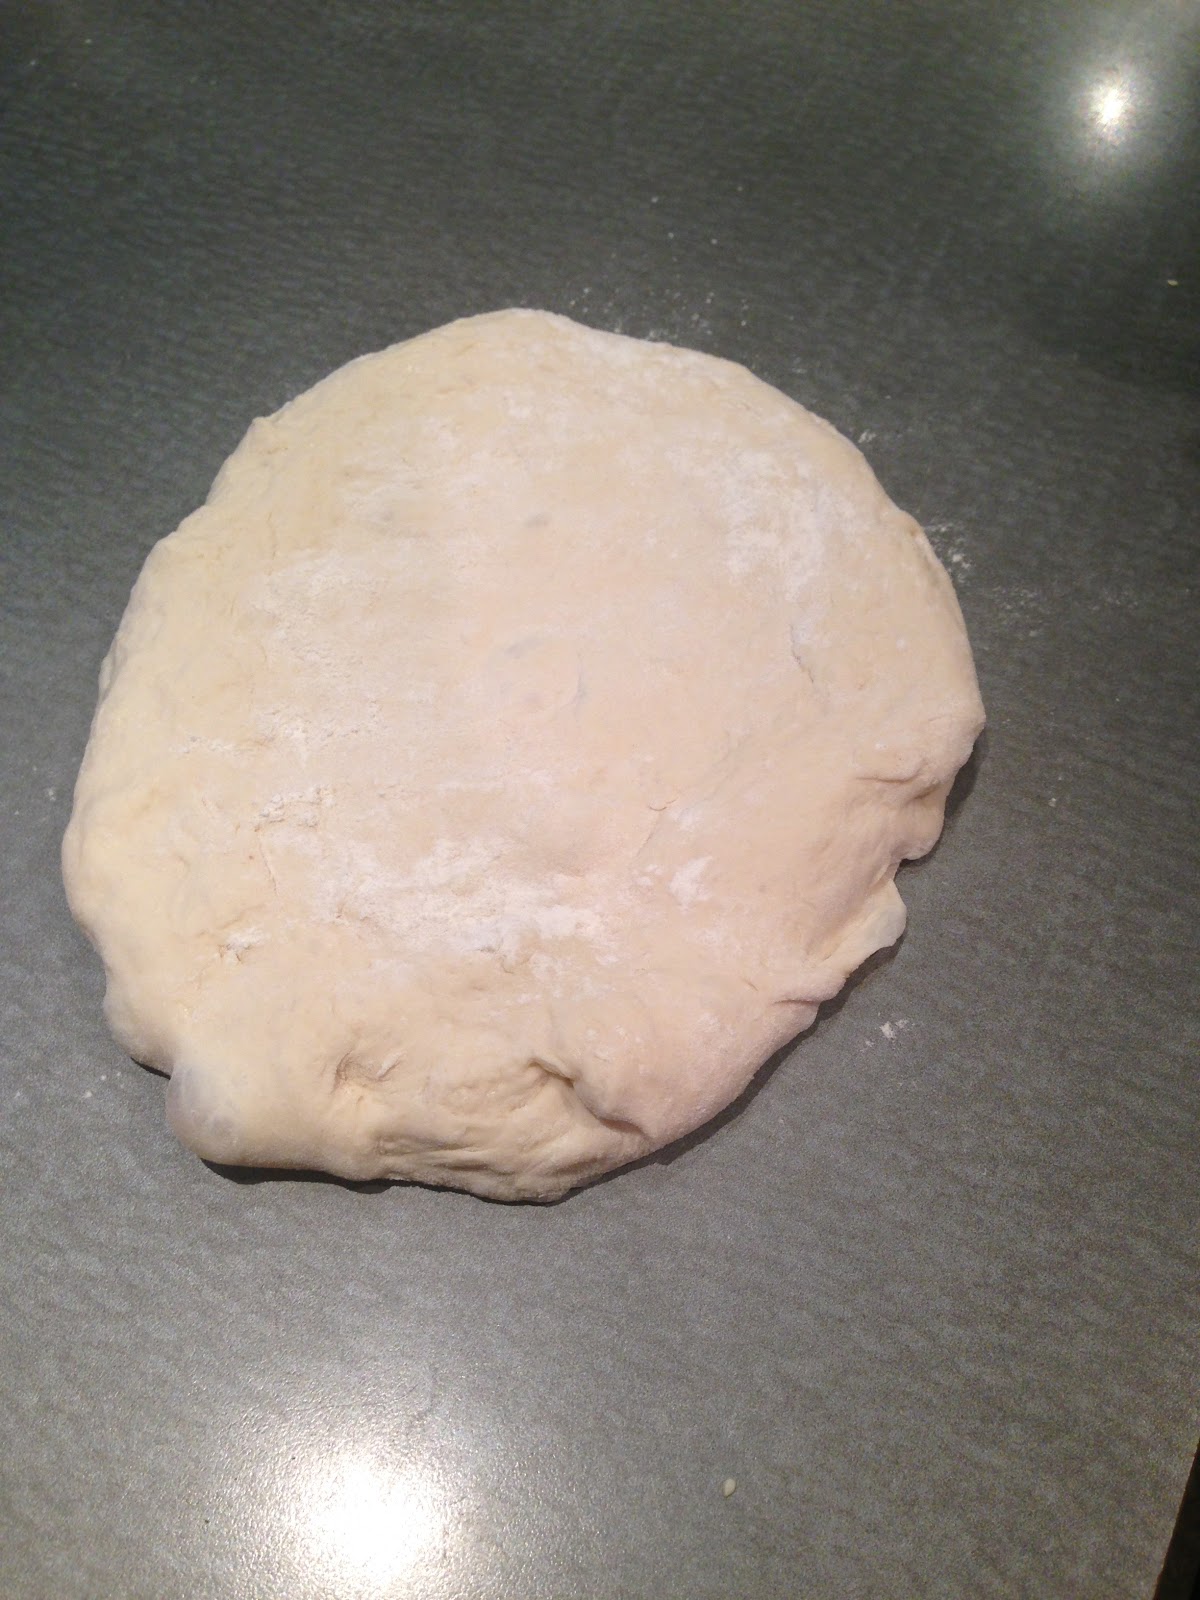
Sprinkle more flour on the top and squash it into a chubby disc ...
..thusly. As if it were a square, grab each "side" and fold it into the middle. Squash it down in between each fold. Continue to work around the other 3 sides. I didn't do images for all of these turns. The turning and folding is a continuation of kneading from the initial mixing of ingredients. With each turn and fold, the dough will become tighter and resist your feeble efforts to shape it. Stay with it, teach it who's boss.
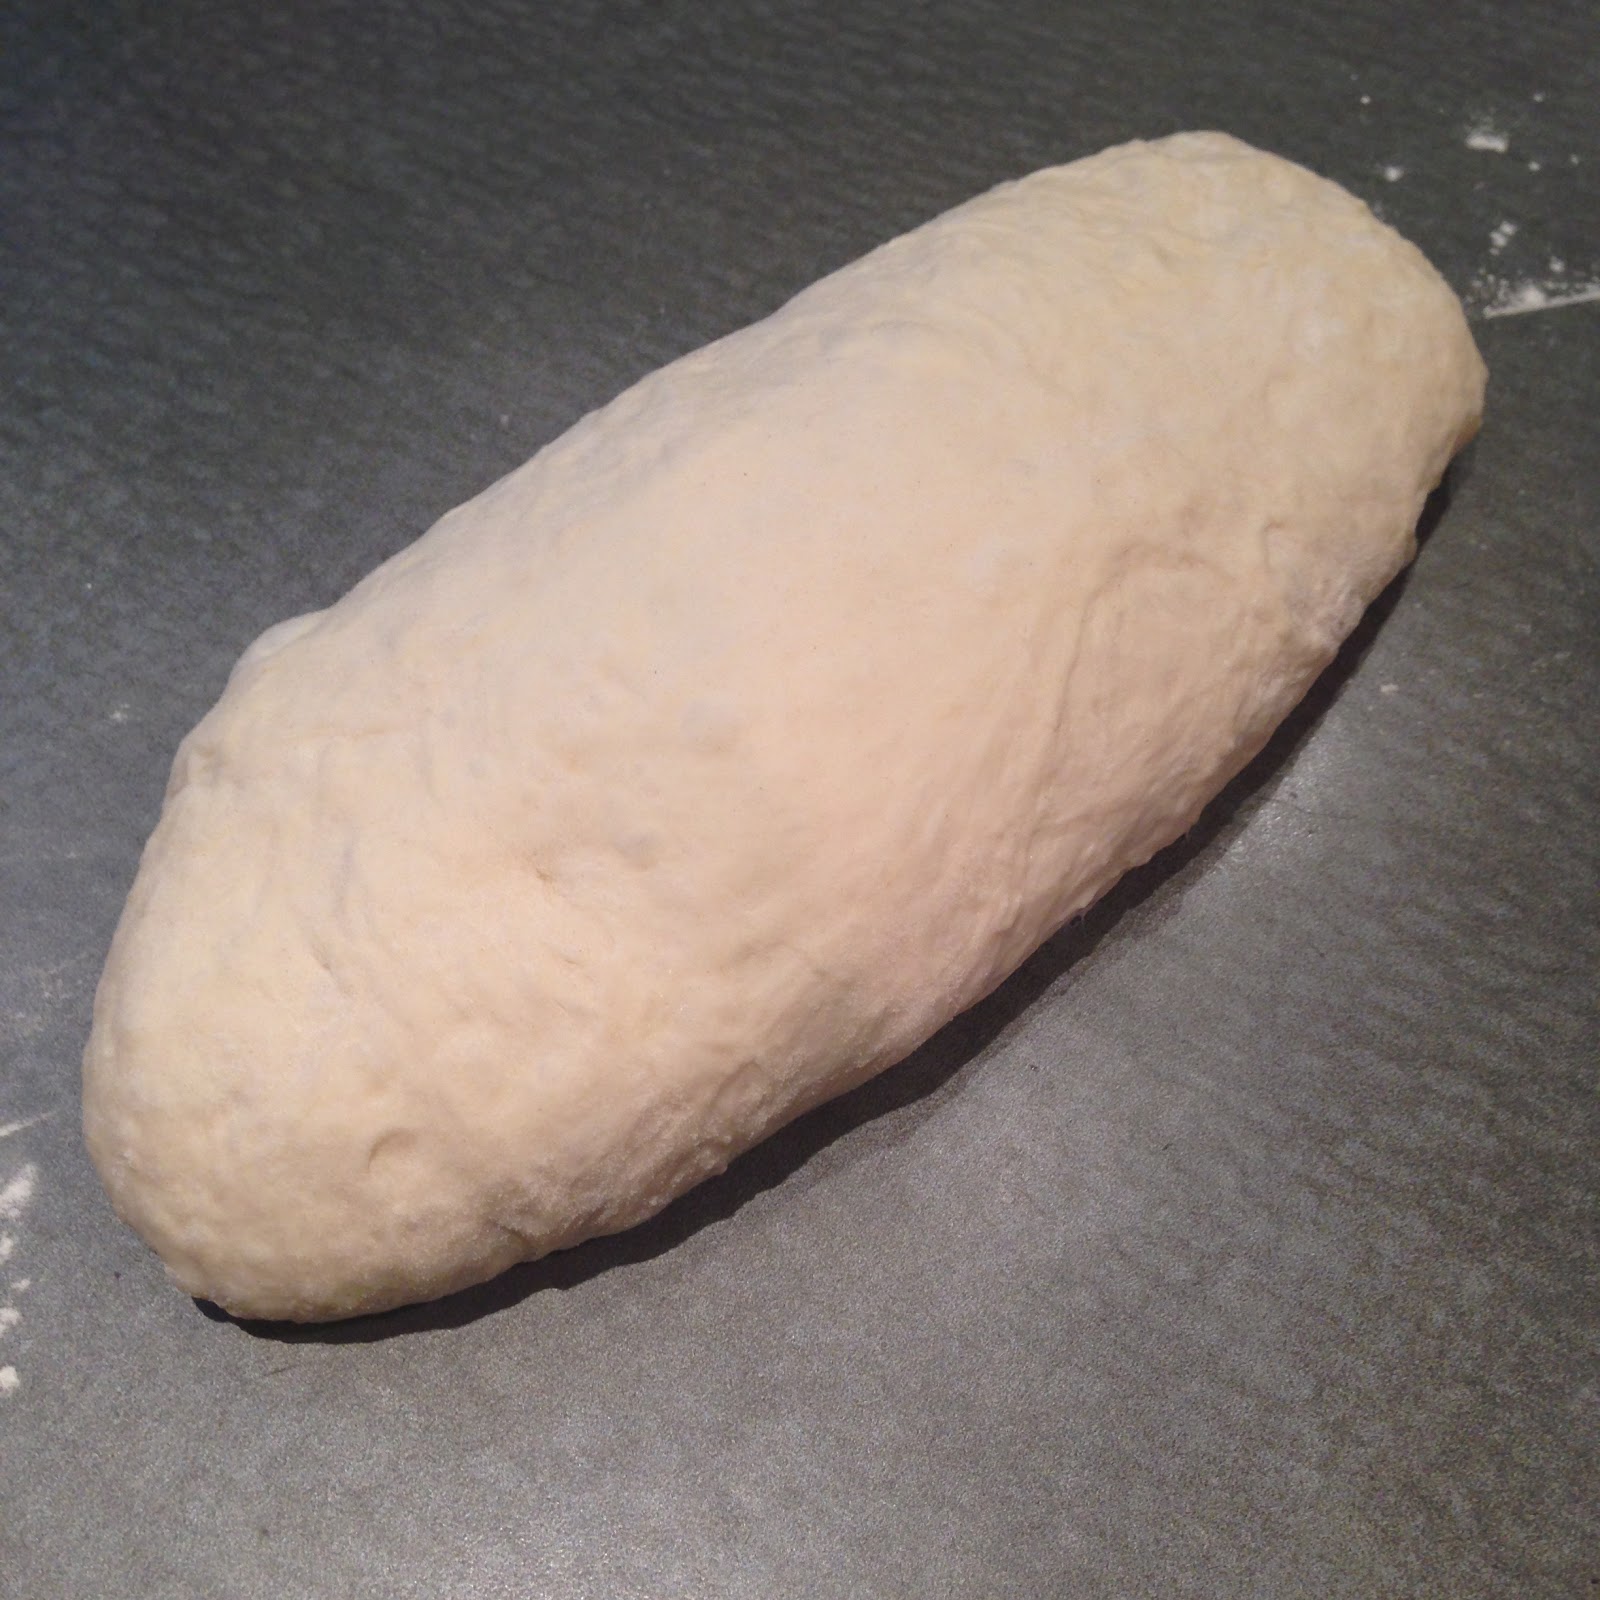
After the turn and folds, squash it into a squat disc, fold it in half, turn the seam side down, and roll it around a bit until it looks like like this. Want sesame seeds on it?? Moisten the surface, sprinkle sesame seeds on the outside and pat them in the moist surface with your hand gently. Then pick up the dough and place it seem side down into a baking pan lined with parchment.
{more images to go here,
the photography staff took a break for dinner}
The dough then gets covered with a barely-moist paper towel and is allowed to proof until ready. If it's shaped immediately out of the fridge, the proof will take about an hour. When it is fully proofed is nearly impossible to describe in words. This blob will increase in volume during the proof to approximately double. An hour is is good first guess. If the dough overproofs, it'll flop in the oven, if it slightly underproofs, it'll be fine. This proof time is something you'll have to just practice with, the end point varies depending on temperature and humidity in your kitchen.
Docking: Just before it goes in the oven, the surface is dusted with a tiny bit of flour and a knife used to cut a vent in the top.
The parchment-lined pan holding the loaf is placed in a preheated 425F oven for 30-35 minutes. No additional humidity is needed for the this bread.
Final bread, ca. 1.1 pounds.


