She runs out of the bathtub and into the kitchen yelling "Papa, I need a thermometer." My parenting approach is working nicely.
4.09.2025
8.13.2017
weber kettle snake method
I never tried placing briquettes around the perimeter and lighting one side and letting the strip of briquettes burn, read about it but never tried. I hooked up my datalogger (Supco SL500TC) and thermocouple to watch the action. Given the long times needed for smoking brisket, I was hoping for at least 8 hours (sleep time) to not fool with the thing.

Here are the briquettes lined up. Two rows on the grate, one row stacked atop of that double row. Lit one end and placed my thermocouple dead center, where a piece of meat would be.

12.16.2016
crispy great northern bean snacks
Last night I met friends for happy hour snacks at The Rossi and nibbled appetizers from Chef Heaggans. I loved the chickpeas! Yearning for more, I recall waaaay back in this blog a post I did on baked cannellini beans, not the same at all as Matt's treat but enough to keep me sated between visits (and there will be many more visits).
I'm reposting this recipe because the old post has a broken image link.
I used great northern beans, canned. The beans get drained and rinsed. Then tossed with a small bit of olive oil, salt and paprika then tossed in an oven at 325F convection for about an hour. They pop into crunch snacks that remind me of popcorn. I store them out on the counter uncovered so they won't loose their crispiness. Not sure if that's necessary. Try these!


10.25.2016
chicharones
I don't have much to add to this. I learned of making chicharon from SaucissonMac. My pics simply validate the procedure and I encourage you to do the same the next time you snag pigskin from The Butcher and Grocer!! (click on any image to enlarge)

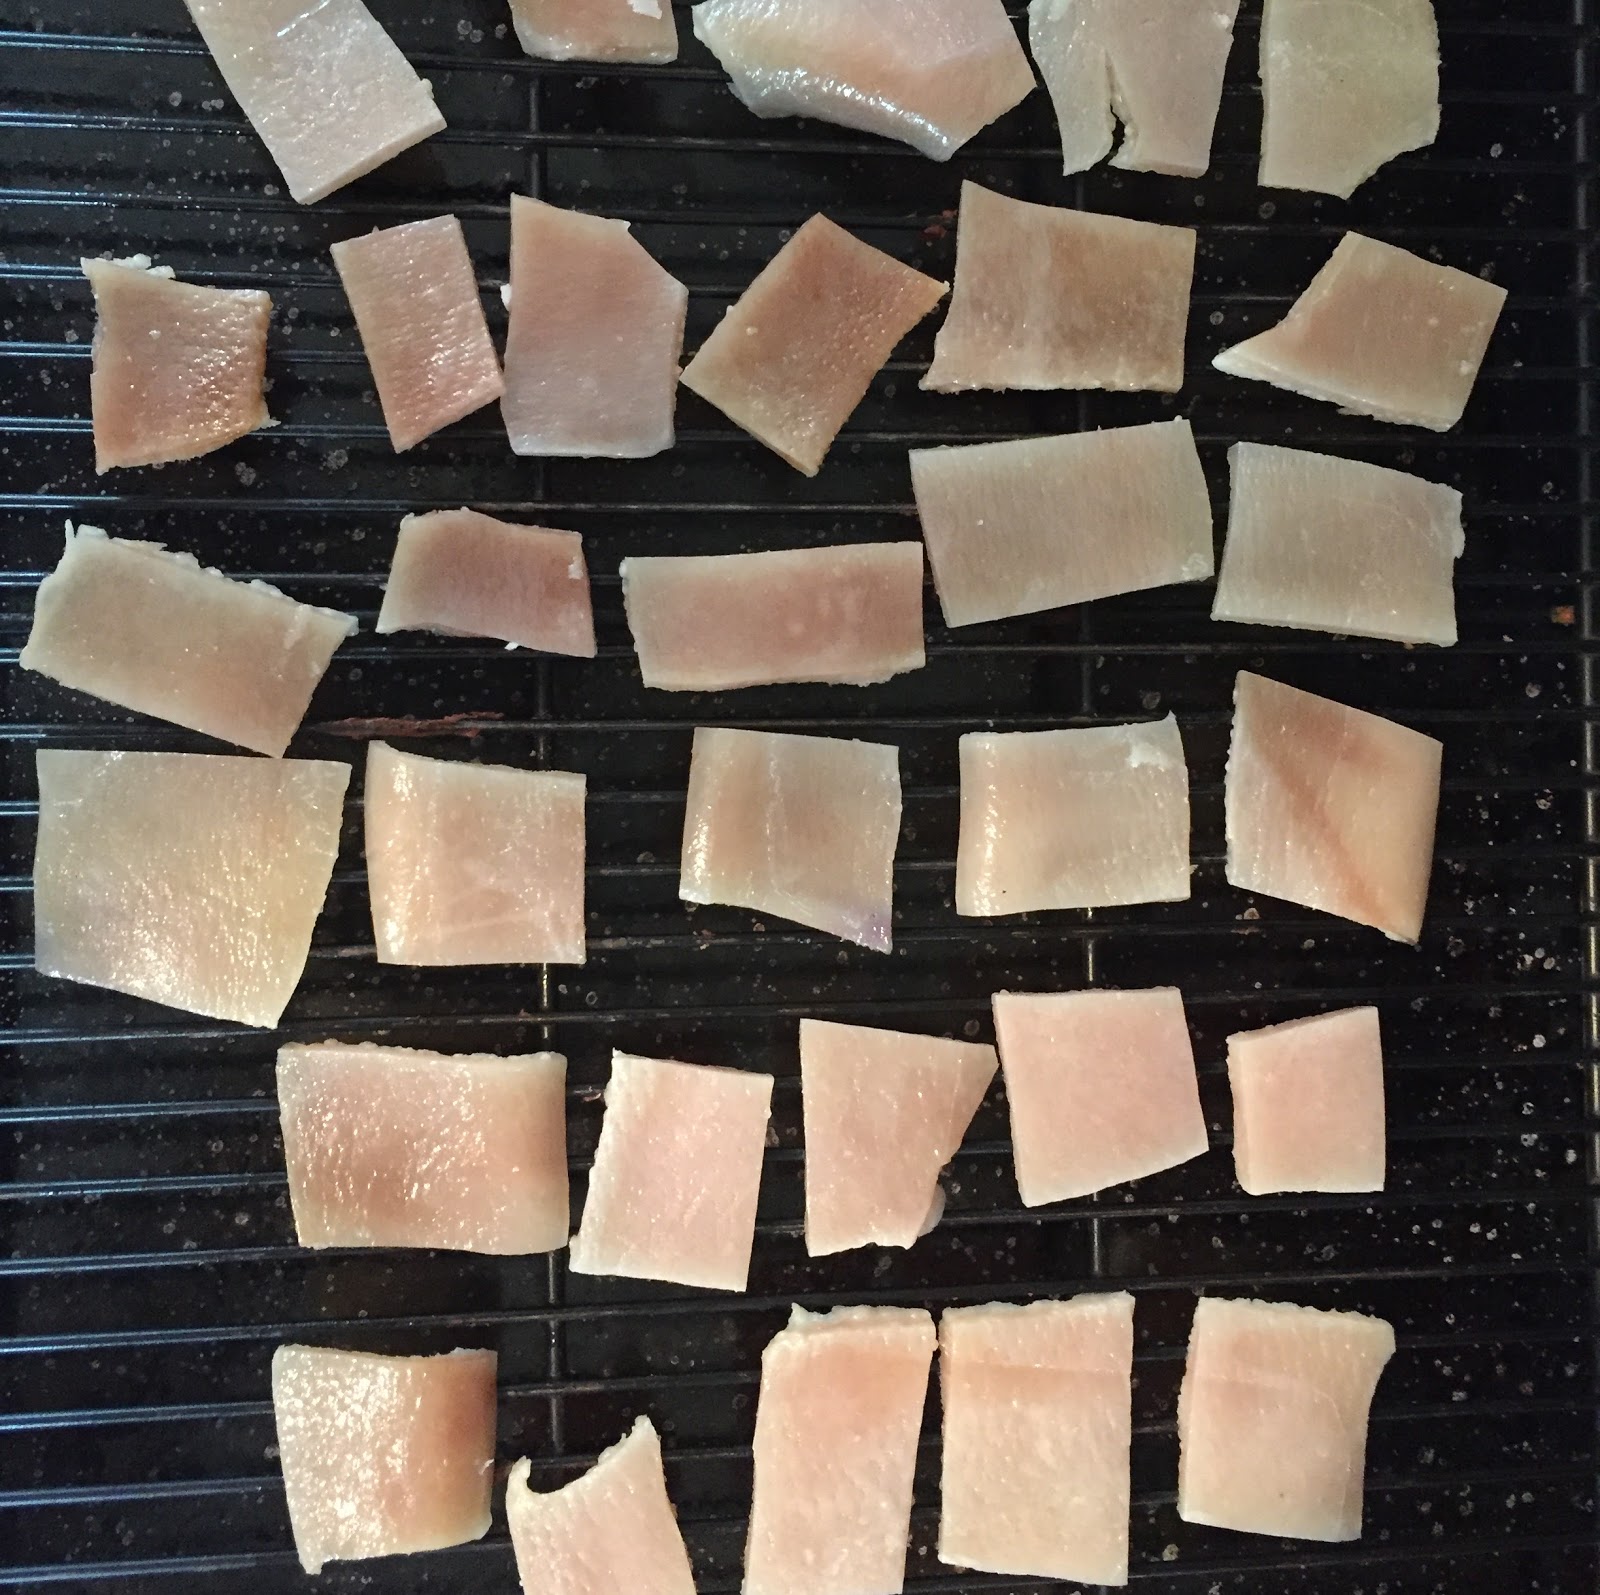
Pigskin

After boiling gently in salted water 1.5 hours and then chilled an hour. See skin is separated from fat.


9.08.2016
flatbreads, yogurt dough
This is a great dough with only a few ingredients that's great for a flatbread that can be made in a few minutes out of the fridge. It uses 2% fat greek-style yogurt, I've been using Fage. It's a tight dough, not sticky, so it's easy to work with. It's also easy to push into a disc with just hands, I don't use a rolling pin. The method I use to cook them is stove top according to this post (or you can do them in the oven like in this post).
The dough is simple, mix 2% Fage yogurt 100 g, water 50 g, salt 3 g, instant active yeast 1 t, unbleached white flour 150 g (ca. 1 scant C). I have also recently used a mix of yogurt 70 grams and ricotta 30 grams in this same dough. It was pretty amazing.
Mix by machine or by hand, let rise about a half hour at room temp and toss in fridge. Use up to 5 days later. To bake, remove from fridge, portion dough into 4 pieces, round them, squish into ca. 6" discs using flour to keep from sticking. Bake according to one of the methods linked above.

After a few minutes in the pan and a minute or so flipped, I toss it directly on the gas burner. The first side cooked in the pan goes toward the fire first. Most of the time, it puffs up.

7.18.2016
bbq, propane and propane products
About a year ago, I made the mistake and picked up Franklin's bbq book. It was then I realized any bbq I had done was shit. Franklin's bbq is from live fire and rapidly moving smoke rather than any configuration of smoldering wood in a closed system, the latter producing an acrid mess of a smoked meat product. I kind of knew that was an extreme position, but was stopped in my tracks.
Adding to this reluctance to ever visit bbq again was the duration of a typical smoking session, i.e., 12h for a pork butt, ca. 18h for a brisket, too much time for a busy life.
Having thought about this for literally a year, I decided to take a shot with the most convenient rig I could imagine and just taste, again, the results of my own labor to see how horrible it was. I rigged up an electric hotplate, nestled inside a kettle grill, not the best long term solution, but good for a single shot.


Here's the final product. I pulled it off when it was a tad over 200F internal, wrapped it and tried some after an hour. Crazy heavy bark, nice smoke inside, but surprisingly, not acrid at all. Great smoke and not overpowering.
So, I'm not sure why I feared this option for so long, but suddenly I'm alive and in the bbq game again and the perfectionists can snub me.
My final problem is the electric thing. That hotplate is going to self destruct if left in that hot chamber for too long. So, I decided propane might be an option for me. I decided to modify a kettle and place it atop my turkey cooker for future use.


I decided to try some fish to give it a trial. I cured a piece of salmon and tilapia with 1:1 brown sugar:salt for an hour, rinsed/dried it and smoked it at 200F (oak) for an hour until it was about 150F internal. Killer!!


So there, the propane rig can hold 250 internal easy using about 100 grams propane per hour, it'll be an easy 18 hour brisket cook. As far as the purists, I'm ready for bbq again, my crispy ends on the chuck roast were too good to live without.
5.18.2016
brown basmati, mung dal pilau

My leftover rice game has always been weak. My attempts at transforming cooked rice into a biryani inevitably turn into an overcooked rice dish. I should also say, I'm not entirely sure about the difference between biryani, pilau, fried rice, etc. So, my terms might be off.
So, I had some brown rice (rice cooker, basmati, about 3 cups) and wanted some veggies and beans with it. I simmered some mung dal in water (50 g beans in 180 g water) until tender but not falling apart. I rinsed the dal in cold water and kept it on the side. I also prepped: fine diced carrots, chopped button mushrooms, sliced green onions, made a puree of garlic/ginger/serrano, chopped cilantro.
Given my history with overcooked rice in dishes like this, I thought adding rice last might be best, here's how it went down: Turmeric, cumin, coriander, mustard and paprika were warmed in 2T ghee until the mustard seeds started popping. Then added serrano/ginger/garlic puree and let it cook a few minutes. Then sauteed carrots then shrooms, green onions, pre cooked mung dal, tamarind extract, cilantro and finally brown rice. After the rice addition, I only cooked it until the rice was warmed through.
Finally, a rice, veg, bean dish that wasn't mushy. I'll make this again for sure.
4.25.2016
uttapam waffles
Sometime back I tried making uthappam. From what I understand from co-workers, uthappam and dosa use the same batter but vary in thickness which is derived from the amount of water used to thin the batter.
The little pancakes were fun, but I wanted to see if there was any difference in taste if the utthapam had a different texture and took out the waffle iron, used the same formula for the batter:
basmati rice, 160 g
urad dal, 40 g
basmati and dal soaked in a total of 300 grams of water for about 8 hours.
pureed the mix in a wet grinder
added salt, 3 g
yeast, 1/4 t (I know, it's a cheat)
This mixture set for about 8 hours loosely covered in a bowl on the kitchen counter. Next morning it was nice and puffy. I took a scoop of batter and ladled it on to a well-preheated waffle iron and topped it with red onion, green onion and slivered serrano pepper. The top eventually crunched down on the mixture and voila! A utthapam waffle. We let them rest about 6 hours, warmed them up slightly and ate them with a raita.


Not sure if I'd make them again. I think I like the pancake version better. I did like how the toppings got cooked right in to the waffle. This would make them much easier to take along as a snack.
2.20.2016
chicken wings
There's nothing ground breaking here, but it is a reliable method for sublime wings.
A couple weeks ago I poached a 4 lb chicken with a bunch of veggies to make preparations for chicken and noodles. As I stripped the carcass of the meat, the skin fell off in large sheets. I couldn't resist, I needed to do something with it. I'm not a big fan of chicken skin, but decided to place it on parchment on baking sheet and bake it at 250F. Towards the end of the baking, I sat by the oven window and watched the darkened skin bake. There was a uniform bubbling across the surface as it cooked into a near potato chip crispness. Even at 250F, it was actually cooking like it was frying in oil. That chicken skin was so fatty and thick, it served is its own deep fryer!

Just out of the oven, crackly potato chip-like rendered chicken skin.
For kicks, I took some wings out of the freezer. I had a big bargain bag of wings and drummies. I took a few pieces out, dumped them in water about 15 minutes to thaw them, dried them off with paper towel and placed them on a fry pan, skin side up, with a sprinkle of coarse salt, pepper and squirt of Louisiana hot sauce and baked them at 250F for 2 full hours. Internal showed at least 180F after an hour but I let them go, wondering if the cloak of thick chicken skin would protect them from getting too dry. I finished off the wings with a 550F broiler for about 10 minutes (DO NOT LEAVE THEM UNATTENDED!).

thawed and seasoned

250F for 2h, followed by a 10 minute broil. SO CRISP!
I will never cook a wing any differently ever again. Do this.
2.01.2016
thoughts on bbq
Since reading Franklin's barbecue book, my world view of low and slow has been completely demolished. Franklin is dismissive of any smoker set up that uses smoldering fuel, lump or otherwise. His view is bbq should be cooked from the indirect convective heat produced from a live flame, most often in a smoker with offset firebox. He doesn't think the heat and smoke emanating from smoldering wood is a good means to create good barbecue.
In one part of the book, he discusses a specific offset firebox. It's a cylinder where wood spans a lower arc of the circle leaving good airflow beneath. The fire produced in this way creates a perfect heat source for smoking.
Wouldn't you know, the wood in a kettle grill sits in exactly the same manner. And, with the vents and all, the airflow and movement is darn good in a kettle. So, despite Franklin's dissatisfaction with the kettle for 'q, it can be configured quite well for this ideal heat source.

Given this ideal set up am I ready to take on the ultimate challenge, a brisket? NO! This type of set up is a pain to maintain. Replenishing wood every 30 minutes is too much work for an 18 hour brisket not to mention how much wood it would take! But, it does provide a good start. Now maybe a redesign of the dome for this purpose, fuel type, ventilation scheme, etc. Fun stuff to think about.
1.14.2016
pizza: high temperature on the Baking Steel (using parchment?!)
Few things cause more anxiety about pizza making than shoving the floppy piece of dough off the peel and onto the hot cooking surface intact. Lately I've been using, and have been smitten with the Baking Steel. I use it in the lower third of my oven using 550F convection. This corresponds to a surface temp of about 570F, determined by infrared thermometer.
That's pretty hot. A pizza dough, topped, is pretty floppy. Takes a bit of practice to get the right amount of flour beneath it so the pie slides. Any toppings hit that surface and the smoke detectors are going off.
Parchment's a great crutch but it's only good to 425F. BUT, if it's trimmed close, the micro environment near the pizza crust should never exceed about 220F. I tried some 12" diameter pieces trimmed close to the pie but the bottom crust just wasn't as crisp as not using it. It must've encapsulated just enough moisture to prevent the crisping of the crust.


12.17.2015
hotdog in a pretzel / bagel
Dog walks are when I do what I enjoy most, think. I think about how to get rich, how to replace my 9-to-5 with a more satisfying 9-to-5 and what things need to be baked.
I make pretzels once in a while. They're fun and always come out tasty, big crowd pleaser. I use a stiff, pretty dry dough:
water/milk (1/1) 200 g
butter 14 g
sugar 10 g
salt 5 g
unbleached white 300 g
instant active yeast 3-4 g
mix, knead and toss in fridge for about a day. Then shape, proof, toss in 5% w/v lye solution for a minute, remove, place on Silpat, sprinkle with salt and bake at 400F convection on the Silpat until they are a rich mahogany color - like fine leather (that's a Ron Burgundy reference, he's my idol).
Then I started reading more on bagels. My last run wasn't very satisfying. I use a similar dough for bagels, but after the shape and proof, I toss them in a sweetened (malt or brown sugar) pool of boiling water and bake. But I don't get the shine and tug to the exterior. I read somewhere that bagels were originally subjected to a lye dip. Are bagels just a chubby pretzel? Until I sort this complicated mess out, I decided to take a side step and make a snack while I do research. I had the desire to jam a hotdog into a pretzel (this is a reference to The Todd from Scrubs, another idol of mine "give the Todd some love!" /raises hand for high5).
Some action shots below, not much of a procedural post, just a few notes.


A lot to think about on this. Need to read about bagels vs pretzels. Probably heading toward something similar to a pizza roll next, layered pepperoni, sauce and cheese in a pillowy soft dough but still using the lye treatment on the exterior, I like the effect a lot. Thanks for all the online discussion! And thanks to @jarsloth for being brave enough to taste it. I'm hoping he's still alive.
12.11.2015
fermented banana muffin
A banana muffin. I practically fell asleep typing that. Looking at a couple rotting bananas on my counter I decided to try something. I'm pretty sure someone on the internet did this already, but I was too lazy to go find it.

I peeled the two bananas and mashed them with a wooden spoon and added a ca. 1/8 teaspoon of yeast.

After 12 hours, the mush had what looks like krausen on a batch of fermenting beer and the mixture was at least twice as voluminous as when I started.

I stirred in the head to reveal this fizzing mass of fermentation. I let it go until that night, total ferment about 24 hours.
I figured enough alcohol hadn't been produced for me to be interested in, so I made a mixture to use it in. This mush was destined for muffins. I creamed butter (50 g) in sugar (100 g), added some milk (ca. 15 g) and then blended in the banana mush. I added to this flour (135 g), baking powder (1 t), baking soda (1 t) and salt (3 g) and some allspice because I was too lazy to find the cinnamon that Frankie had taken for mixing in her line of cosmetics.

I plopped the mix in little parchment cups and baked them at 350F for 30 minutes, internal about 198F, probably a tad too much. But soft on top, nice volume, texture good. Not sure they're any better than regular, but kind of a fun experiment.
12.04.2015
pizza: cast iron vs pizza steel, visually similar but Baking Steel wins crispness and taste by miles
I hit a pizza slump some time ago. A slump with regard to my indoor pizza, baked in a conventional indoor oven. I bought a baking steel, altered my dough a bit and I'm out of my slump, but I'm not sure what made the big difference, cooking surface or dough.
So, the dough I'm using: water 220 g, Gold Medal unbleached white 300 g, salt 5 g, Fleischmann's instant active yeast 1 g, sugar 5 g, olive oil 10 g, mix, knead, toss in fridge for a day. Scale to 225 g pieces (to be rolled into 10" diameter pies).
Baking Prep: preheat oven to 550F convection.
Surface 1: Lodge cast iron 15" round. Tossed pan into preheated oven and let warm up for a full hour. Surface temp registered 570F using a infrared gun.
Surface 2: Baking Steel (bakingsteel.com), preheated in the same manner, temp also 568F with same thermometer.
Baked a simple margherita on each surface (an hour apart) using the same dough, 4 minutes baking time. Action shots below:
Final Pie

cast iron

Baking Steel
Side view

cast iron

baking steel
Bottom

cast iron

baking steel
Verdict? Despite similar looking images, hands down, the Baking Steel wins. Much better texture, more crisp, better volume and taste.
Subscribe to:
Posts (Atom)


