Pita mania continues here at the ranch. The soft and tender pita are lying around after the flurry of recent activity. Today we took some of the leftover pita, those made from atta flour, and topped them and baked at 450F. It is a most crisp and delicate substrate for pizza. Almost as good as starting with fresh dough.
2.22.2013
pita pizzas
2.17.2013
stovetop pita
After doing a bunch of chapati recently, I wanted to try the same cooking method for pita. My pita dough: water 180 g warm, unbleached white 300 g, active dry yeast 5g, olive oil 12 g, salt 5g, sugar 10g. Mix, knead and stash in fridge until ready. Can keep it in there for about 5 days and cook with it within an hour.
Tear off 40 g blobs of dough and round them, using scant flour to keep it from sticking, roll out as thin as you can, ca. 6" diameter. Let rest a minute. Preheat a dry pan, cast iron or any heavy bottom pan to a surface temp of about 400F (that's about medium on a big burner). Have some kind of perforated sheet pan on top of an adjacent burner.
Take the piece of dough and toss it in the dry pan for 40 seconds per side and then toss it on the perforated sheet until it puffs. Flip and let it cook 10 seconds or so on the other side to get some charry marks. Wrap the pita in a towel. They'll stay nice and soft when cooled.
Second side, about 40 seconds.
Toss over live flame that has a thin perforated sheet on it, until puffs, watch closely so it doesn't ignite.
Flip and cook the other side and get a tad of char on the other side too.
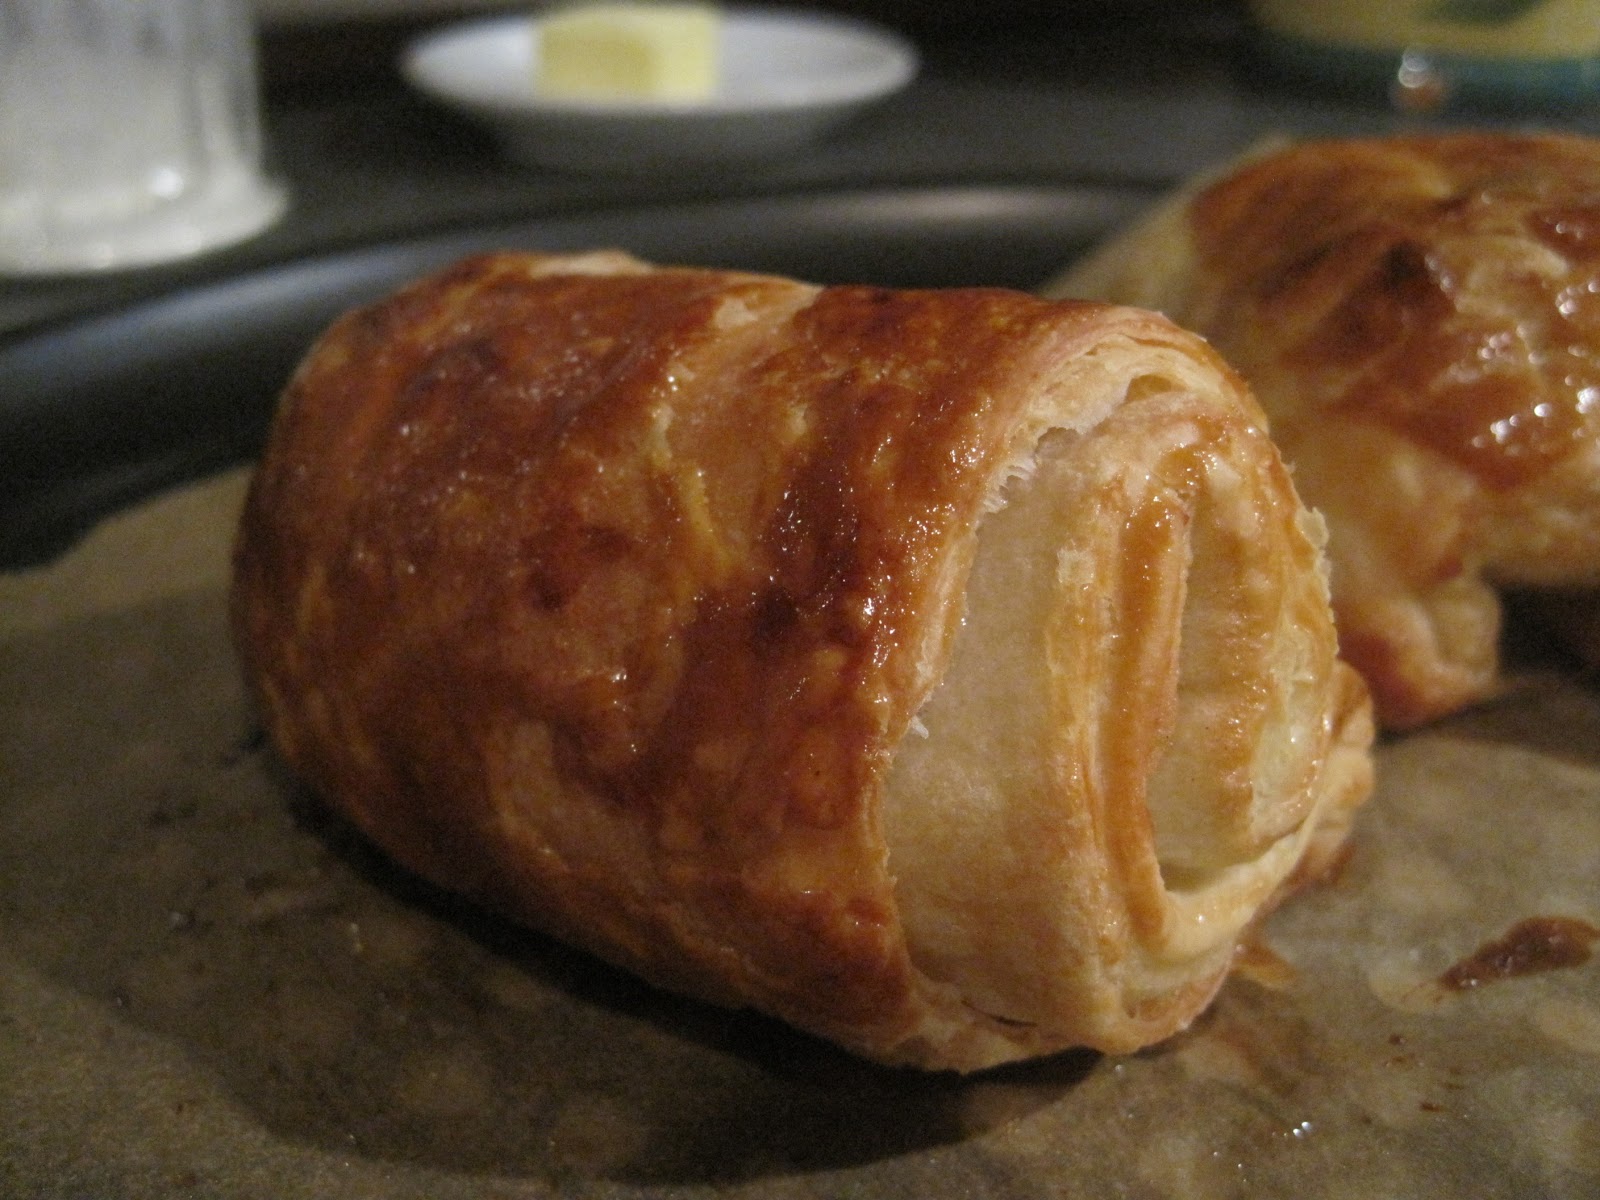
Final product. Tender, soft, light, two layers, really nice. I'm proud of these, much better than my oven baked pita.
2.01.2013
pain au chocolat minis (nutella)
Tonight's the international pot luck at Frankie's school. I tried my croissant dough for pain au chocolat minis. I'm not entirely fond of the no melt dark chocolate that is conventional for these, I prefer nutella. They came out pretty nice. The dough (500 g) is lean and was folded 33 x 2, or 54 layers with 114 g of butter. I froze the dough overnight and left it in the fridge for 6 hours before rolling these. Final proof about an hour. Whole egg glaze with a sprinkle of sugar.
1.26.2013
Towards a leguminous snack
Scattered throughout my archives are a series of posts in which I take beans and boil them in (salted) water until tender. The beans are filtered, rinsed and slowly roasted as a single layer at about 250-300F. The texture is interesting. They are not like the roasted chickpeas one finds in Mediterranean markets, those are vile chalky bits. Cannellini, to this point, have been the best. As they roast, they pop open and the frayed leguminous nuggets are left crisp. It's fun to watch them during the roasting.
1.21.2013
biscuits (layered)
Gather mess together with pastry knife or spackle blade.
Fold mixture together using the blade.
After a fold with the blade, use hand to squish and flatten it out.
Repeat by folding with the blade and flattening with hand, fold in half about 3-4 times.
After folding squish into ca. 1" thick rectangle.
Cut into biscuits.
Place on parchment-lined pan and wash with whole egg.
Bake at 425°F for about 20-25 minutes. Eat.
1.14.2013
120 gram micro scale pastry baking project.
My lean dough for this, before butter incorporation, is unbleached white flour (300 g), salt (5 g) water (175 g) and instant active yeast (Fleischmann's, 7 g). This dough is mixed and tossed in the fridge. After the first rise, I took 100 grams of it and rolled it into a 4" x 6" rectangle, similar (but smaller) to the folding procedure used in this post, and based on Gisseln's text. I used 20 grams of softened butter and proceeded to fold it into 34 or 81 layers. After each fold, the dough went into the fridge to chill, not freezer - fridge. This time, I wasn't going crazy to keep it arctic cold, that was the expt tonight. Just chilled enough for the butter not to ooze and penetrate other layers.
The final dough was rolled to about 8 x 8" and divided. I rolled in some apples sauteed in butter and sugar in the middle, pain au chocolat style (kinda). I gave them a long proof (another part of this expt), about an hour - thus relying less on oven spring for volume, and glazed with yolk (whole egg is a good glaze, but yolk is decadent). They were baked on parchment at 375°F for about 25 minutes.
It's fun to be able to make a dessert like this in about 20 minutes plus baking. The rest of the lean dough is in the fridge and should be good for days.
Final Notes:
- I like this dough, it's acceptable and just about puffy enough with great texture.
- After my class at LaChatelaine and my practice, what's the "trick?" None, practice. So far, I think the most significant part of the entire process is the final proof. It needs to be pretty close to the final size before baking rather than underproofed and relying on the oven spring to take care of the volume.
- The temperature of the dough during rolling is also a big deal. Moving in and out of the freezer is crazy hard to keep track of, using the fridge only, in my hands, seems more manageable. Maybe when the dough gets to be a kg at a time, I might need greater cooling capacity, we'll see.
12.29.2012
honey mustard glazed peanuts
Taking an idea from Ideas in Food I got some raw peanuts from Crestview Market, shelled a bunch, added some Marzetti's honey mustard dressing and salt and baked them at 170°F overnight.
12.28.2012
Wheat Crackers with toppings
The past several days, a few text-type ear worms got to me and inspired this preparation of crackers. It's good and it's general, have fun with it.
My ear worms
1. @Twixlen got Kitchen Aid dough roller attachments.
2. @Hungry_Woolf, when she was an innocent young blogger, used said rollers to make crackers.
3. My health-crazed most recent favorite writer, Martha Rose Shulman disclosed a cracker recipe as my jumping off point.
Dough
water, 100 g
vegetable oil, 30 g
salt, 3 g
atta flour (a fine whole wheat flour commonly found in Indian markets), 120 g
unbleached white flour, 80 g
Mix and wrap in plastic and let sit in fridge over night. This is a dry dough, not slack; this should be dry enough to make it through the rollers without sticking. The dough is unleavened, yet, when baked gives a tender and crisp cracker.
Procedure
Cut dough in thirds and flatten each into a squat, disc and run through rollers on the widest setting. Keep shaping and reshaping and run through rollers repeatedly until you get a nice long rectangular shape; finish it by running through the next thinner roller setting.
See video below for a typical piece of dough, this takes a little practice to get a feel for the reshaping:
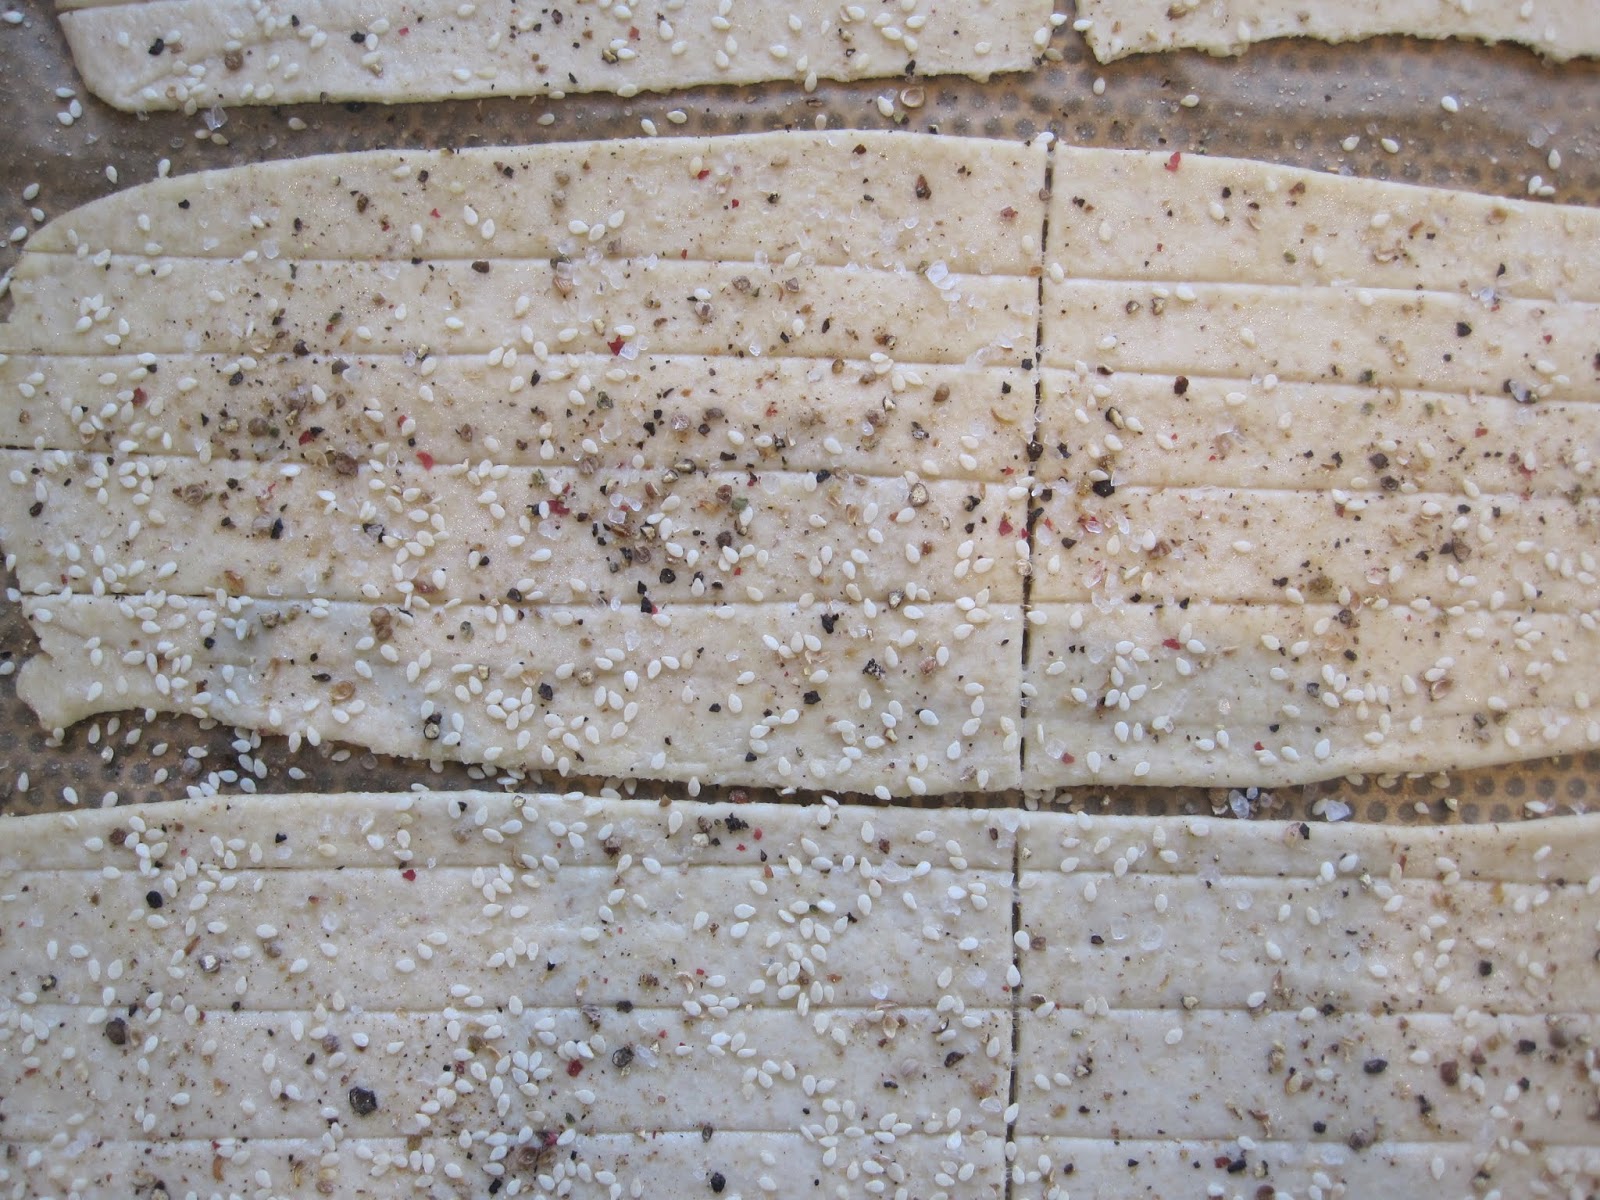
Sheets misted with water, sprinkled with salt, pepper and sesame seeds and rolled lighly with a rolling pin to embed the toppings. I also score the dough with a pizza cutter so breaking these crackers will be easier when they come out of the oven. Bake these about 20 minutes, let cool a little and snap them apart whatever shape you used.
Probly coulda cooked these a little more, until browned, but they were still crisp and tasty. A teaspoon of sugar in the dough would help browning without giving much sweetness.
12.24.2012
salt, sugar, pepper, smoke
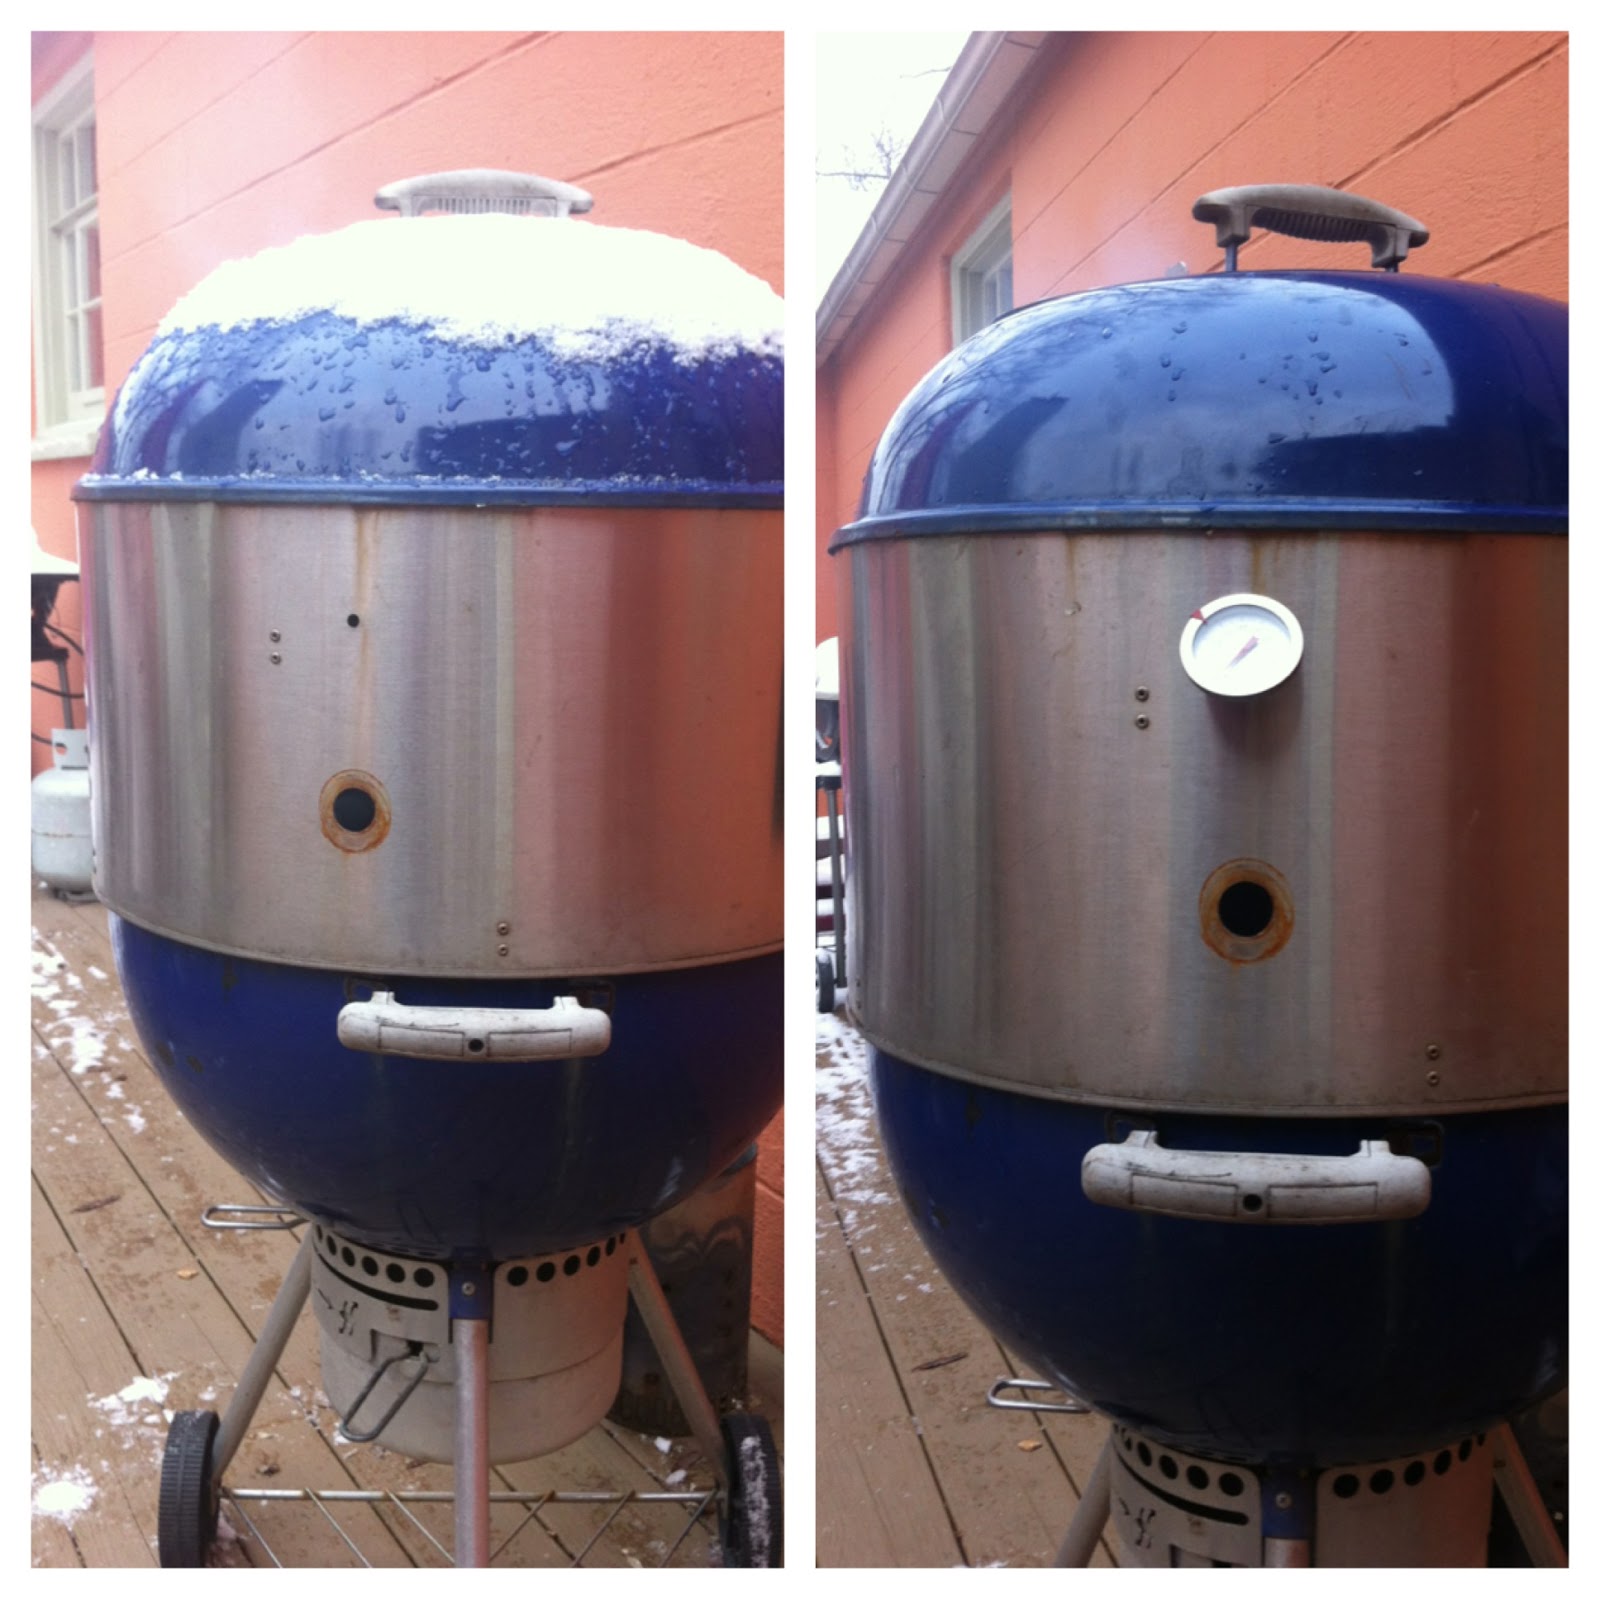
The past week our smoker's been going full tilt. A handful of
briquettes, some chunks of wood and a (slightly modified) kettle grill
can do anything...
This was posted earlier but should not be forgotten. Some almonds lightly dressed with olive oil and coarse salt and allowed to smoke a couple hours.
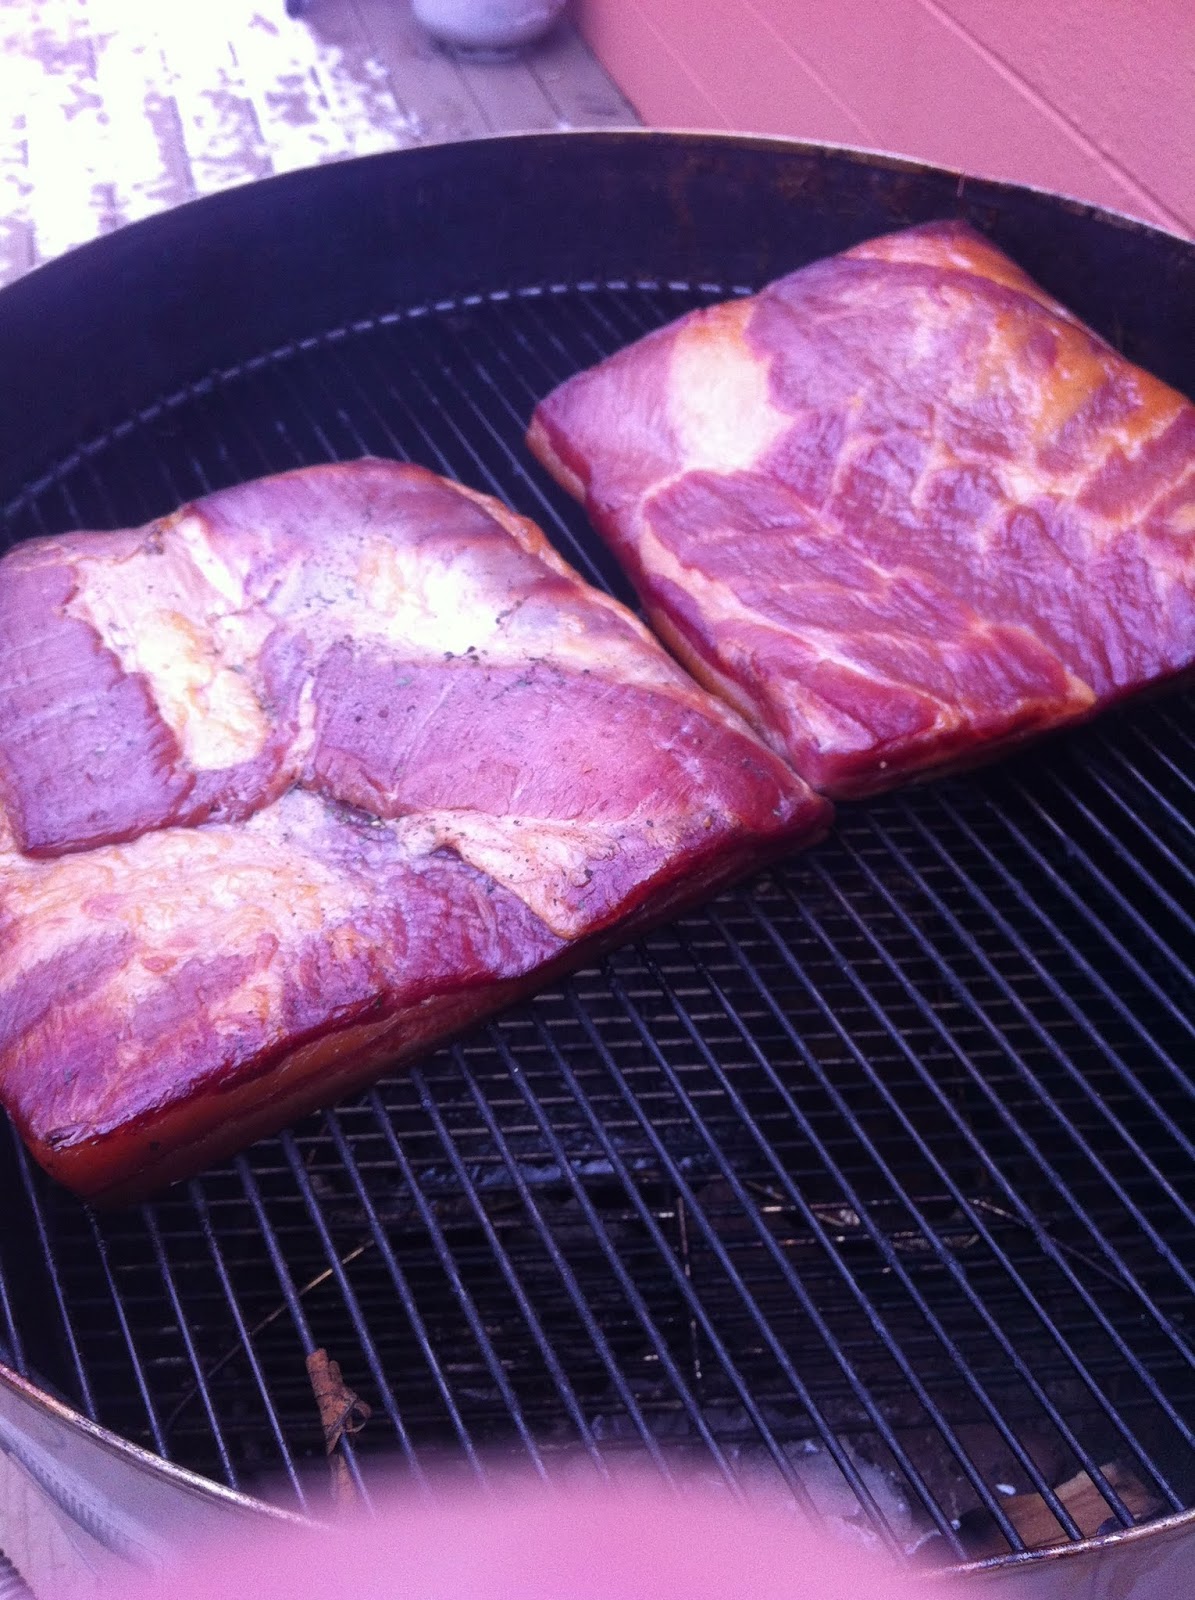
This glorious 10 pounds of bacon was a barter job with some friends from Twitter, I think we made out better on the deal. Thanks @SelimaCat and @M_Herriot! They cured, I smoked and received oodles of their homemade goodies. These pork bellies looked fantastic. They took about 2 1/2 hours. We pulled them and wrapped them in foil when they hit about 140°F.
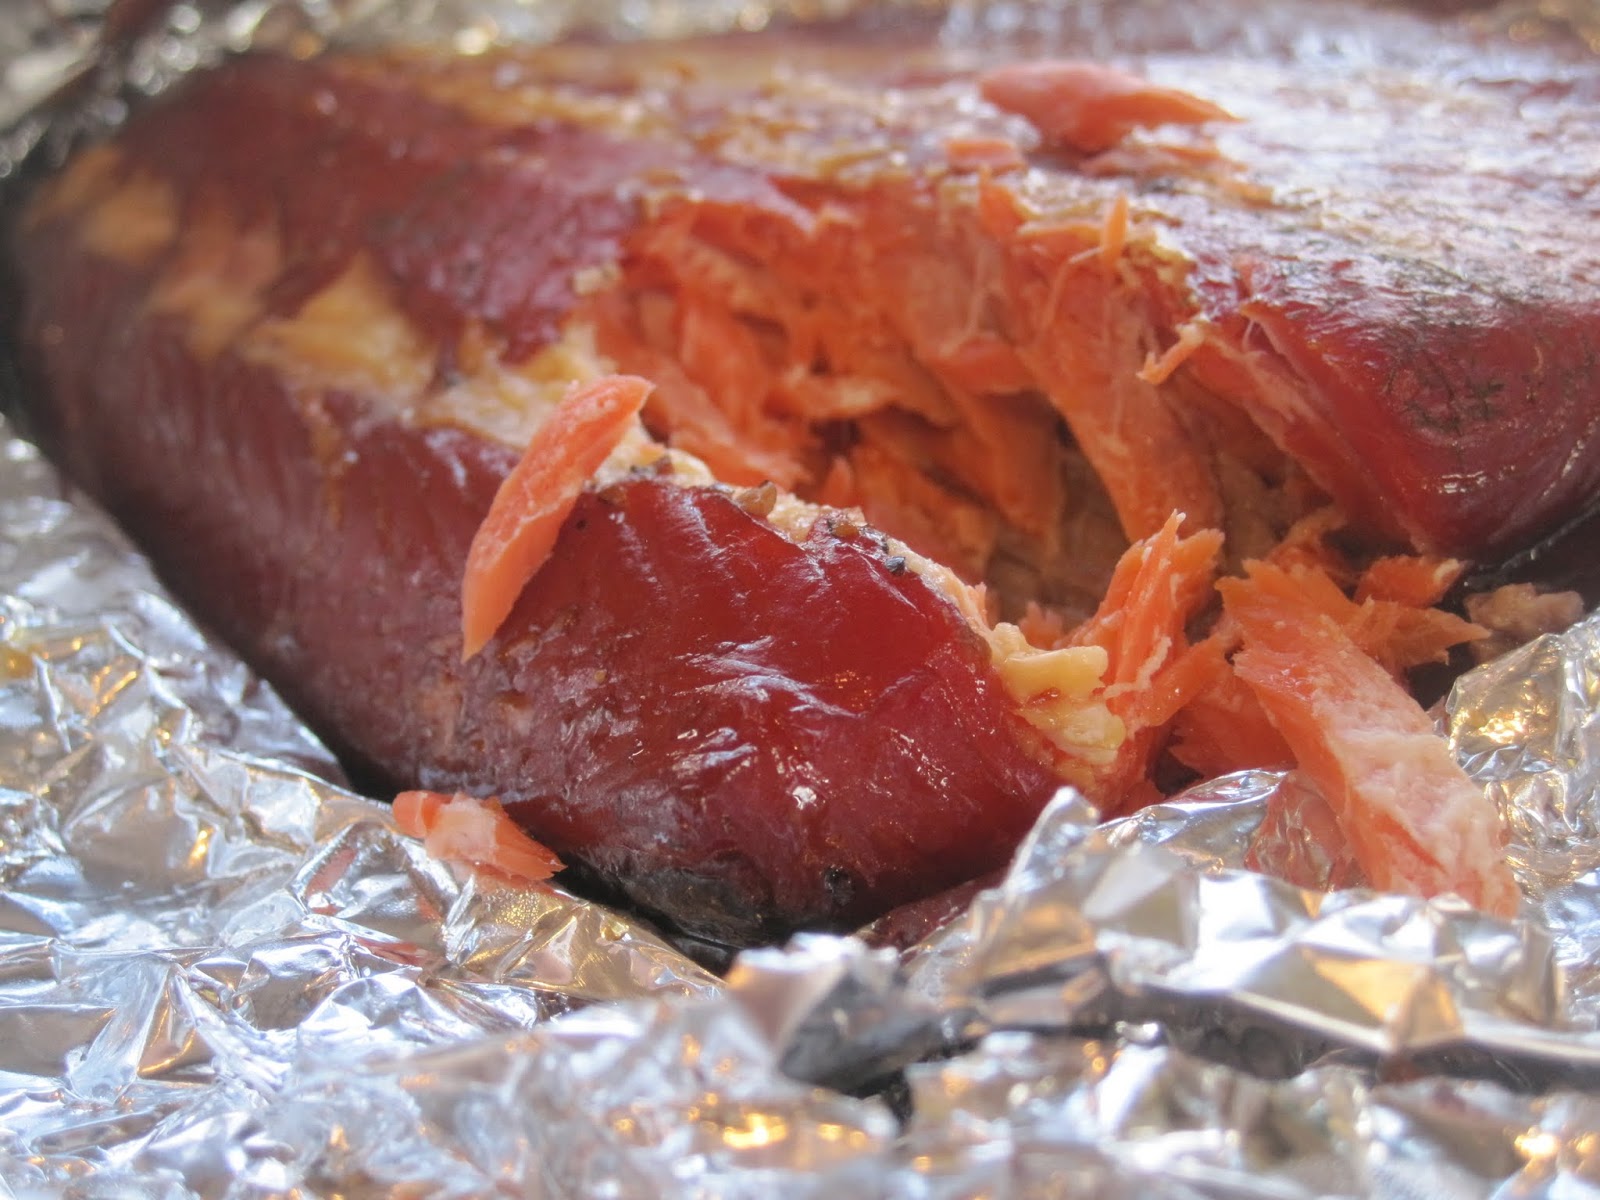
I grabbed a couple pieces of salmon, mediocre quality, just Kroger stuff and layered them with salt, brown sugar and peppercorns, (no weighing) and let the fish sit in it for two days. The fish was rinsed thoroughly and smoked about 2 hours while I endured the mania of holiday Target. It's pretty amazing. You need to smoke salmon.
With these conditions, the smoking chamber was about 200-225F. Smoke wood, apple, generously donated by @RachelTayse and @Alex_Baillieul an industrious and creative couple I've enjoyed getting to know.
12.22.2012
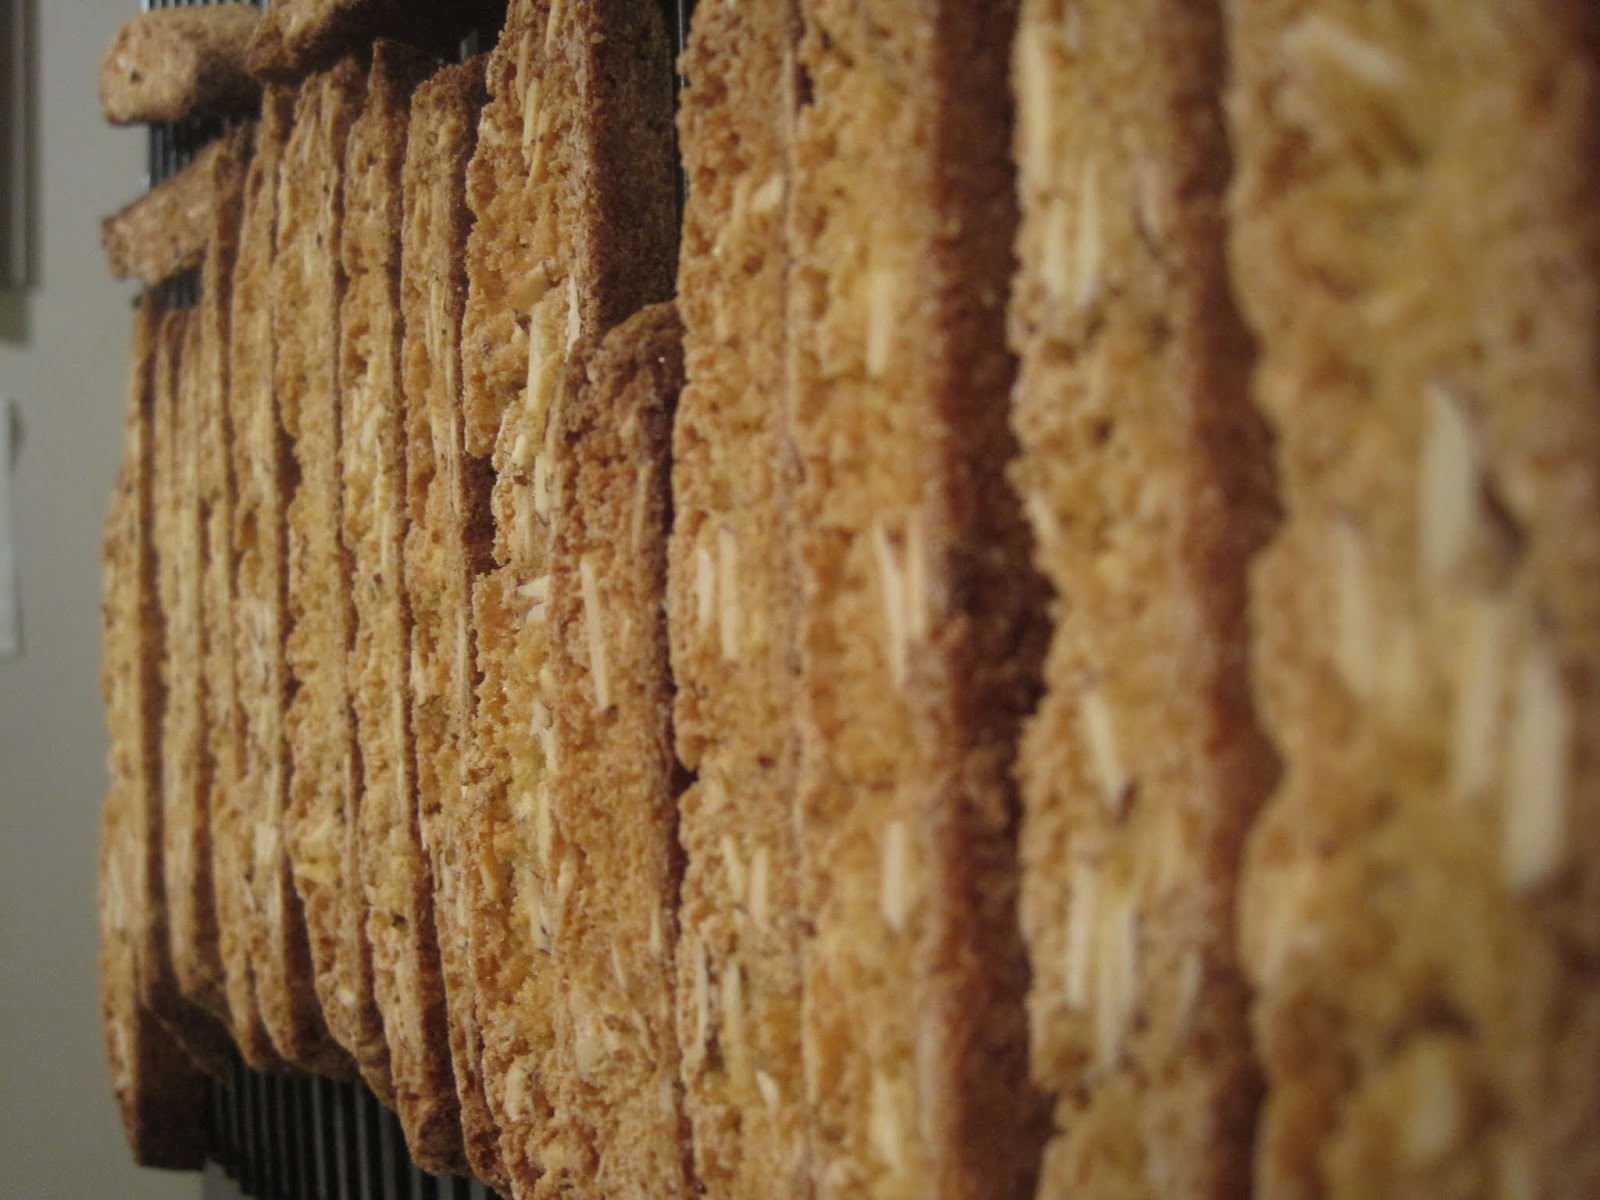
Cantuccini (retrospective)
12.16.2012
cherry wood smoked almonds
I bookmarked a prep from one of my favorite blogs Menu In Progress long ago on smoking almonds and finally got to try it. All I did was coat them with a trace of olive oil, shook some salt on them and tossed them in the grill using indirect heat and only about 10-20 briquettes (and water bath). I also used some traeger cherry pellets and maintained about 225-250F for a couple hours. On cooling, the slick oily appearance disappeared; the almonds were crisp and smoky. The only problem, they won't last long. I think I might even try sugar and salt next time.
11.27.2012
Popovers (again)
These little loaves turned out to win my desire like no bread has in quite some time. But they are fussy. The most common snag is the collapse. While I can't claim to have the most robust preparation nor a systematic experimental design, I think I have a few critical parameters ironed out:
1. Ingredients should be at room temperature. I went to the extreme on this. I blended the ingredients (eggs 100 g, flour 135 g, salt 5 g, milk 240 g, butter melted 12 g ==> 8-10 popovers) with an immersion blender, poured the batter into an empty soda bottle and let it sit out overnight. A few minutes before dispensing, I gave it a shake.
2. Baking temperature. I went nuts on this. I tried a bunch of dual temp modes and still feel it's unnecessary. Currently I'm at a constant 425°F in a preheated oven for 30 minutes; I might move to 400°F for a final run.
3. Baking time. Bake LONG enough. The collapsing popover is inevitable if it's not just shy of being burnt. This is another reason I'll go with a longer time and lower temp, the popover structure is delicate until fully cooled. But, 425°F worked well and it's where I'll hang my hat a while.
4. The pan. Despite my spiffy clean aluminum pans, popovers still stuck and the death knell of the popover puffiness is a tug to get it out of the pan. I bought a Chicago Metallic mini popover pan, (don't worry, the mini is the equivalent of a standard 2.5/3.0" cupcake pod's volume) and the popovers almost leap from the pan - no sticking at all. Worth the investment.
5. To preheat or not. Preheating the pan is common but not always done (Alton Brown doesn't preheat, Ina Gartner preheats exactly two minutes, ...). A more reliable starting point is room temp, with each cup lubed with a ca. 1 teaspoon of vegetable oil.
That's the current state of popovers in our kitchen. A few more runs and I'll be ready to try some nifty additions: cheese, bacon, etc.
11.18.2012
clean your pans - with power tools
When you do venture to popovers, your muffin tins gotta be clean, really clean. Hot pan, add oil, no stick - I think Jeff Smith (Frugal Gourmet) said that whenever he cooked on cast iron. It's true. Once you learn to clean a pan, you may never have to buy a new one again, the thrift store is overflowing with them. I use a circulating rough wire brush on my drill and go nuts, the pan can take it.
Before / After - this is a real case, out of our cupboard this morning.
| click to embiggen, it's pretty impressive |
popover time lapse
When baking something infrequently, I need to practice a little before game day. The staff here at weber_cam love popovers, so I thought we'd make some in the near future and decided to practice a bit. Their preparation is often described with a batter, e.g., egg (50 g), flour (60 g), milk (120 g) and salt (3g), some add butter too (melted, 6 g), whisk, let sit at least a half hour and pour into preheated and lubed muffin tins at a high temp for 20 minutes and finish off with a low temp for 20 min to harden the surface, so they won't cave in. Incidentally, this prep is everywhere, the earliest I've seen is in Better Homes and Gardens, but I'm pretty sure it's as old as the oven itself.
I HATE preps with two temperatures. Nothing is more irritating in a busy kitchen and no more likely to fail than two temperatures during a 40 min window. I tried these at 410F (instead of 425/375) for the whole cook time, worked pretty nice. No cave-ins at the end. The batter described above makes about 4-5, and I lubed the muffin tin with a small pat of butter.