1.24.2012

Croissants, needs work

I made croissants and pain au chocolat about 10 years ago and got an itch recently to give it another go. It's basically an enriched dough, plus a bunch of butter folded in carefully and made into funny shapes, a little like a multi-layered biscuit only leavened with yeast instead of dough - and more layers. My enriched dough was a straight dough (everything mixed together and allowed to rise): milk (300 g), butter (38 g), salt (9 g), sugar (15 g), yeast (instant active, 7 g), and Montana Sapphire unbleached white (500 g) and mixed into a stiff dough with a bread machine. It did it's first rise at room temp for a few hours. Then I rolled it into a 10 x 15" rectangle and that's where the images begin.


Above is the dough rolled out and I'm unwrapping my 300 g of butter prepared about a week ago using my spiffy trick to get the butter into a 10" square.

The square rested on 2/3 of the rectangle (above) and the dough flapped over in thirds.

First flap...

Second flap to make the first 3 layers.  The rectangle is now about 5" x 10" and placed in the refrigerator to chill.  Then it is removed and rolled out to a 10" x 15" rectangle and folded in thirds.  Repeat this until you get to 81 layers of butter. (3 to the 4th).

Roll 1/2 of that rectangle while keeping the other half in the fridge into a 20" x 10" rectangle, cut into 5" x 5" squares and cut the squares diagonally and roll 'em up.  Let rise about 20 minutes, they're chilly to start but still proof only about 20 minutes.  If this stuff warms up, it'll get ugly.  You're going to rely on the oven spring to get the volume in them.

Bake on a piece of parchment that is placed on a cookie sheet in a preheated 425F oven and glaze with a whole egg wash.


I wasn't thrilled with them.  They were ok, but the middle was a tad dense, maybe the proof was too short.  Anyway, there they are.  Because of the butter trick, they were pretty easy.  After all the folds to get the 81 layers, the rectangle sat in the fridge overnight and the final rolling was done the next morning (at 4 am, ugh).  But it was still pretty fun.  I look forward to making them again, just have to change some: final rising times and/or baking conditions, still thinking about it.

Recipe for these from Wayne Gisslen.

1.08.2012

Butter trick, preparing for croissants

I'm sure I have nothing on any French bakers out there, but I think this is slick.  I got 300 grams of butter into a 10" x 10" tile with barely any effort by using a ziploc.  It chills in the fridge into a nice wafer.  When ready, I'll trim the sides, peel off the plastic and voila, fold, fold, fold - croissants!


The Stonehenge of chilled butter

Use of this in croissants

1.05.2012

Heat sources and data logging

Click on images for an awesome view...
The other day I scored a stirring hotplate from the thrift store for $6.  It looked new and is originally about $500-$600.  The value in this heat source is the stability of temperature over time.  I used a datalogger and collected about 7,192 data points to illustrate it.  
  • On the left: the blue box, the profile represents the heating of 2 gallons of water on heat setting 3, 
  • Next is the black box showing the cooling period when I turned the heat down to "2"
  • The green box shows the same 2 gallons heated at the lower setting and finally, 
  • The black box on the right shows water heated in a slow cooker, observe the oscillating pattern. 
While the slowcooker is ok for chili, it would suck for a sous vide bath (or something).
Below is a scale expansion of the blue box to show the range of temperature:

Cool or what??

12.30.2011

Local business, a consumer's perspective. (Columbus, OH edn)

When I visit the Starbucks on N Broadway and N High I sit at the bar and study the line that builds between 7 and 8. This line is profoundly different than any line at a McDonald's where customers stare at their phones while ordering rarely acknowledging the unfortunate soul behind the counter. Customers at Starbucks holster their devices 3 places out waiting for their turn to engage with their barrista with anticipation rivaled only by a meeting with the kid at the Genius bar.

My favorite employee, Jen, works mornings, the spirited and giggly Cia works nights, Shawn is friendly and polite, his father loves gadgets, the unshaven guy sometimes at the register got his skateboard backpack at a thrift store and a newly-mustachioed Jason plays at Wild Goose once in a while with his band. One young lady is delightfully pleasant and talkative when business is quiet. Annie is a little standoffish toward me, but I know she's a psych major who decided grad school just didn't do it for her, she enjoys her work. Kelly is diligent, damned efficient and knows how to run a shift. They all know things about me.

At a popular Short North cafe, I recently had a pourover that was lukewarm because the young lady, managing at least another customer or two, didn't care. I've been about four times: two visits were bad and two were mediocre. It's not where I'll go to consume my ration of caffeine or spend my limited funds. Oh, their coffee's outstanding and local and all that.

Something about the too oft-maligned Starbucks' employees is magic. They are the soul of the successful franchise because their coffee is insipid; I wish I had the nerve to bring my own and offer them a sitting fee. Yet, I go, I sip, I enjoy, religiously. I yearn for a social connection with my consumption - especially when I'm slapping down cash for food. Don't hate successful businesses, study them.

Dave is a frustrated amateur food scientist and former chemist who blogs about food at weber_cam and occasionally blathers at Dave's Beer. Today he provides unsolicited advice to local business owners.

12.14.2011

Bread for the teachers (again)

The other morning, I made bread for the teachers at Frankie's school. It's a fun morning of baking which I've done once before where I make about 40 pieces of bread for our hardworking public teachers as a small tribute to their dedication.  This run was a little different than in the past and I learned a lot.

Testing yeast and flour on smaller scale is helpful, but nothing is like the real run. I used to cook on perforated thin sheets of stainless steel for convenience and other reasons but have turned back to clay tiles. The most significant factor in baking crusty loaves at home, I believe, is humidity in the oven. Anyone can humidify an oven with any "trick" they think works but I also believe most crust faults result from too much humidity. Anything else I say is without substance because measuring relative humidity in an oven at 400-450F requires a really expensive probe. Until I do some measurements, feel free to read Julia Child's famous recipe on how to make crusty baguettes. Her too many ways to humidify the oven convinced me none of them are very effective.

In this run, I tested no steam and relied on a pretty full oven full of bread to provide the initial moist environment. I cooked about 2 lbs of dough at a time in 75 g rolls using 450F and convection on preheated tile. The convection was a further attempt to dehumidify the oven in late stages of baking. 

Dough prep: I went with a basic lean bread dough: water 360 g, Fleischmann's fast yeast 1 pkt (7 g), olive oil 10 g, salt 10 g, unbleached white flour (Montana Sapphire) 600 g, and kneaded in a bread machine. I did this 4 times and set the blobs in a 15 qt stainless pot on my ca. 40F deck for the day. 7 hours before baking, I pulled in the pot to let warm up, when I woke up, it was 60F. The dough was portioned in 75 g balls (about 65 g after baking), rounded, let rest and shaped them into minis. I cooked 12 at a time for about 20 mins each. The total baking session was about 2.5 hours. The crusts were slightly crackled on the surface and the crust may have been the best I ever achieved. This is a sloppy post, I just needed to document it. Here's some action shots:


I made the dough about 24 hours before and left it outside at about 40F the entire day.


I took the pot in 7 hours before baking to warm up in a 60F house.


12.05.2011

Merguez: three painful hours


The last time I endured 3 hours of French-related agony was in grad school when, in an attempt to convince my girlfriend I was all that, I sat through Germinal.  It was the longest, darkest movie I never understood.

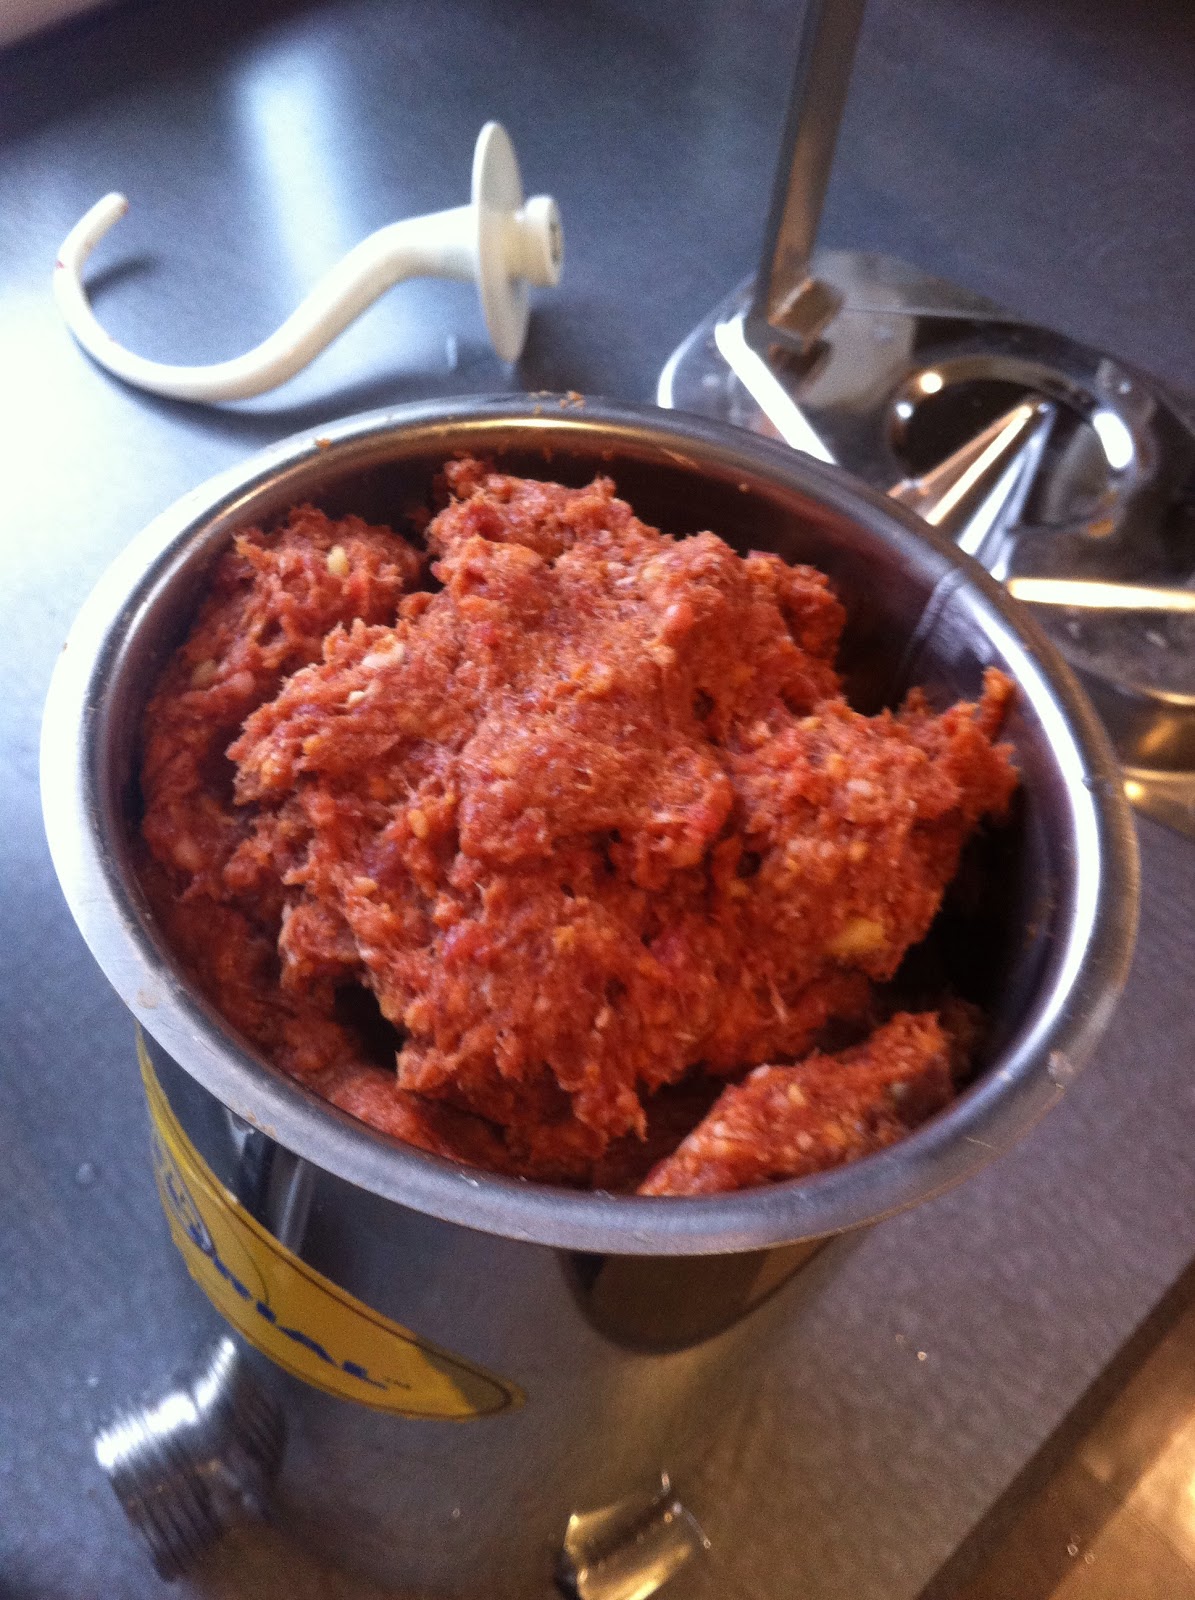
Lucky enough to still have that woman in my life, I tried to make something she and I would enjoy to relive a past adventure to Paris.  I tried my hand at merguez.  A spicy, really red, greasy link sausage most perfectly served with couscous.  Despite SaucissonMAC's expertise and directed readings, I was overwhelmed  trying to find a recipe.  Having had it in Paris once long ago, I believed I could recall enough to alter a recipe that would reproduce what we ate so long ago.  I'm recording this less than successful episode because I'd like to try again.

Here's some details:

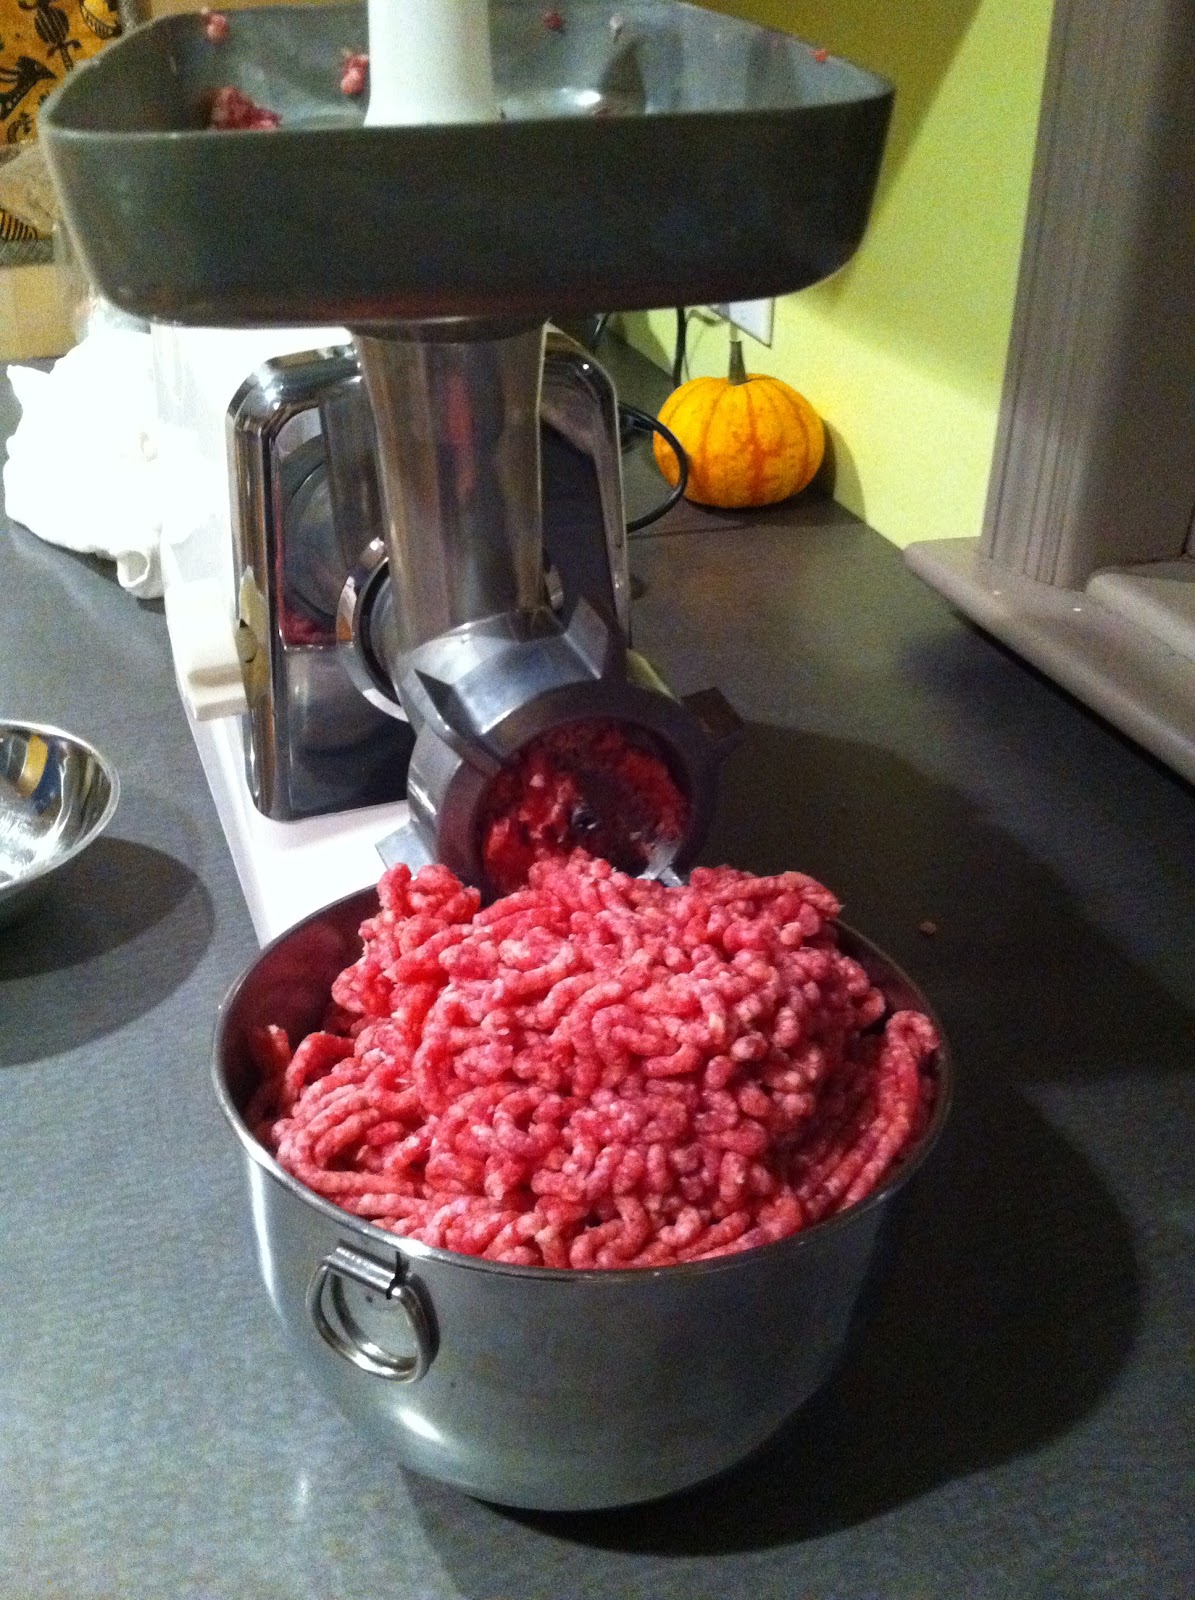
  • Lamb, 2000 g, from a 9 lb halal shoulder from Mediterranean Food Imports, cut by the butcher into pieces, ground twice using a small die (yield about 3 kg, kept some for later)
  • Pork fat, 250 g, (so much for the halal thing)
  • Salt, 30 g (only 6 g/lb, but I was relying on getting some additional  salt from the harissa)
  • Garlic, 25 g finely minced
  • Paprika, Spanish sweet, 2T
  • Paprika, spicy, 2T
  • Cumin, 2T ground
  • Coriander, 2T ground
  • Cinnamon, 1t
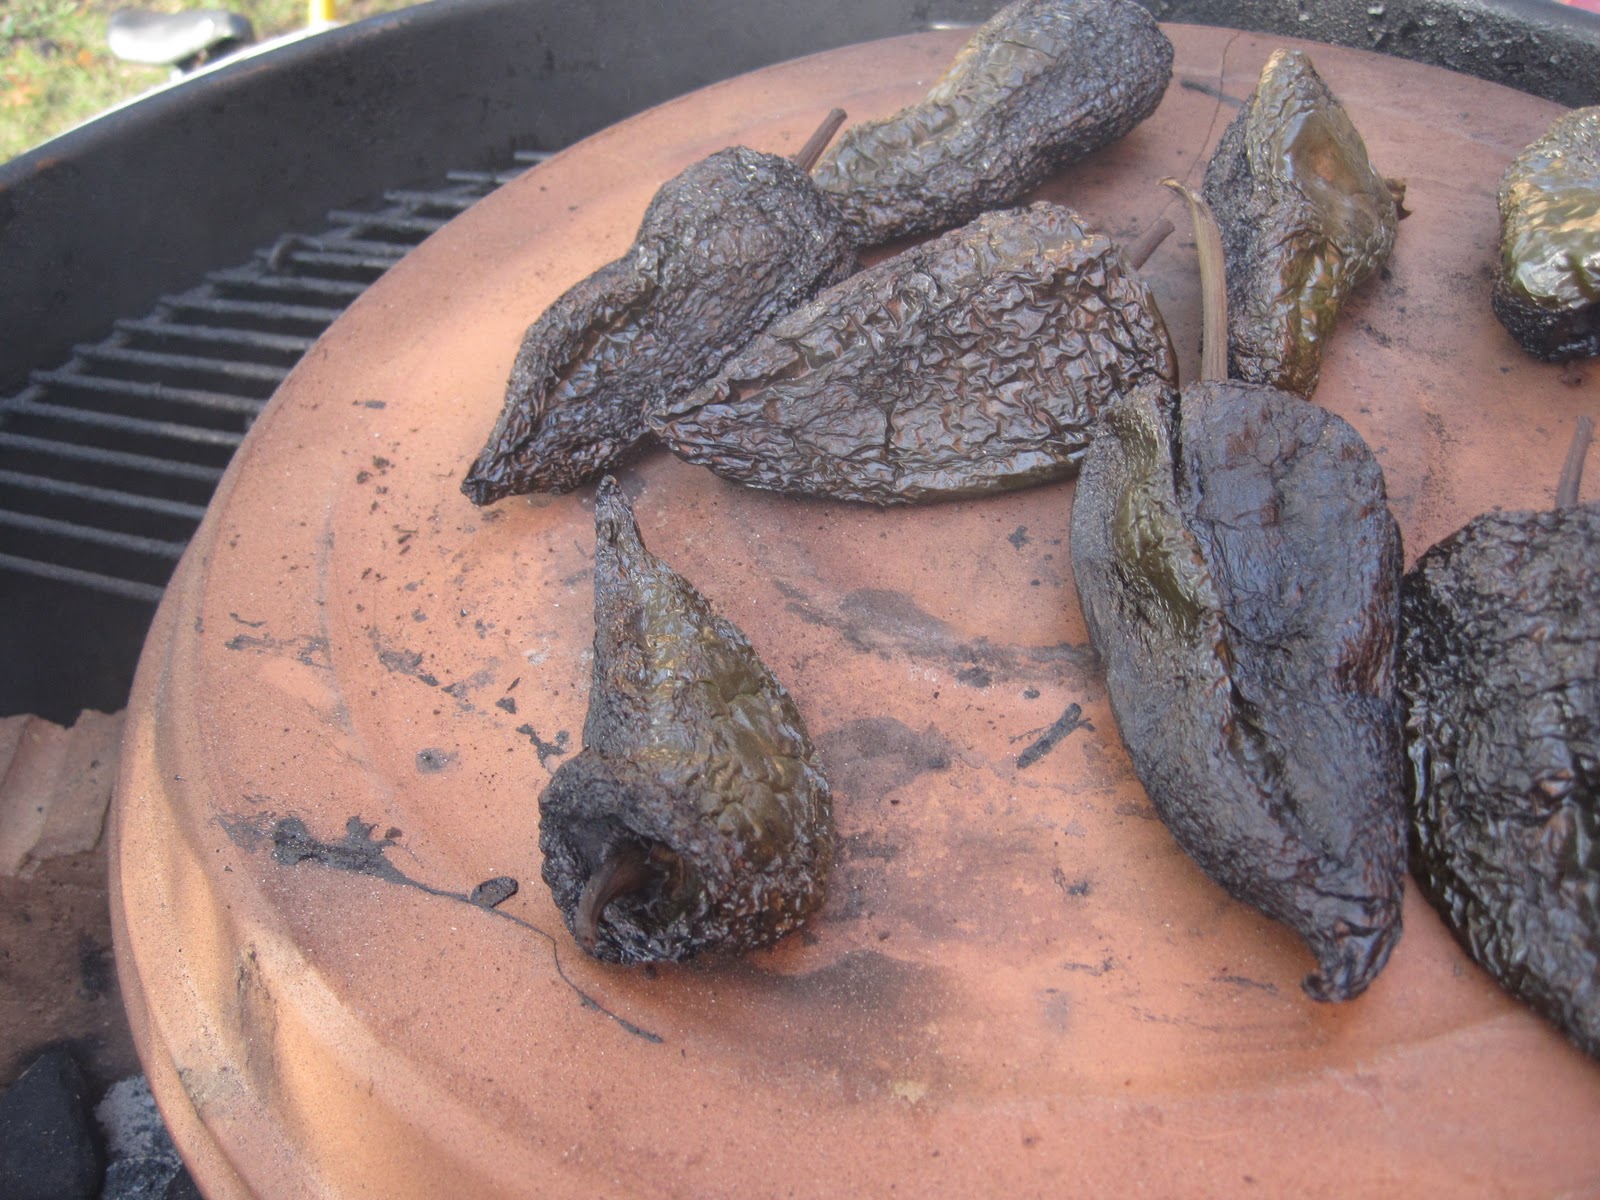
  • harissa, 60 g, a commercial preparation from the same market (this is where SaucissonMAC may yell at me), this was the brand I used.
  • water, 60 g

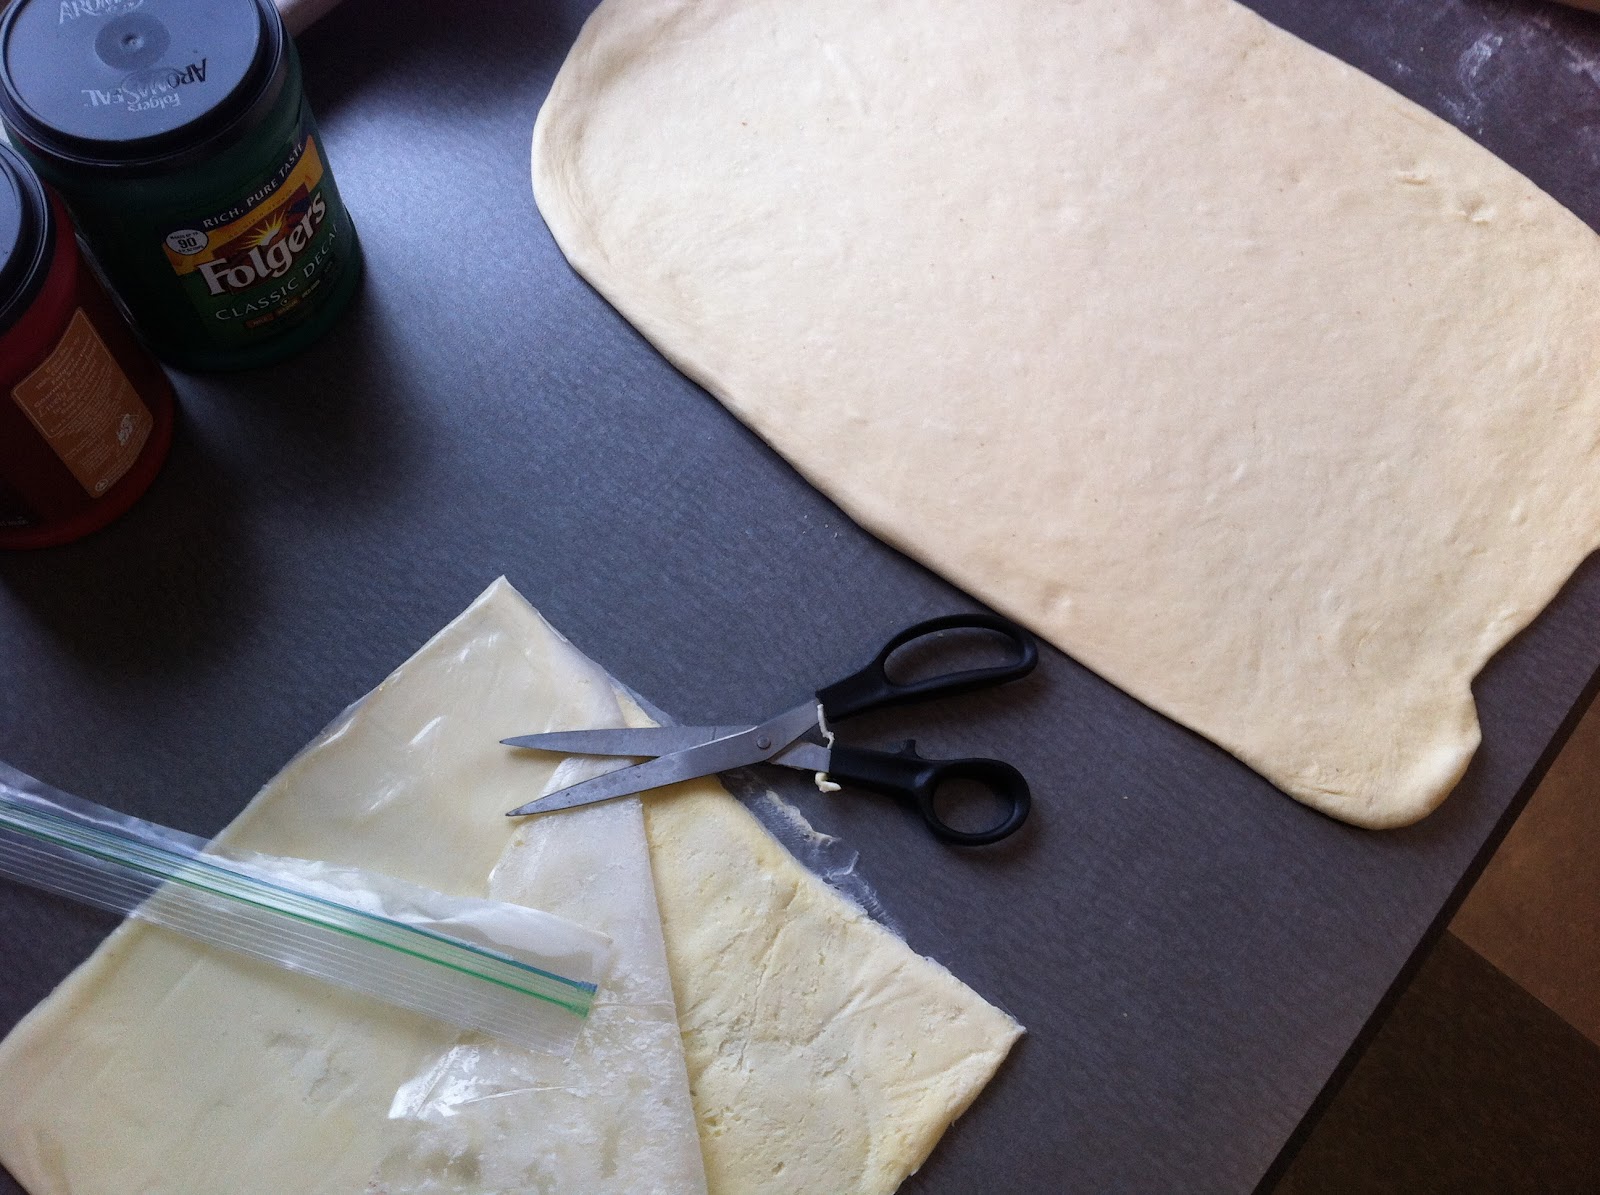
See a few pics below of the process.  Should've been more images, but my hands were busy trying to muffle the f-bomb attack.

After mixing until slightly sticky, I fried a sample patty.  With $45 dollars of lamb on the line, I feared too much salt or too much hot (harissa) and I fell content too quickly.  The salt was perfect but (in hindsight) it lacked heat and it wasn't red enough.  I really, really wanted the blazing red color.  I now realize the signature of this sausage is harissa and I should've made my own, but the stuff I bought tasted good and  was smokin' hot; I think I was simply too light on it.

To this point, the prep was a delightful walk through the kitchen.  Then came stuffing into the sheep casings and I was immediately transported to the mines with Depardieu choking with black lung.  The casings were tough to thread on the stuffing funnel, they tore, etc.  I forged ahead for a few hours. I manged about 3 lbs of links and saved the rest as bulk.


While not a total flop, it's a darn good lamb sausage, but definitely room for improvement.

11.16.2011

let rise until doubled in volume


Recently, I decided to measure the volume of the first rise of bread dough containing various combinations of yeast, flour, shortening, etc. in order to see if this volume had any predictable relationship to favorable  attributes in the final baked bread.  I conducted the test on a small portion and called it an assay.  The motivation was to try to gain some reproducibility in the final bread that has plagued my deceptively simple baguette.  The volume measured was not predictive of the success of the final baked goods,  but the method of measuring the volume of a small dough ball might still be useful.

The expression that titles this post is ubiquitous in bread baking texts.  It's a way of telling a baker when to toss the risen dough into the oven, in other words, how long he should proof the final pre-cooked loaf.  I don't know why the factor of 2 is significant, I'm guessing it was a more terse way to describe a complicated reaction; proof too long, the bread falls and is dense - under proof and the final loaf is equally ruined.  This doubling factor is simply the optimal rise time to get the best oven spring without it flopping upon exposure to high heat.

"Doubled in volume" is not an intuitive end point observation on something shaped like a blob.  Using what I learned on the volume measurements, one could take a small fraction of the dough, a small sacrificial piece, and measure its volume in a cylinder over time and use it as a type of indicator for the rest of the dough.  In the video, we observe the full range of the lump of dough over time in a narrow cylinder.  It actually rises about 3 times its original volume.  But, at the end of the rise, we see the curved surface of the dough leveling out, indicating the dough is coming to it's maximum volume.  This end of the rise also indicates the point in which the entire mass will collapse with a minor tap.  This was a lean dough composed of water 180g, unbleached white flour 300g, yeast Fleischmann's rapid rise 7g, salt 6g, canola oil 6g and from that 100 grams taken for the measurement.

I think it's an interesting diagnostic to run beside a rising loaf.  This dough ball is a sample of the bigger loaf; if it rises in the same conditions, it should provide an indicator how long to proof regardless of whether your kitchen is hot or cold, etc.  In this case, the loaf should be baked an hour into the rise.

ps Dear @Conagra, can I have a job?

11.07.2011

A cast iron oven example boule.

I'm a little obsessed with the beauty of the cast iron bread cooking method.  This dough formula is pretty simple but scaled carefully for the cast iron dutch oven.  It's a straight dough from:
water, 210 ml
salt, 6 g
yeast, fleischmann's fast, 7g
honey, 6 g
unbleached white:wheat:rye (85:10:5) 350 g
The almost 600 gram loaf was given a final proof inside a covered 3L cast iron dutch oven, docked using a pair of scissors and placed, covered, in a 425F oven.  Again, the cast iron dutch oven was room temp!  It was baked 20 minutes covered and 10 uncovered.  No steaming the oven, no nothing.  It's good.

Next?  This is a nice resting spot for a daily bread boule.  For my upcoming pain au levain, I think this is a nice foolproof cooking method for my foray into levain-based breads.

10.31.2011

couple petit baguettes from a starter

I hacked together a starter, a wild yeast culture worked up from Stutzman farms whole wheat and then shifted to mostly white starter over the past couple days.  I tried it out by incorporating some into a simple dough last night, prepped the rolls this morning and I'm about to dig in ... pretty tasty.  Definitely worth pursuing.


10.29.2011

10.26.2011

Volume and little crispy boules that will eventually hold a meatball

Found a patent today I wanted to try to reproduce. The claim was a dough containing ascorbic acid, L-cysteine and xanthan gum produced a bigger volume bread than any single component. I've been trying little crispy boules because they're cute, they can be hollowed out to make a meatball slider and I can make a bunch of them quick if I want to feed the teachers.

Here's the comparison I did: 6 little crusty rolls on each side. These were made from 2 recipes varying only a few additives. Each roll started as a 40 gram ball.

Dough was made from water 90 g, unbleached white flour 150 g, sugar 5 g, soybean oil 1% rel to flour, Red Star active dry yeast 3.5 g, salt 2.5 g.

-added to Left 6 rolls' dough: vitamin C ca. 60 ppm
-added to Right 6 rolls' dough: vitamin C ca. 60 ppm, L-cysteine 10 ppm, xanthan gum (all nat Bob's Red Mill) 400 ppm.

click image to enlarge, the difference is a little more clear


The difference is tough to quantify (note: post baking weight average both sides 35 g). Finished bread volume is not trivial to measure, but the ones on the right look a little more full and they opened better at the slashed places. I'll let them cool until tomorrow and take a taste. While bread is warm, flaws are harder to catch, once cooled I can make some observations about taste, something to look forward to tomorrow.

Regarding parchment, on all but 1, I used a small disc in the bottom of the tin. It was plenty to prevent a blob from sticking. On the bread in the lower left corner, I used a cupcake liner and it stuck to the roll like glue. Those cupcake thingies are awful.

10.24.2011

dried apple chips

I've never been quite sure what is in those packages labeled "dried apples."  This is what they look like when I make them - I do wish the images were better, but still tasty...


Slice apples thin.  I used a mandoline slicer and Galas (I think).  I put them on parchment in a layer with some overlap and sprinkled with some sugar and cinnamon.


Baked at 250°F for about an hour.  They don't get crisp, just dried and a little tough.  They'll continue to cook when out of the oven, so take them out and sample and put them back in until they are as dry as you like them.   But wait, there's more...


Ah, now that's more like it.  I popped the tasty, dried, but limp chips in a 200°F oven for another hour and voila, crispy apple chips.  This is the proper endpoint.  So, low temp and cook 'em a long time until they are crisp and delicate.