These are a few new practices I've adopted when preparing our daily bread. It's my usual sloppy post because this is just a quick pause to share some notes with you and I'm back at it...
1. I keep dough in the fridge almost always now - a finished dough - not a starter. A starter is some combination of flour and water and yeast (native or added) that ages over time. When it's time to bake, some of the starter is built into a dough with additional flour and water, proofed and baked. Instead of this, I have an entire dough with salt and all in the fridge waiting to go in the oven after a proof. When I want to bake, I pull off enough for a loaf, leave the rest and add another glob of full dough to it for future use. This mixture eventually incorporates very old dough with new. I like this method, I get the advantage of some long term flavor development with some spontaneity to accommodate a busy schedule. Sometimes I even pull off a few meatball sized lumps for a few flatbreads for Frankie's lunch.
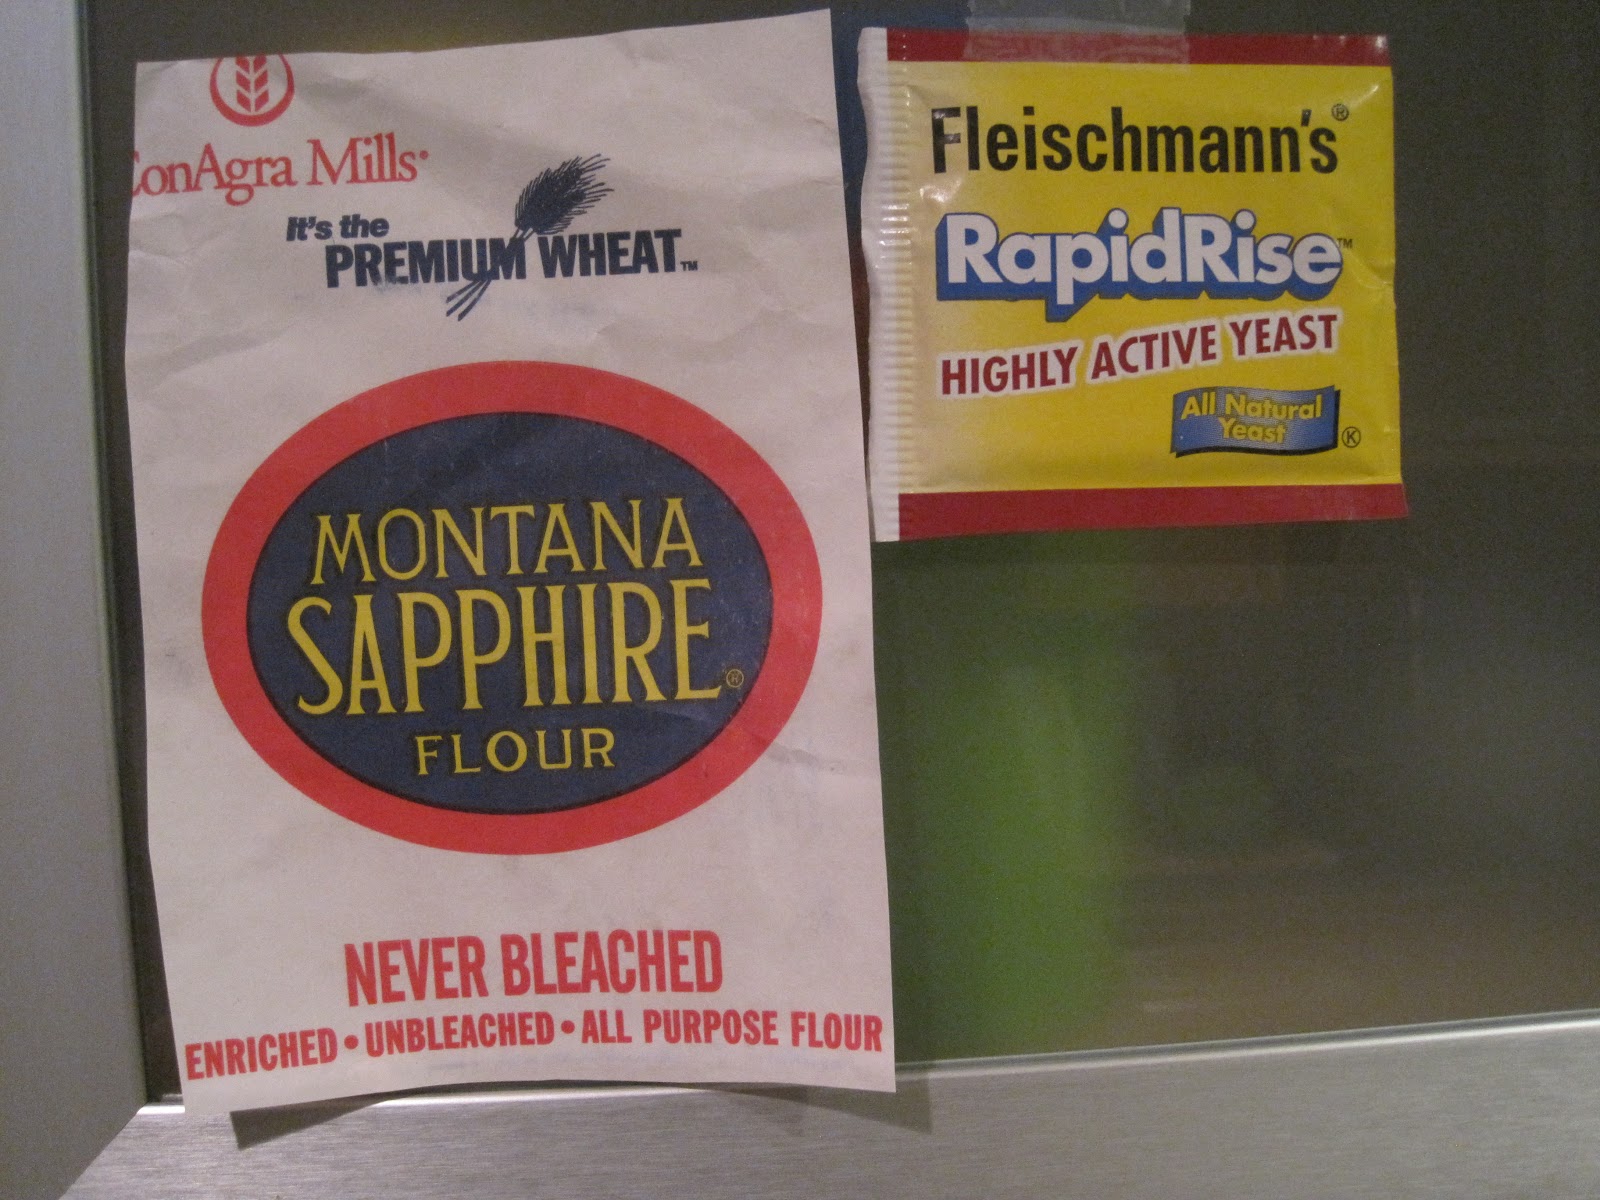
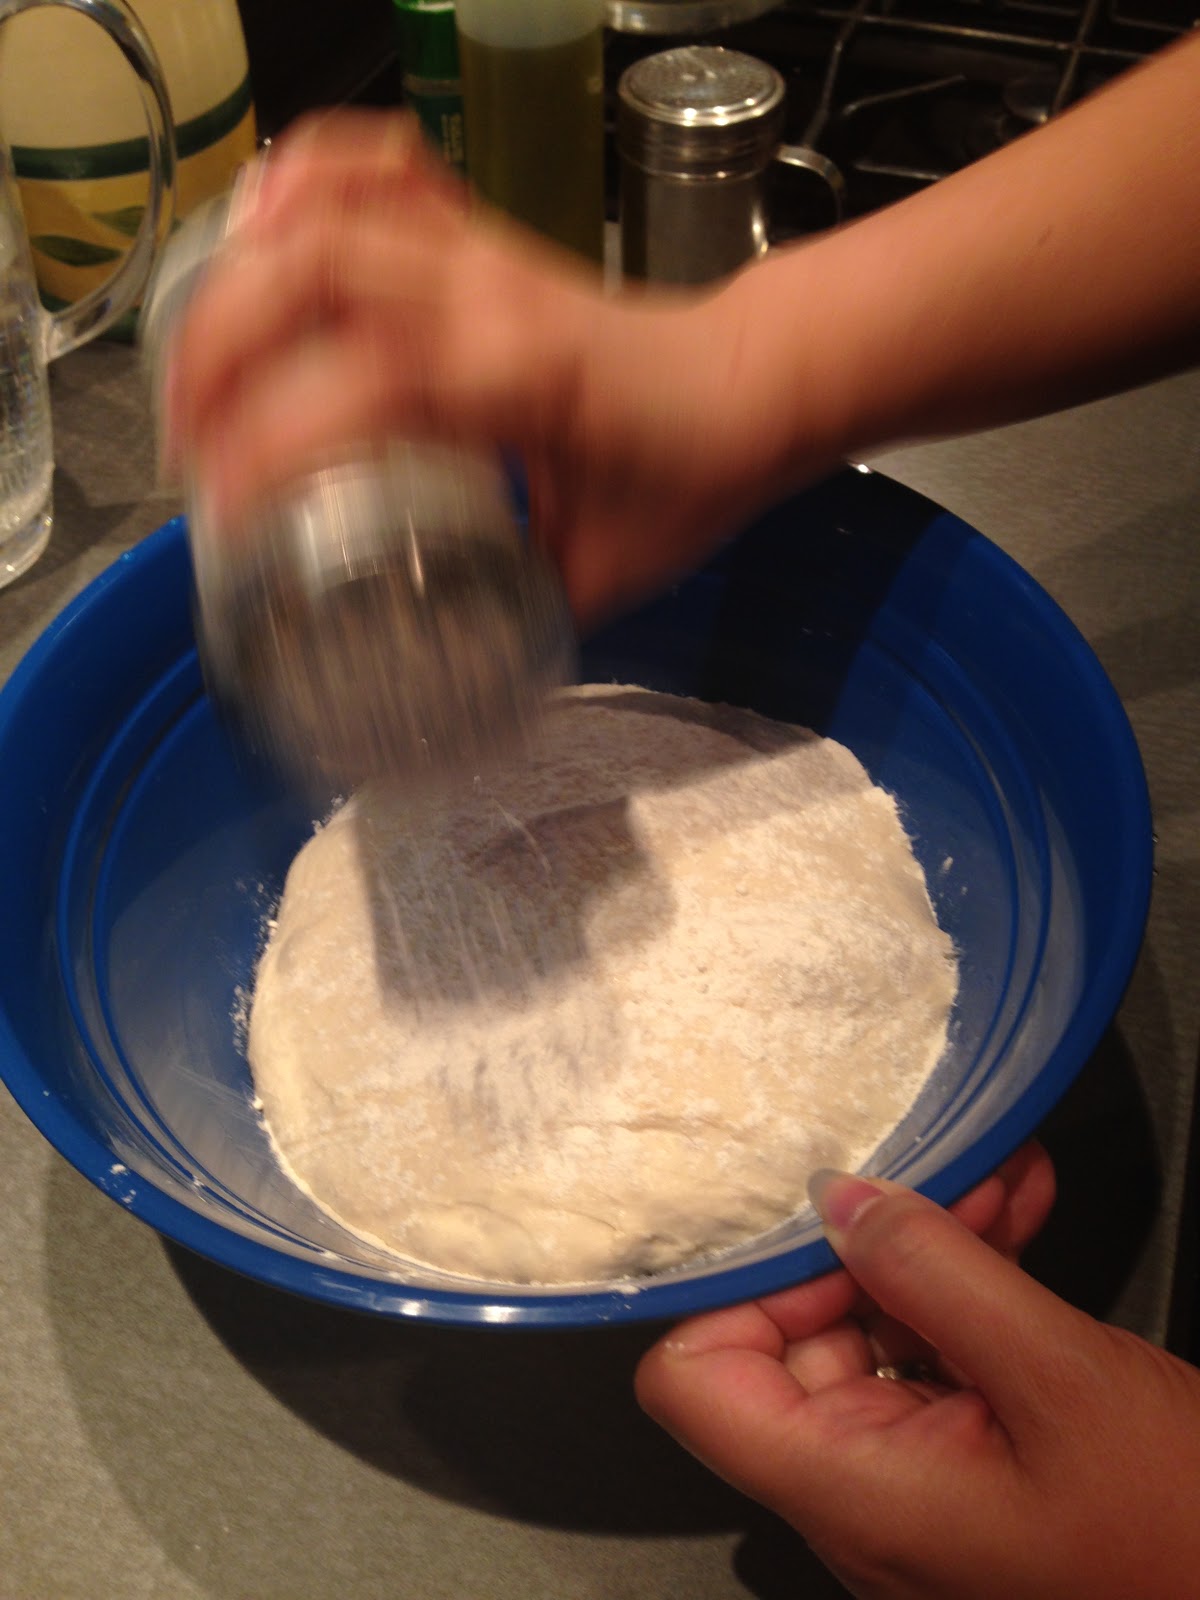
2. Ascorbic acid/vitamin C addition to the flour. This might make some turn and never read this blog again - if you do, go to hell. Ascorbic acid has been used in industrial production for a long time, but it's tricky to use on a kitchen scale. It gives big volume to bread by stabilizing the proofed loaf and allows it to still have good oven spring. I like this for a light crispy baguette as much as I like it for a big grain sandwich loaf (see below). I use it in a concentration of about 100 ppm which is achieved by adding 1/8 of a teaspoon (too small to weigh with an inexpensive scale) added to 2.2 kg (5 lb bag) and mixed in a container by shaking it for a long time. For the chemophobic, ascorbic acid, in this amount is identical to the vitamin C squeezed from a quarter lemon. The solid stuff is easier to use in a dry mixture. This addition requires an alteration of the baking method - see #3.
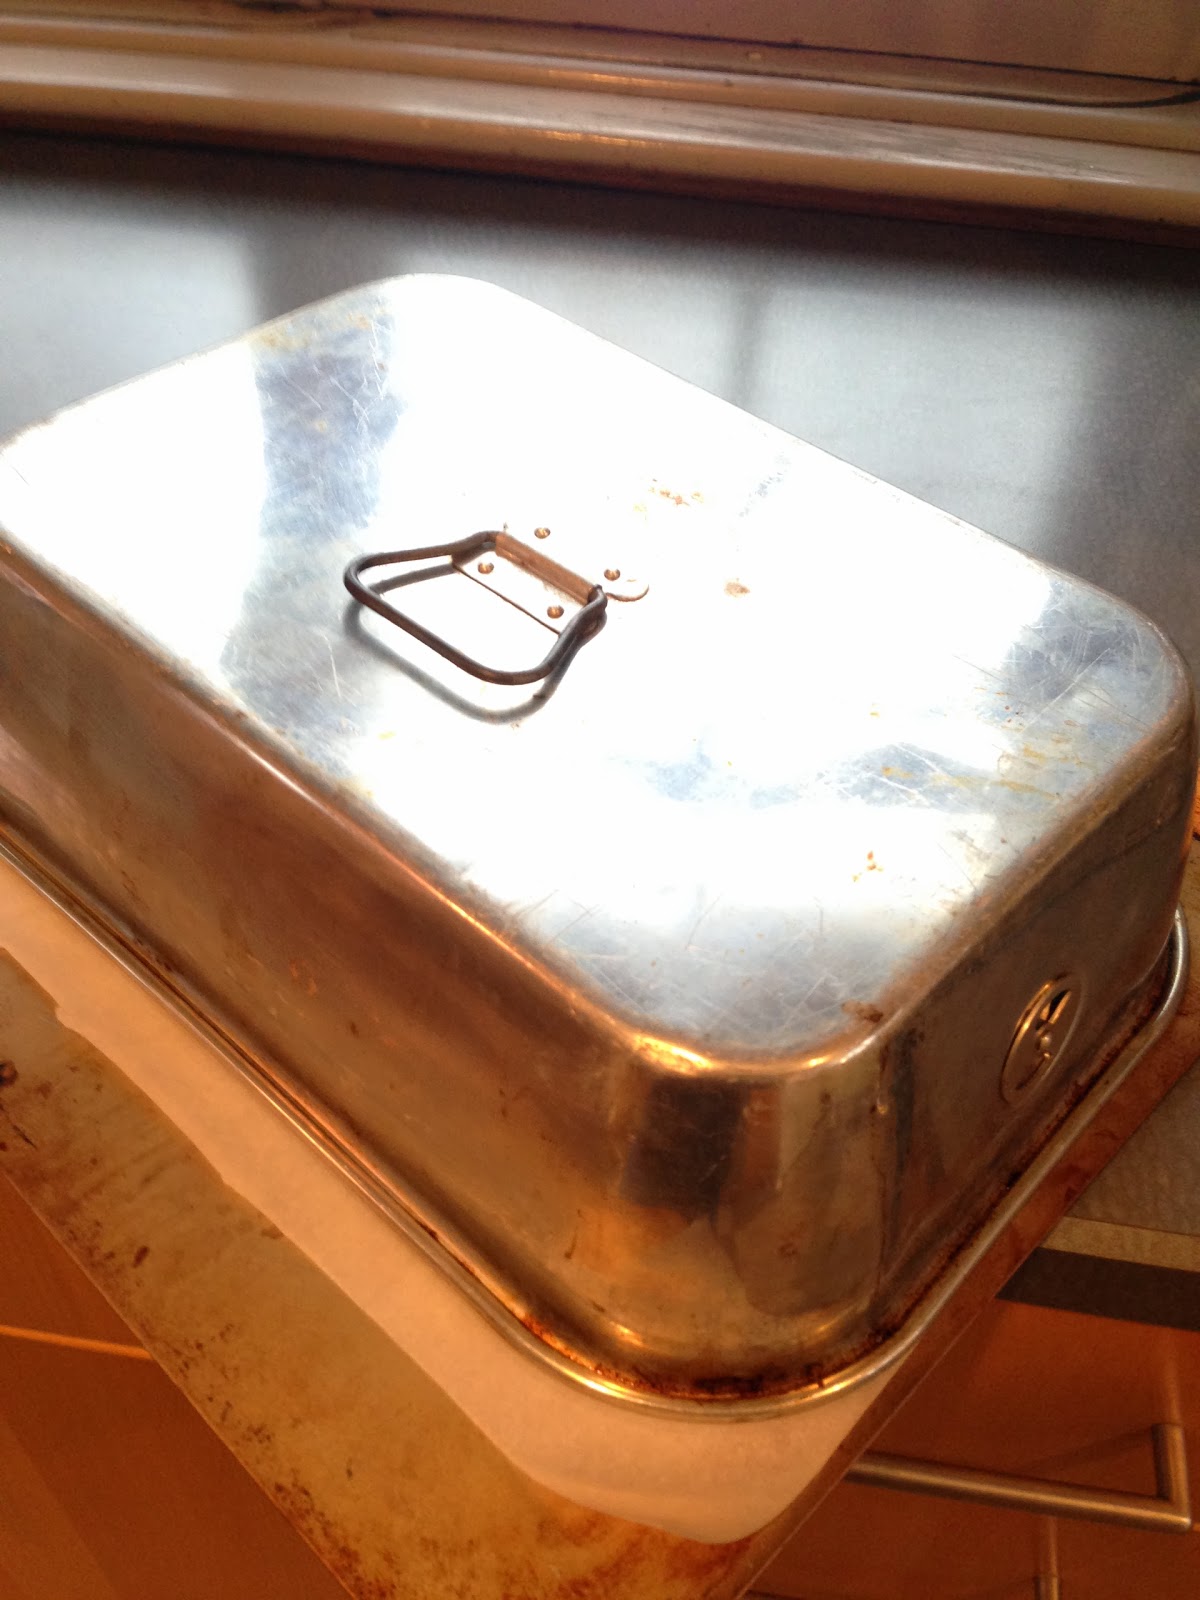
3. Baking under cover. I now bake loaves on top of a parchment-lined air bake sheet and covered with an inverted baking pan. No steaming and no preheating (although using a preheated oven is fine). From what I've read, the inverted pan enables the surface to bake in the presence of steam emitted from the loaf itself which enables a caramelization of the surface prior to it drying out and becoming crisp. This resolves many observations in the past whereby I'd observe vastly different results when baking a 1 kg loaf versus 3 kg of rolls. The the volume of the oven relative to the mass of the dough matters. By reducing the dough's environment to a volume similar to that of the loaf, results become more reproducible.
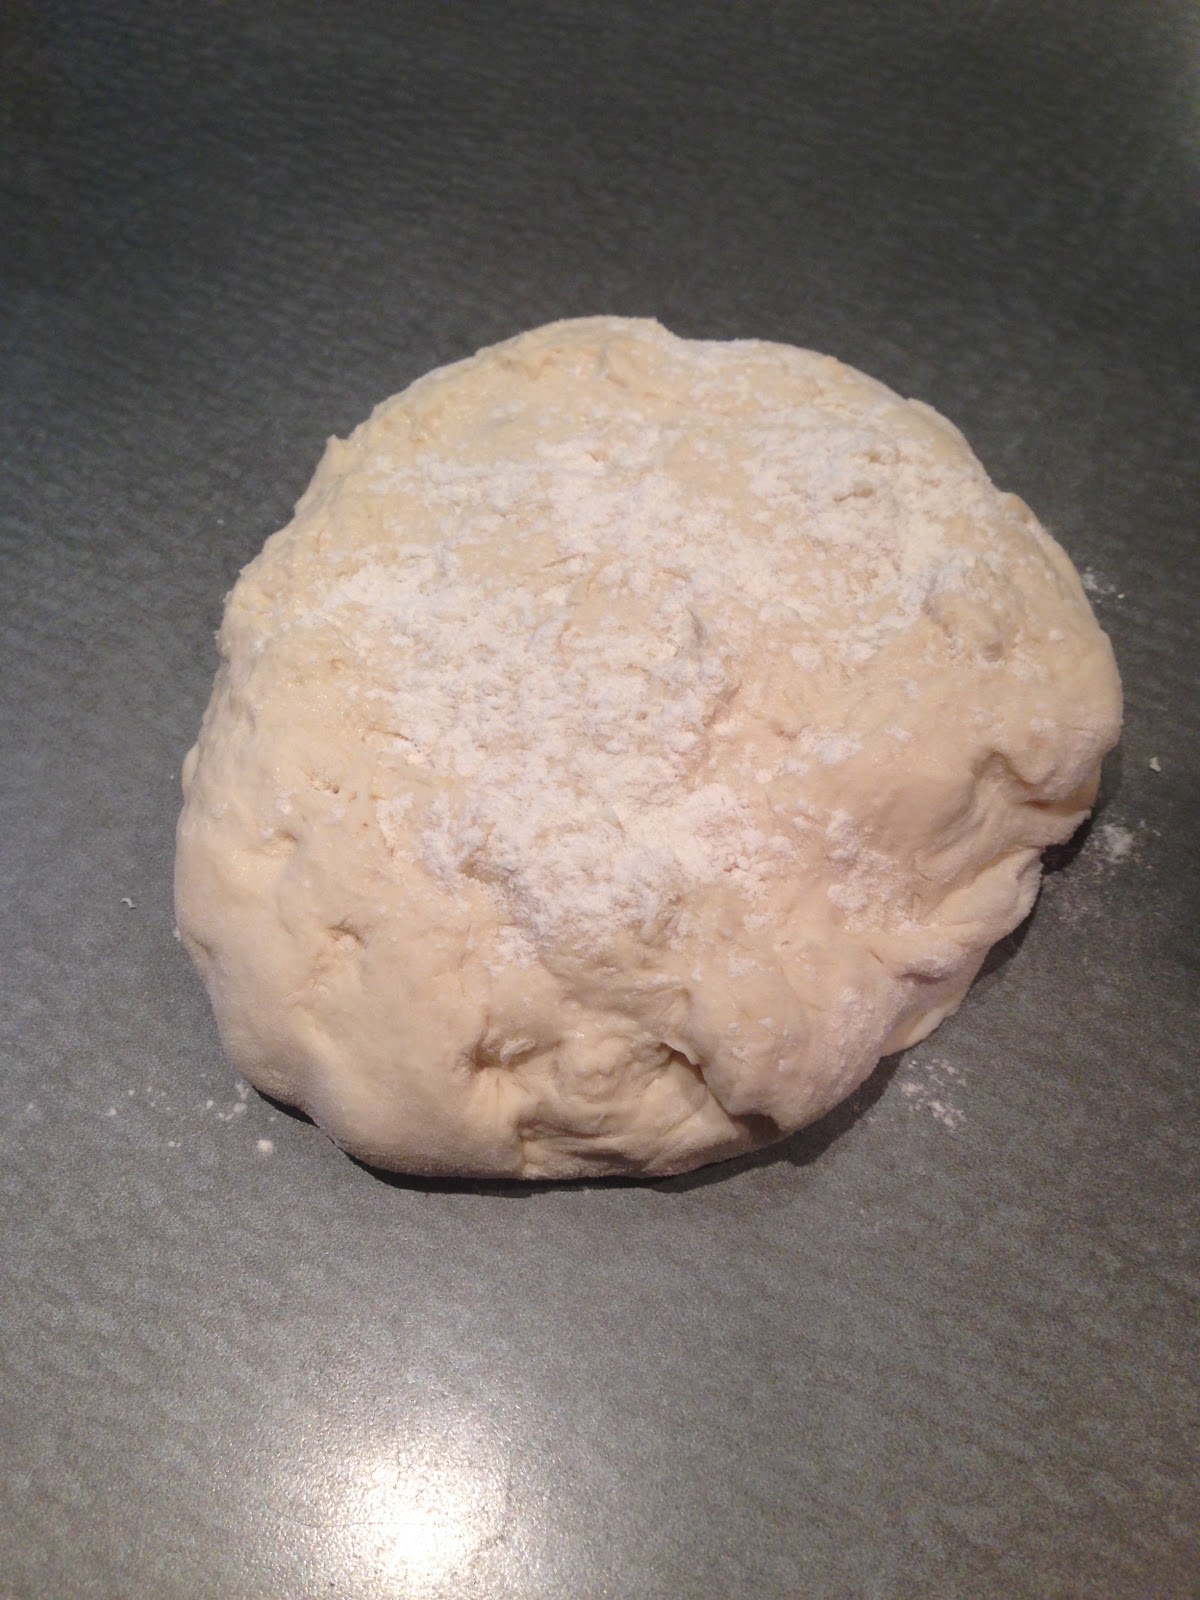
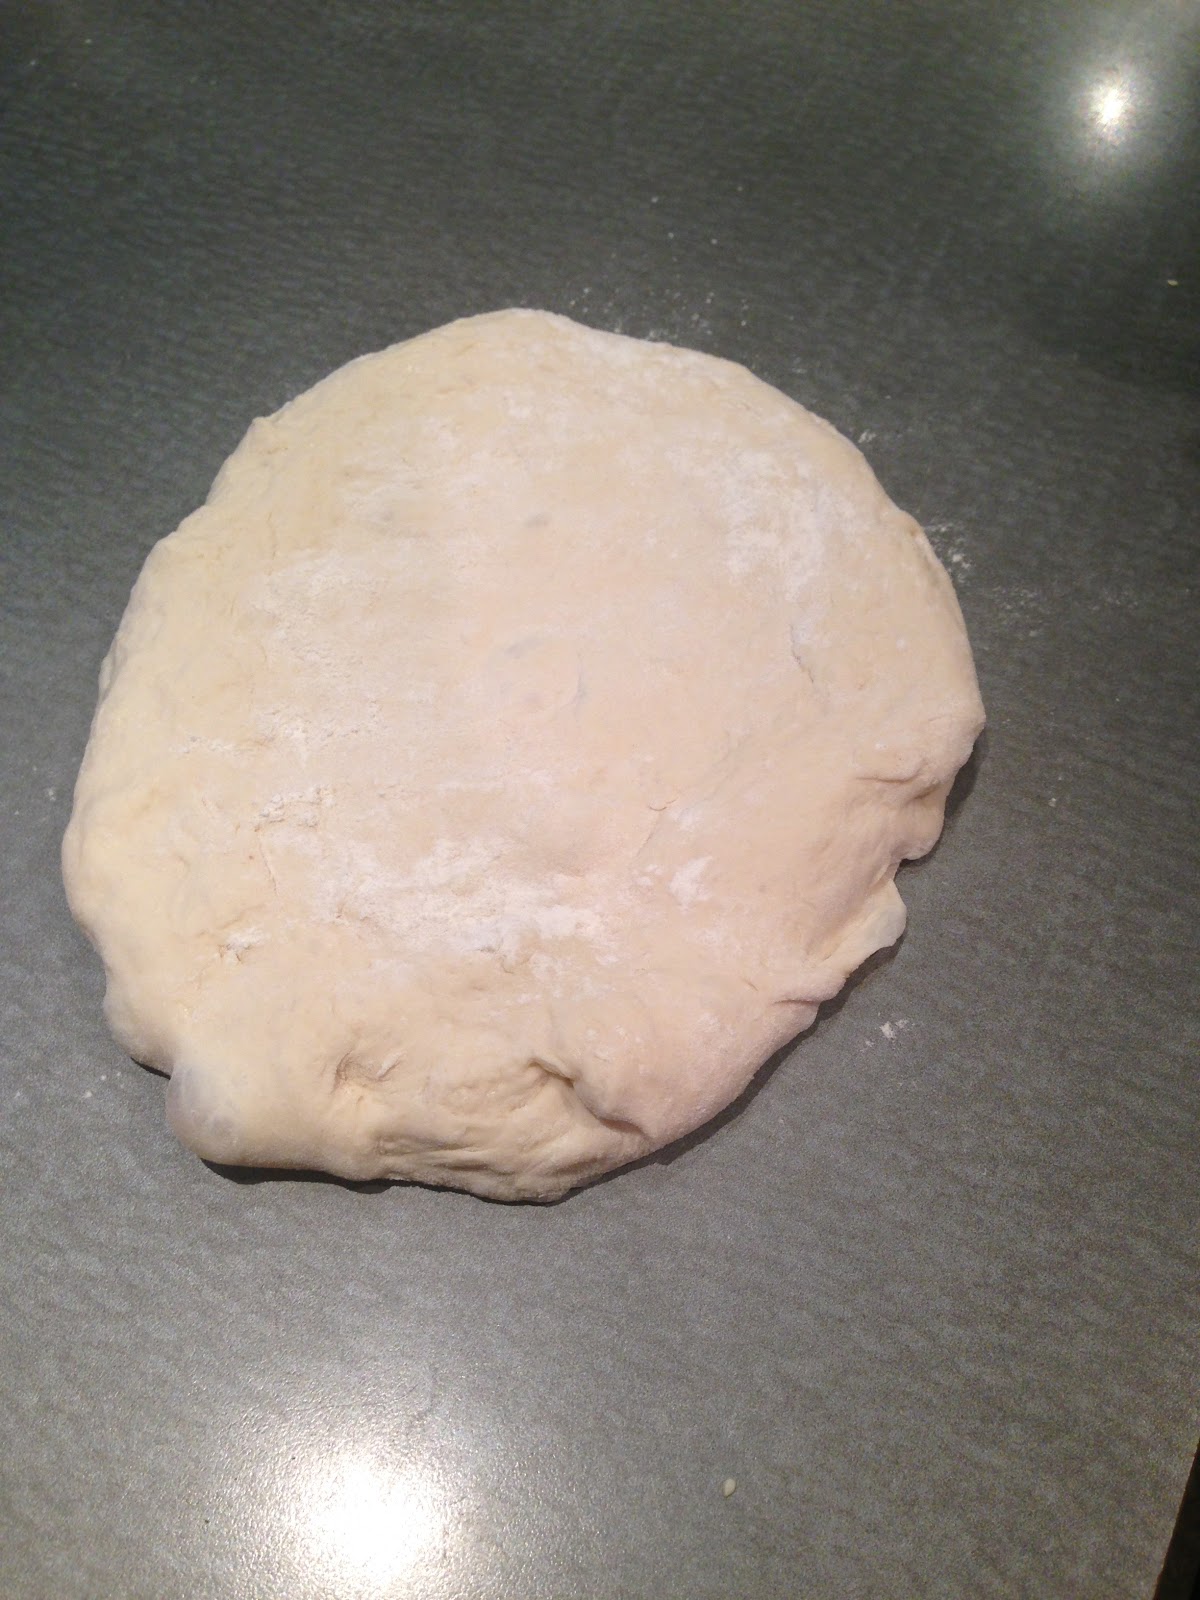
I'm using these tips on all my loaves and I'm ecstatic. The only trick is to find an inverted pan that has a volume similar to that of the finished loaf. If it's too big, in the limit, you're essentially baking one loaf in a huge oven. This part will take some trial and error. Below is a spent grain bread I'll be using for Frankie's sandwiches. It's a straight dough (mix up everything together, 1 rise, a rest, an hour or so proof).
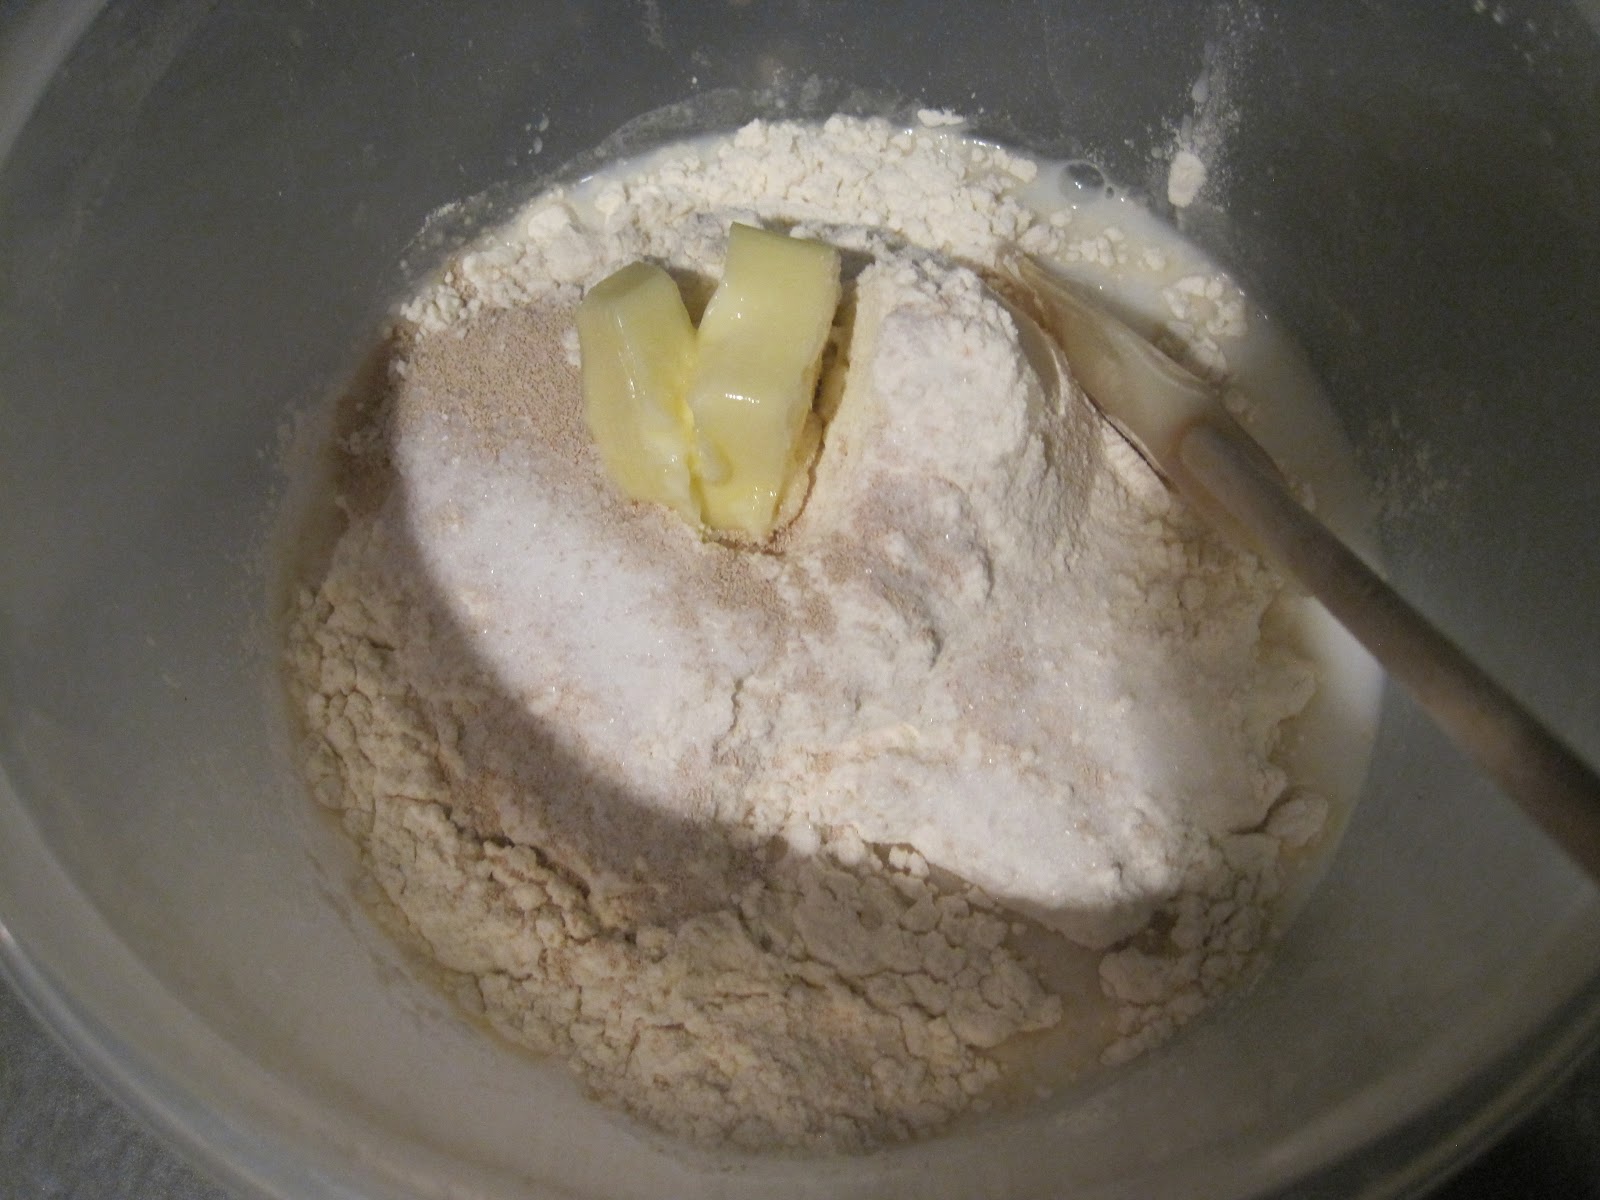
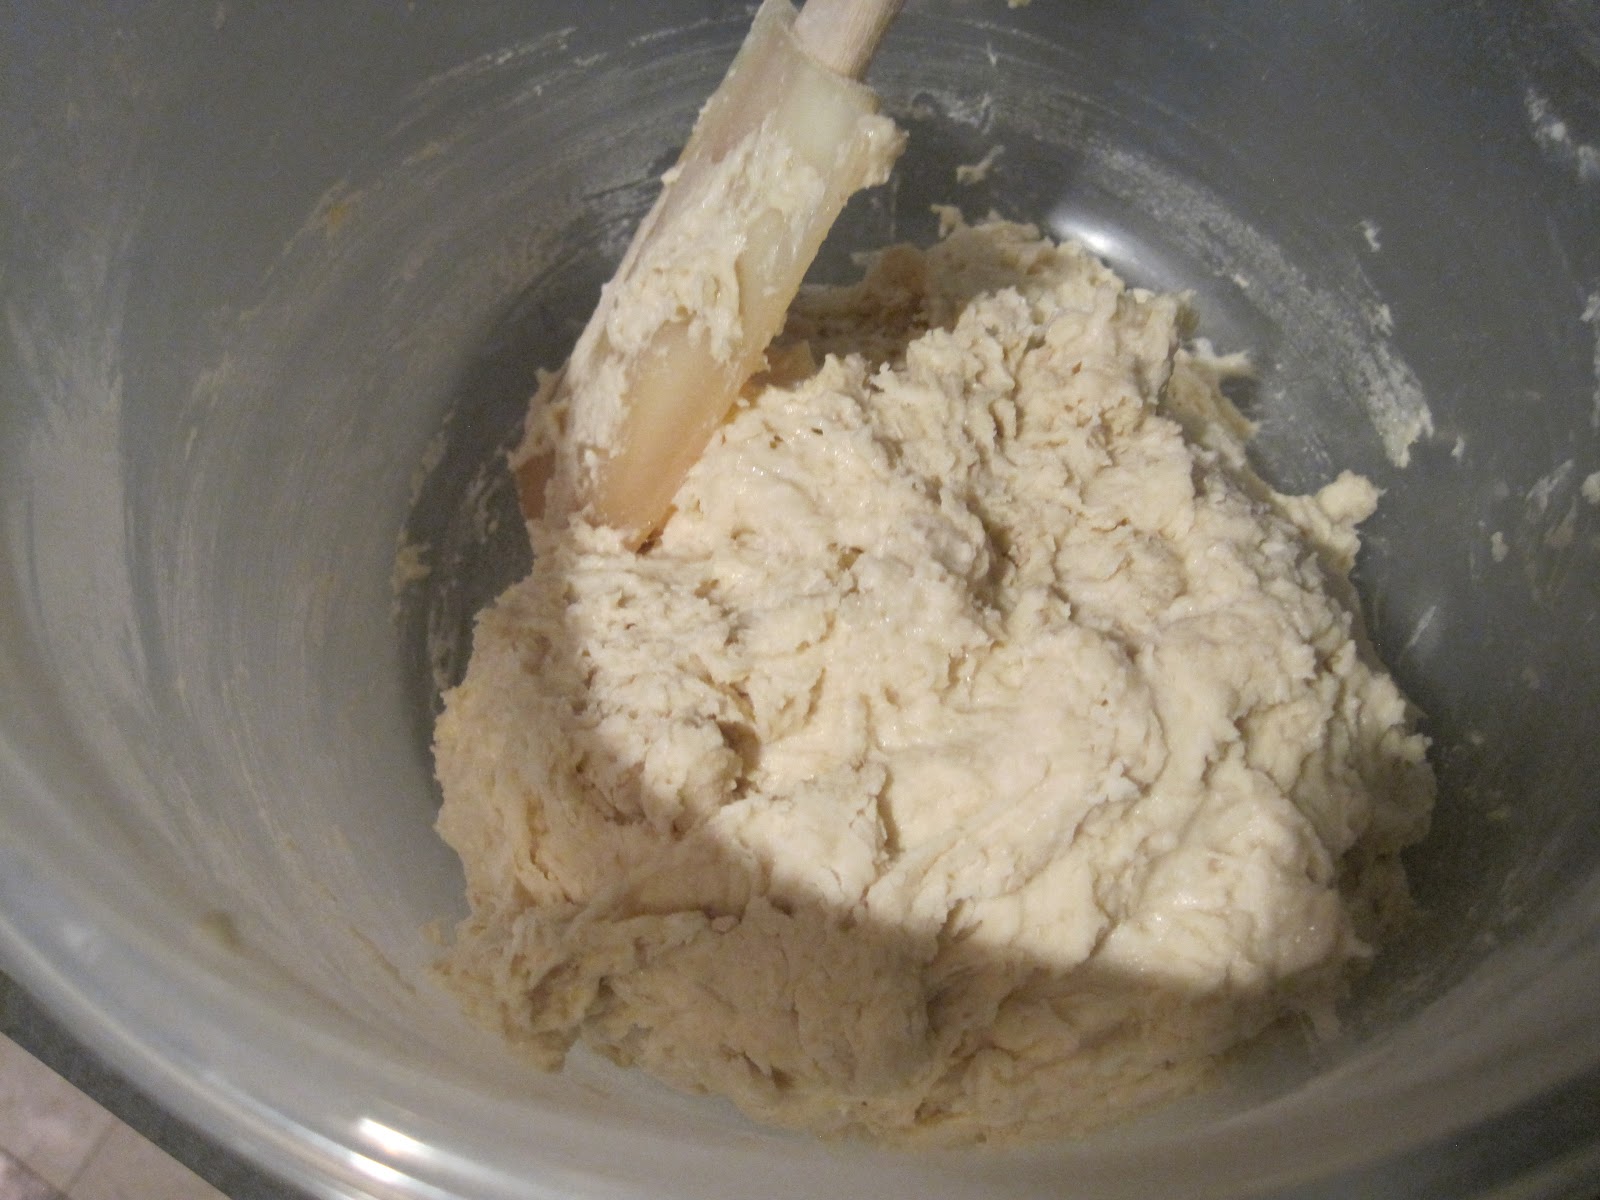
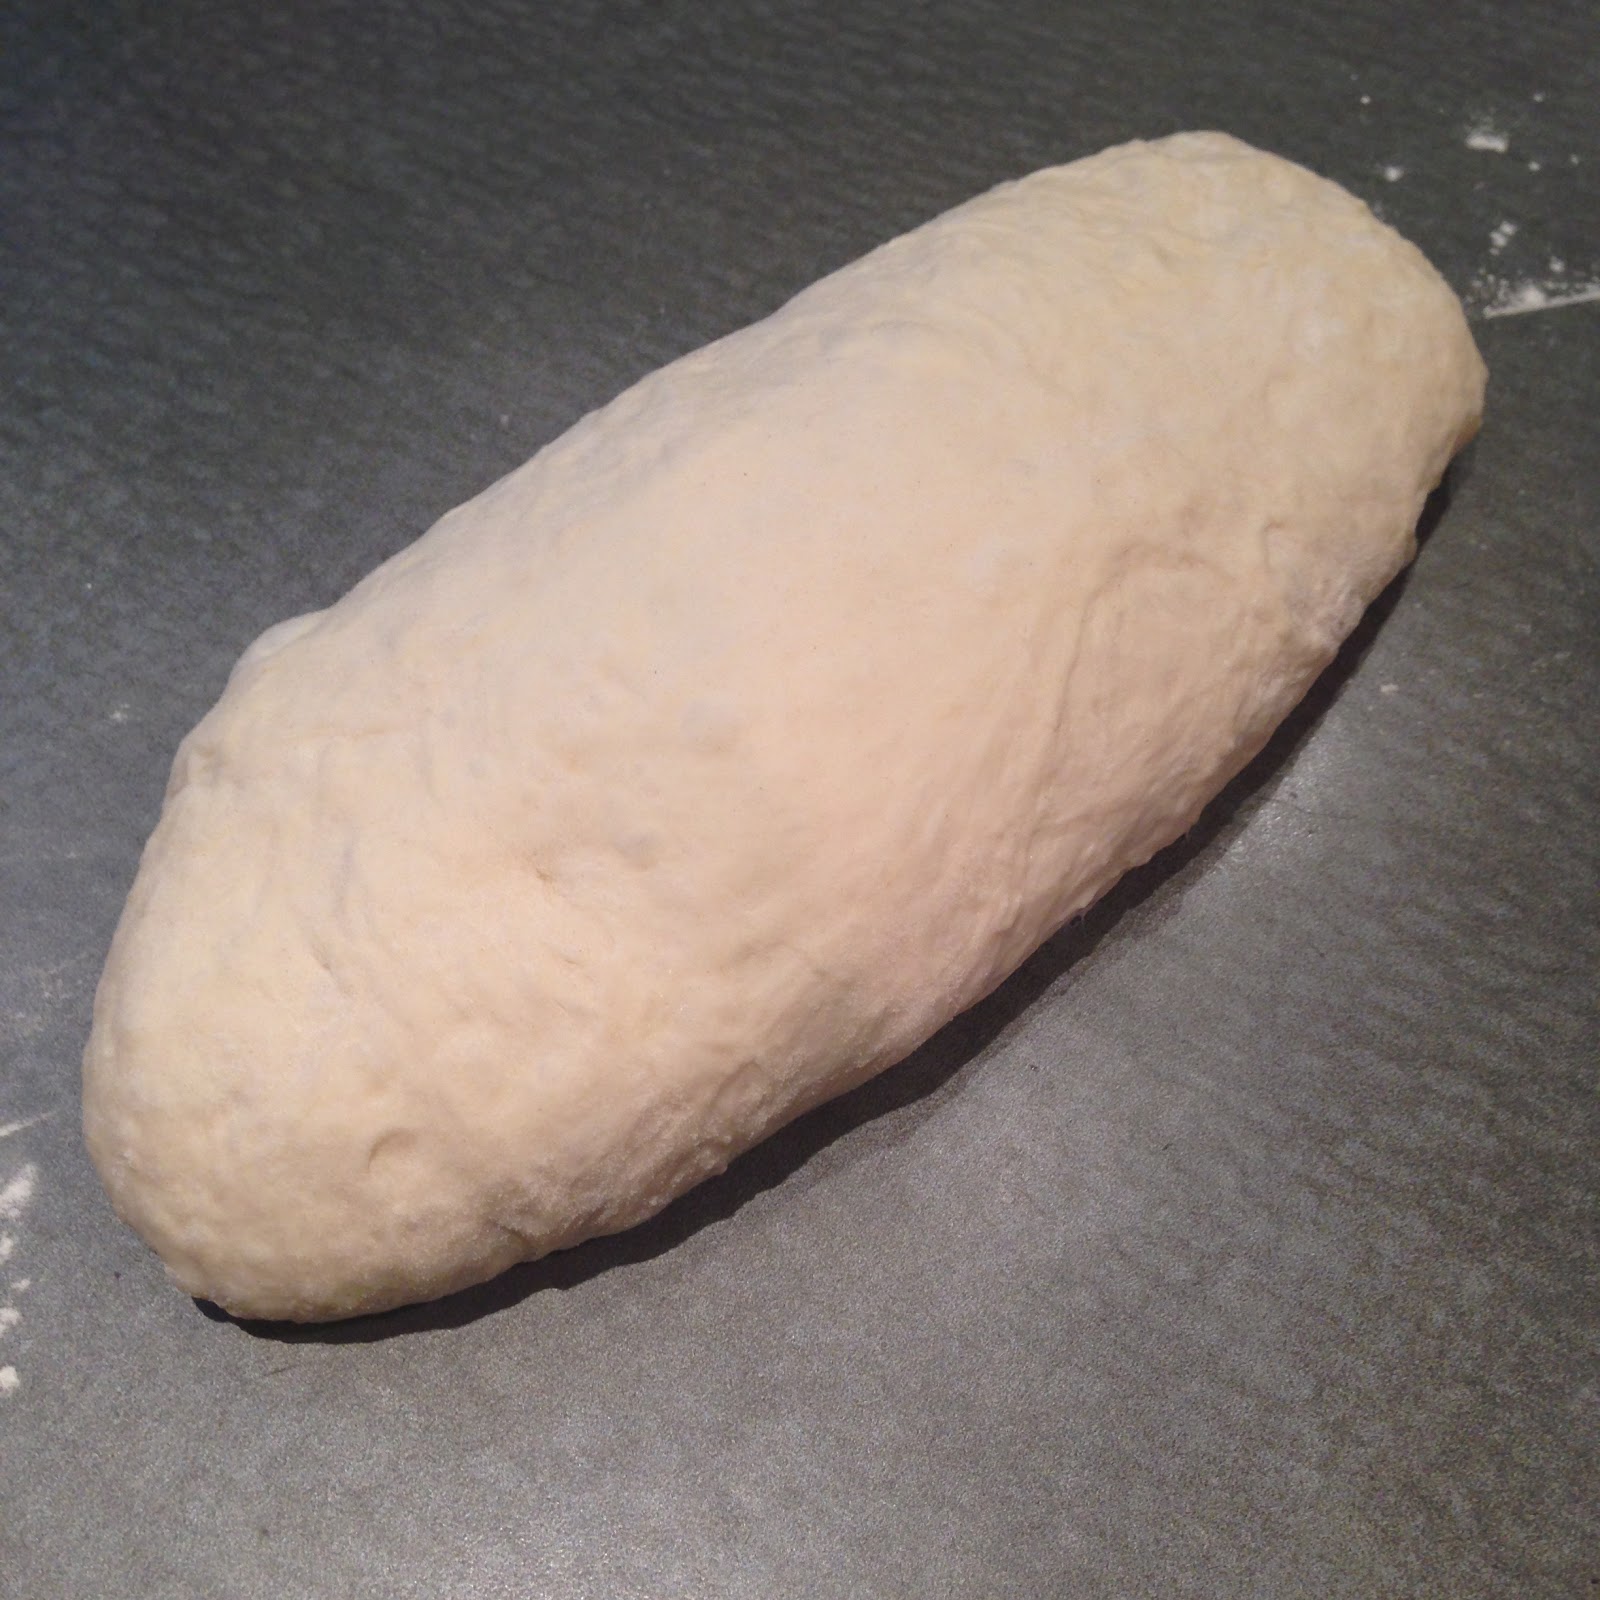
A straight dough made from unbleached white flour with ascorbic acid as described above 350 g, spent grain from brewing 50g, water 240 g, Fleischmann's fast yeast 4 g, salt 6 g, vegetable oil 12 g, sugar 5 g. Rise a couple hours (didn't use the fridge on this one), squish down and let rest, form into a loaf and let proof for an hour. Dock it (docking is the 3 slashes).
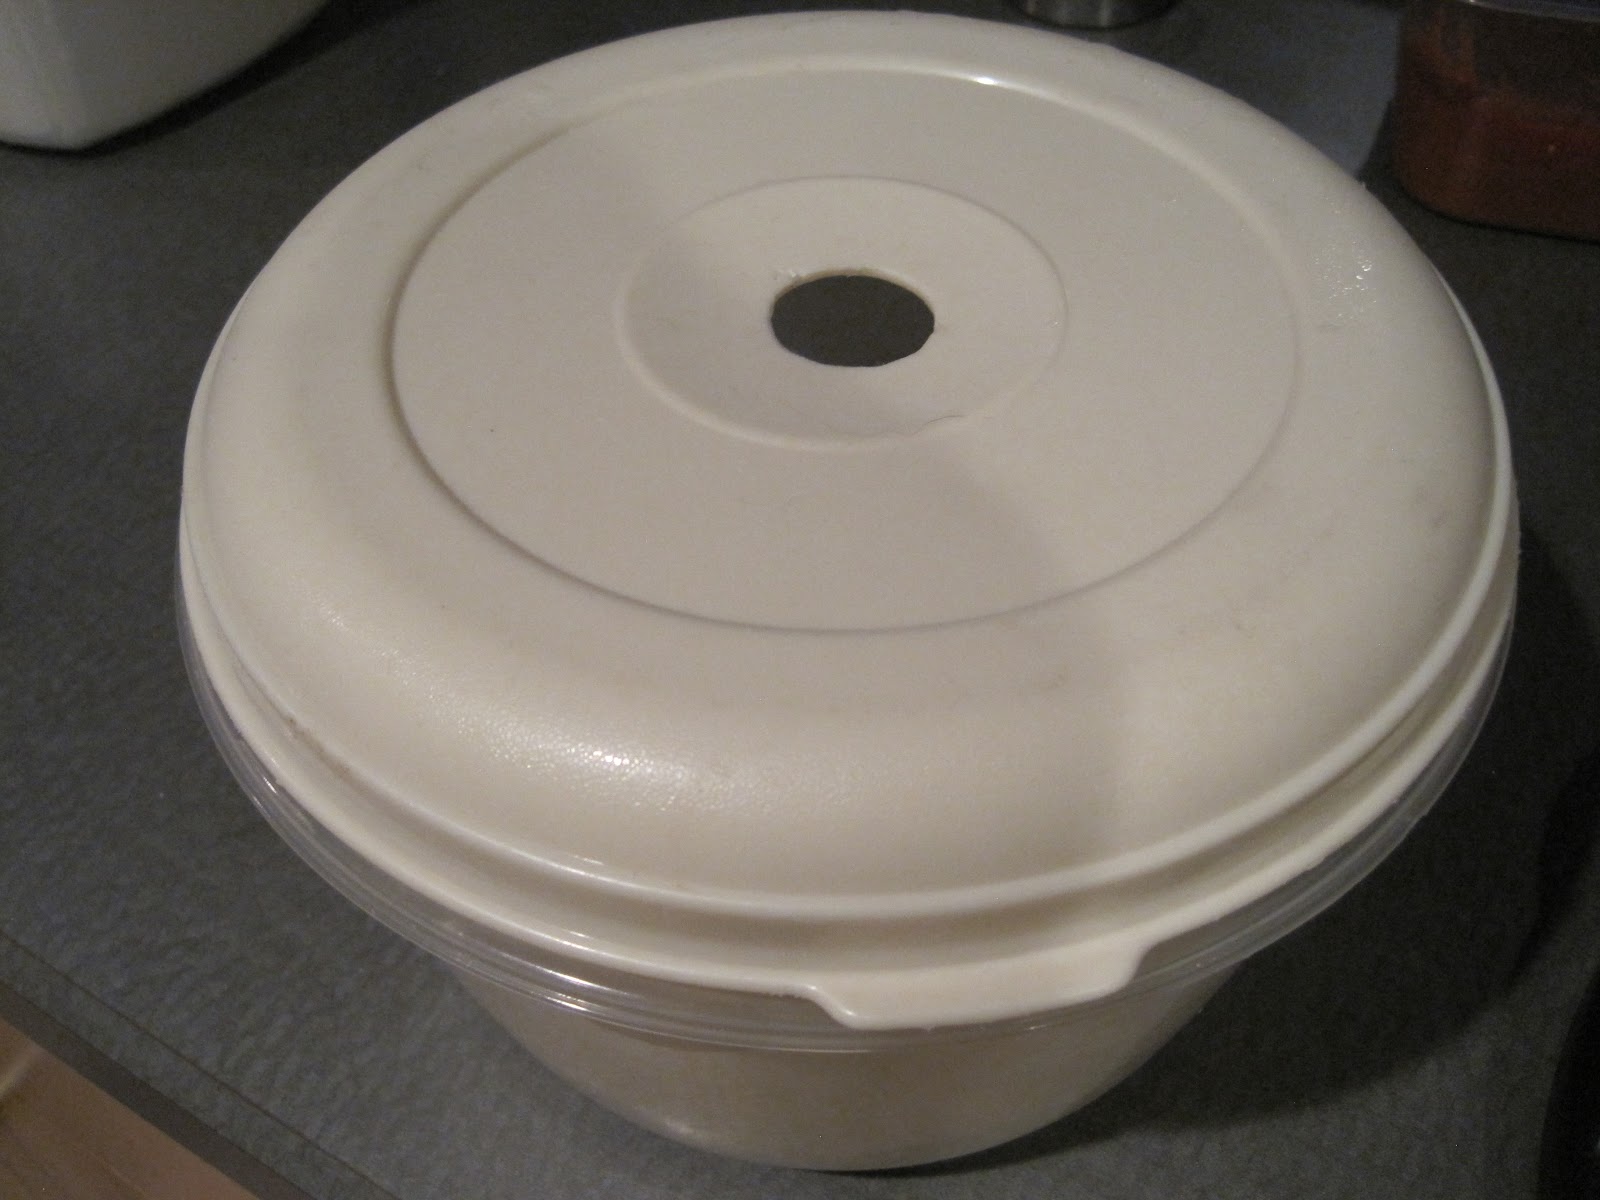
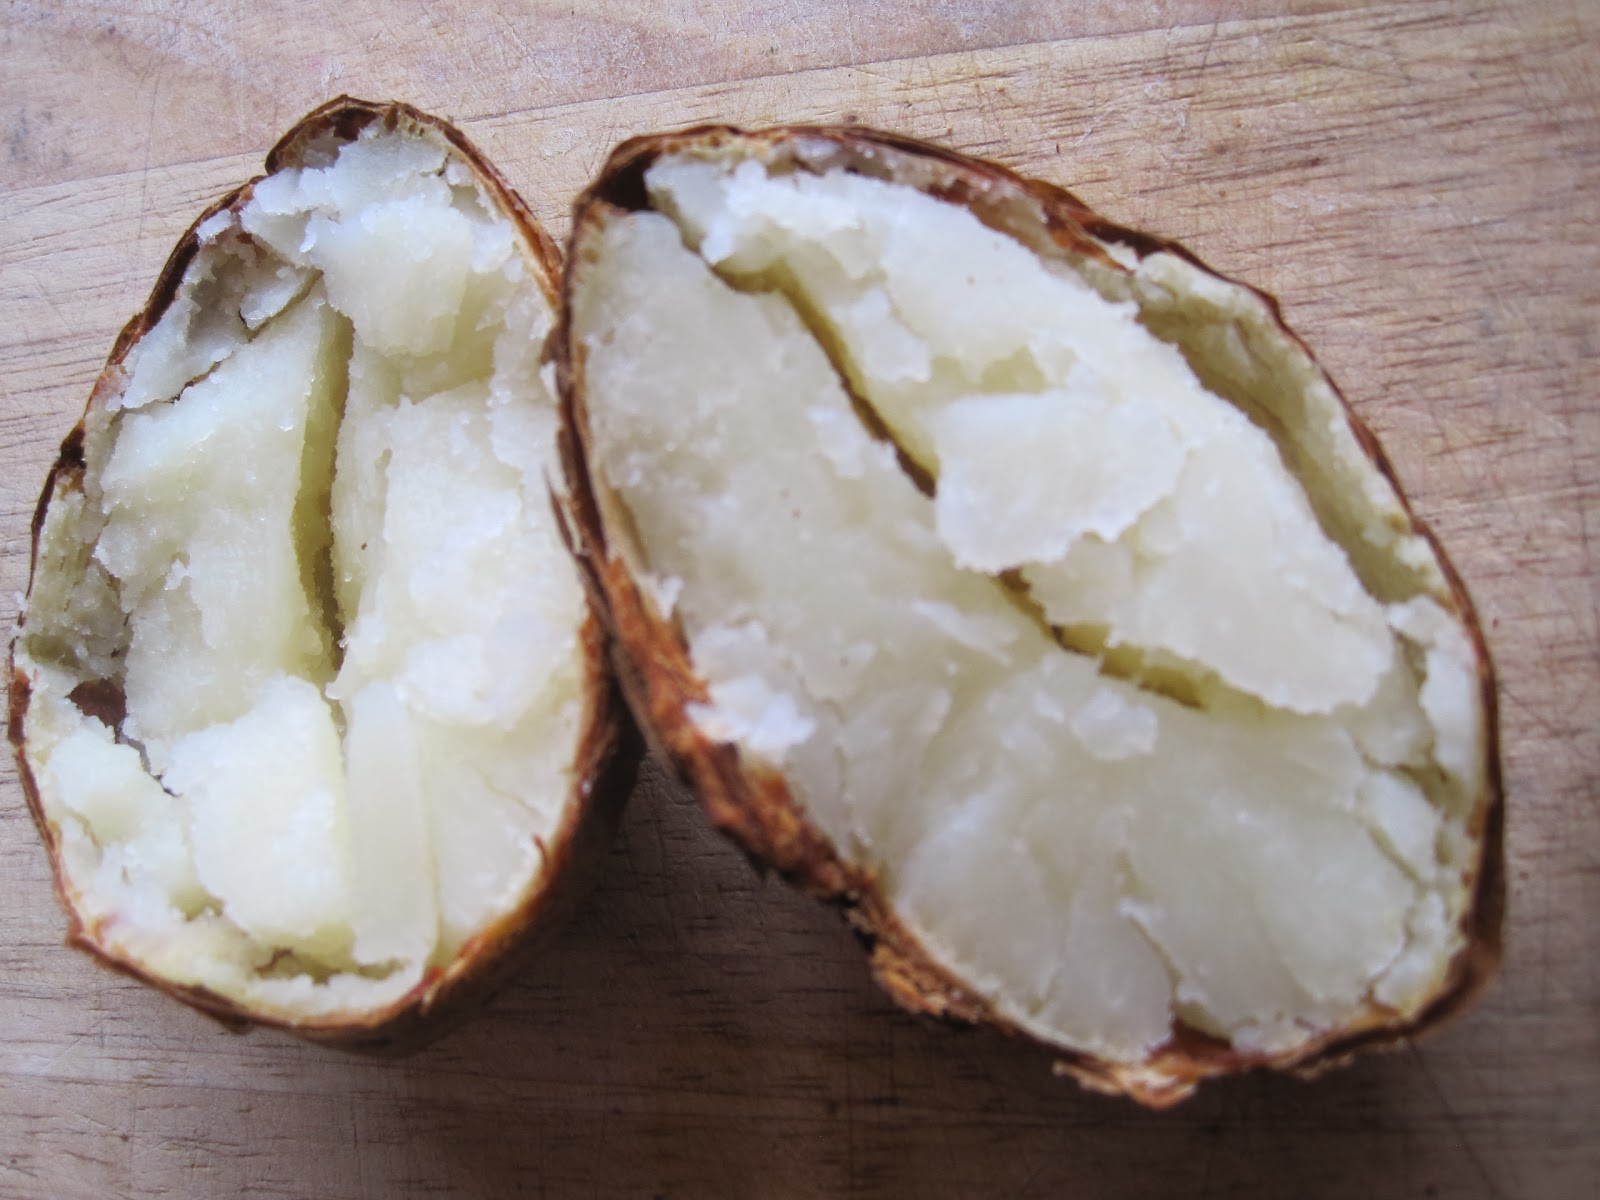
This proofed loaf is covered and ready for baking. For this ca. 600 g loaf I used an aluminum roaster lid I found at a thrift store, it measures 12" x 8" x 4.5" high. This size is good for a ca. 600 g chubby baguette (batard). This incidentally is also what I use to cover the loaf during the proof.
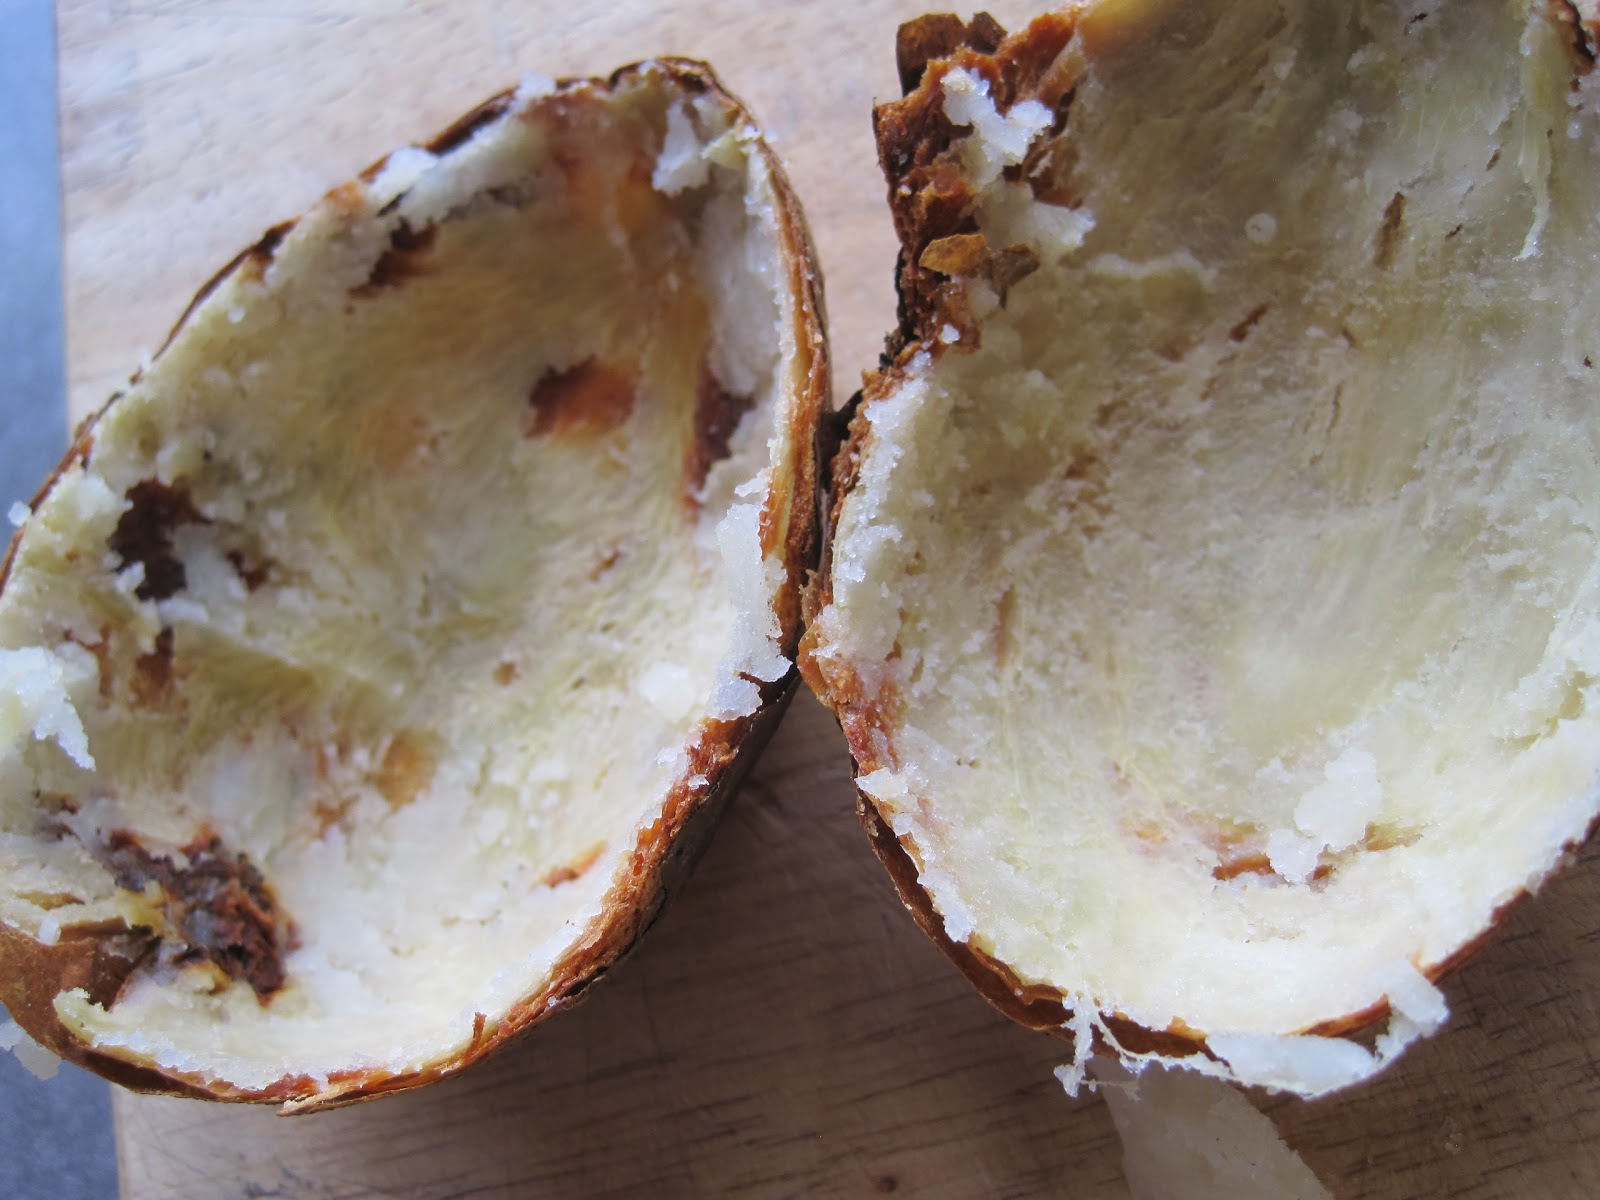
The proofed loaf covered with the roasting pan lid is placed in a cold oven, set for 425F and 35 minutes, during the covered baking, it won't burn, it's protected for a long time from overcooking. After the 35 minutes, remove the cover and let bake an additional 10 minutes uncovered. The loaf will finish browning and become crisp (depending on the recipe, this example is enriched, it's not a crackly loaf).
That 's it.
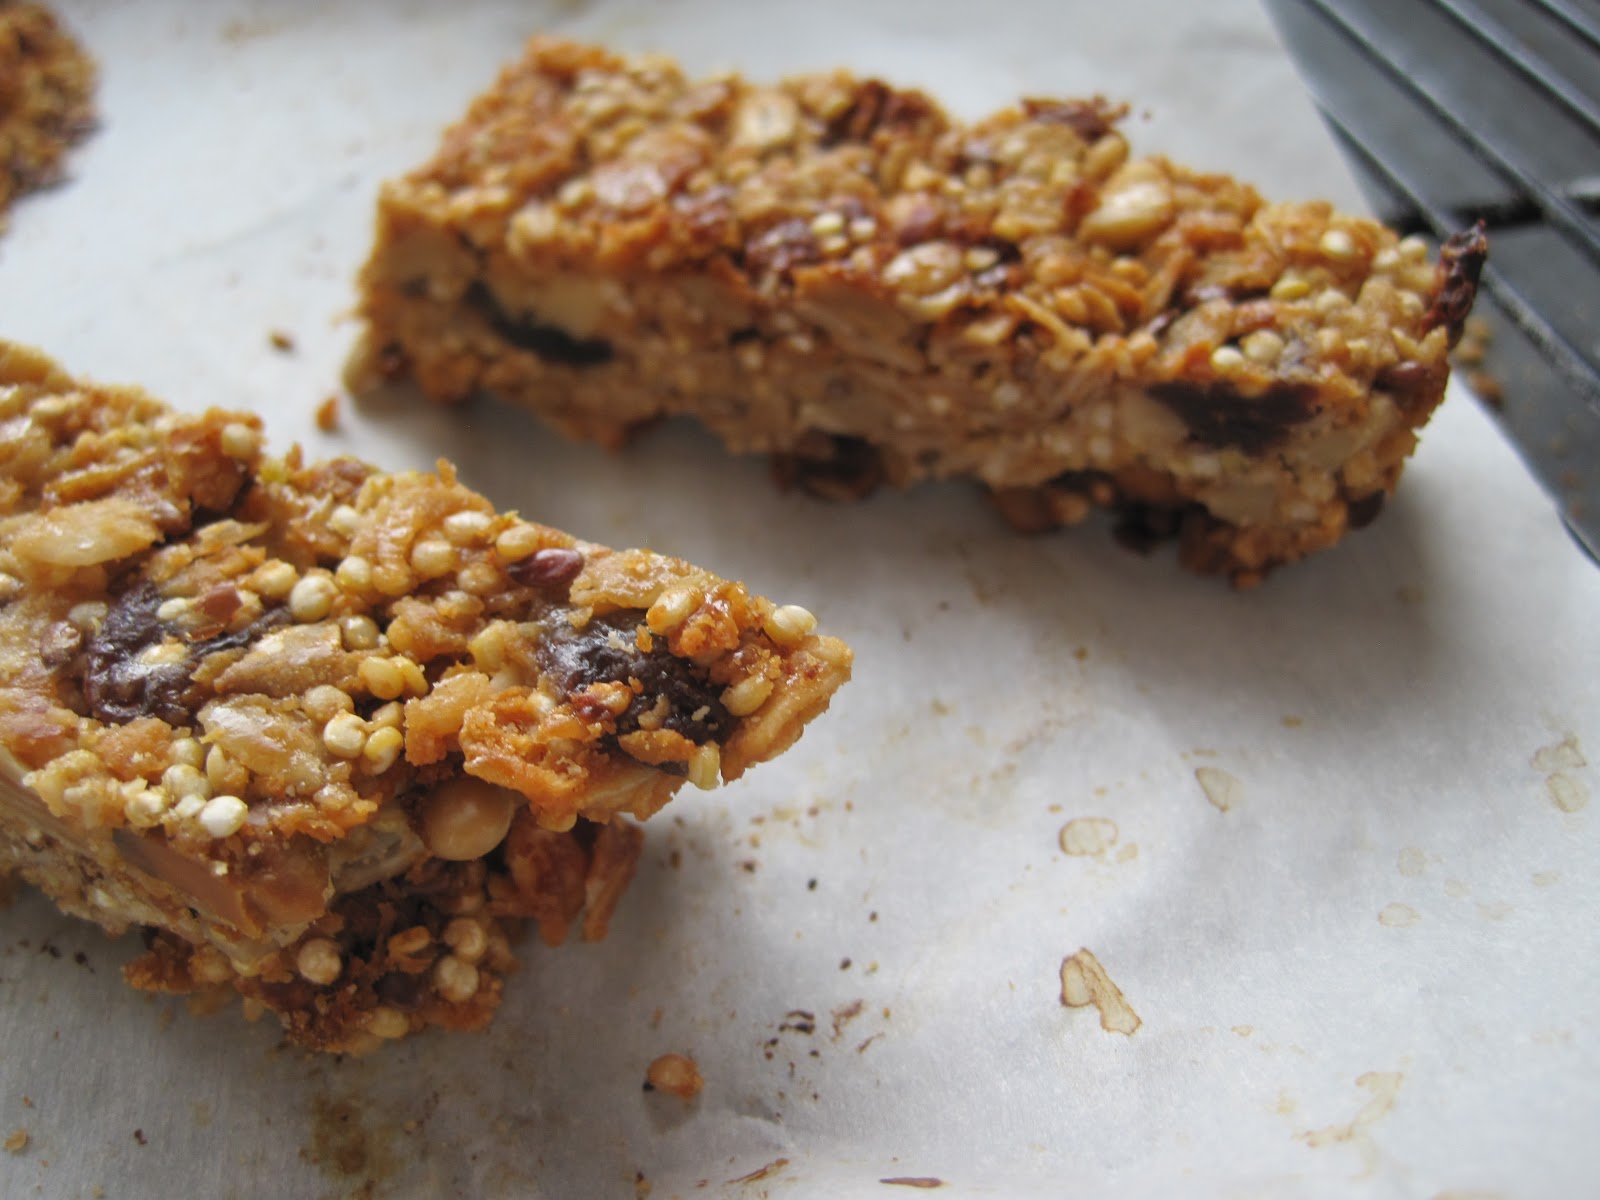
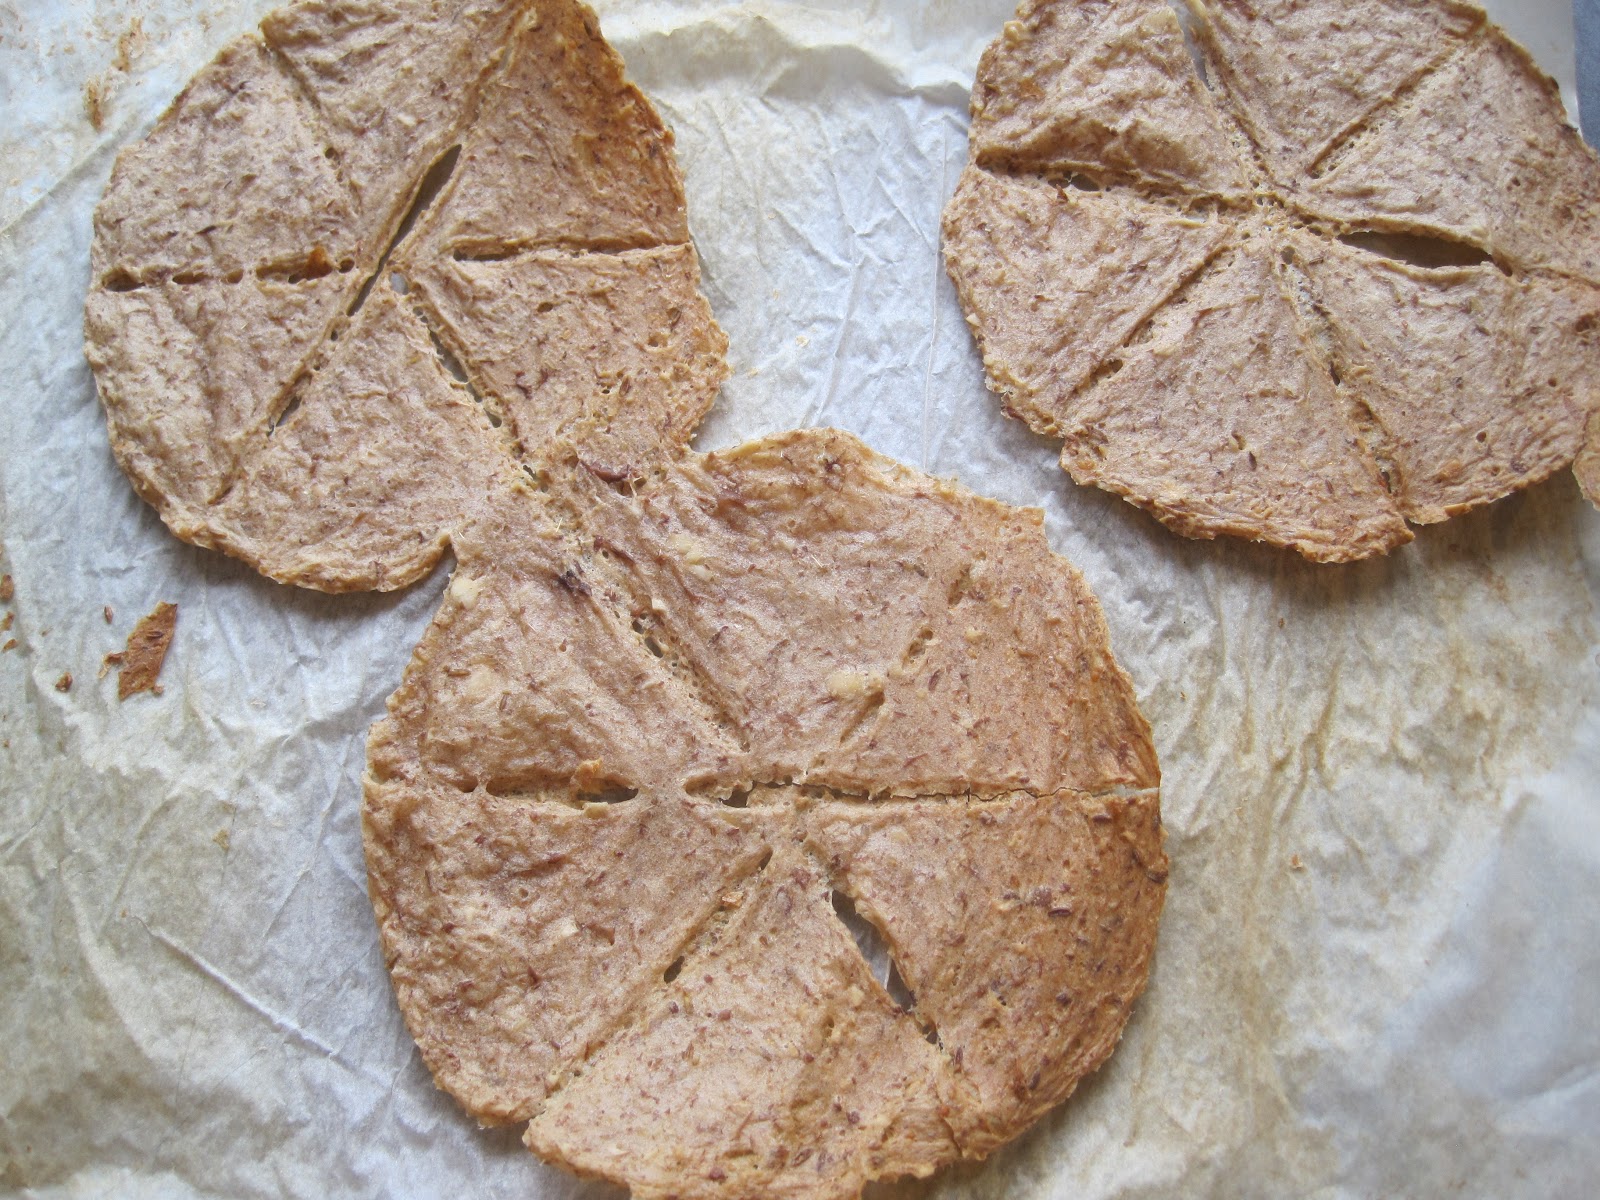
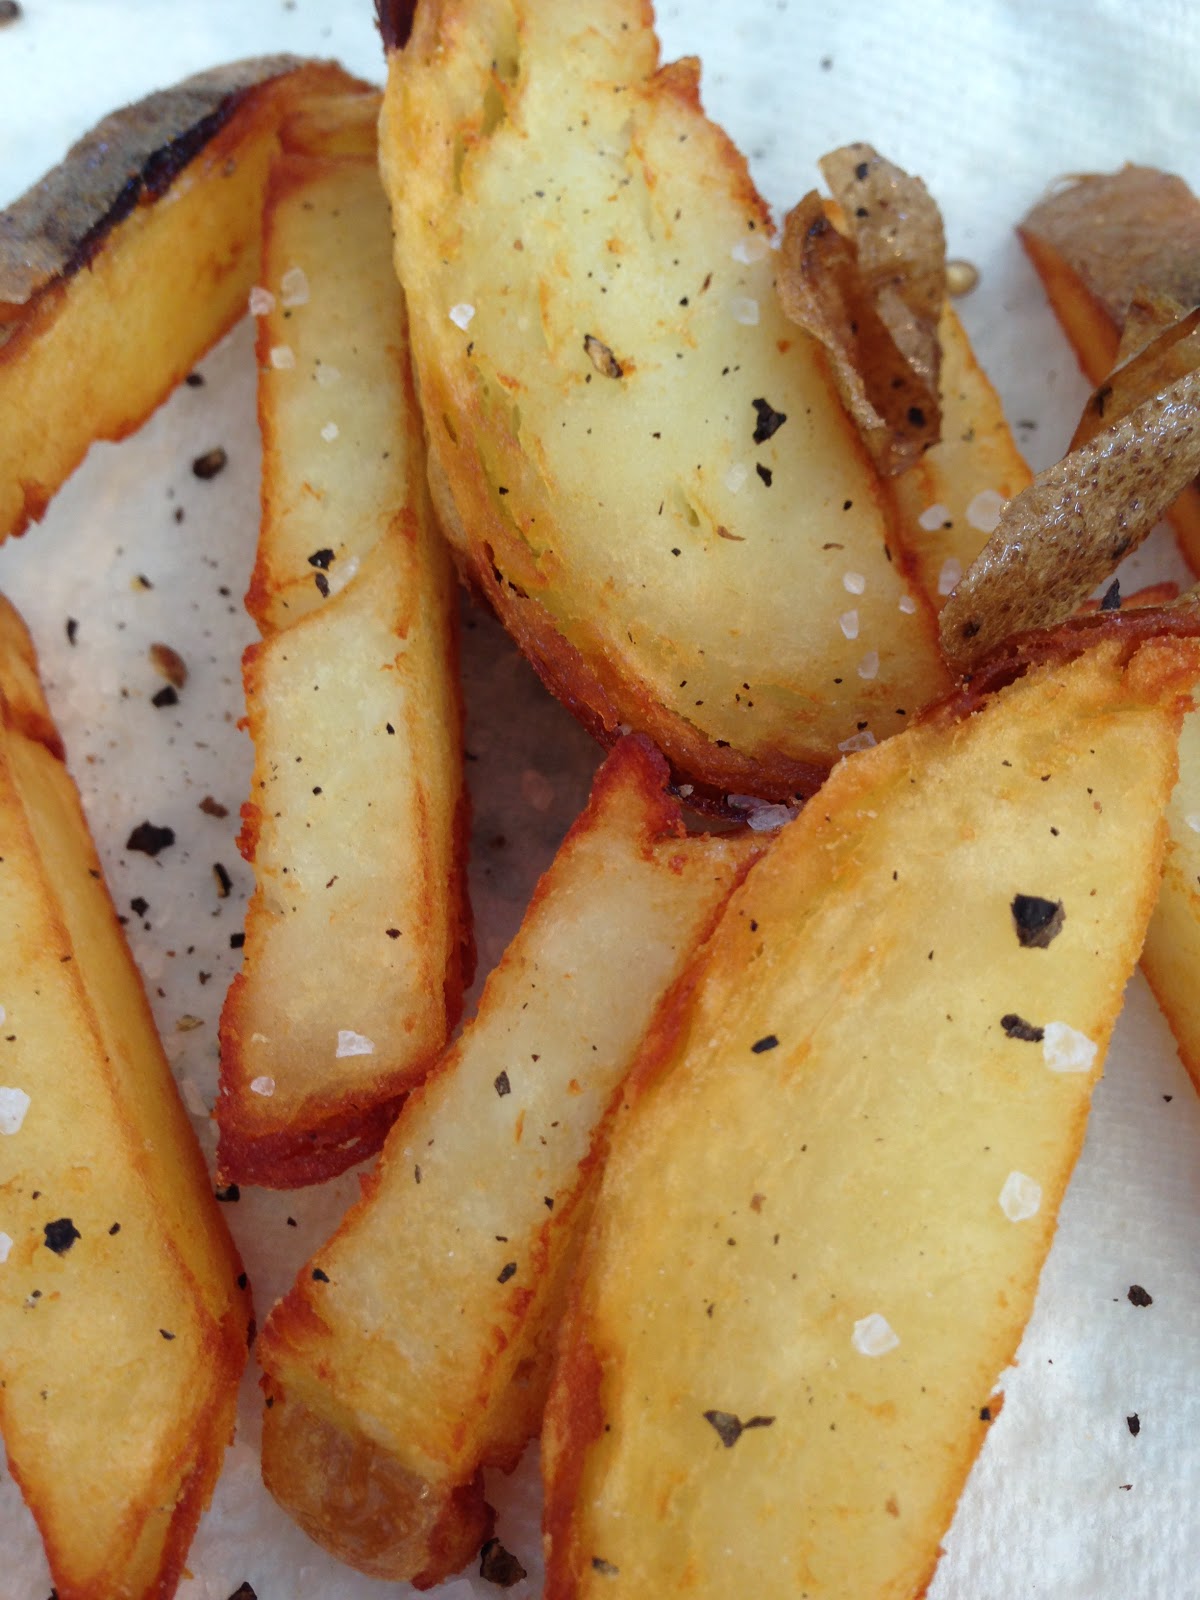
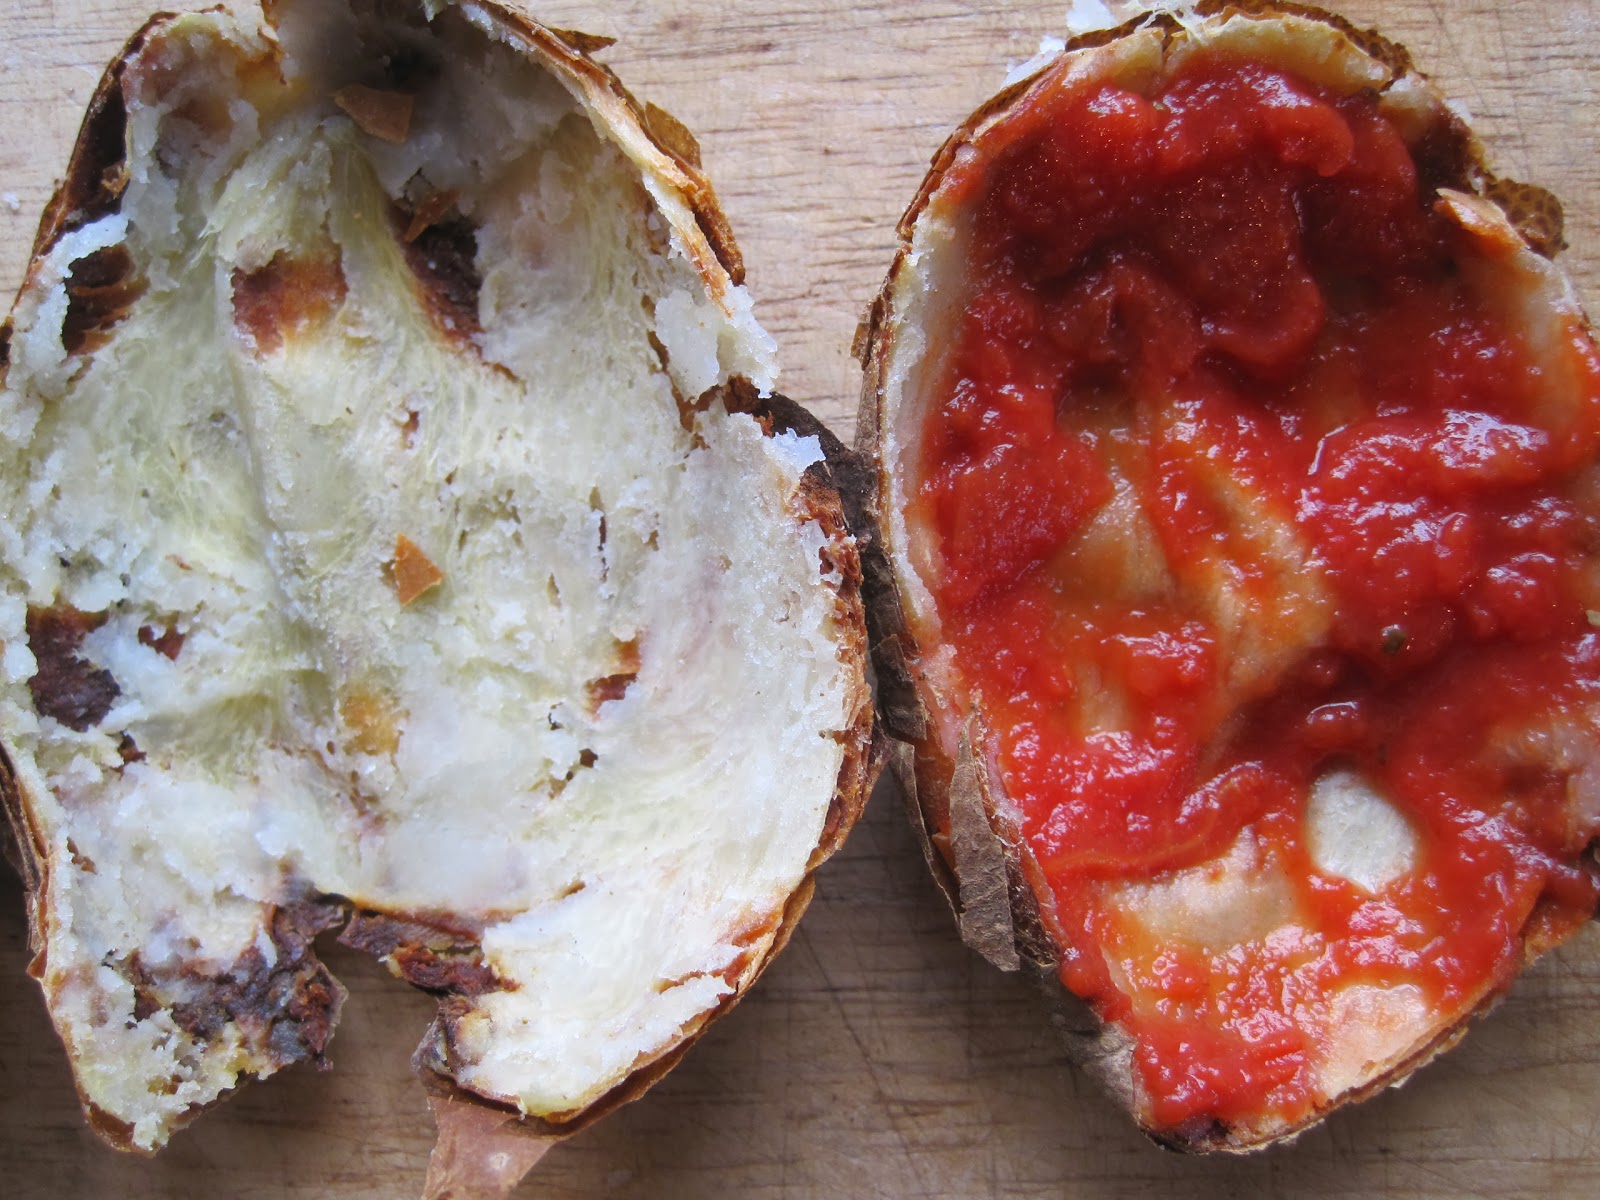
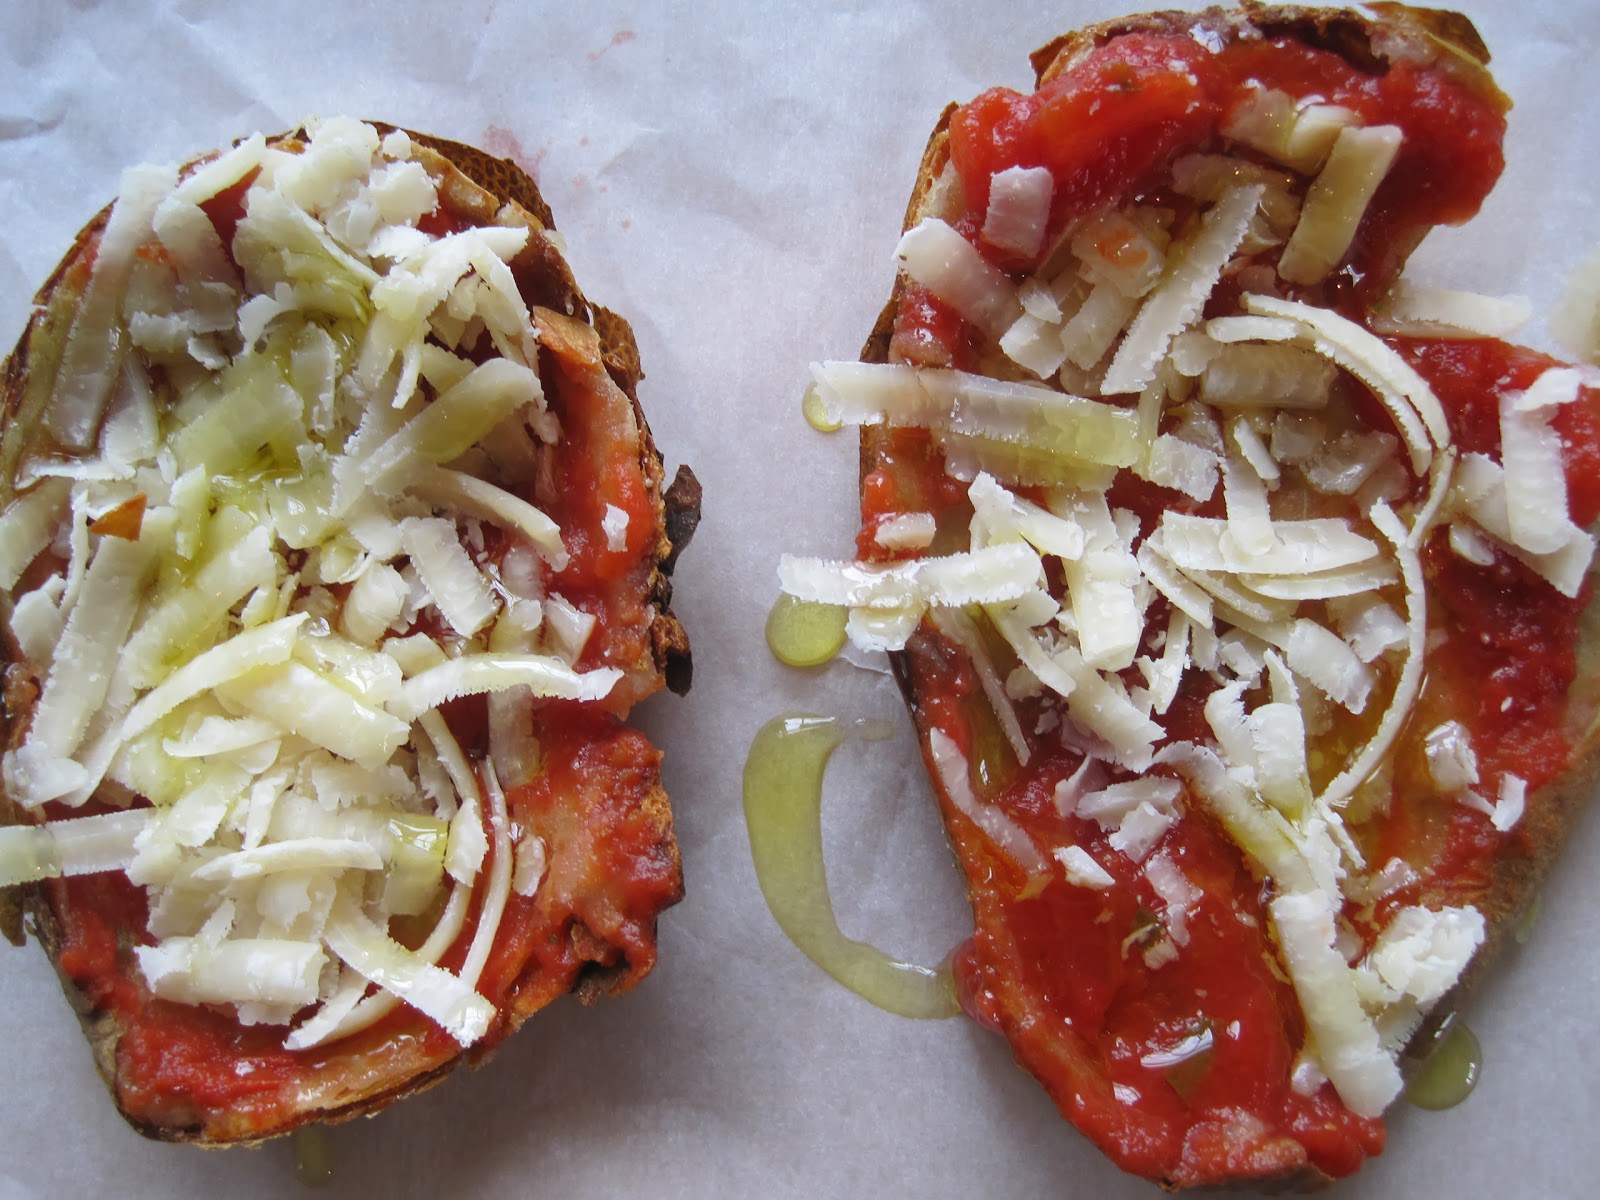
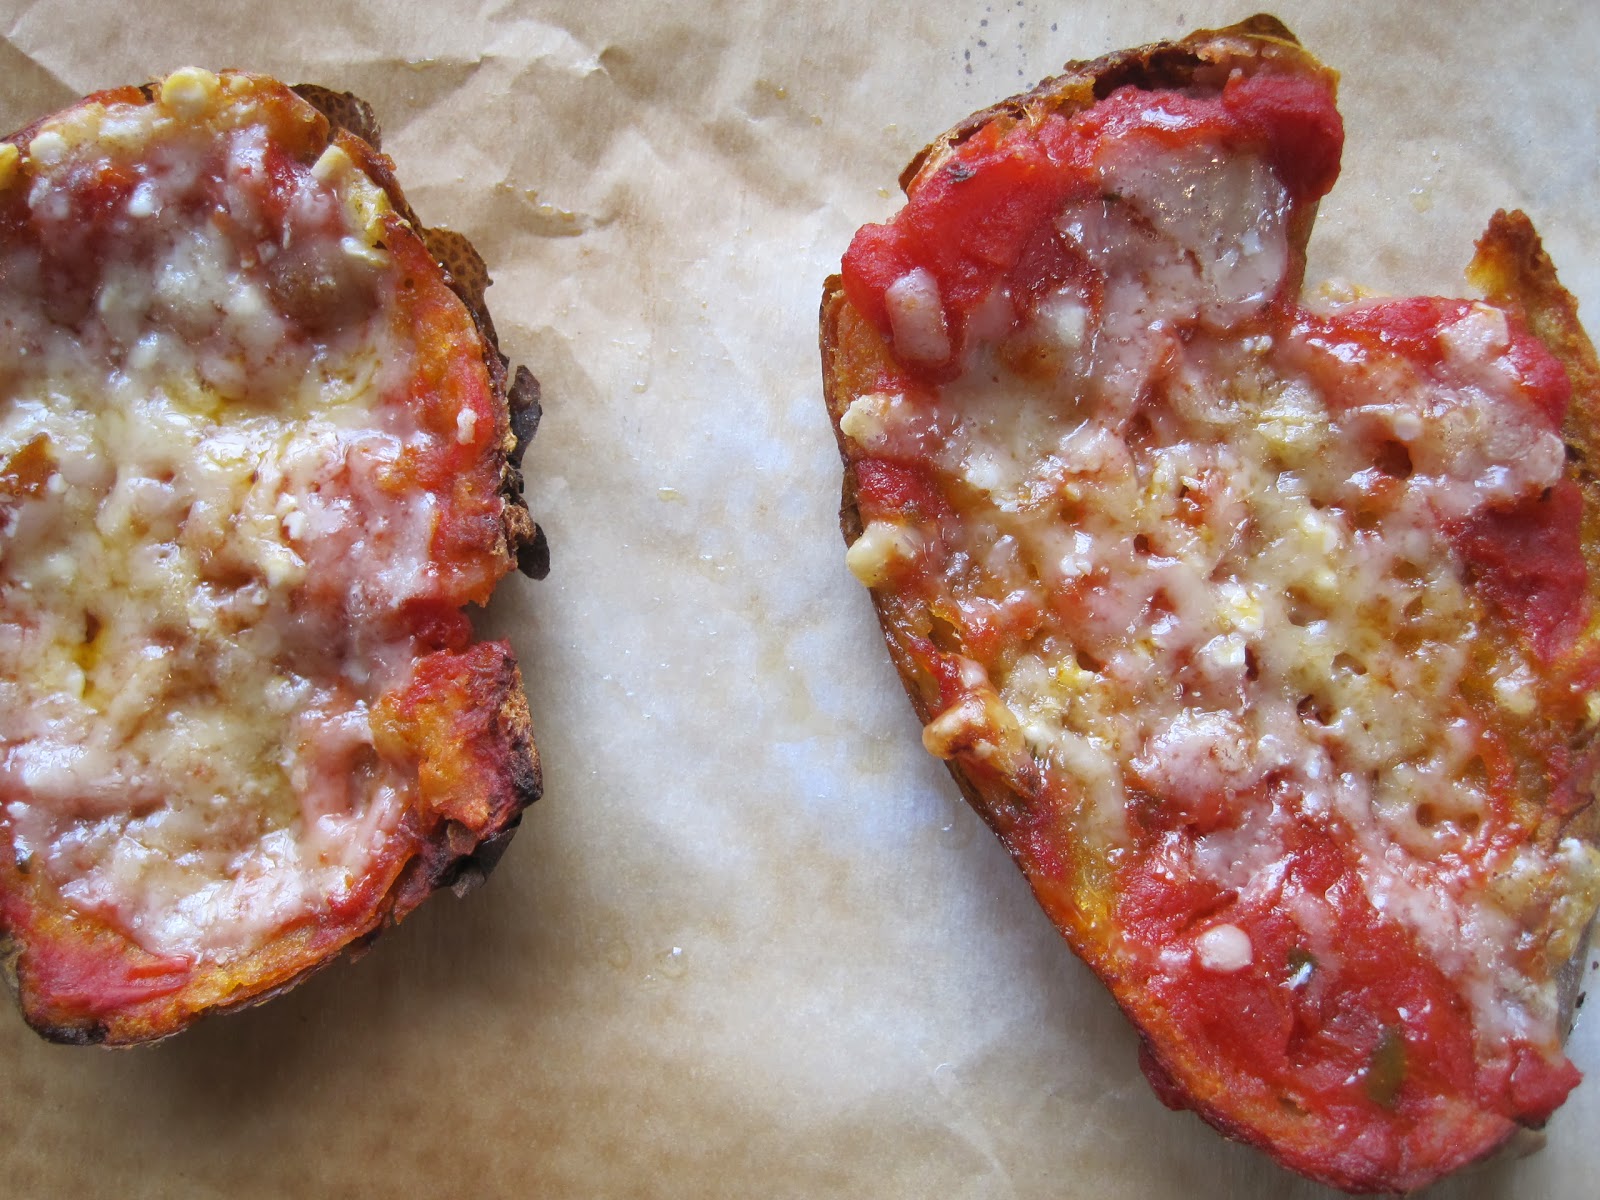
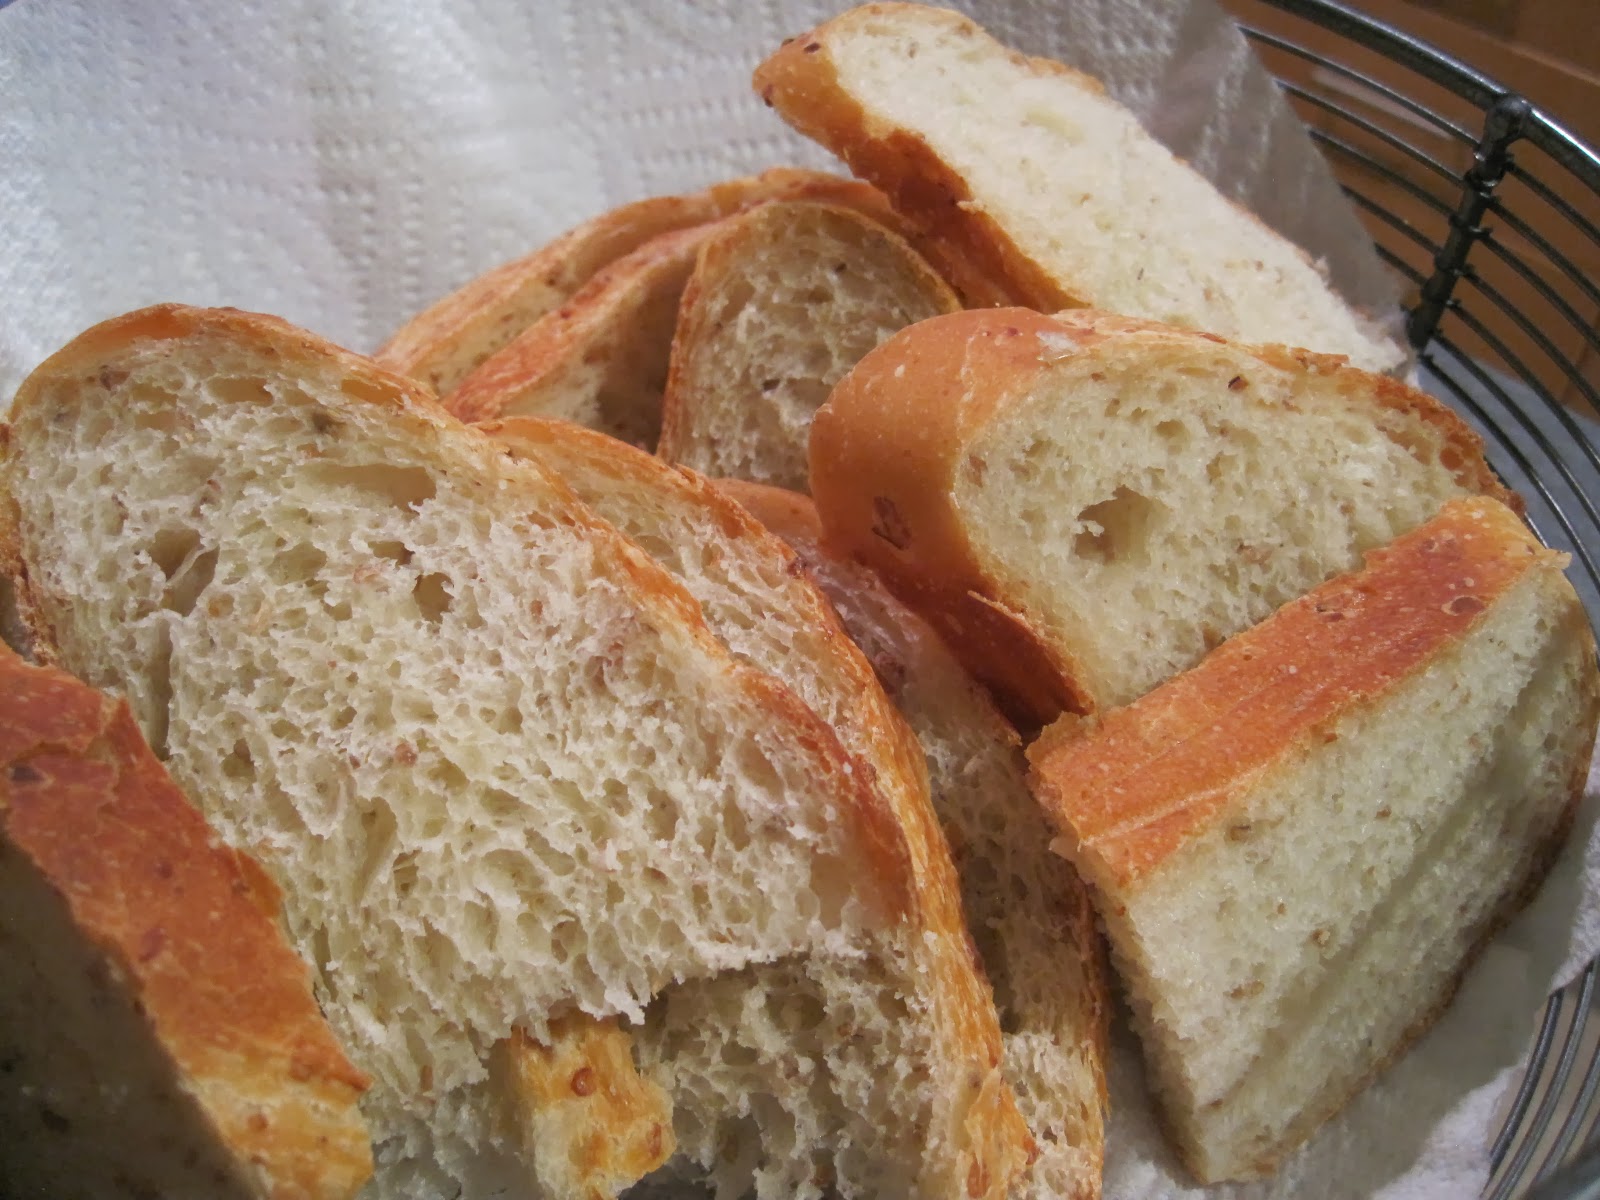
Sliced.
In order of importance:
1. The first trick is for convenience, I like having dough ready all the time. I like to bake a mini loaf frequently for dinner or a couple pitas in the morning, it's perfect for that.
2. The second trick is for fanatics. Vit C is making big grain, lean, enriched doughs into a loaf texture I've sought for a long time, it might not be what everyone wants. I'm not sure what the upper limit is, but 100 ppm, the concentration described, is on the high side as described by food science people, but it's working for me and I'm not suffering too much guilt over it.
3. What I'm most intrigued about is the inverted baking. It takes lean and enriched breads to an entirely new level. It's a method taken from many sources including: a. Lahey's kneadless recipe but without using a scalding hot cast iron pan and b. from a much older steam pan called a
Baparoma which enables encapsulation of steam during baking. This simple sheet pan and inverted lid is better, cheaper and standard kitchen equipment.
There is no perfect loaf of bread. If you asked me once a day for the last 20 years "How's baking going?" I'd answer that I will have *it* any day now. So, take these methods with that in mind. The perfect loaf will never be, if it did, life might not be as good as it is.