


Too often I want a quick prep and don't want to read - I just want to cook. My goto places are: Ruhlman's Ratio, SimplyRecipes.com by Elise, 101CookBooks.com, CookingLight.com and a few others.
Warning: This post features oodles of product crap and not one of the product-producing bastards gave me a nickel.
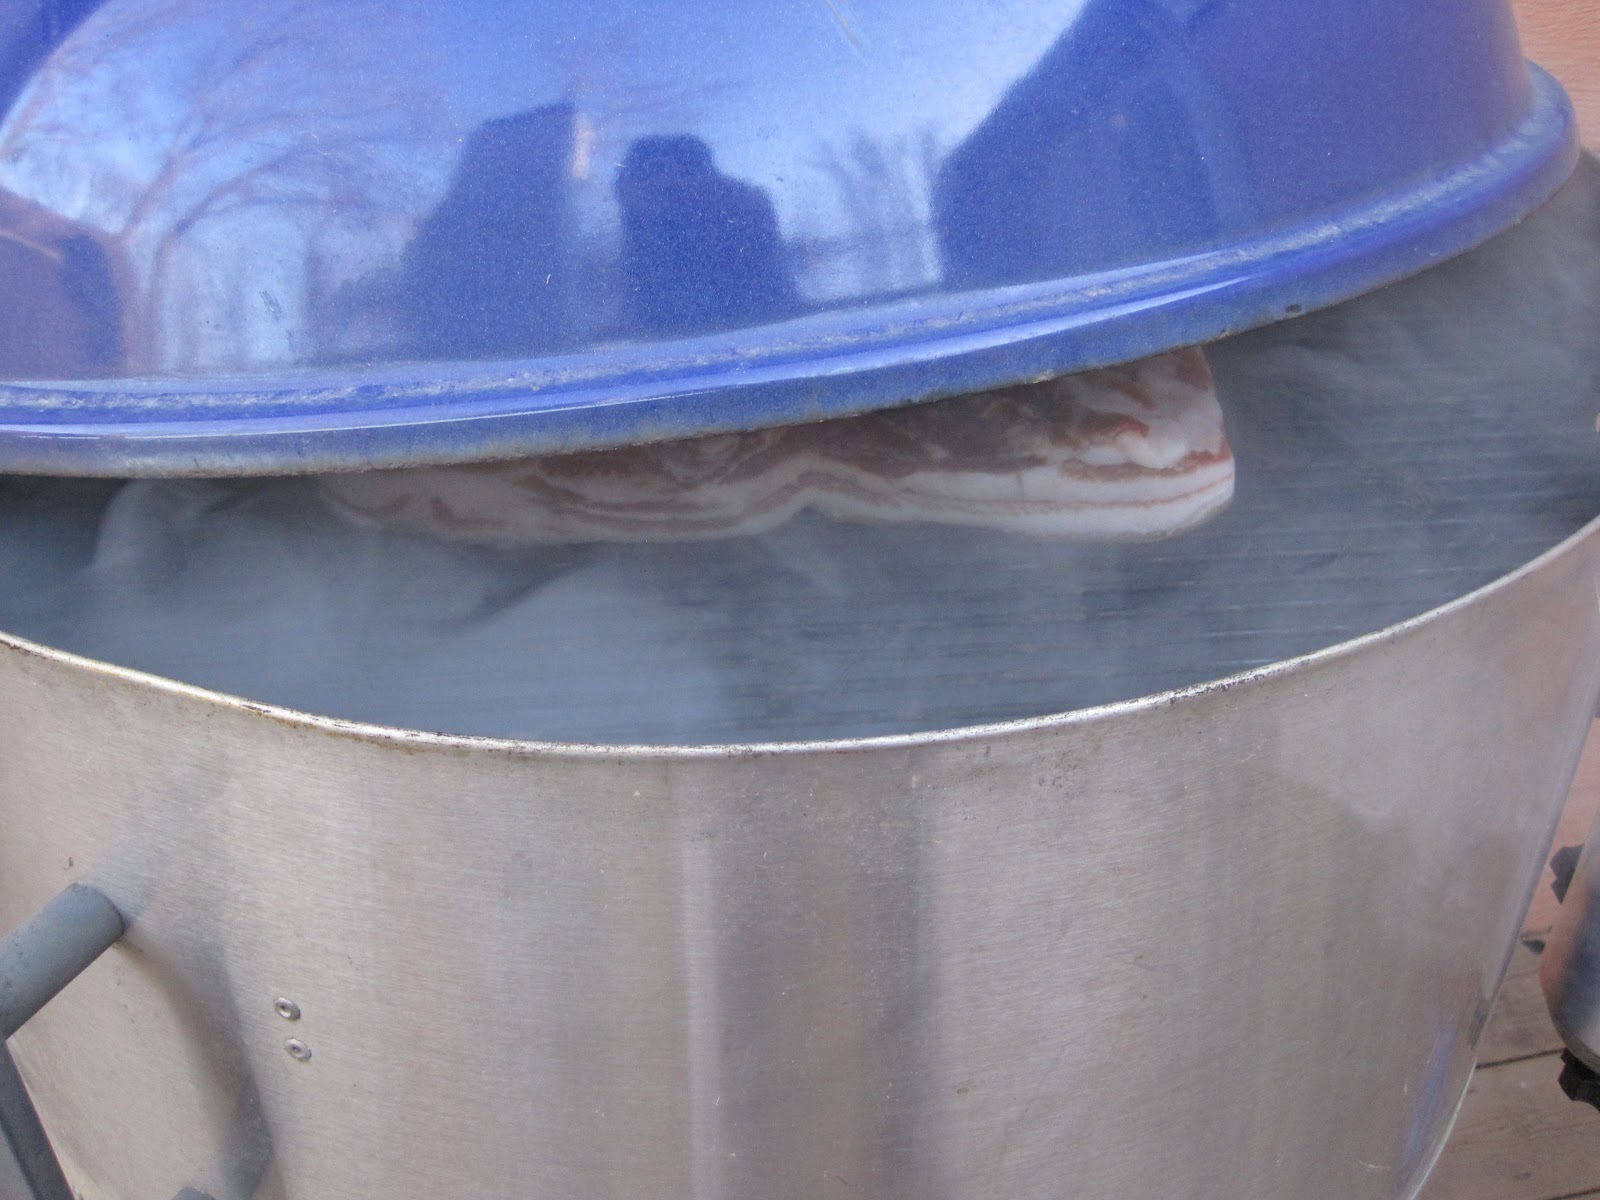
For xmas, the wife gave me a Smoke Daddy smoker offset box. A well-machined bit of aluminum and steel made to fit into a chamber with hand-tight fittings via a 7/8" dia hole. The smoke comes from wood and today I'm using Traeger smoking pellets hoping to get a longer smoking session without having to do more than sip beer and stare at it. I used plain old chips off the shelf, but they burned too quickly. The pellets I got for just under a buck a pound were just what this rig needed. One charge of 200 grams of pellets goes for 3-4 hours. The line into this thing (that blue line) is hooked to a small aquarium pump. This is necessary to keep the combustion going, the lit pellets will suffocate without a perk of air. I'll try slowing the flow of air to get a few more hours out of it.
So that's it, see below for a few action shots. I prepped my pork belly according to Saucisson Mac's bacon manifesto and tossed it on. I especially like Saucisson Mac's thoughts on a solution brine rather than a solid/surface salting, more uniform and faster to get the belly cured.


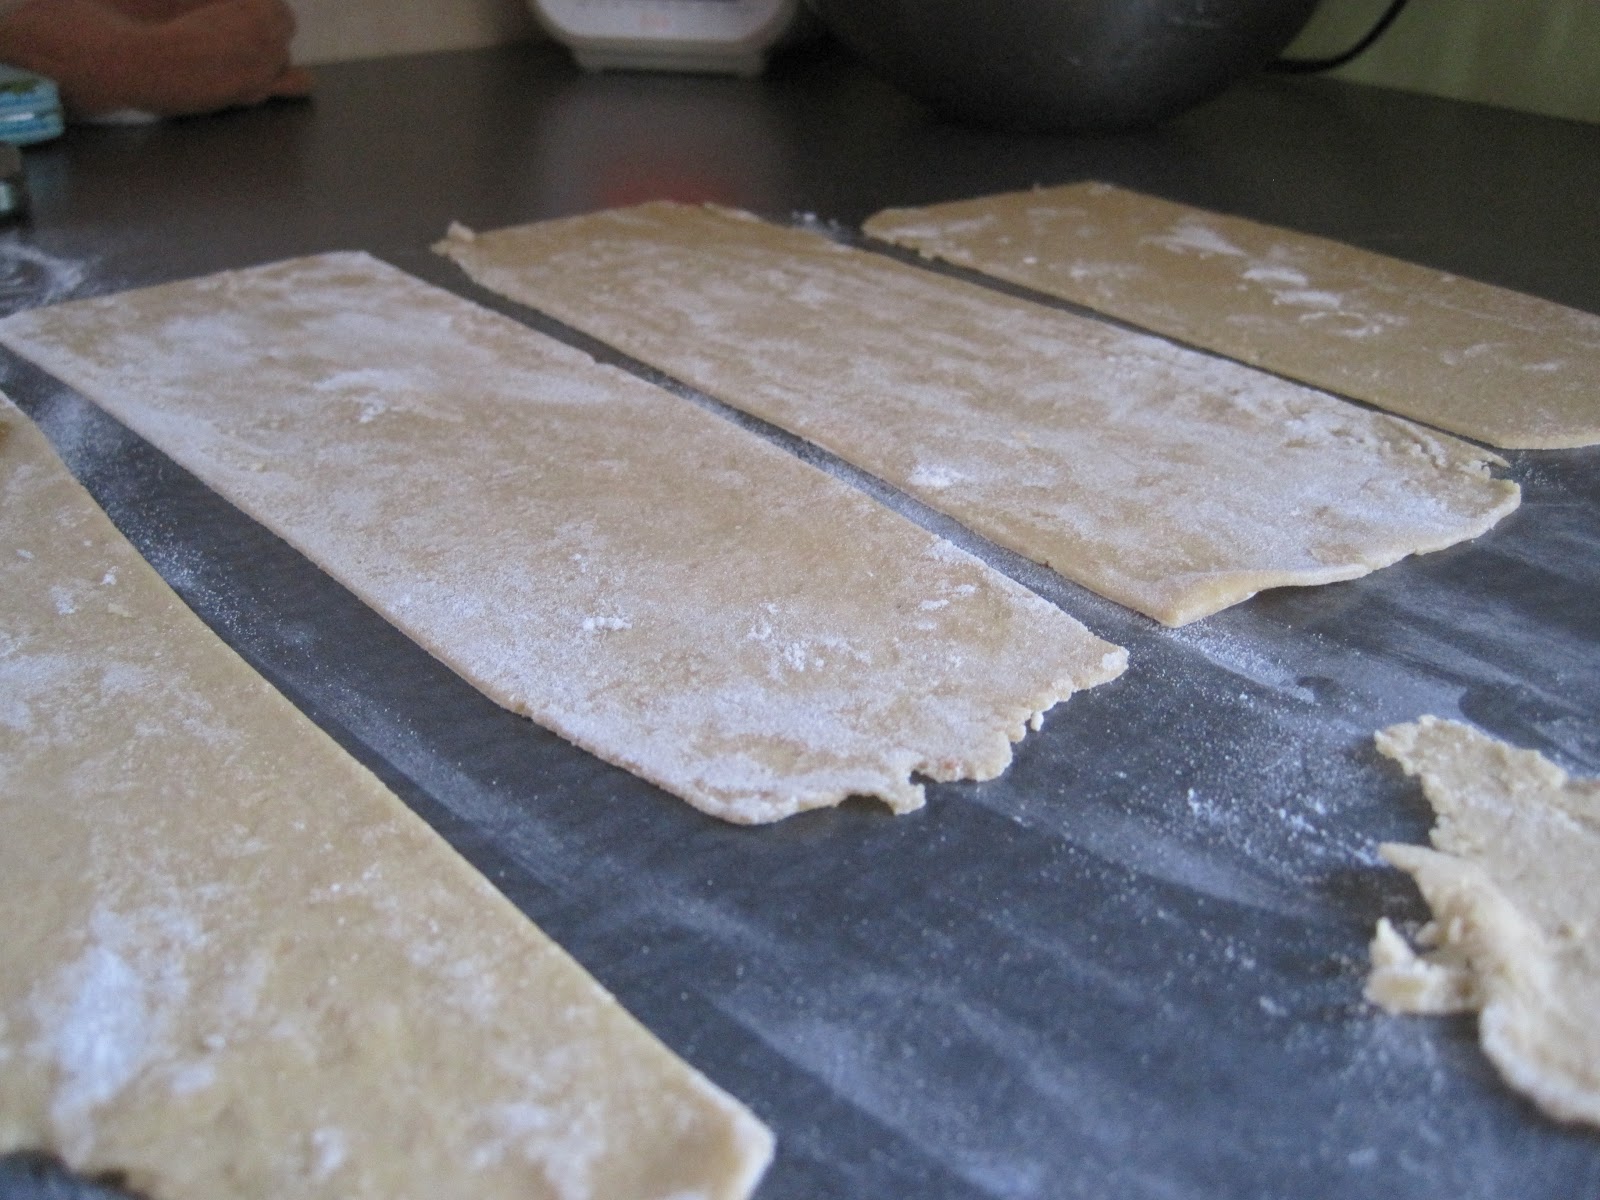
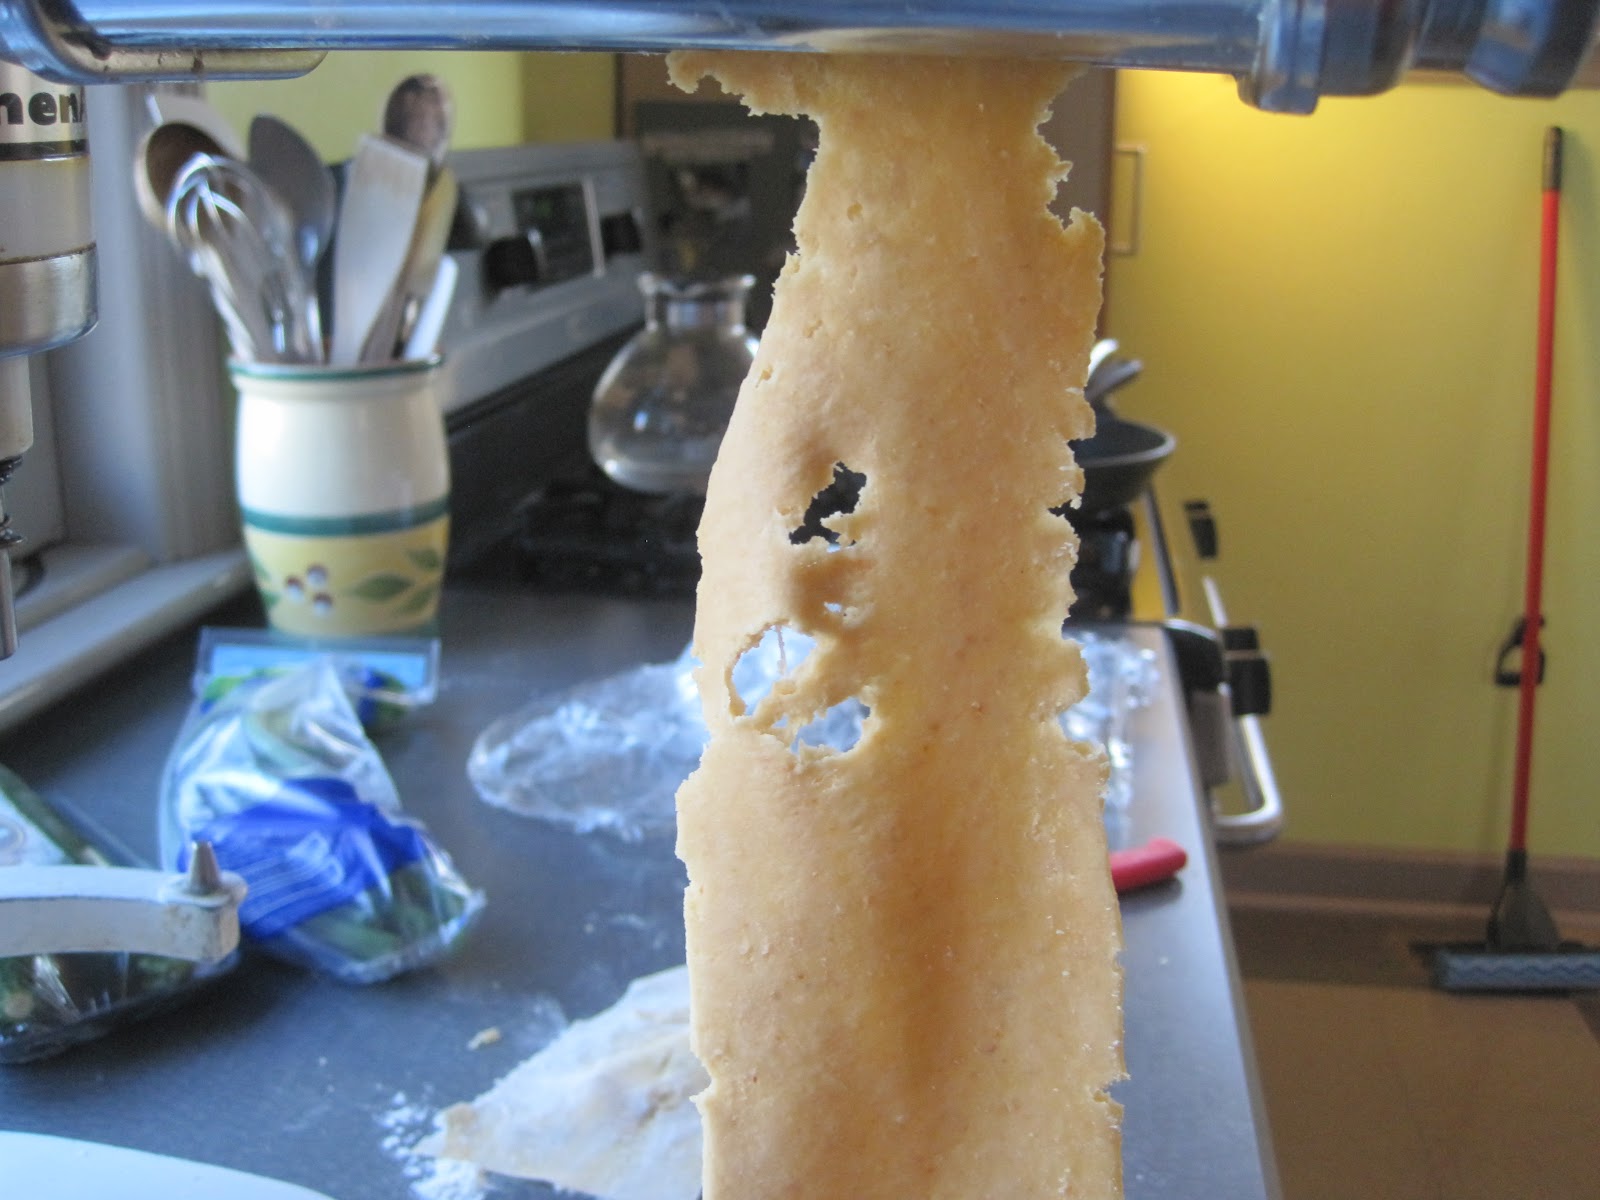
Given a kid's zeal for noodles, I wanted to try to fit some more nutrition in by using chickpea flour (ground chickpeas, purchased at Mediterranean Food Imports for the locals). Beans have a little higher protein and about the same carb count as flour, although the carbs must be more complex and better nutritionally. BUT, they lack gluten, so the extensibility of a final dough is in question at high levels of bean flour. I took an arbitrary stab at 50:50 besan:unbleached white flour.


 o
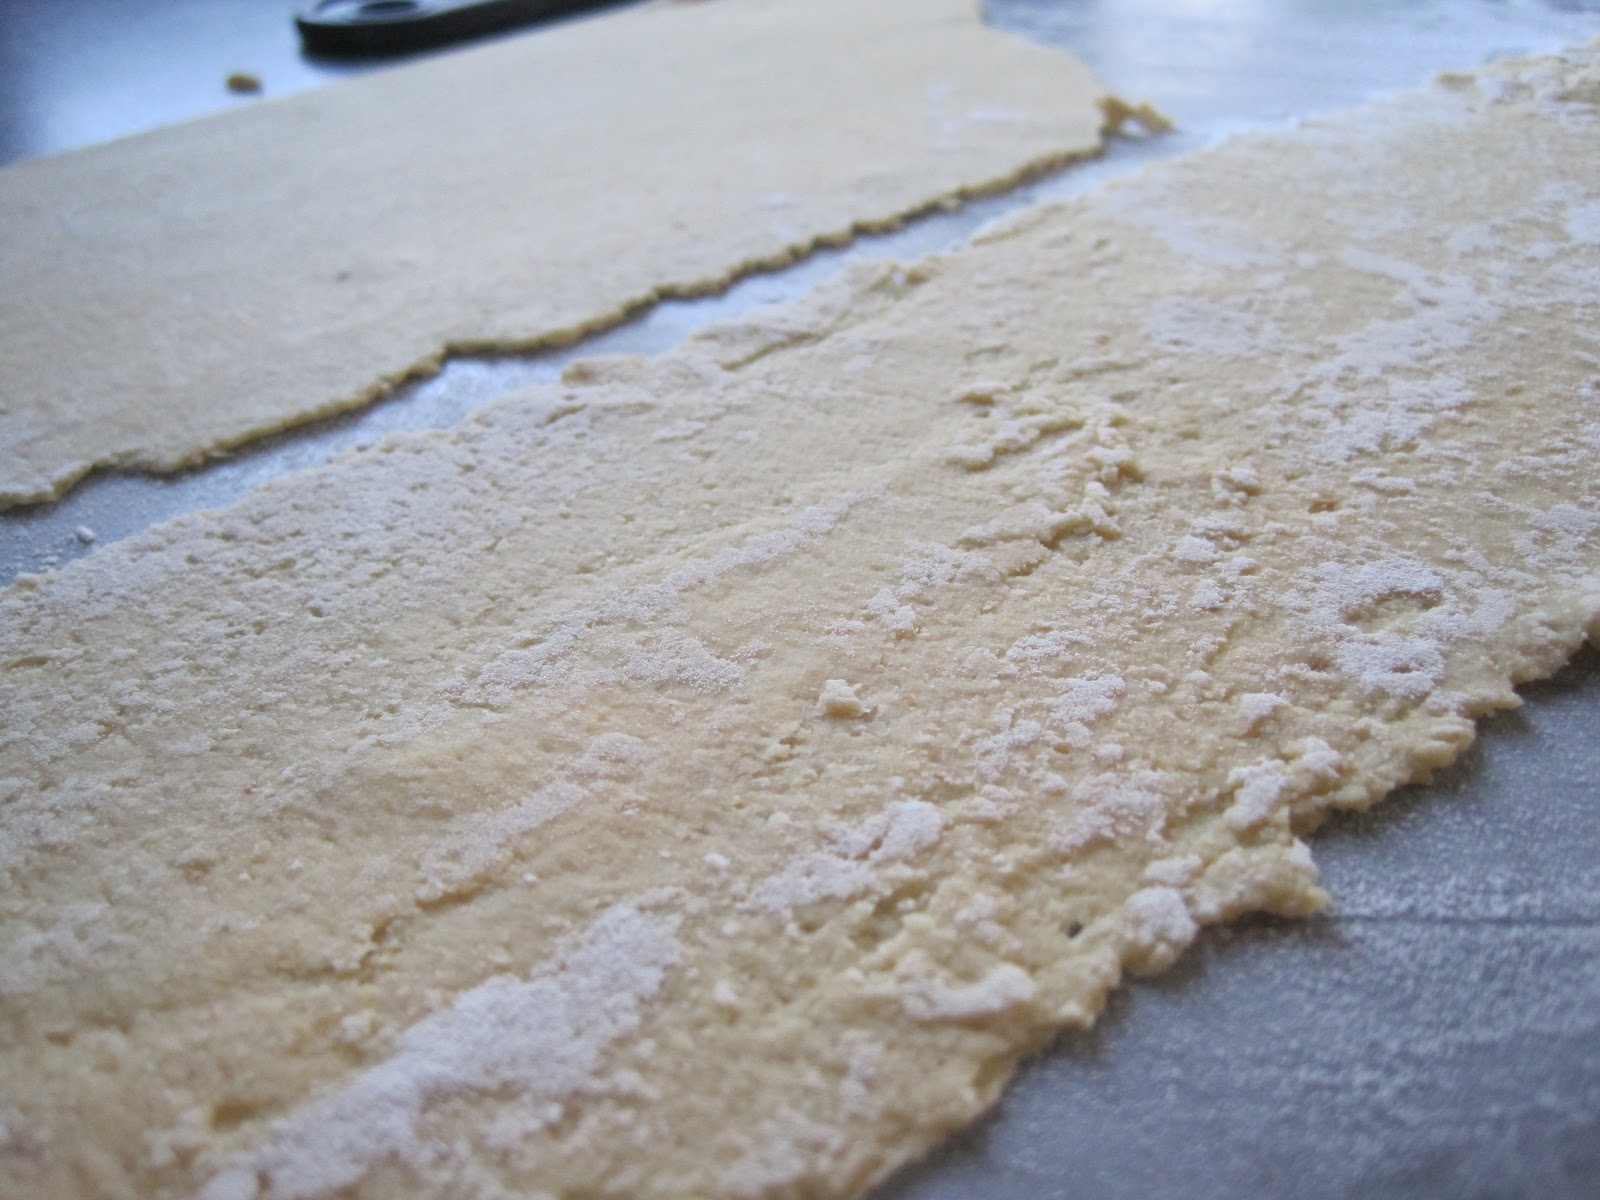
oI made croissants and pain au chocolat about 10 years ago and got an itch recently to give it another go. It's basically an enriched dough, plus a bunch of butter folded in carefully and made into funny shapes, a little like a multi-layered biscuit only leavened with yeast instead of dough - and more layers. My enriched dough was a straight dough (everything mixed together and allowed to rise): milk (300 g), butter (38 g), salt (9 g), sugar (15 g), yeast (instant active, 7 g), and Montana Sapphire unbleached white (500 g) and mixed into a stiff dough with a bread machine. It did it's first rise at room temp for a few hours. Then I rolled it into a 10 x 15" rectangle and that's where the images begin.
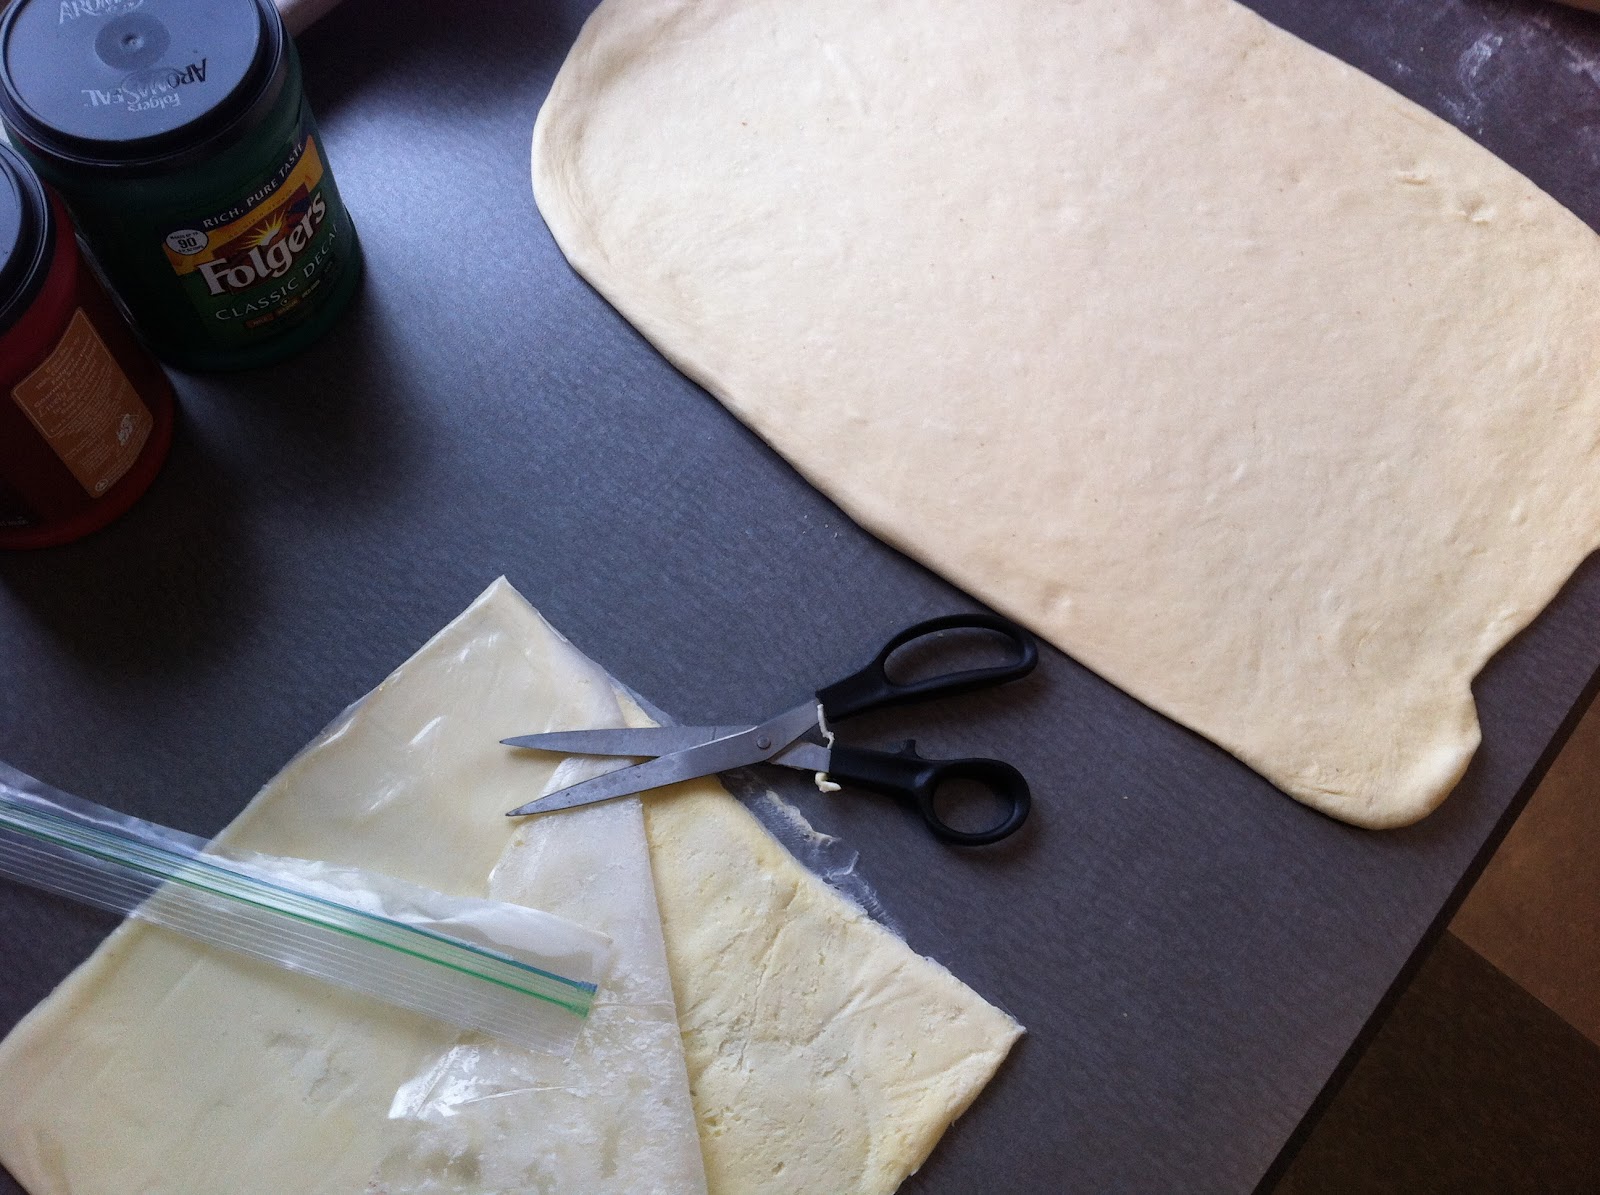


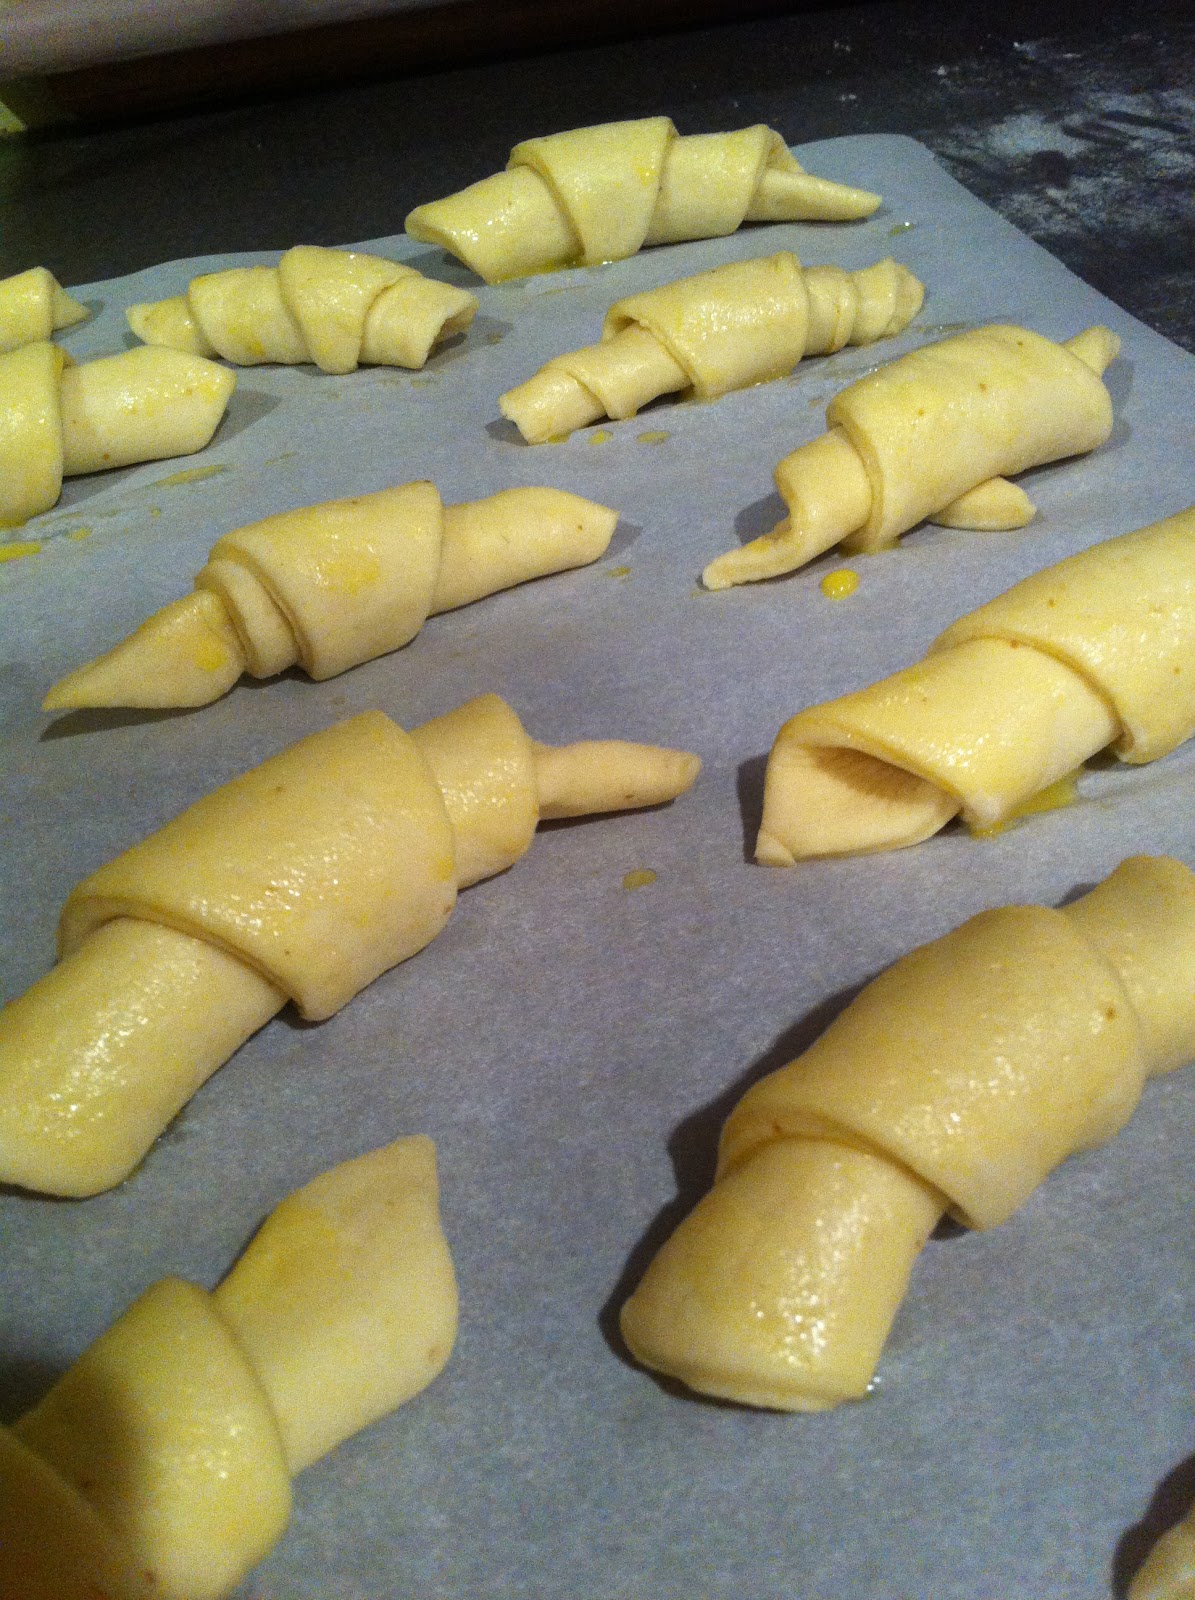


I'm sure I have nothing on any French bakers out there, but I think this is slick. I got 300 grams of butter into a 10" x 10" tile with barely any effort by using a ziploc. It chills in the fridge into a nice wafer. When ready, I'll trim the sides, peel off the plastic and voila, fold, fold, fold - croissants!


