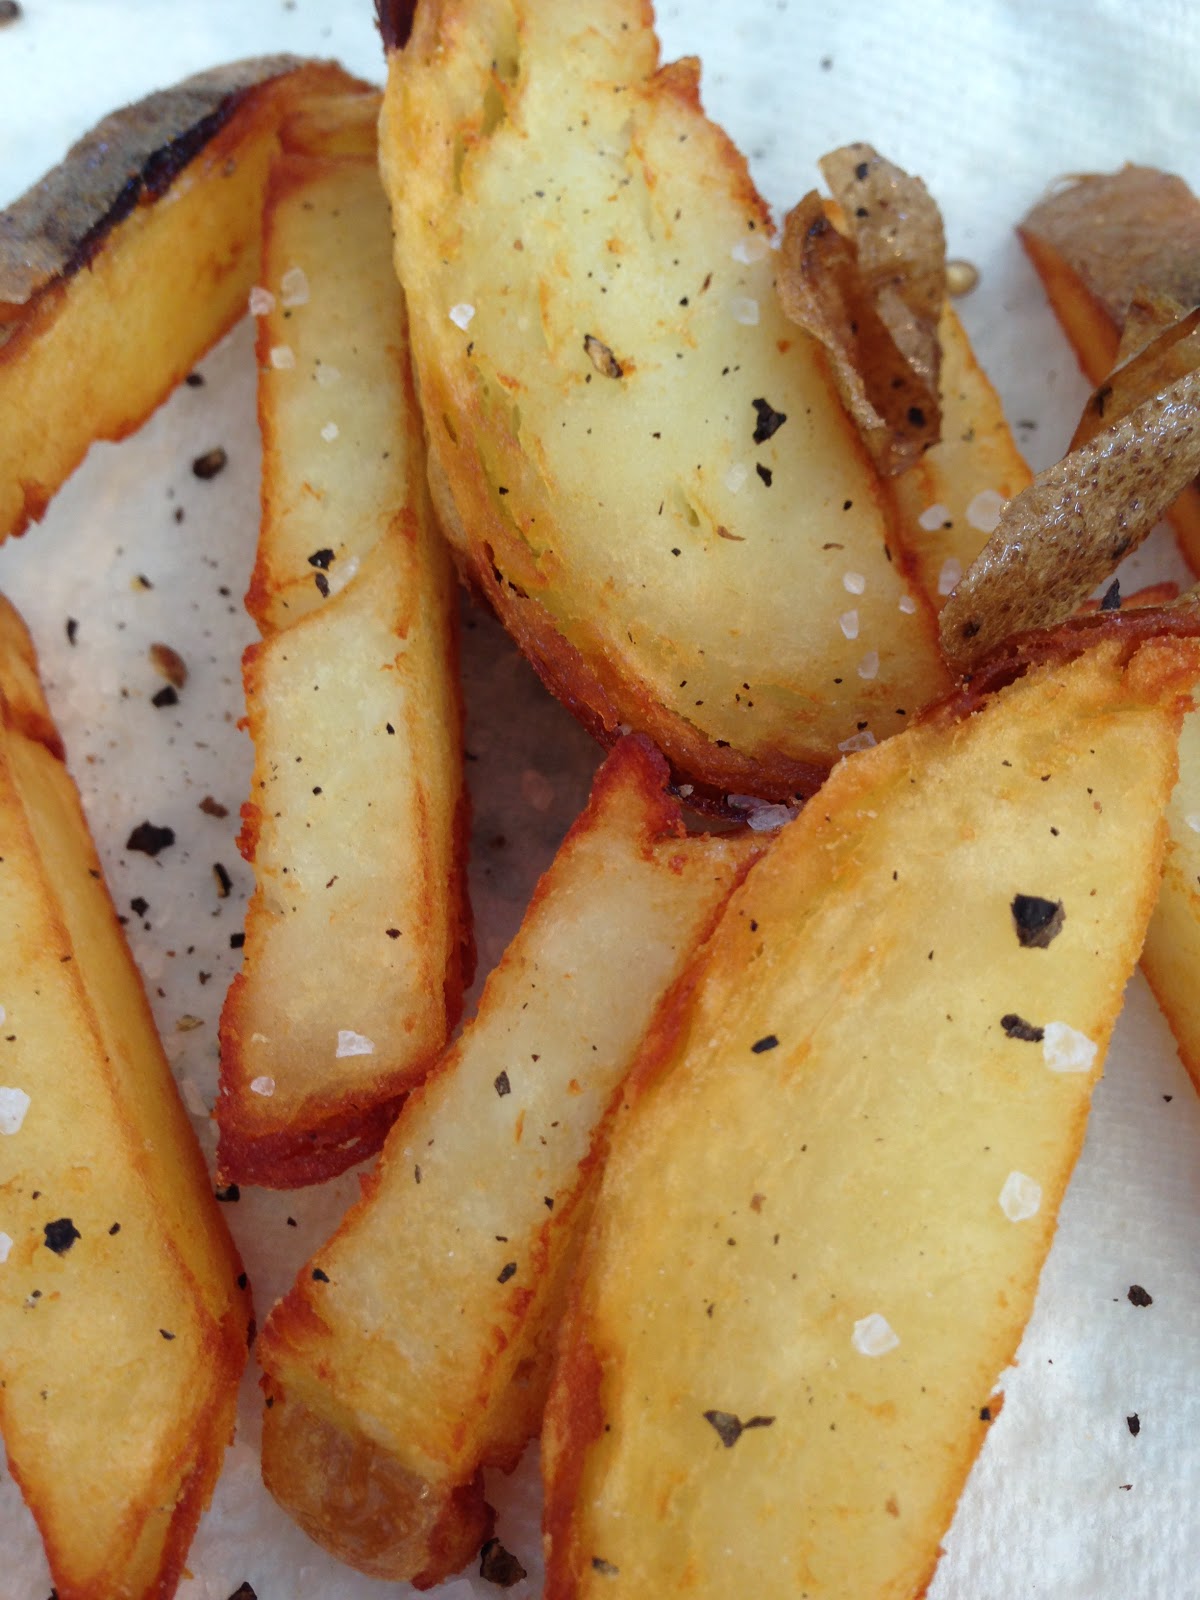
I've watched Heston Blumenthal's Triple-Cooked Chips many times. I actually went through the arduous process once and it works well. However, there are limits on the amount of time one has to live. These take a very long time to prepare.
2.19.2014
fries, french fries
2.07.2014
How I came to Know the Value of the Pressure Cooker
Sometime back I was obsessing over humidity in my oven while baking. Having read about these steam injection deck ovens, I got an itch to try baking with steam. Not an ice cube on the floor of the oven steam, I wanted a ca. 10-20 psi intermittent blast applied in early stages of baking.
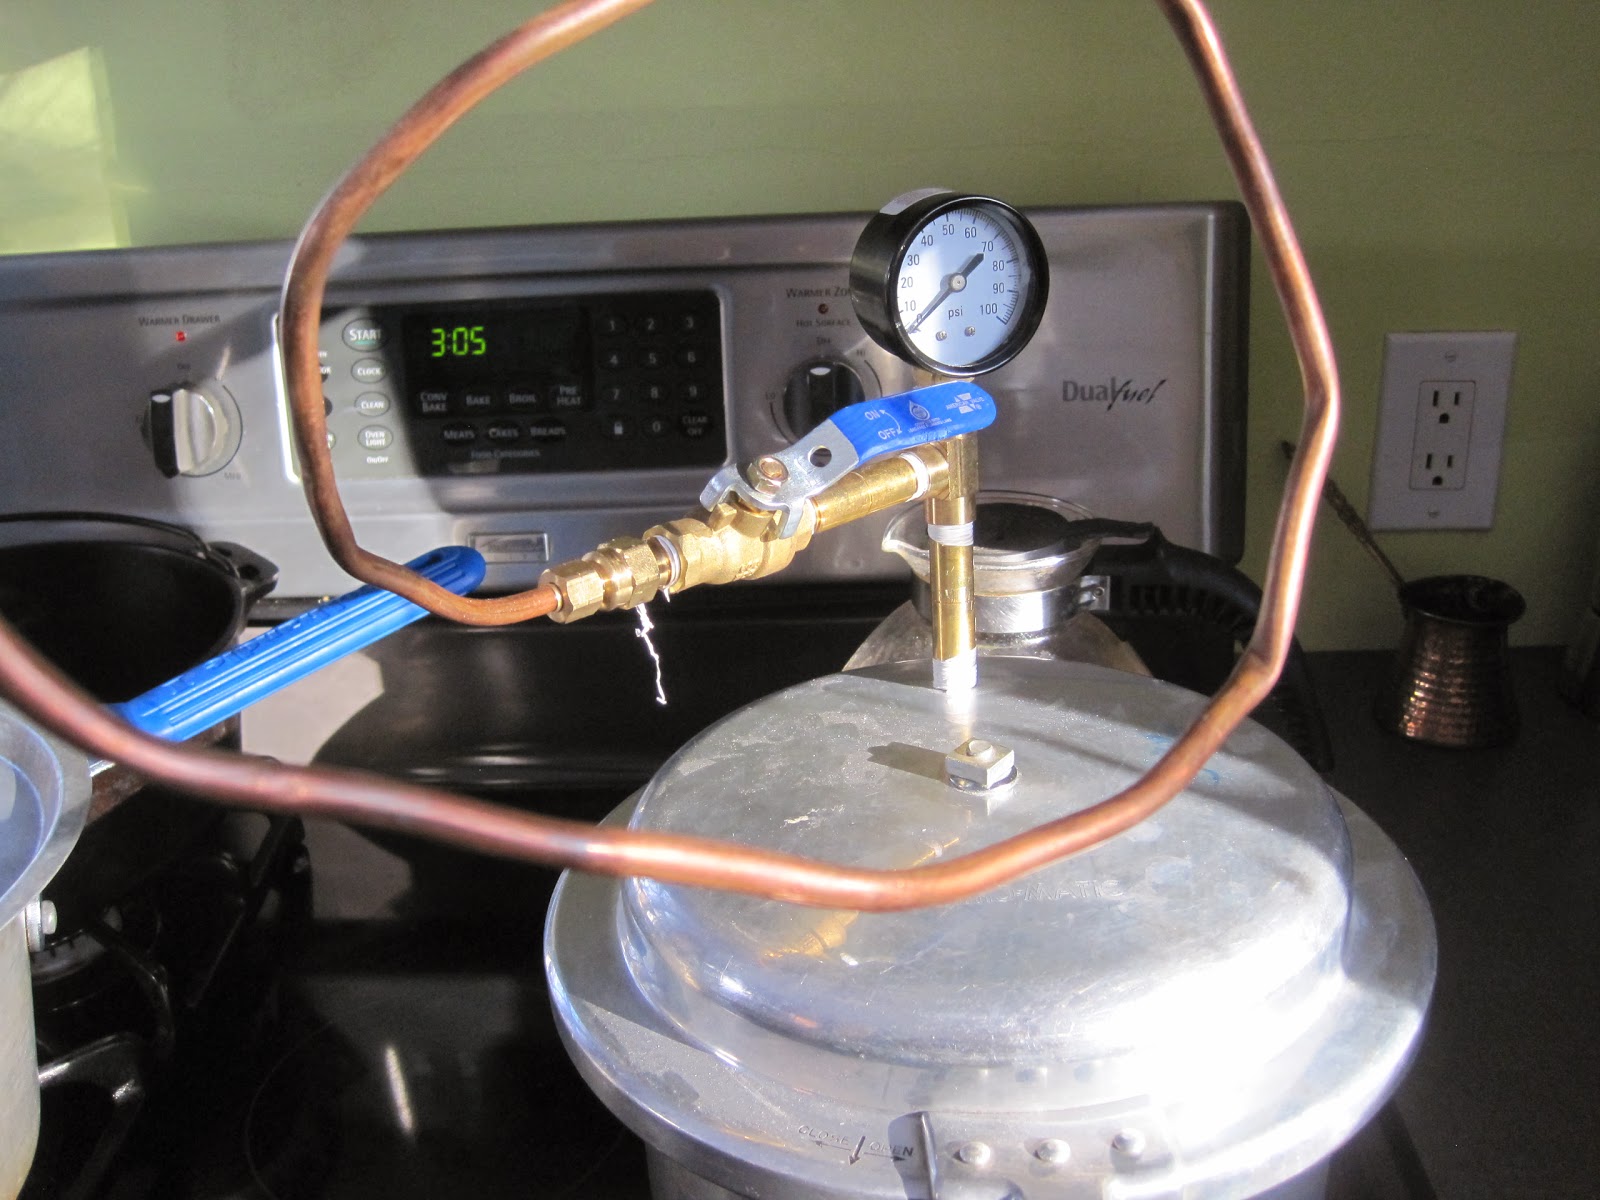
Off to the thrift store, I found a cheap pressure cooker. First I removed all safety exhaust ports from it, tapped some new threads and affixed a few pieces of pipe, a copper tubing outlet and a gauge.
Then, I tried using my contraption in our new sucky winter climate. I thought if I pumped steam into sub zero temps, I could create a snow machine. This didn't work either.
Then, even though it had no safety ports, I tried something crazy - standing over it the entire time and moderating the pressure manually - I tried beans in it. Soaked garbanzo beans cooked in a light brine at about 10 psi for30 minutes cooked to a consistency I've not experienced in a can. Not soft, but more done than the can and more done than I've been able to achieve by slow simmering. I then tried other beans, e.g., toor dal for sambar, red kidneys, a pork butt(!), etc. etc. This thing is amazing! Why am I so late to the party?
I spent some time with America's Test Kitchen watching their pressure cooker video and bought a safe one, the Faygor Duo. I can't wait to explore legumes and stews in a way I never have before.
2.01.2014
grain free pizza - part 1 (in a series)
I don't know who started the cauliflower substitute for a pizza crust, but I find it a bad choice on every level imaginable. It's like making tofu into a hotdog shape. It's wrong. Stop doing it.
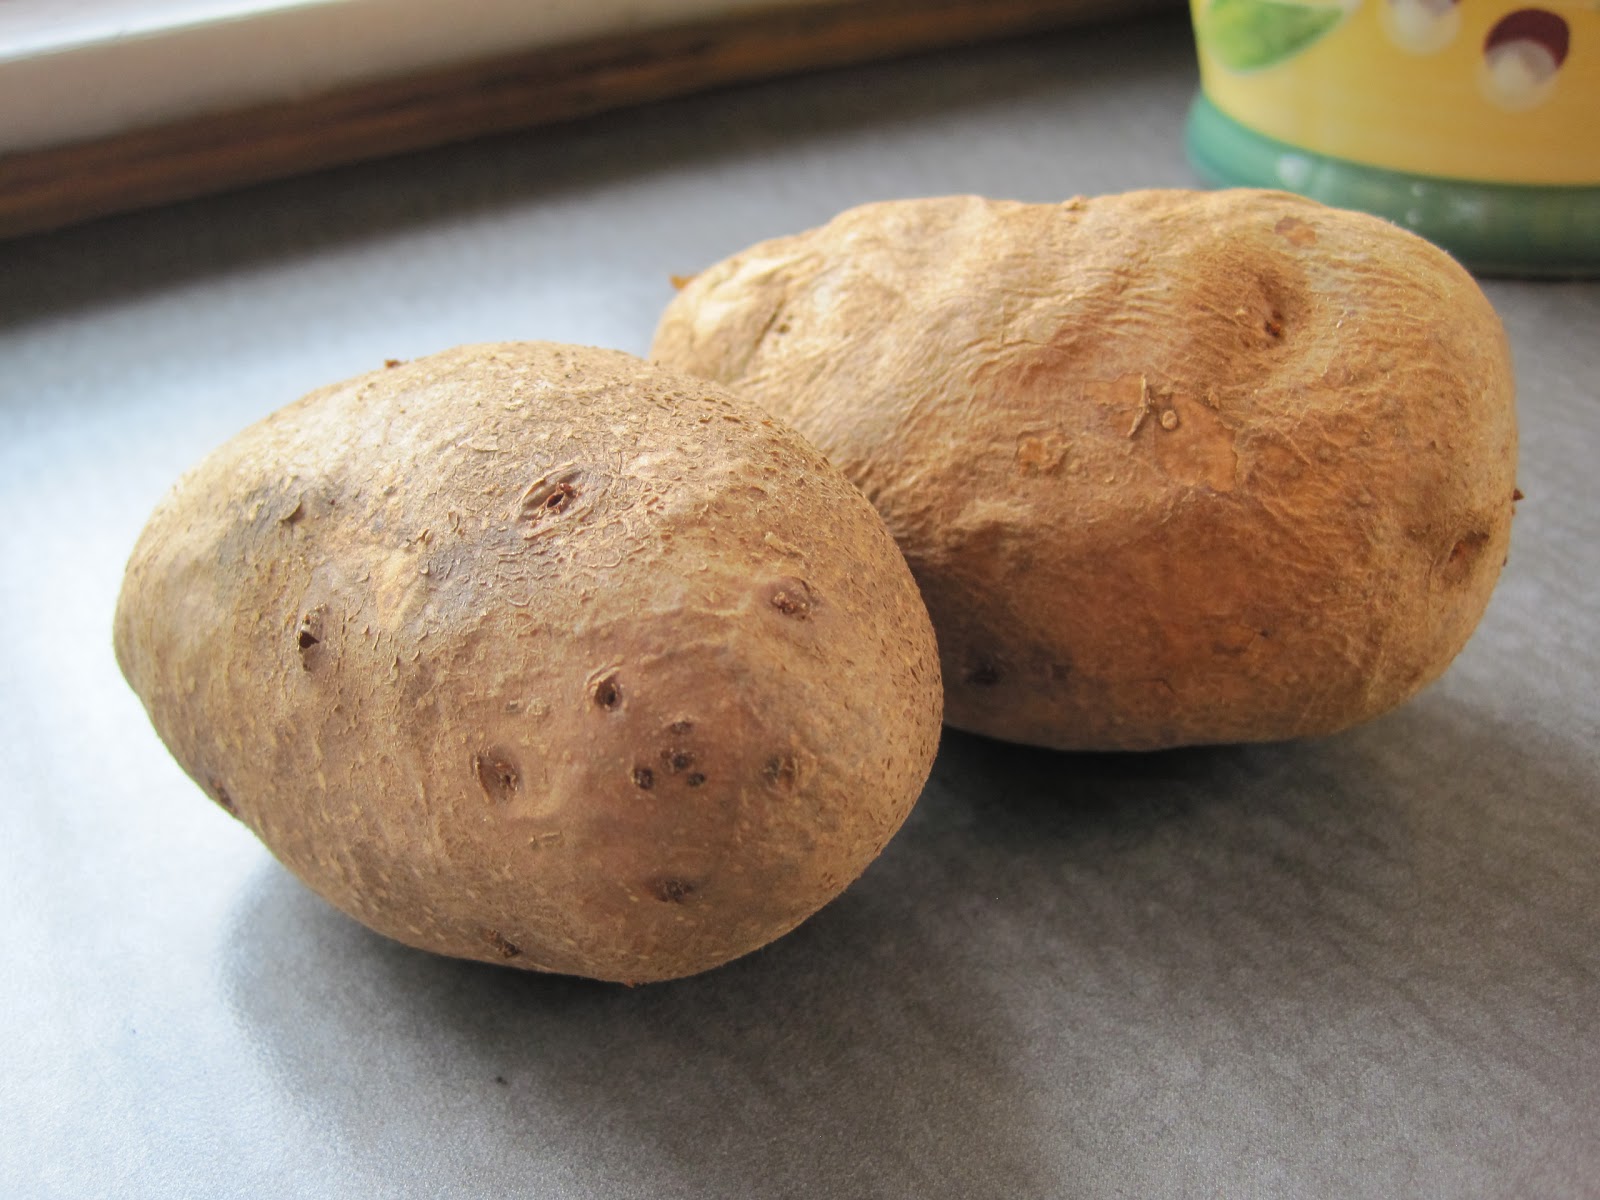
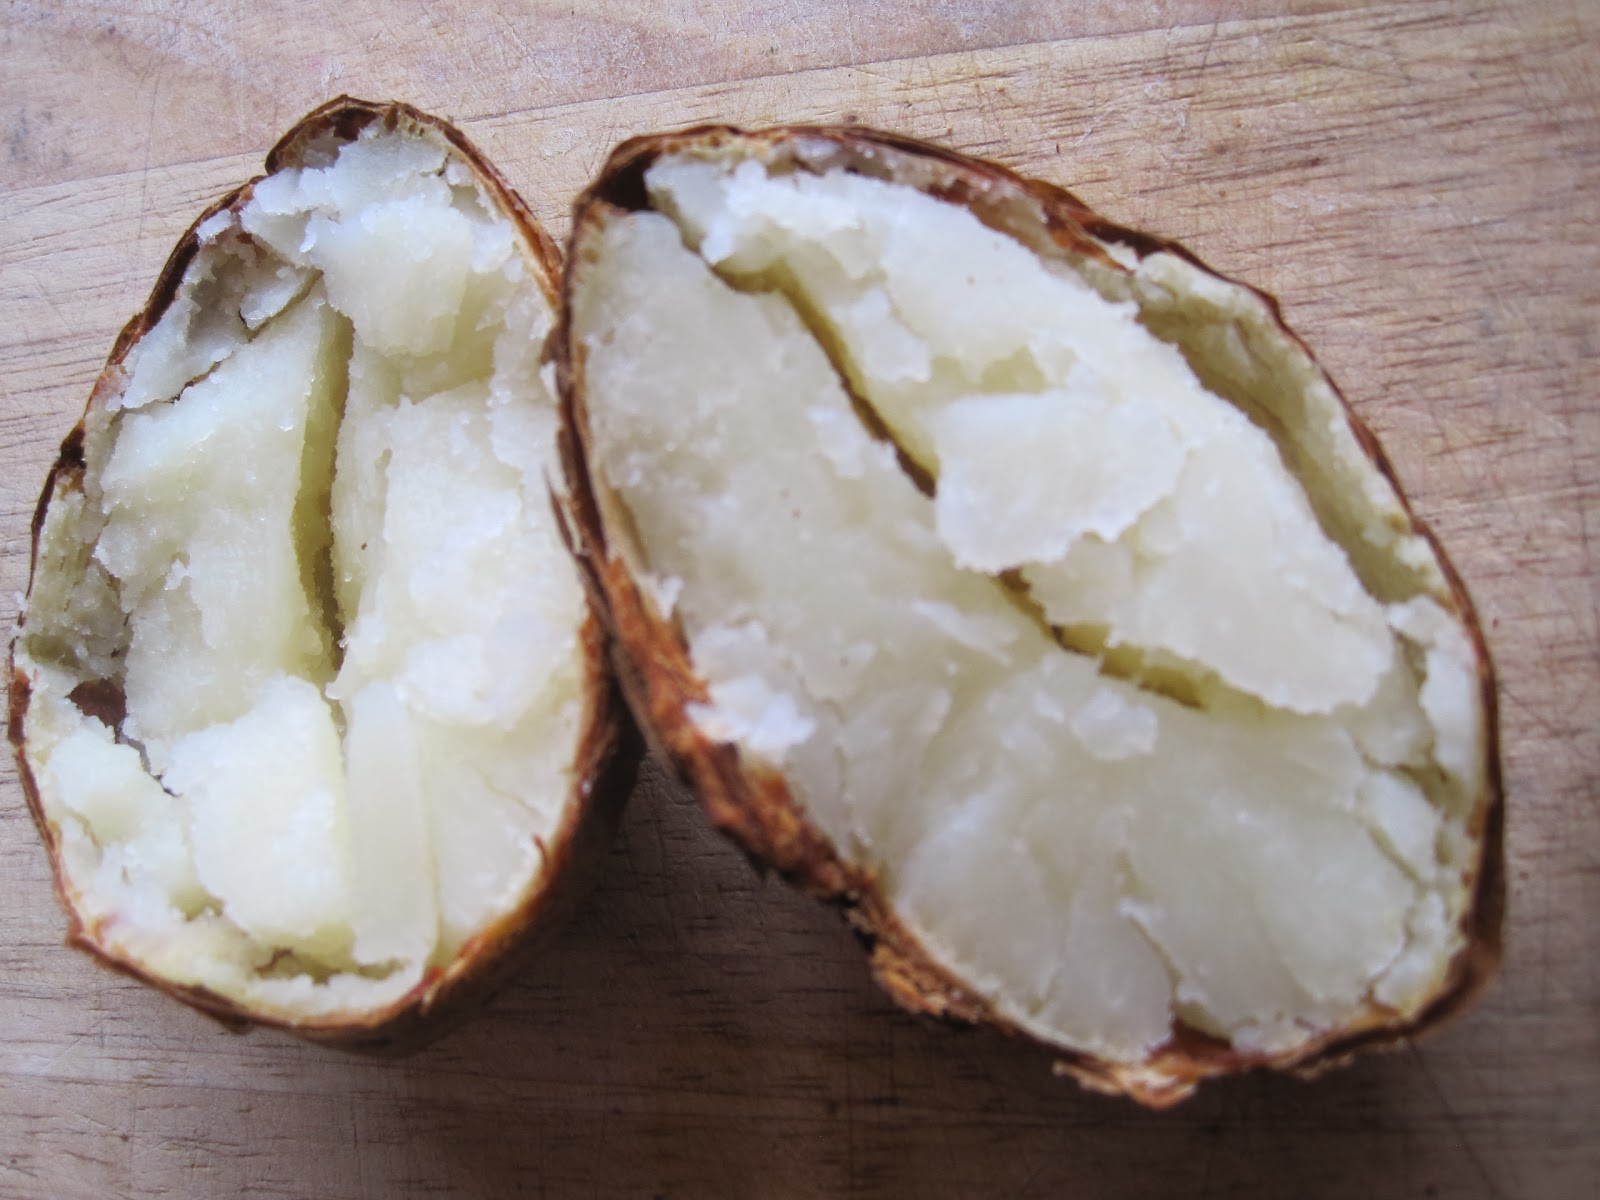
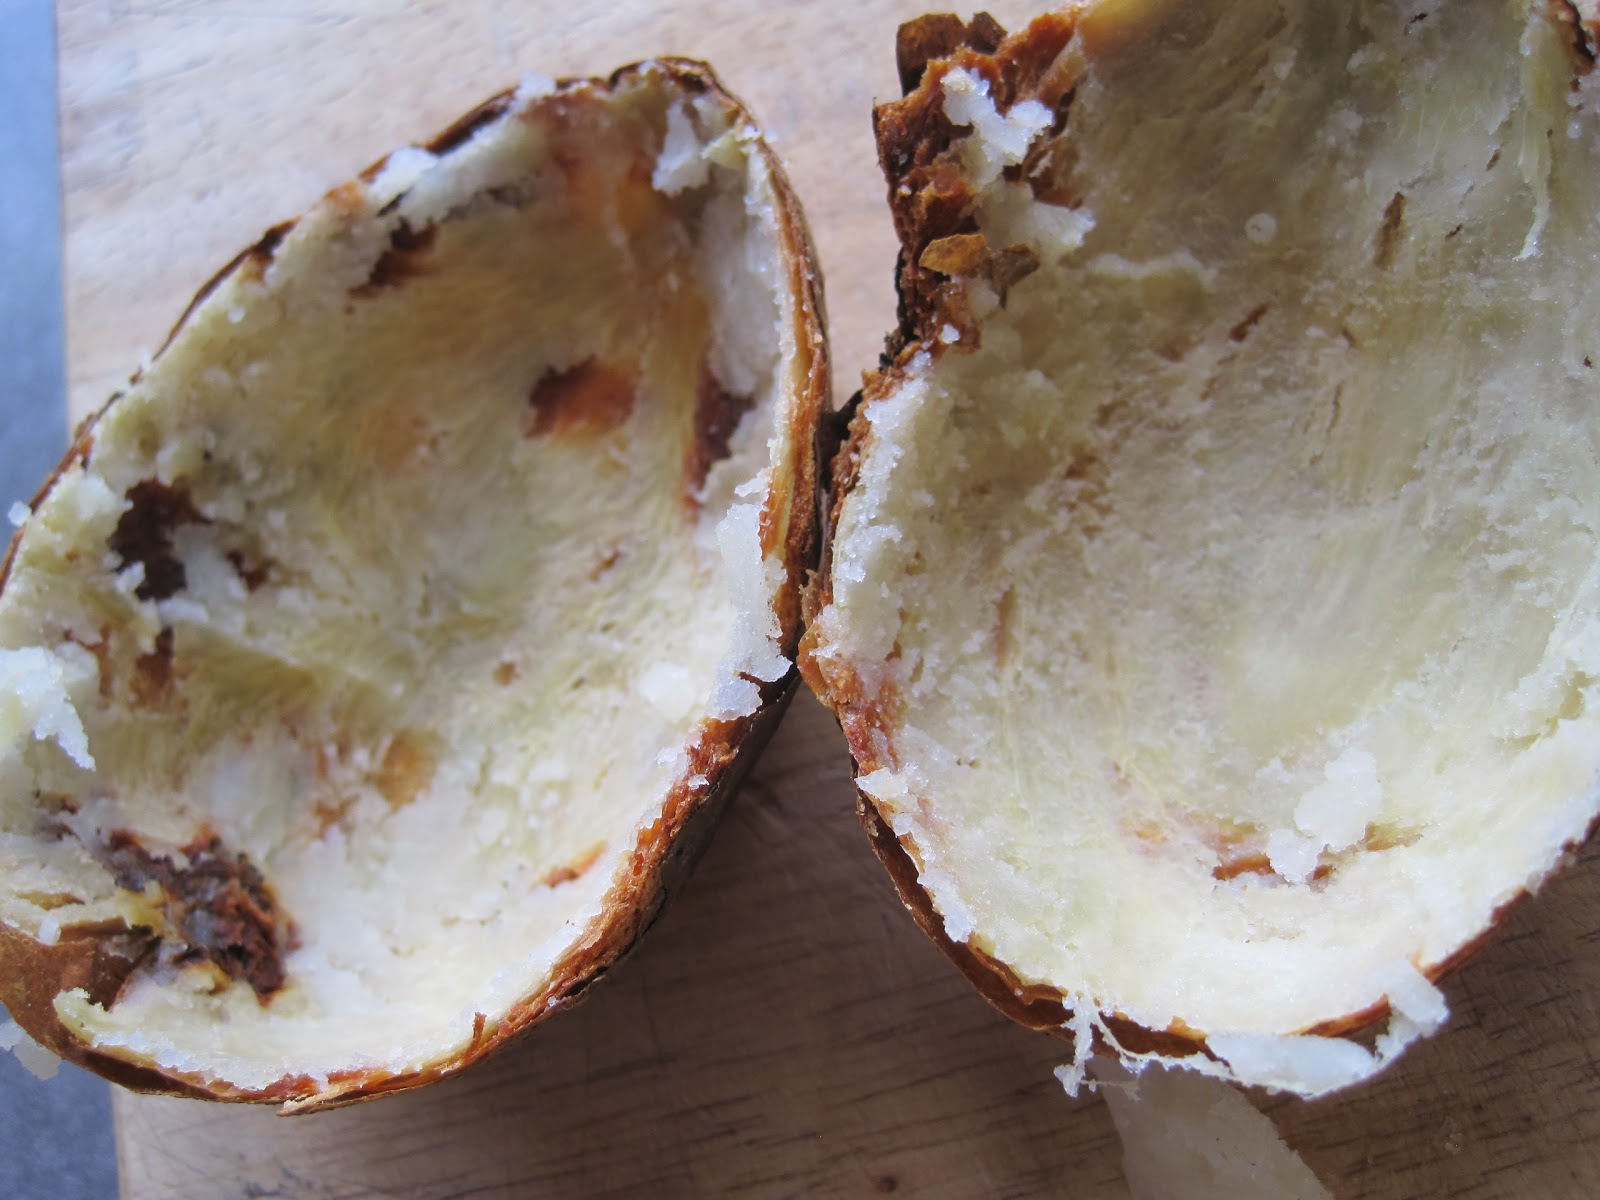
Split open, observe how well separated the skin is from the flesh. The skin is crisp, the flesh is extremely tender. Without even a sprinkle of salt, the potato is sublime. Shocking how tough it is to get a good baked potato.
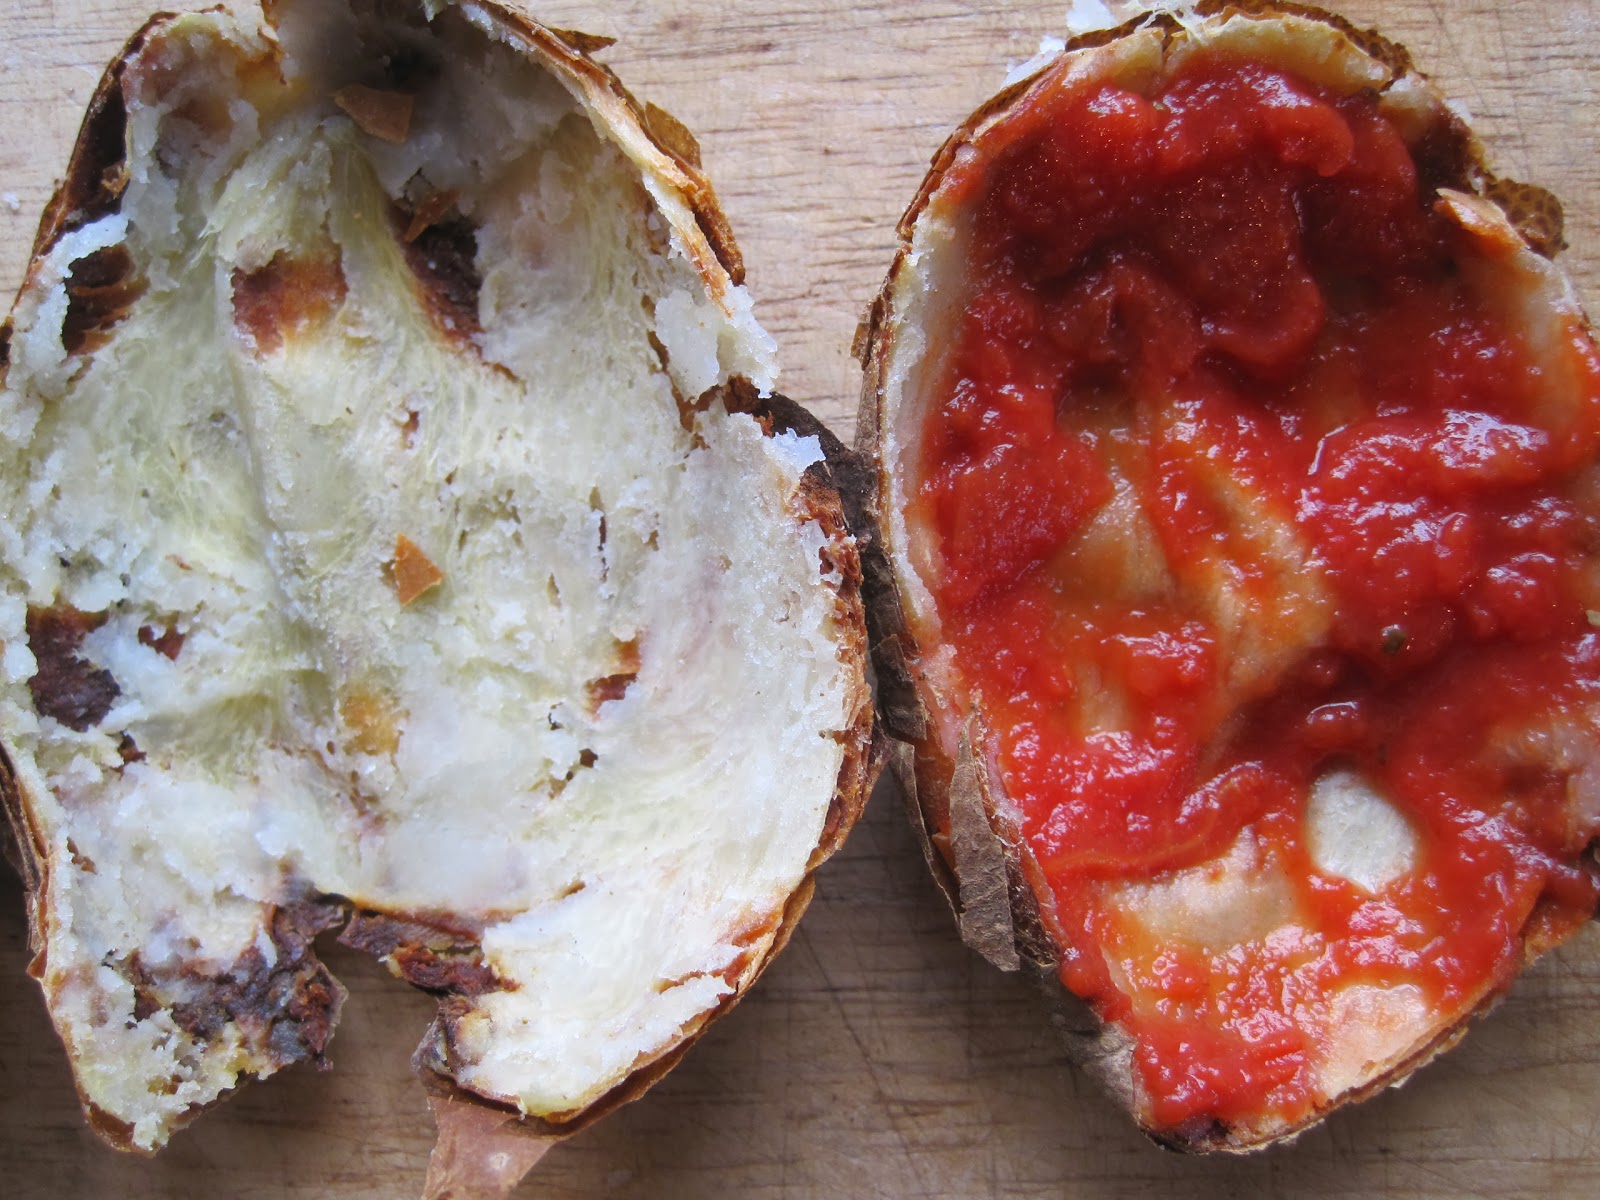
I scraped the potato out using a spoon. Tough to tell from the photo, but there is very little potato left and the crispy skins, on cooling, became supple enough to work with.
I smushed the skin to the size of approximately an English muffin pizza. This size element is a serious limitation unless I find a way to patch several skins together into one pizza shell. The tomato sauce is just some raw tomato with herbs, off the shelf, nothing big.
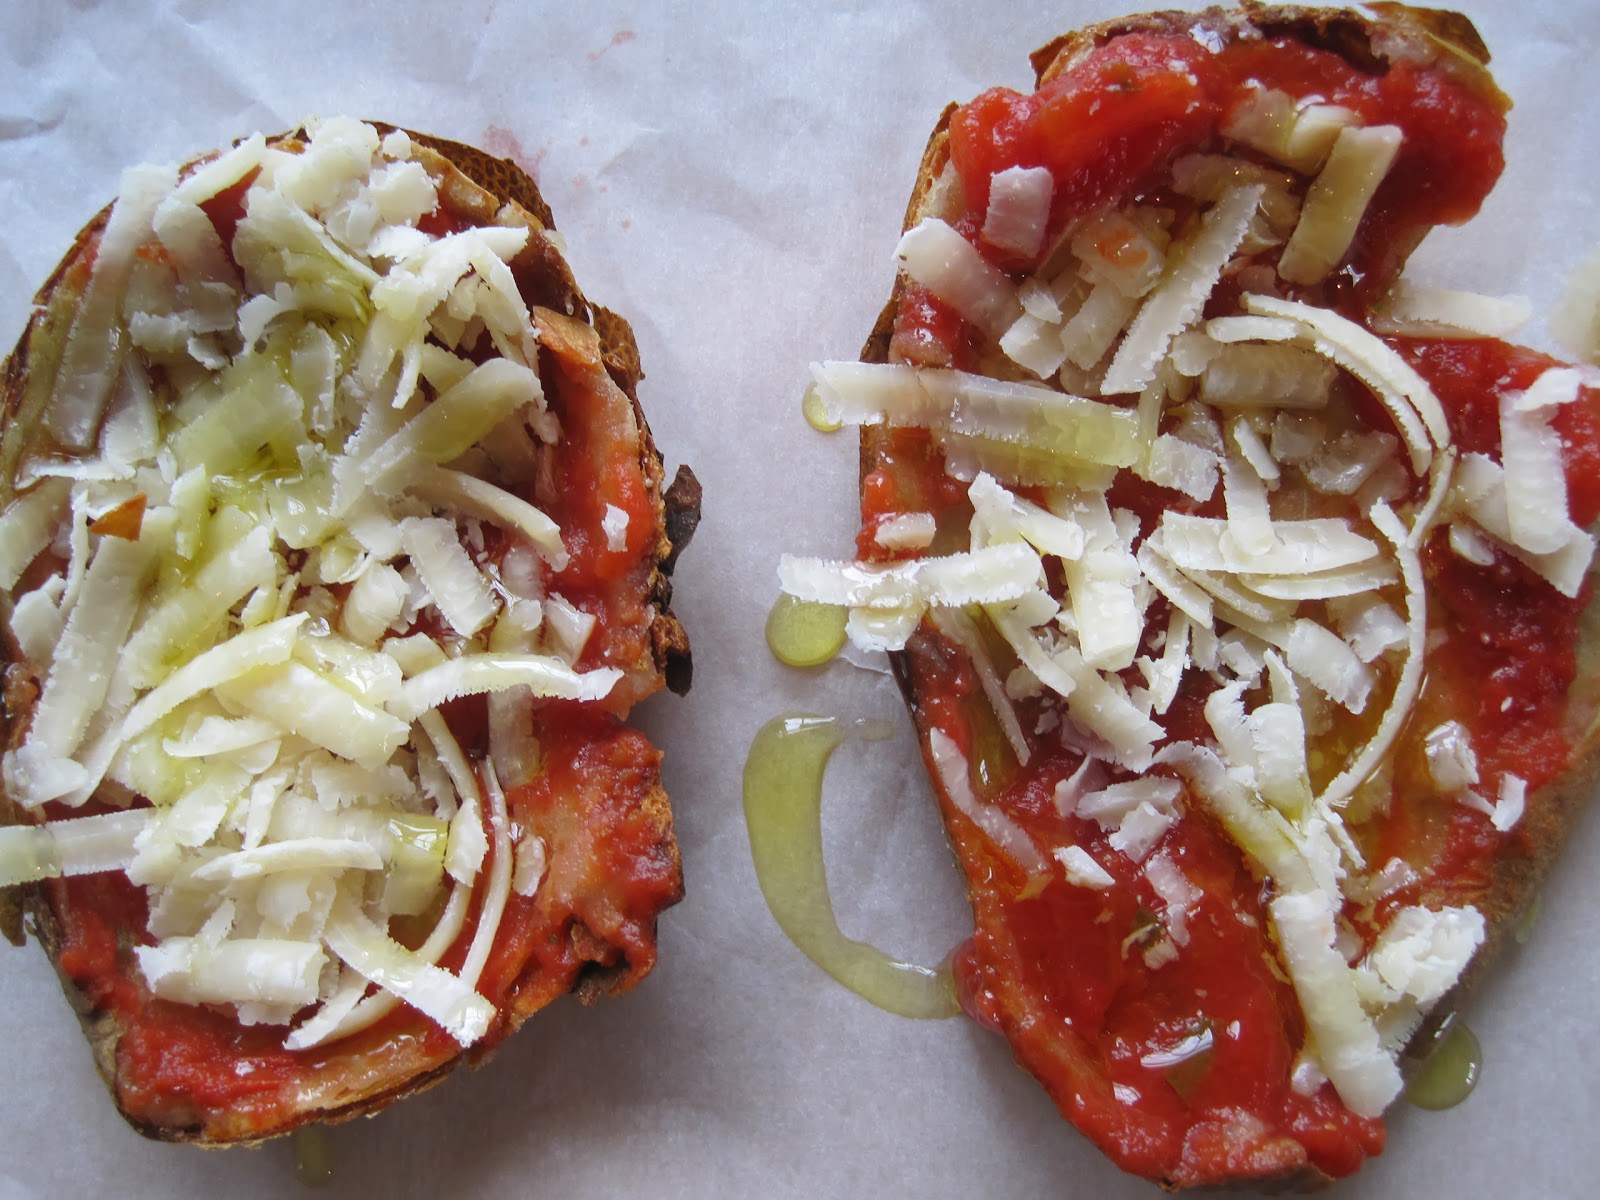
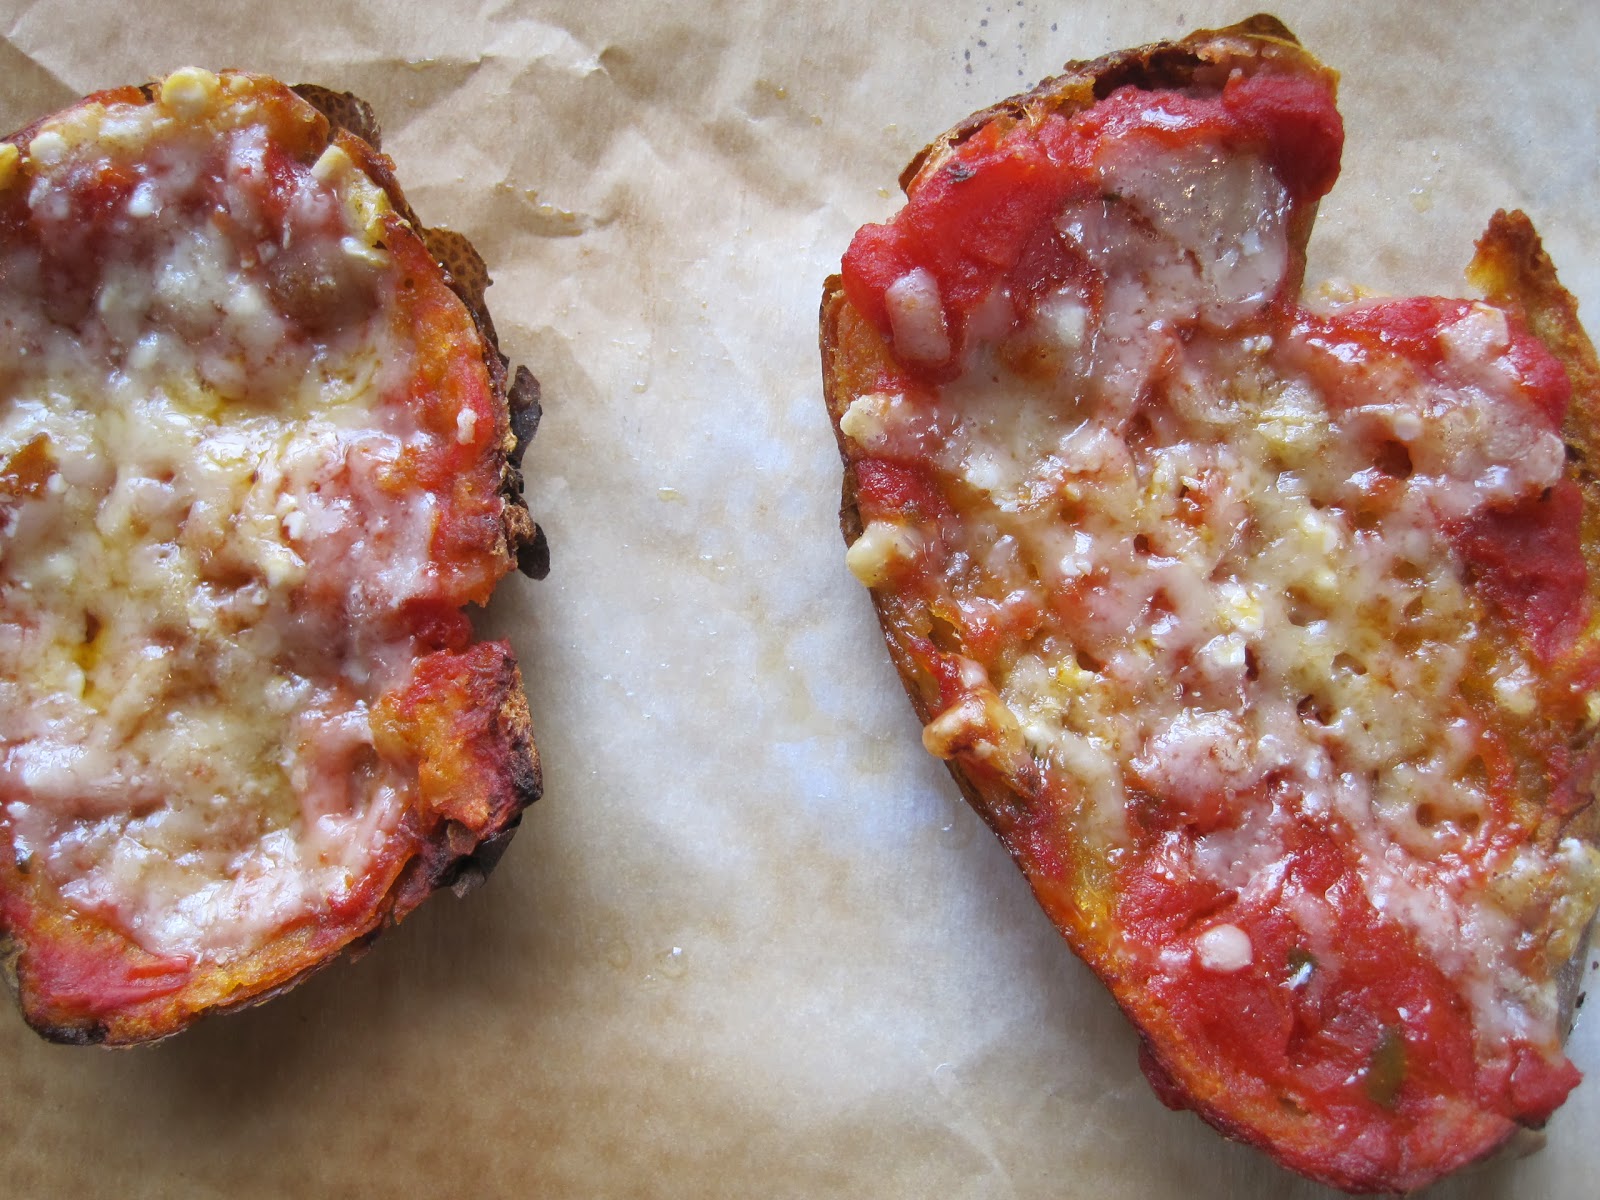
I had no mozzarella on hand so I used parmesan and finished it with a squirt of olive oil. The two mini pies were placed on parchment.
1.28.2014
good thoughts on a cold day
No grill should go unused because it's cold out.
1.05.2014
Bread 2013, a few new methods
2. Ascorbic acid/vitamin C addition to the flour. This might make some turn and never read this blog again - if you do, go to hell. Ascorbic acid has been used in industrial production for a long time, but it's tricky to use on a kitchen scale. It gives big volume to bread by stabilizing the proofed loaf and allows it to still have good oven spring. I like this for a light crispy baguette as much as I like it for a big grain sandwich loaf (see below). I use it in a concentration of about 100 ppm which is achieved by adding 1/8 of a teaspoon (too small to weigh with an inexpensive scale) added to 2.2 kg (5 lb bag) and mixed in a container by shaking it for a long time. For the chemophobic, ascorbic acid, in this amount is identical to the vitamin C squeezed from a quarter lemon. The solid stuff is easier to use in a dry mixture. This addition requires an alteration of the baking method - see #3.
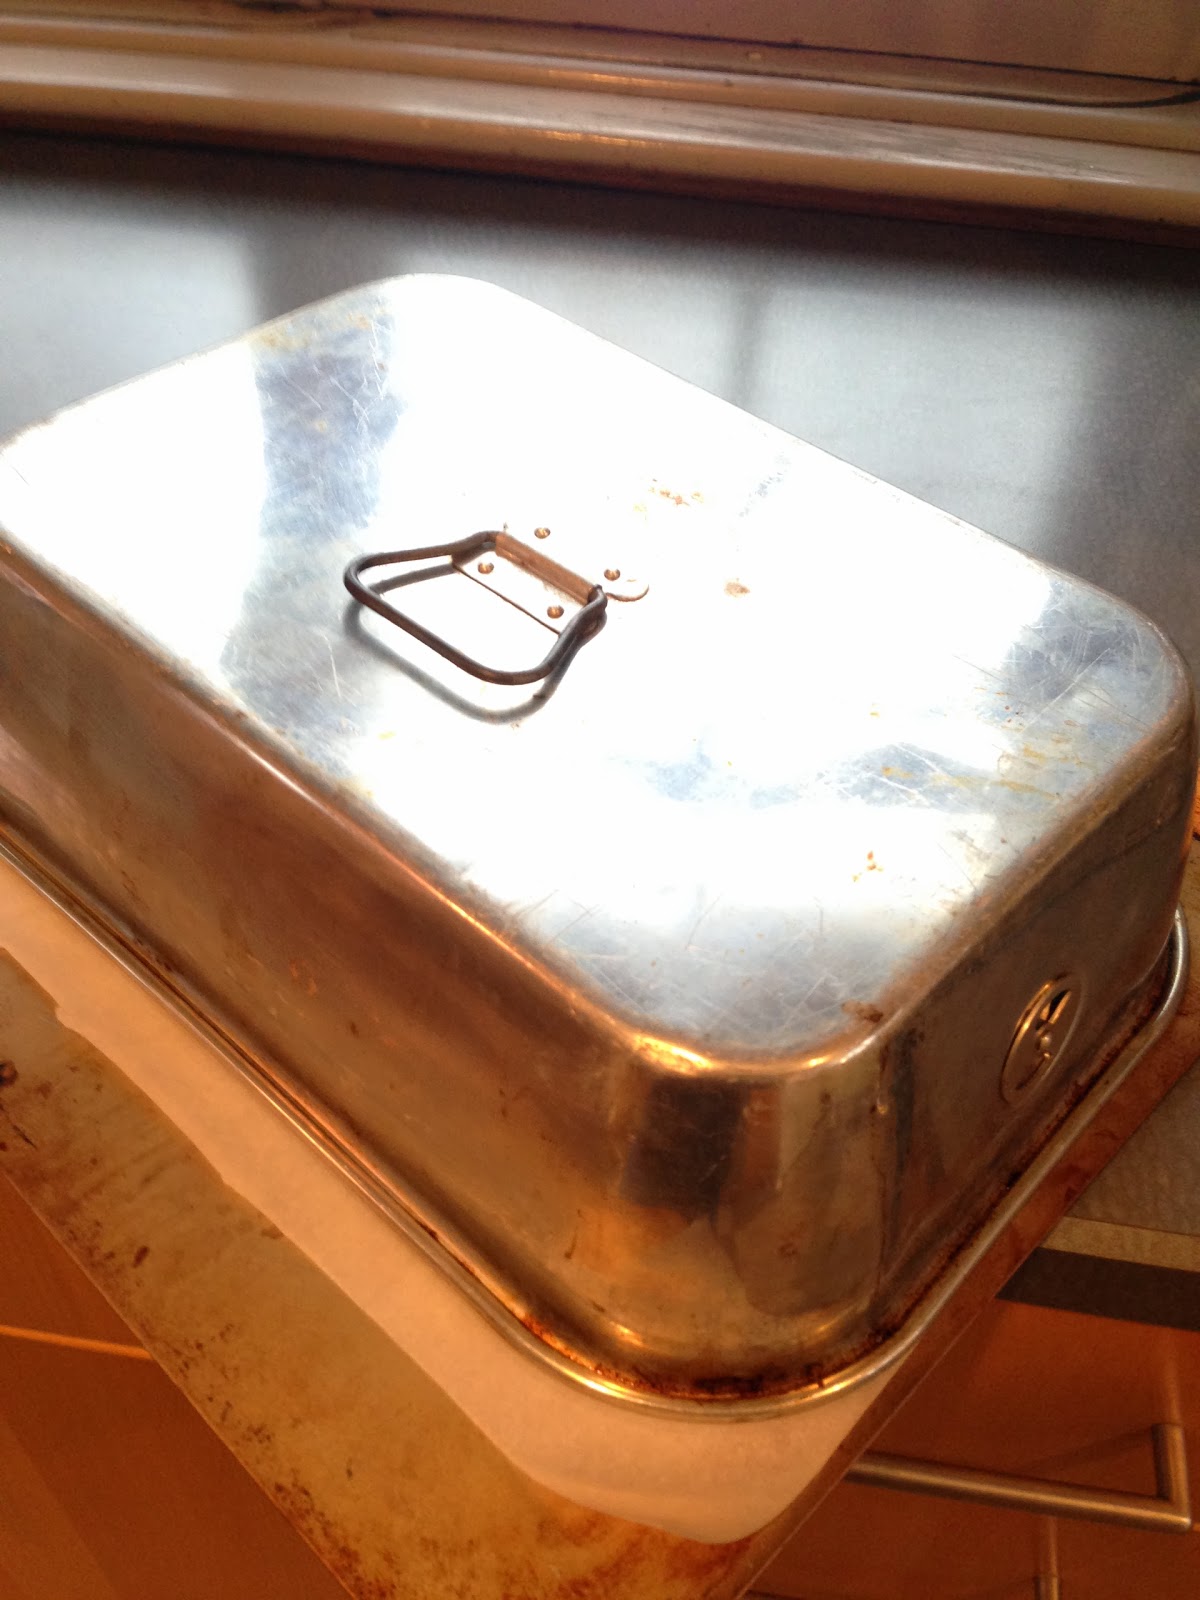
This proofed loaf is covered and ready for baking. For this ca. 600 g loaf I used an aluminum roaster lid I found at a thrift store, it measures 12" x 8" x 4.5" high. This size is good for a ca. 600 g chubby baguette (batard). This incidentally is also what I use to cover the loaf during the proof.
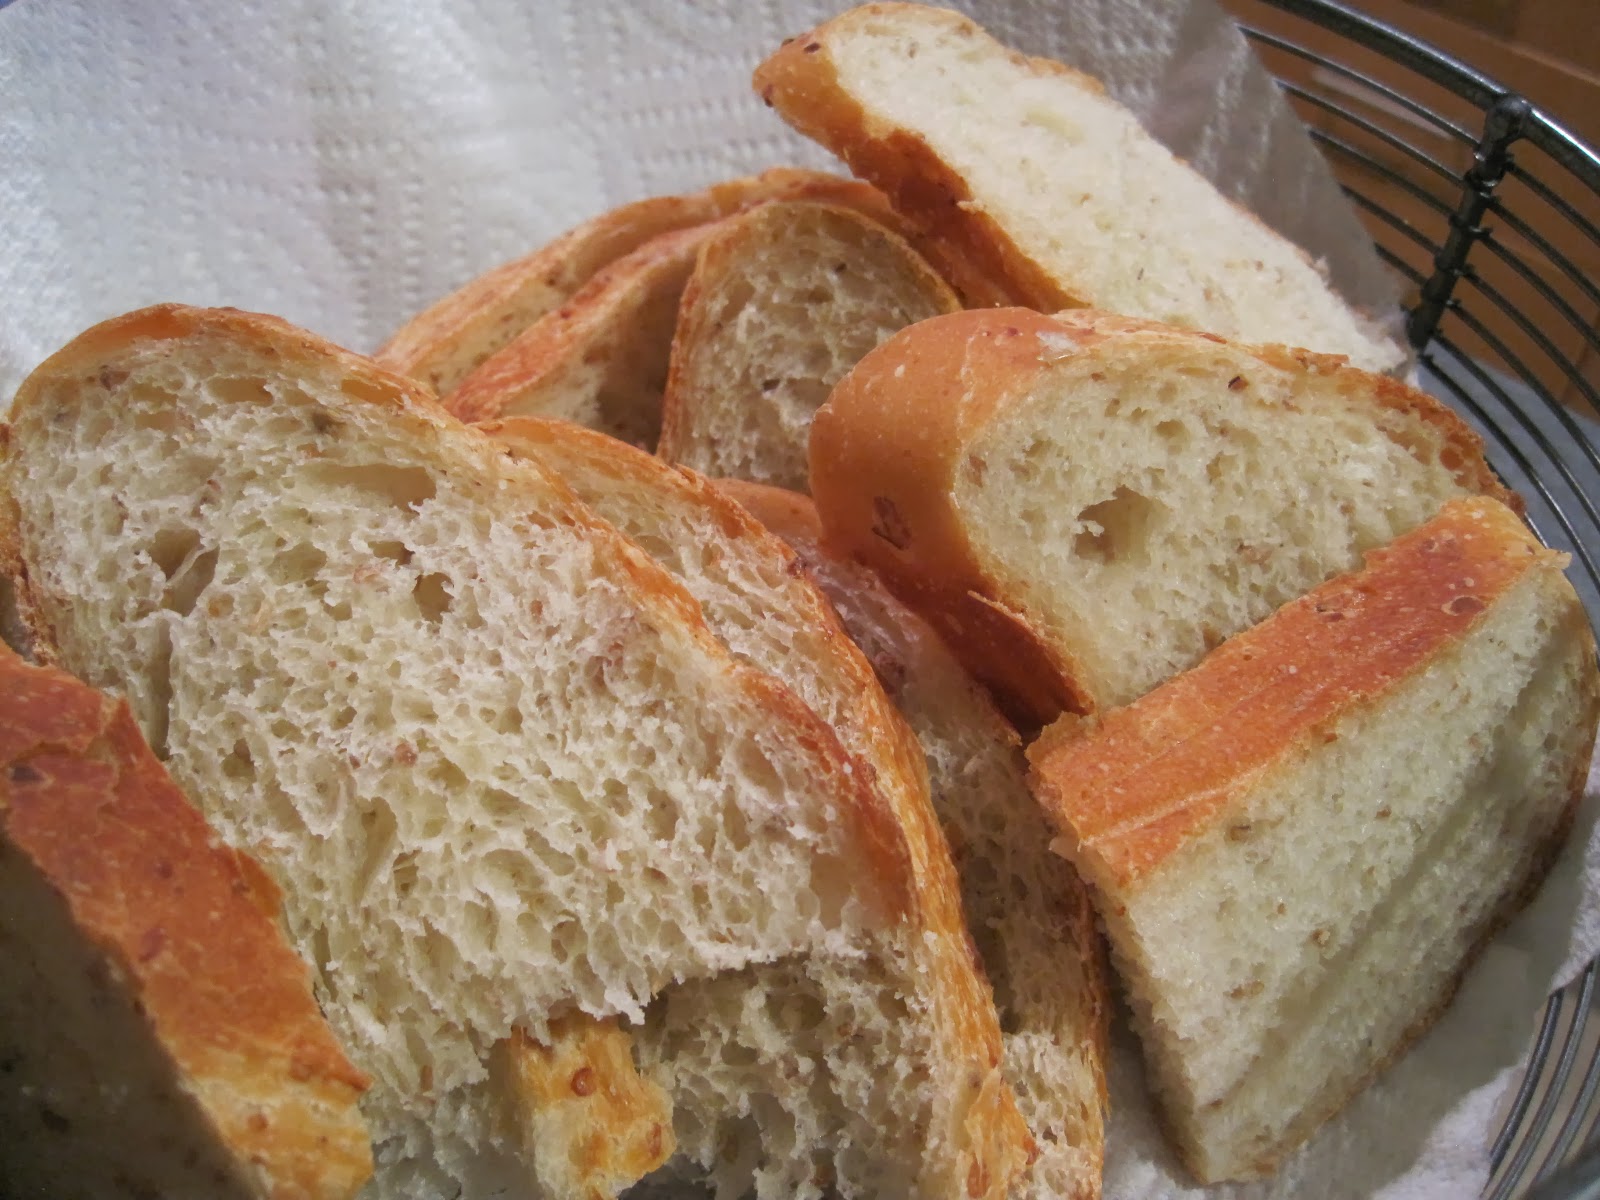
The proofed loaf covered with the roasting pan lid is placed in a cold oven, set for 425F and 35 minutes, during the covered baking, it won't burn, it's protected for a long time from overcooking. After the 35 minutes, remove the cover and let bake an additional 10 minutes uncovered. The loaf will finish browning and become crisp (depending on the recipe, this example is enriched, it's not a crackly loaf).
In order of importance:
1. The first trick is for convenience, I like having dough ready all the time. I like to bake a mini loaf frequently for dinner or a couple pitas in the morning, it's perfect for that.
2. The second trick is for fanatics. Vit C is making big grain, lean, enriched doughs into a loaf texture I've sought for a long time, it might not be what everyone wants. I'm not sure what the upper limit is, but 100 ppm, the concentration described, is on the high side as described by food science people, but it's working for me and I'm not suffering too much guilt over it.
3. What I'm most intrigued about is the inverted baking. It takes lean and enriched breads to an entirely new level. It's a method taken from many sources including: a. Lahey's kneadless recipe but without using a scalding hot cast iron pan and b. from a much older steam pan called a Baparoma which enables encapsulation of steam during baking. This simple sheet pan and inverted lid is better, cheaper and standard kitchen equipment.
There is no perfect loaf of bread. If you asked me once a day for the last 20 years "How's baking going?" I'd answer that I will have *it* any day now. So, take these methods with that in mind. The perfect loaf will never be, if it did, life might not be as good as it is.
12.30.2013
breakfast rolls, 42 grams each
Just a small preview before a year-end bread in review. A major focus of my bread baking is about scale and the adaptation of larger recipes for a small family, 2/3 of which needs to pay close attention to portion control. These little rolls also exemplify baking on a busy schedule. Being in work by 6:30 with a hot nugget of fresh bread to go is pretty cool.
These are made from an enriched dough:
unbleached white (Montana Sapphire) 300 g
water 180 g
sugar 5 g
salt 5 g
ascorbic acid (vitamin C,* pinch, more on this later)
soybean oil 15 g
Fleischmann's fast yeast (3 g/1 teaspoon)
... mixed, kneaded and refrigerated in a plastic bag for a few hours. I removed 250 g of the dough, rounded it in 50 gram mini boules covered with an inverted roasting pan lid and allowed it to proof on the deck table overnight ca. 35F/10 hours.
The next morning, the baking sheet, proofed rolls and inverted baking pan lid was placed in a cold oven set to 425F (not preheated) and let em go for 35 minutes while I got ready to go. At the end of the cycle, I removed the lid and them bake an additional 5 minutes.
12.20.2013
stir fry
The other night we joined @feedmybeast and family for dinner at Lucky Dragon and I got pushed over the edge. I've wanted to try high temp wok cooking for a while but was a little intimidated by cooking at such high temps. Those woks fired by high pressure propane cookers look pretty intense, I figured I might just incinerate dinner.
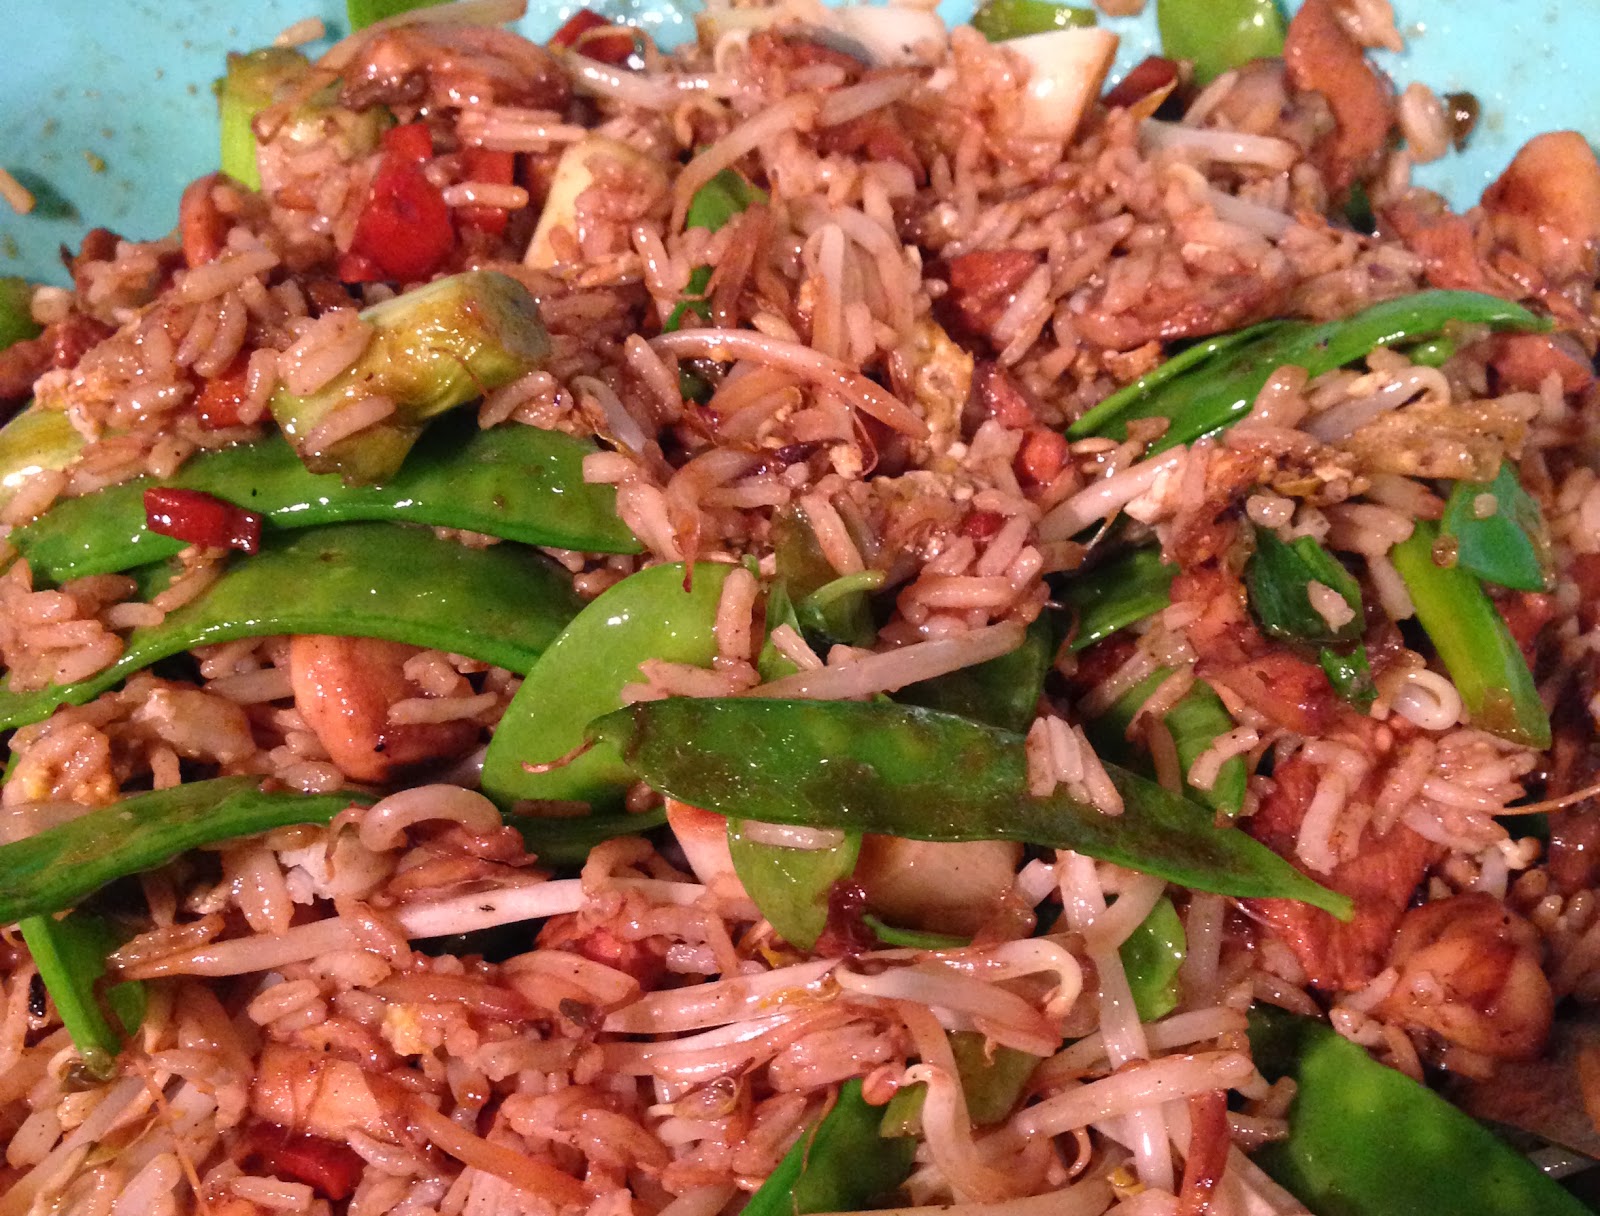
Forging ahead with my recent experience of briquette-fueled searing, I went to Crestview Market and got my cheap steel wok, steel spatula (perfectly contoured to the wok) and got to work. I washed it and baked it in the oven for a few hours. Far from seasoned, I had to start somewhere. I decided on veggie and pork fried rice. Simple seasoning: pork marinated in soy, sesame oil, Sriracha, ginger and garlic, veggies chopped, a couple eggs and cold cooked basmati rice all ready for sequential frying - in that order. To the outdoors!
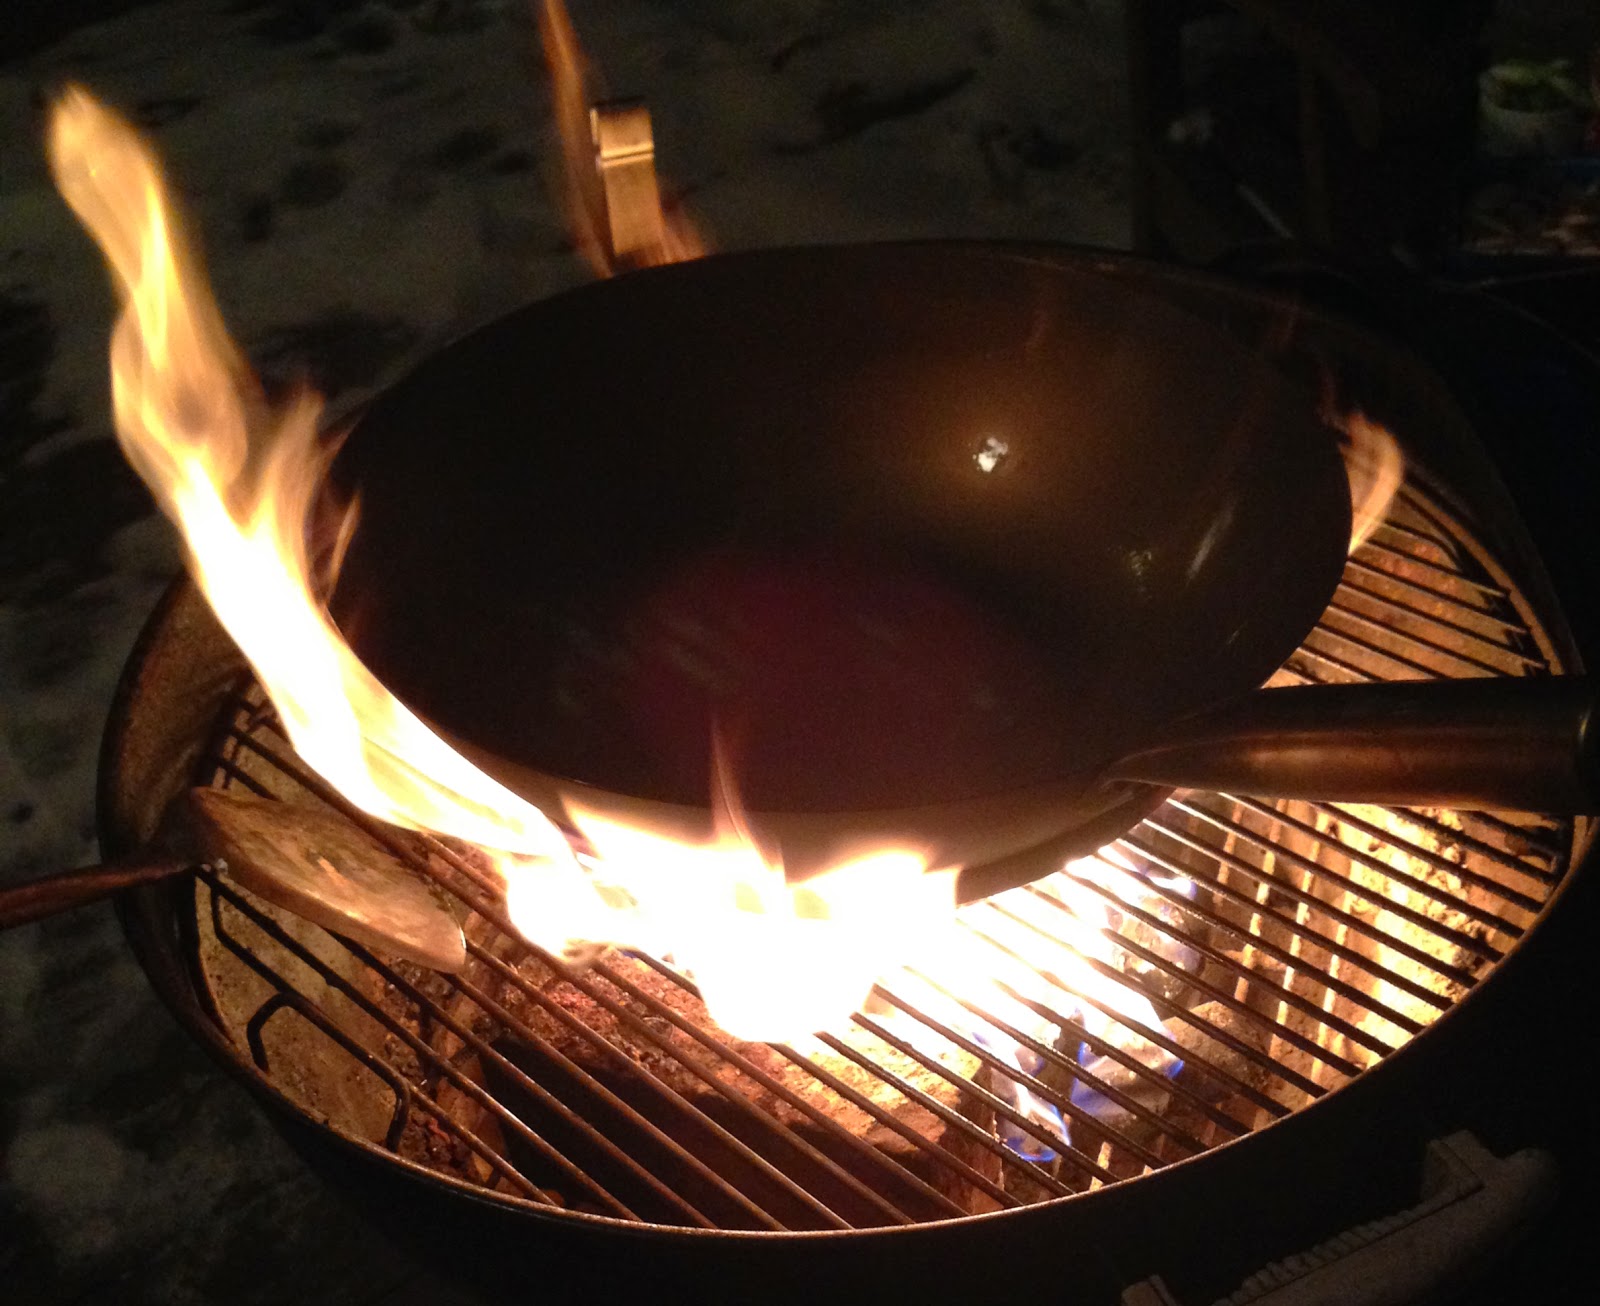
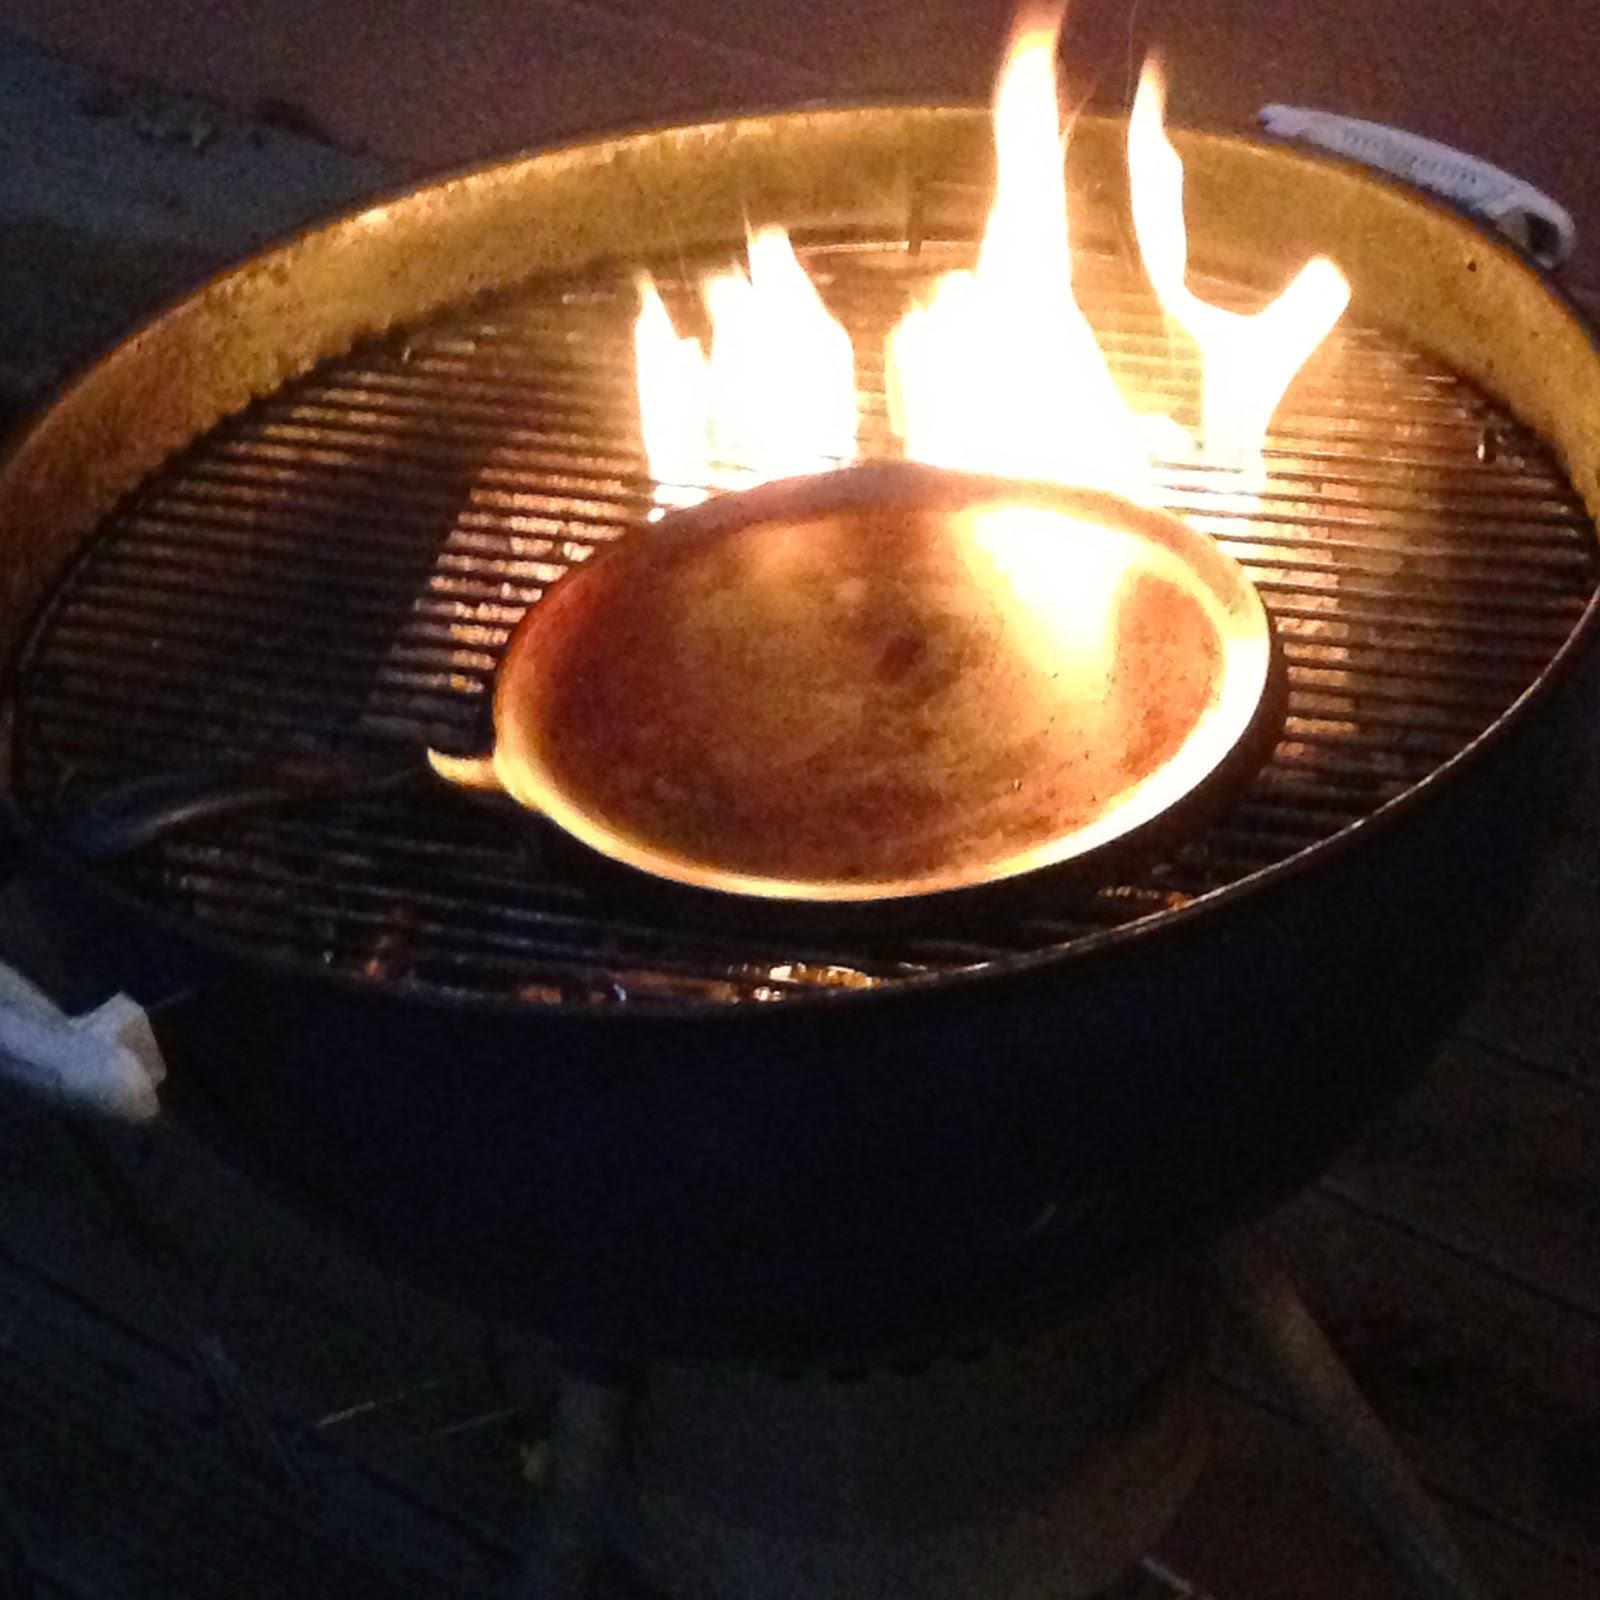
Fuel: a 3.3 lb bag of Matchlight. And to all the Matchlight haters, if this stuff is fully ignited, there's no residual fuel. At greater than 1,000°F while glowing, if you think you're tasting lighter fluid, you're wrong. After this was lit, I placed my wok holder (came with the oven) and wok atop the fire and let it warm up with the Matchlight (see action shots).
And that's it. My pan went from an initial 800°F (using an IR thermometer) when I dumped the pork and marinade in for about a minute, removed it and then waited until the pan recovered to about 500°F before the next ingredients went in. One veggie after another until the rice. My only disappointment is the recovery from food being dumped out to 500°F took too long. Next time, I'll use briquettes to start the fire and then short pieces of oak/ash to maintain a live fire the entire cook, this should make the recovery a little faster.
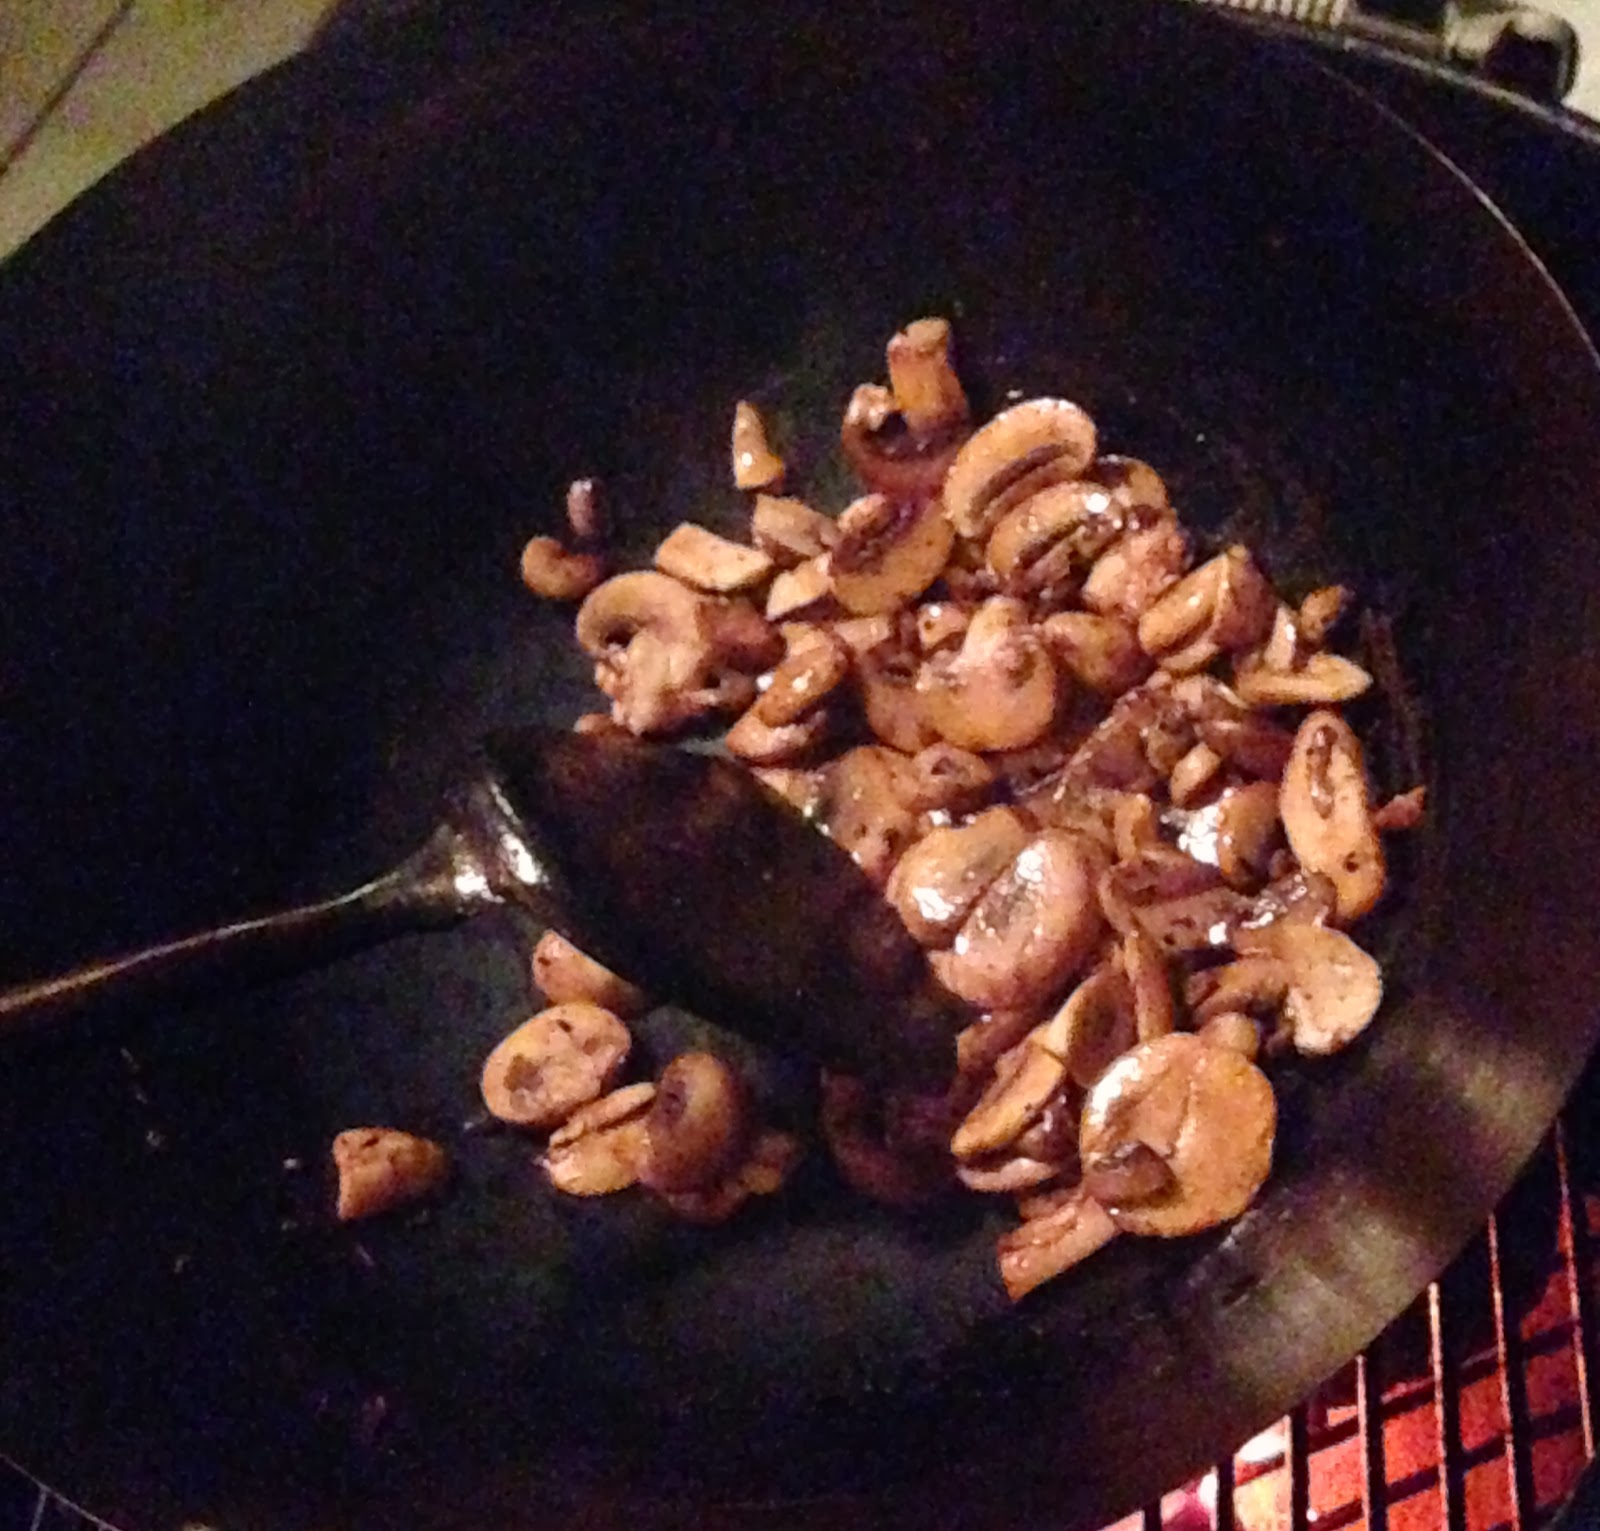
Each vegetable that went in got a tiny squirt of canola oil and then stir fried. Then it was dumped into a waiting bowl.
The final dish. I may have added too much oil during the sequential additions and I think I fried the rice a little too long, but next time ...
12.06.2013
the joy of searing
There are cooking methods incompatible with my desire to keep the kitchen clean. Deep frying is one and searing, at blisteringly proper temps, is another. They need to step outside. Last night I wanted to sear/blacken some tilapia for fish tacos. My usual prep is to cover both sides of the fish with salt, pepper and paprika.* I let them sit prepped at room temp a while and preheated the pan.
I use my grill most often as a smoker I also use it for a simple hot surface for fast searing (and flatbreads). It's pretty simple and fast enough for a weeknight dinner. I use a small pile (ca. 2 lbs) of Matchlight briquettes; light 'em and stick a cast iron pan on top while they light. Vents on the bottom of the kettle should be full open no cover. One time I place a perforated aluminum sheet on top of this flame, the ones used to cook vegetables, and it disintegrated. Matchlight is intense. If properly lit, there is zero detectable "lighter fluid smell," at this temp, it's impossible.
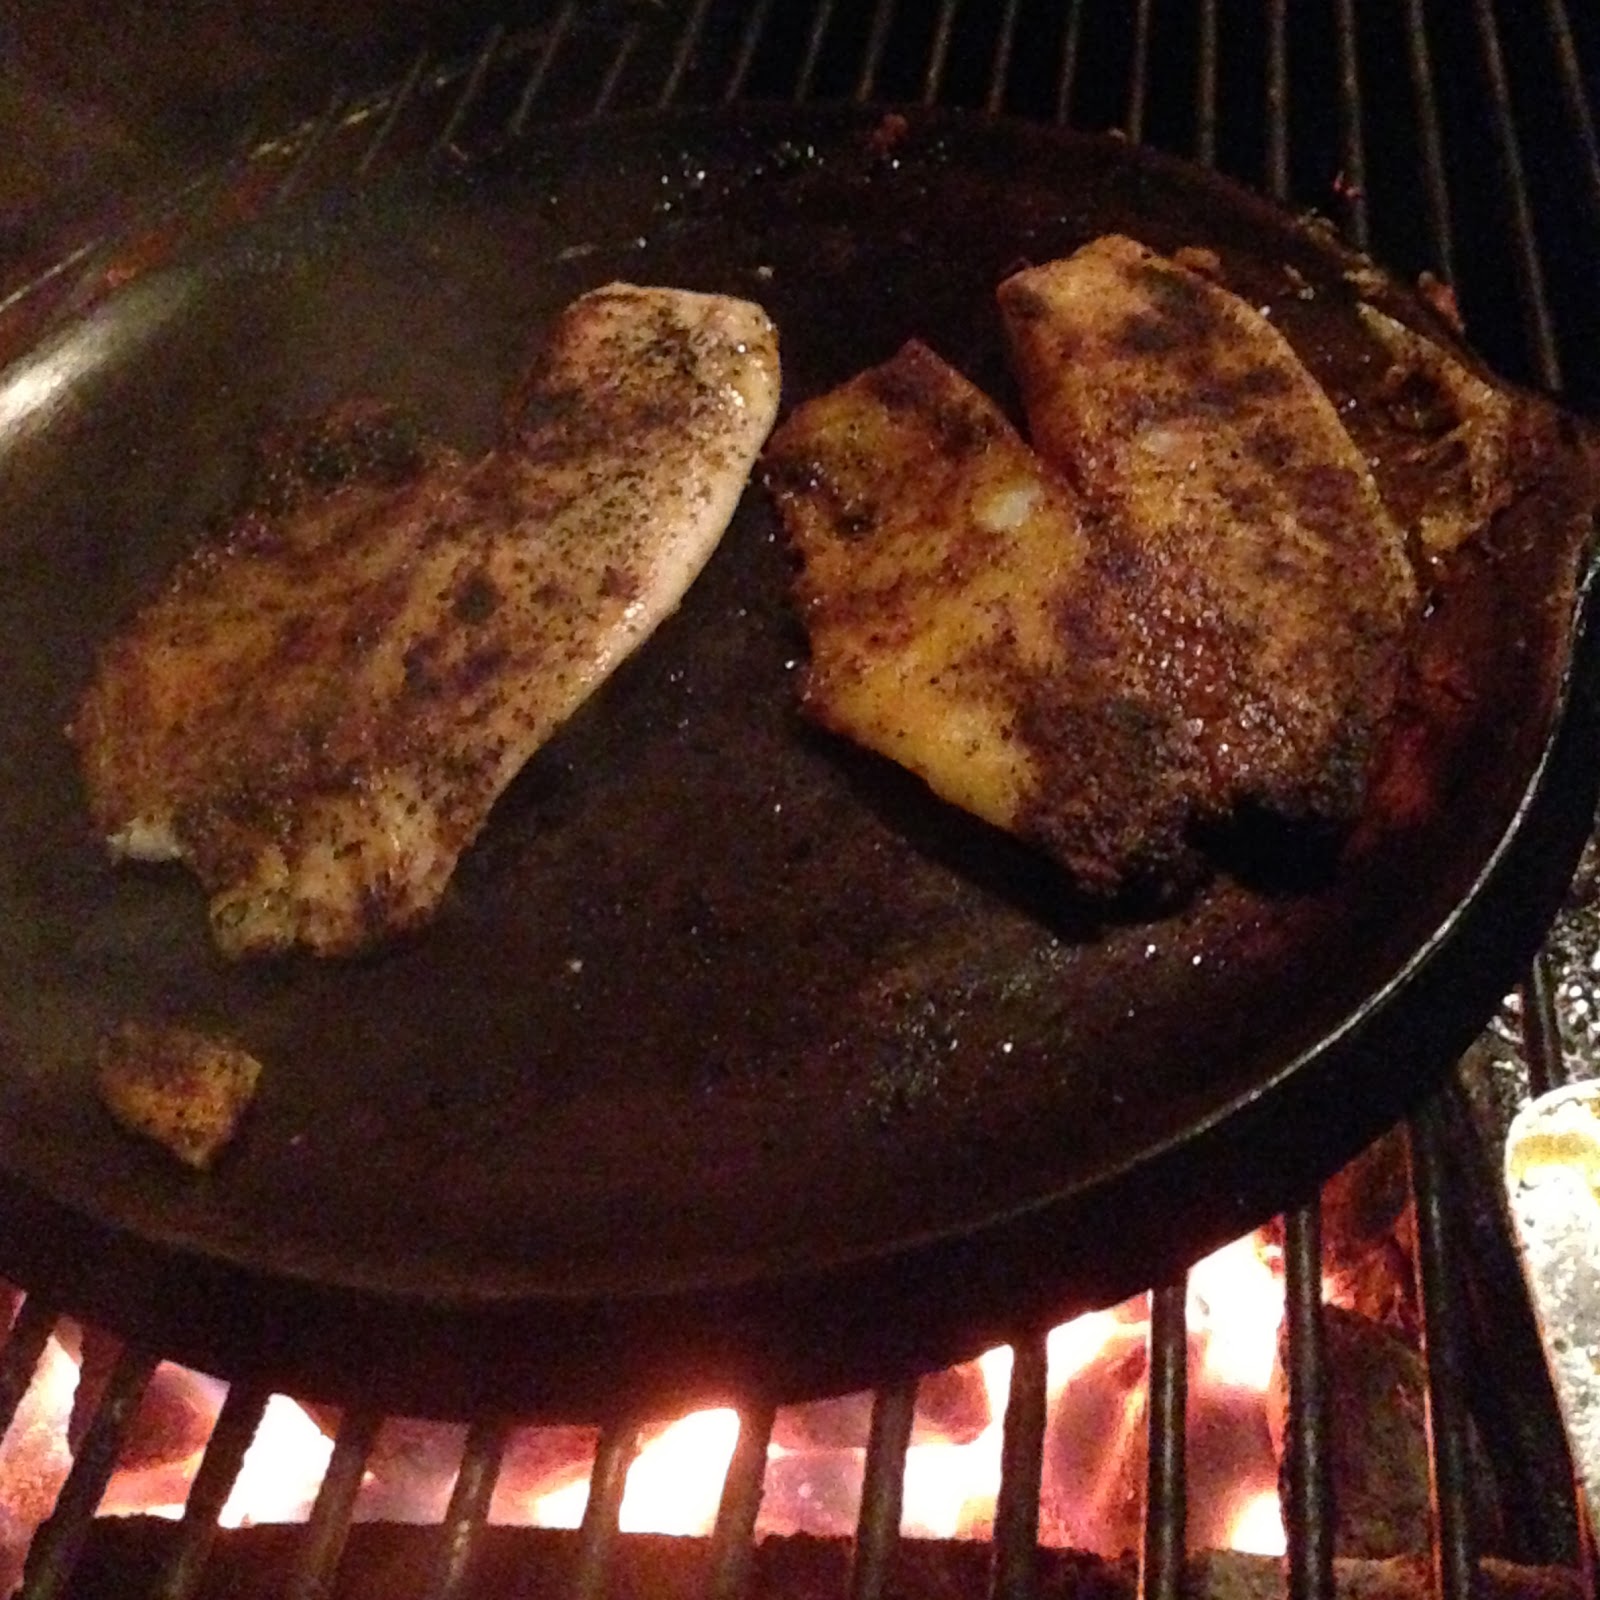
The ignition and preheating takes about 10 minutes.The surface of the cast iron according to my spiffy infrared thermometer is about 550F +/- 50F. Then I ready my filets, squirt the surface with some oil (I used a low grade olive oil for this case, something that wouldn't flash so quickly) and toss on a couple filets for a minute per side. Cooked at this temperature, the food won't stick, it'll practically leap off the surface. A couple images of the action:
This is a couple filets after a minute on each side.
*The paprika should not be the pathetic stuff from that little red can. If it's from an Indian grocery store, should be fine.
12.03.2013
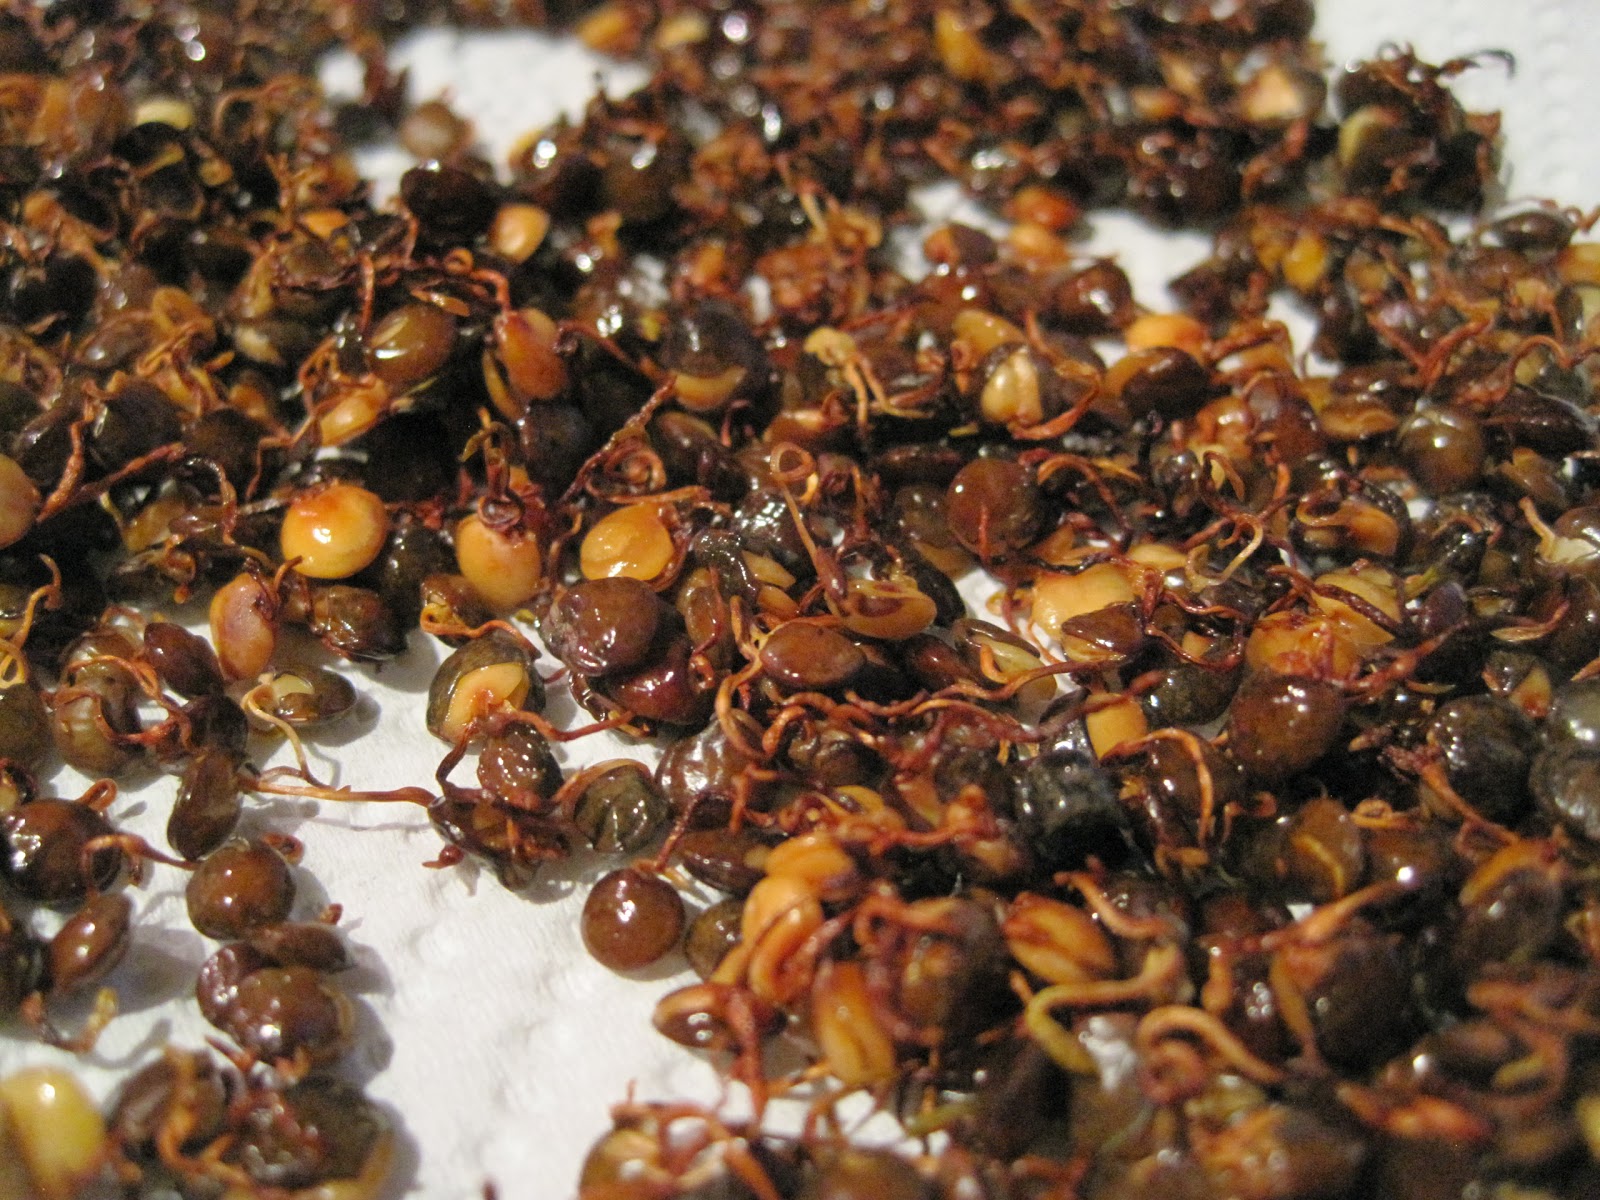
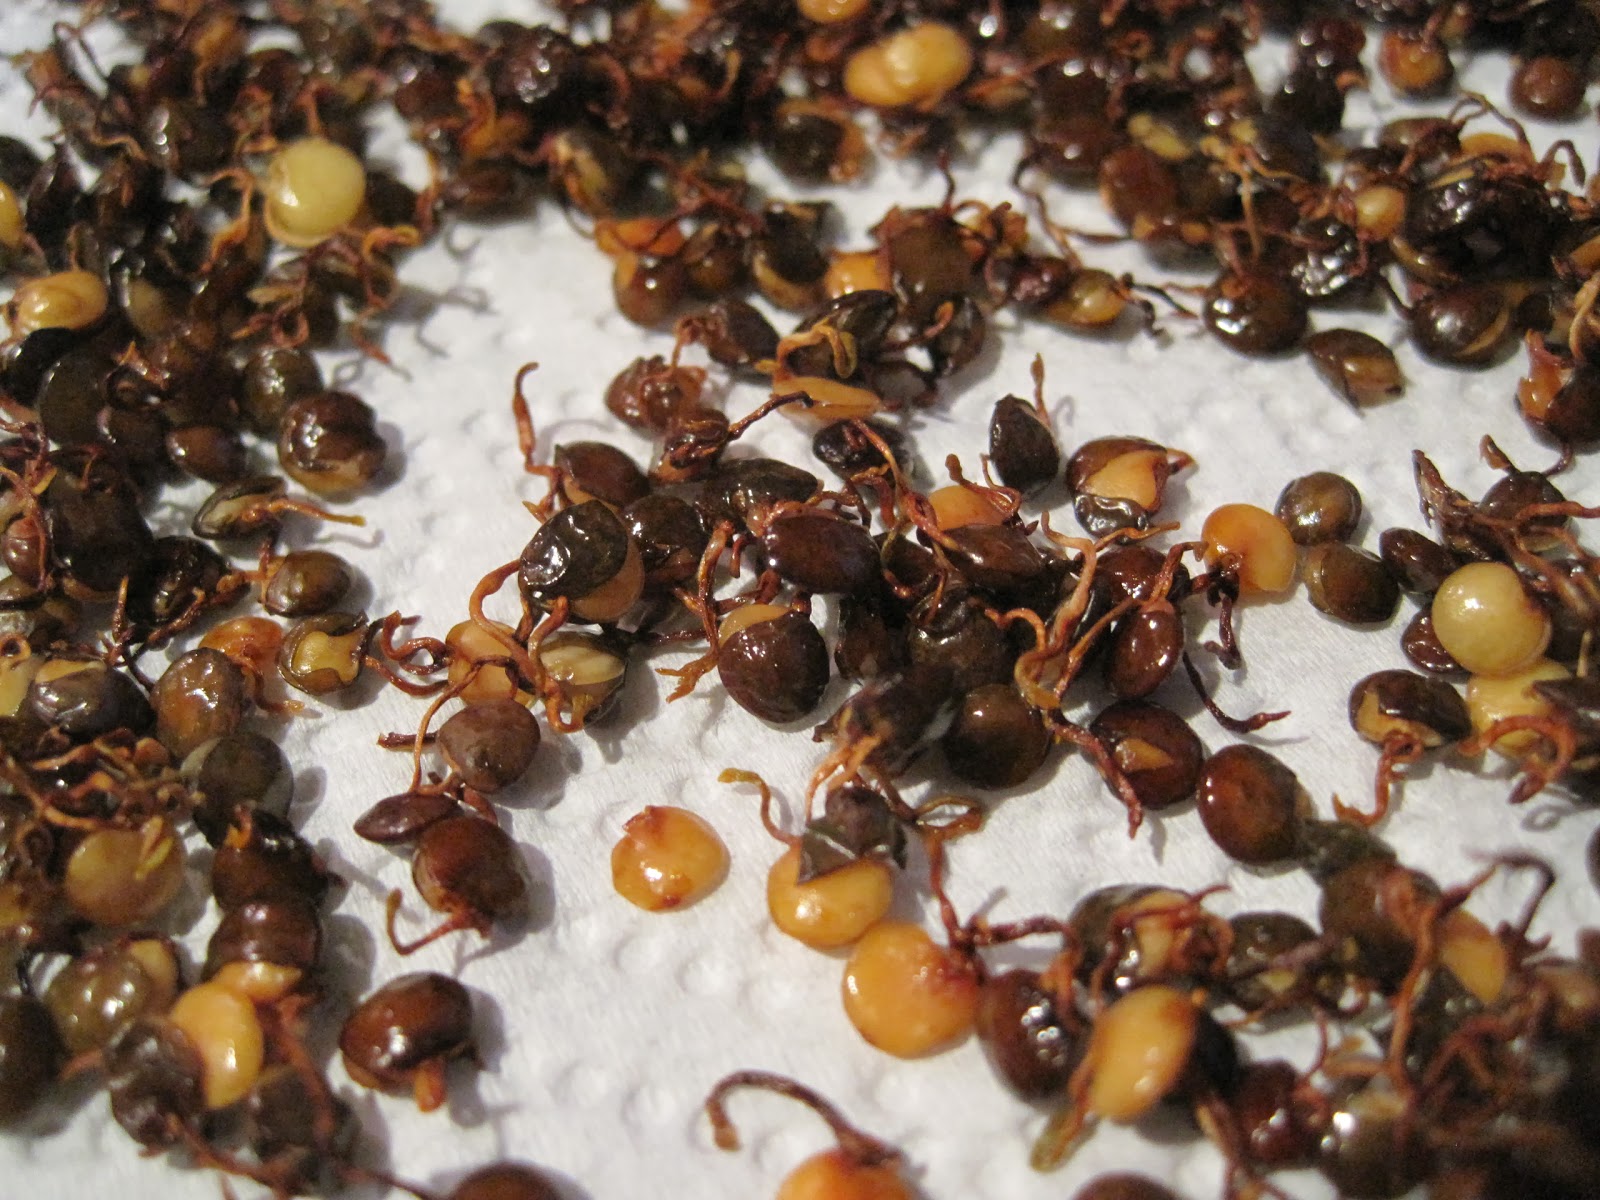
roasted french lentil sprouts, good snackin'
I stumbled on something fun. Roasted legumes are nothing new, the roasted chickpeas in Mediterranean markets are common although I find them chalky and unpleasant. I roasted some cannellini and limas in the past (the limas are only fair). In this version, I try lentils and take the pre-processing a step further, sprouting prior to roasting.
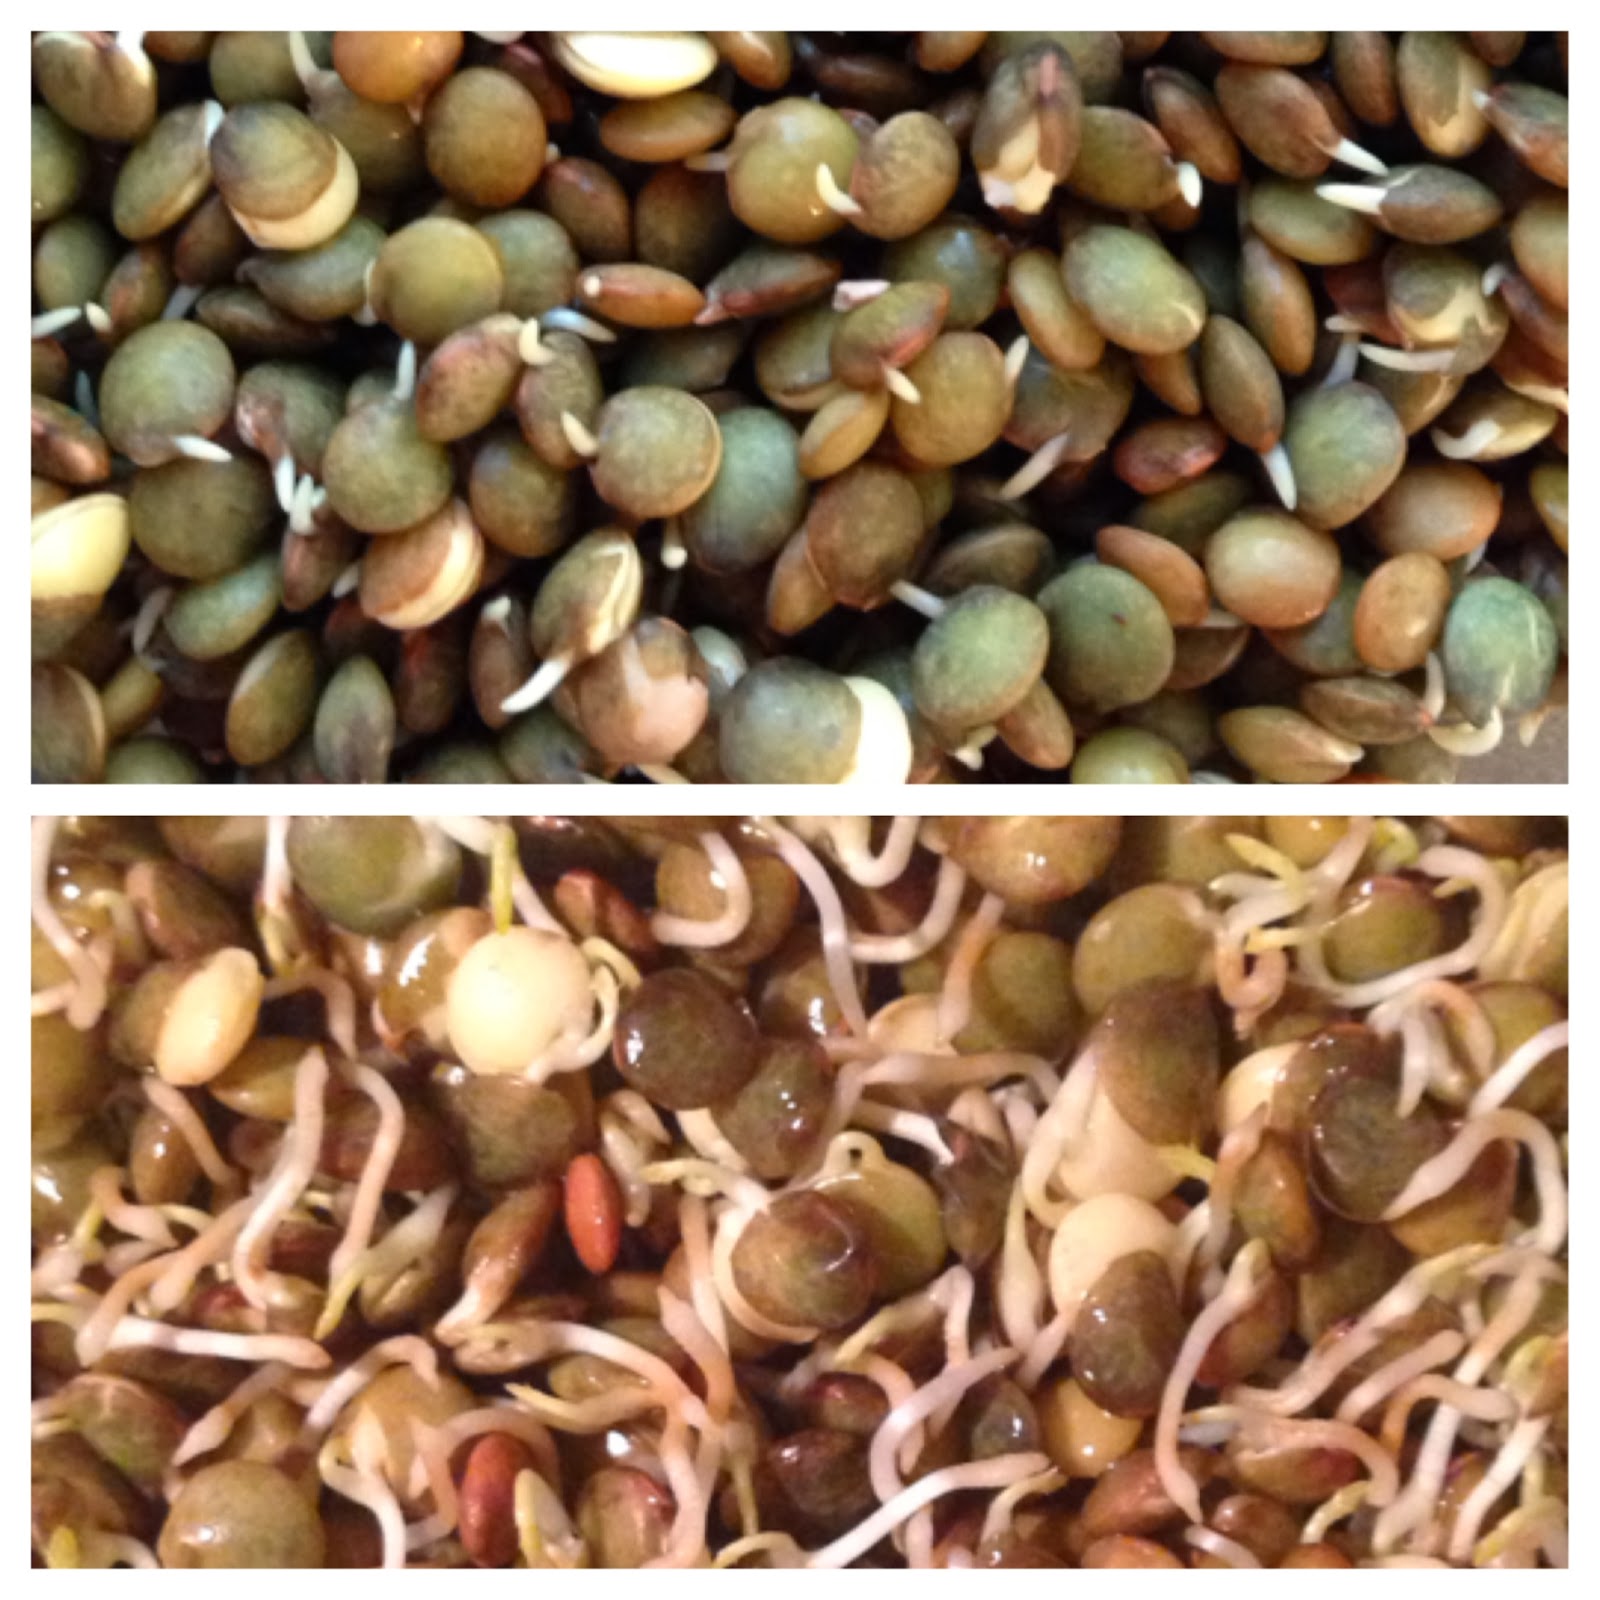
I've been making sprouted french lentils in hopes of putting them into a bhelpuri. Once I had the sprouts in hand, I couldn't resist giving the tiny lentil a light low temp roast.
| click on this image, the big version is awesome! |
Then I salted the moist lentil sprouts and tossed them in a roasting pan with a spritz of canola spray to roast at 300F until the sprouts shriveled and started to look like spiders. Given their diminutive size, I bet they burn fast. I didn't time the roasting, but it was only about 20-30 minutes. After cooling, they're crunchy and tasty, not chalky and gooood. Enjoy.
(I showed these first to Frankie. She said when I retire I'll be a mad scientist.)
11.19.2013
skinning tomatoes
Our ample supply of tomatoes this season came from our neighbor!!! He wanted to grow them more than consumer them, win-win. At the end of the season we had a huge bag of green ones. I used a few to make a sofrito for the freezer and left the rest in a shopping bag. A week later I noticed they were beautifully red! I'd do anything to avoid skinning a tomato by boiling/shocking, etc.
I'm not sure where I read about this method, so I'll just say I made it up myself and thought I'd share it with you. Fast, no boiling, little waste.
Cut the tomato to expose an unskinned surface, grate on a box grater, the skin stays behind. I froze the ground insides.
11.12.2013
gnocchi
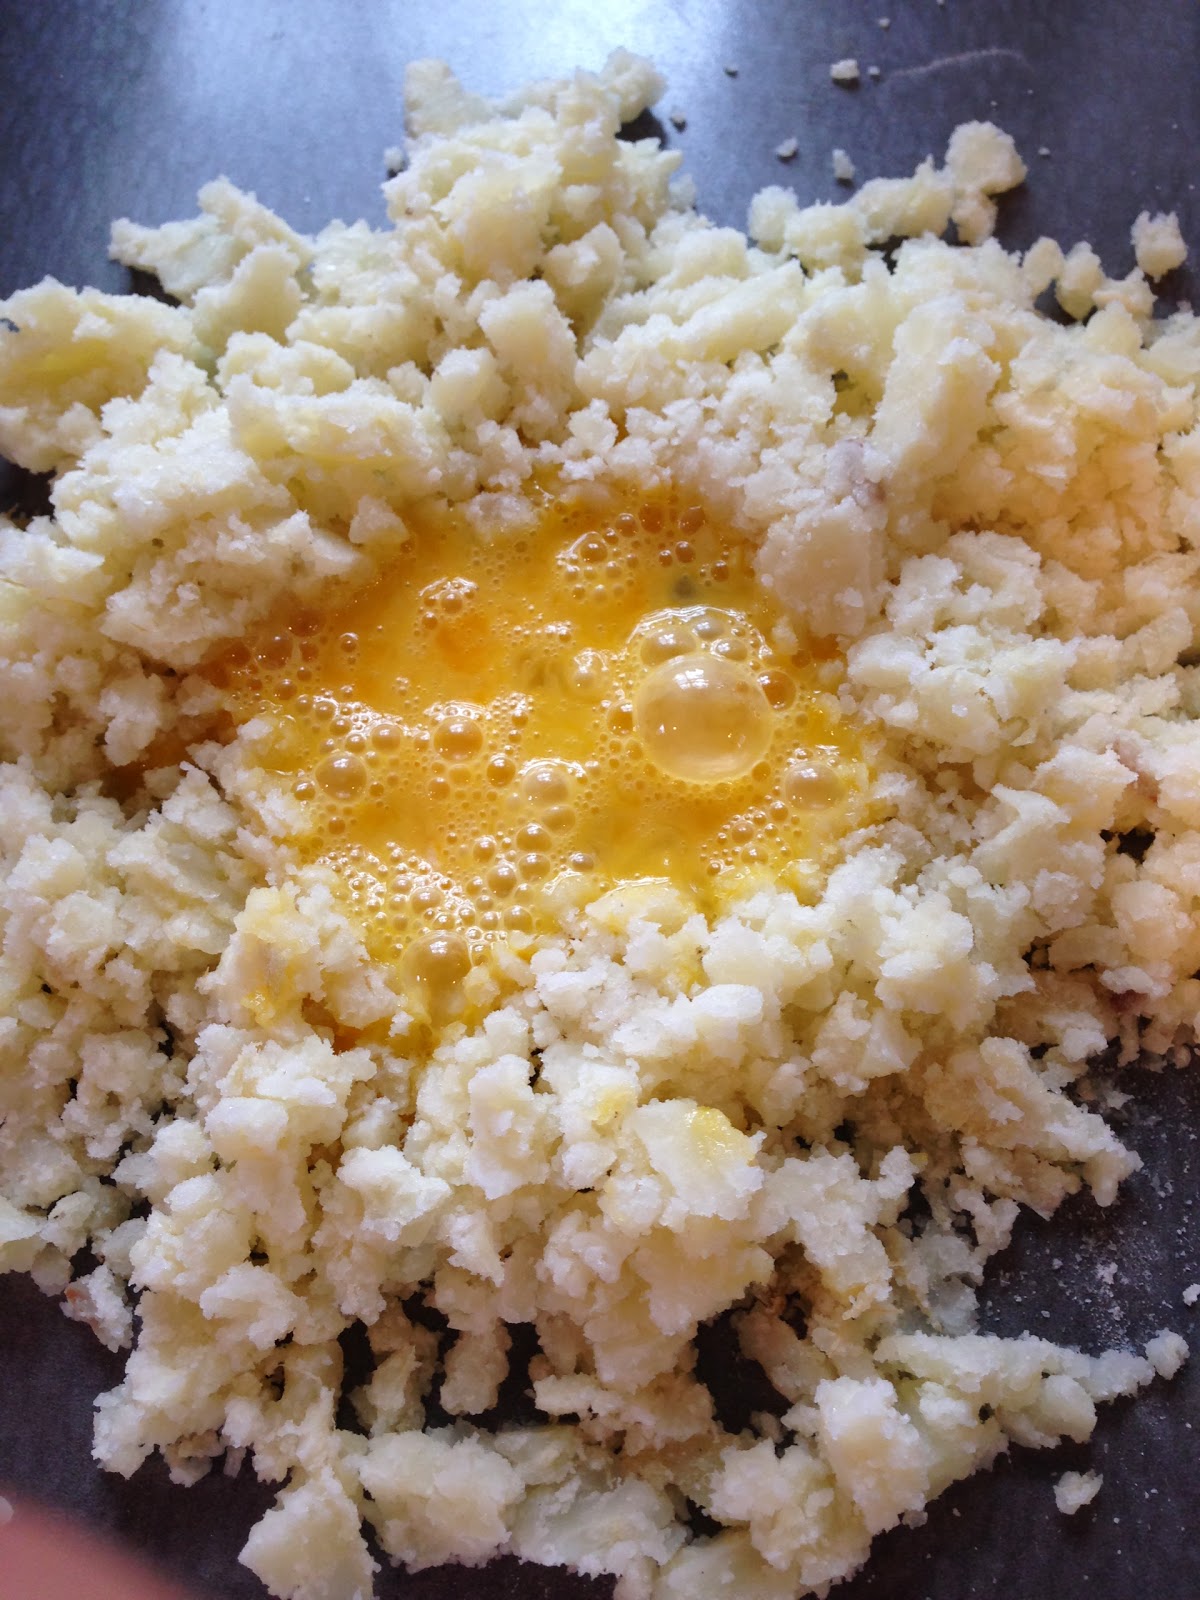
I plopped the potato on the counter, made a well and dropped my scrambled eggs inside.
In order not to work the dough too much, I used my trusty spackle knife. I cut in the eggs...
Sprinkled flour on the mass and cut in the flour using the spackle blade. Once the flour was cut in, I'd squash the mass a little, cut it in half, stack the halves and squash them lightly again. No real kneading, just pushing it all together. It's more of a biscuit dough than anything else I can describe.
The dough was cut into little chunks, shaped into a small cylinder, rolled in some flour and *gently* rolled into a rope. This dough is sticky! Use flour as needed to make it not stick in order to get the rope.
With the tines of a fork, crimp the rope like the edge of a piecrust and then chop into small sections. My gnocchi look like chex.
A few more ropes about to be scored and cut.
Toss these in the freezer to prevent them from being sticky.
Dump in gently boiling water to cook. When they rise to the top, they're done. I served them with ham, peas, olive oil, salt, pepper.
In retrospect, I should not have crushed the potato so much, a more coarsely crumbled potato gave a better gnocchi (taste and texture) and I would've used the full 1.2 C of flour this amount of potato would've called for.
10.24.2013
no knead
Everyone's got a version of no knead. This is mine. I'll annotate the images later.
(@tokatefromkate @twixlen @feedmybeast - next class?)
Remove from fridge and let warm a couple hours while still in container and then plop it out onto counter. It will be a lot tighter than it went into the fridge. Dust liberally with flour.
Pound out all the accumulated gas and fold into a loaf. Plop into a pan that is lined with parchment paper (my paper should've been bigger and up the sides). This pan should have a matching lid. I used this pan from Amazon, it's perfect for this 2 lb loaf. This pan is being used instead of the more pricey Baparoma steam pan and will work better.
Let rise an hour or two.
Cover pan, place in oven, turn on oven to 425F and remove after 40 minutes. Boom! On cooling the exterior will crackle. The microenvironment of the closed pan is what makes the rise / oven spring and subsequent cooling with crackling.
The crumb is lovely and the crust will vary depending on lots of things. Just try it and keep trying it. It's a great bread. It might be one of the most fun loaves I've ever made.
Notes:
So why is this different than anything else out there?
1. Ruhlman commented somewhere the beauty of Lahey's kneadless method wasn't the no knead, it was the cooking method. A bread encapsulated in a pan using the moisture released from the bread itself as a self regulating bit of steam to get the surface gelatinized and browned. I'm not sure where I read this, but the pan need not be preheated nor must it be cast iron. A preheated cast iron pan is not the safest system either. So, this method is a hybrid of all things convenient: no knead, no preheating, no cast iron.
2. The number of large loaves I'm going to make is next. A small fraction of the grain bill, ca. 10%, of whole wheat tightens up the dough immensely. It's really interesting. I can't wait to try other additions: more shortening, herbs, cheese, crazy stuff. I'm really letting my hair down on this.
10.21.2013
Columbus Brew Adventures: Downtown Tour
I stopped brewing beer some time ago. It was like baking bread while living in France. Columbus is home to many excellent breweries leaving the enthusiastic beer drinker with a desire to explore. Columbus Brew Adventures is in business to help. I decided to try their Downtown Tour to start my education.
The tour was a blast! We had about 14 in our party including a couple from Cleveland, a business traveler from Chicago and a bunch of locals. This tour was on Saturday afternoon from 2 - 5:30 pm and comprised 4 stops:
1. Columbus Brewing Co. We started with a tasty flight of their popular ales including Bodhi, which has been crazy popular since its debut. Bodhi is going to break some kind of record in Columbus for popularity, very hoppy with a not too bitter finish. That's all I'm saying, go try it. We also got to enjoy a liberal selection of tasty treats from the kitchen, it was a fantastic brewery to get started with.
2. Barley's Brewing Co. A personal favorite of mine for years. I was excited to learn a lot more during the tour than I had visiting and sampling beers on my own. We showed up and were shuttled to the basement (itself a rare destination) to see their shiny fermenters and receive our tasting from Angelo Signorino. Angelo is a dynamic guy who is passionate about his beer. His discussion of yeast and beer styles was worth the price of the tour. His combination of organoleptic and analytical evaluation of yeast over more than 20 years in the business is impressive.
3. Seventh Son Brewing Co. Next, our most capable tour guide gently herded his (more relaxed) flock to Seventh Son. I've sampled their American Strong Ale at Crest a couple times and couldn't wait for this stop. It is a raw facility with the fermenters and cooker shimmeringly clean and juxtaposed to a wide open space where happy people enjoyed their ale. Colin, their master brewer, walked us through the brewing process (including giving us a nibble of some malts) and providing a representative flight of their brews.
4. North High Brewing. They currently brew on a smaller scale than the other breweries we toured, but the equipment is located in the center of the bar! In my experience, that's unique. They also allow individuals to visit and brew their own under their tutelage and using their equipment. A few more samples and some history of the building in Short North made this stop quite special.
I hope I haven't said too much; these tours are new. I had such a good time and wanted to share some of the experience. Our tour guide was informed, the duration of the tour very good and the pace was perfect, plenty of samples and snacks, I loved it all and look forward to learning about and sampling more of the brew scene in Columbus via the other available tours.
10.19.2013
Extracting sugar from corn, to malt or not
Let's say one wanted to extract fermentable sugar from corn. Is it worth it to malt it first?
I took 300 g organic feed corn and covered it in water for two days, drained it, kept it moist by rinsing it a couple times a day and allowed it to sprout (see image below). Then, I spread the sprouted corn on the concrete floor of my basement for a couple days until the kernels lost most of their moisture and looked like they did when started (only with sprouts hanging out of them, I couldn't determine residual moisture). I did not pull off the rootlets and ground up each batch using a corona mill. I then ground up some unmalted feed corn from the same bag and infused each of them in 1000 g of 170F water. I stirred both suspensions several times during the hour and filtered off the solids via mesh paint strainer bag with no rinsing of the grain bed.
Results
Sugar determined by refractometer.
Malted: obtained 806 g of solution with 7.5% w/w dissolved sugar, 60 g sugar.
Unmalted: obtained 730 g of solution with 4.0% w/w dissolved sugar, 30 g sugar.
For some reason the unmalted absorbed more water resulting in a smaller filtrate volume.
Pretty big difference. The malting takes a lot of time, but almost no effort. If you need this kind of sugar for a project, I'd do the malting. With unmalted corn, it could be cooked for a long time to get more starch out, but then it gets gummy and difficult to filter. I simple infusion is operationally easier.