1.22.2011

Spelt Crackers (better than last time)

click to enlarge, the image is much more clear when bigger
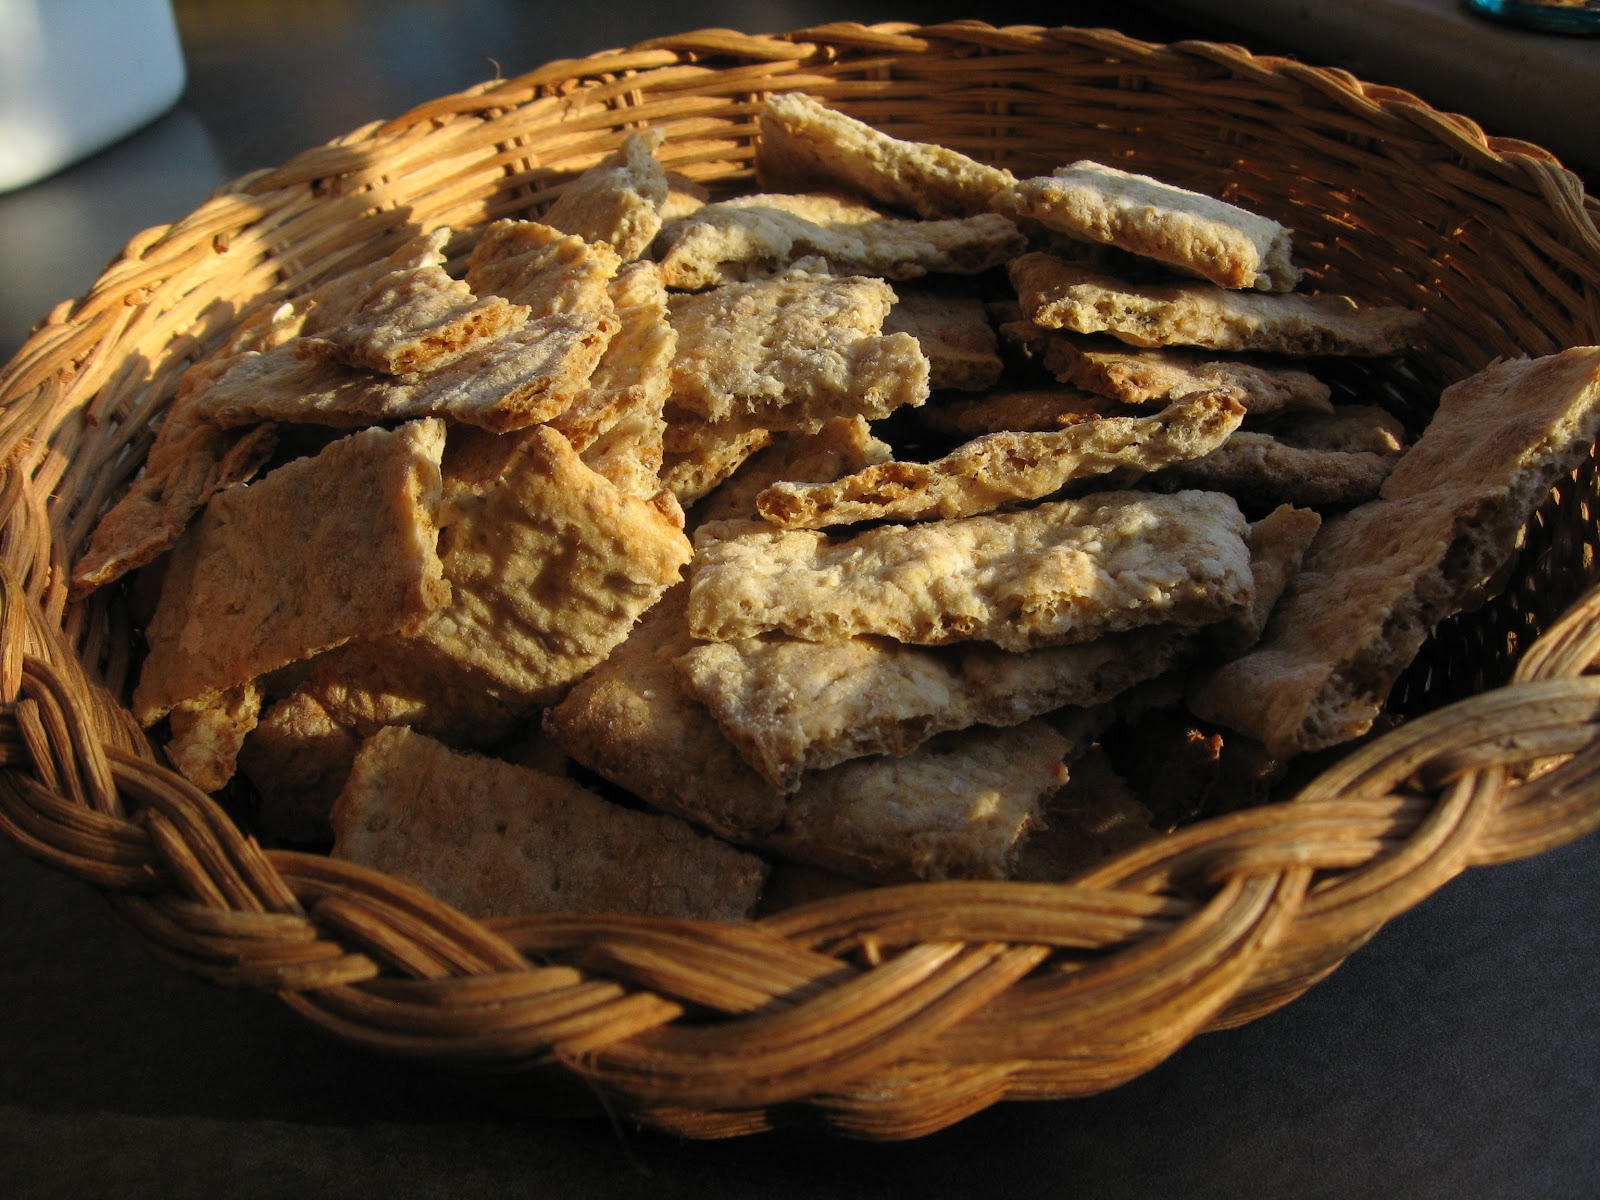

Spelt Crackers
spelt berries, 100 g, ground into coarse flour with a coffee mill
(berries obtained from a recent @GreenerGrocer's weekly market bag, thanks Amy)
unbleached white, 100 g
water, 150 g
yeast, 1/4 t
Mix these ingredients and let sit in fridge a couple days.
Remove from fridge (no need to warm up) and add:
vegetable oil, 20 g
sugar, 20 g
salt, 4 g
baking powder, 2 t

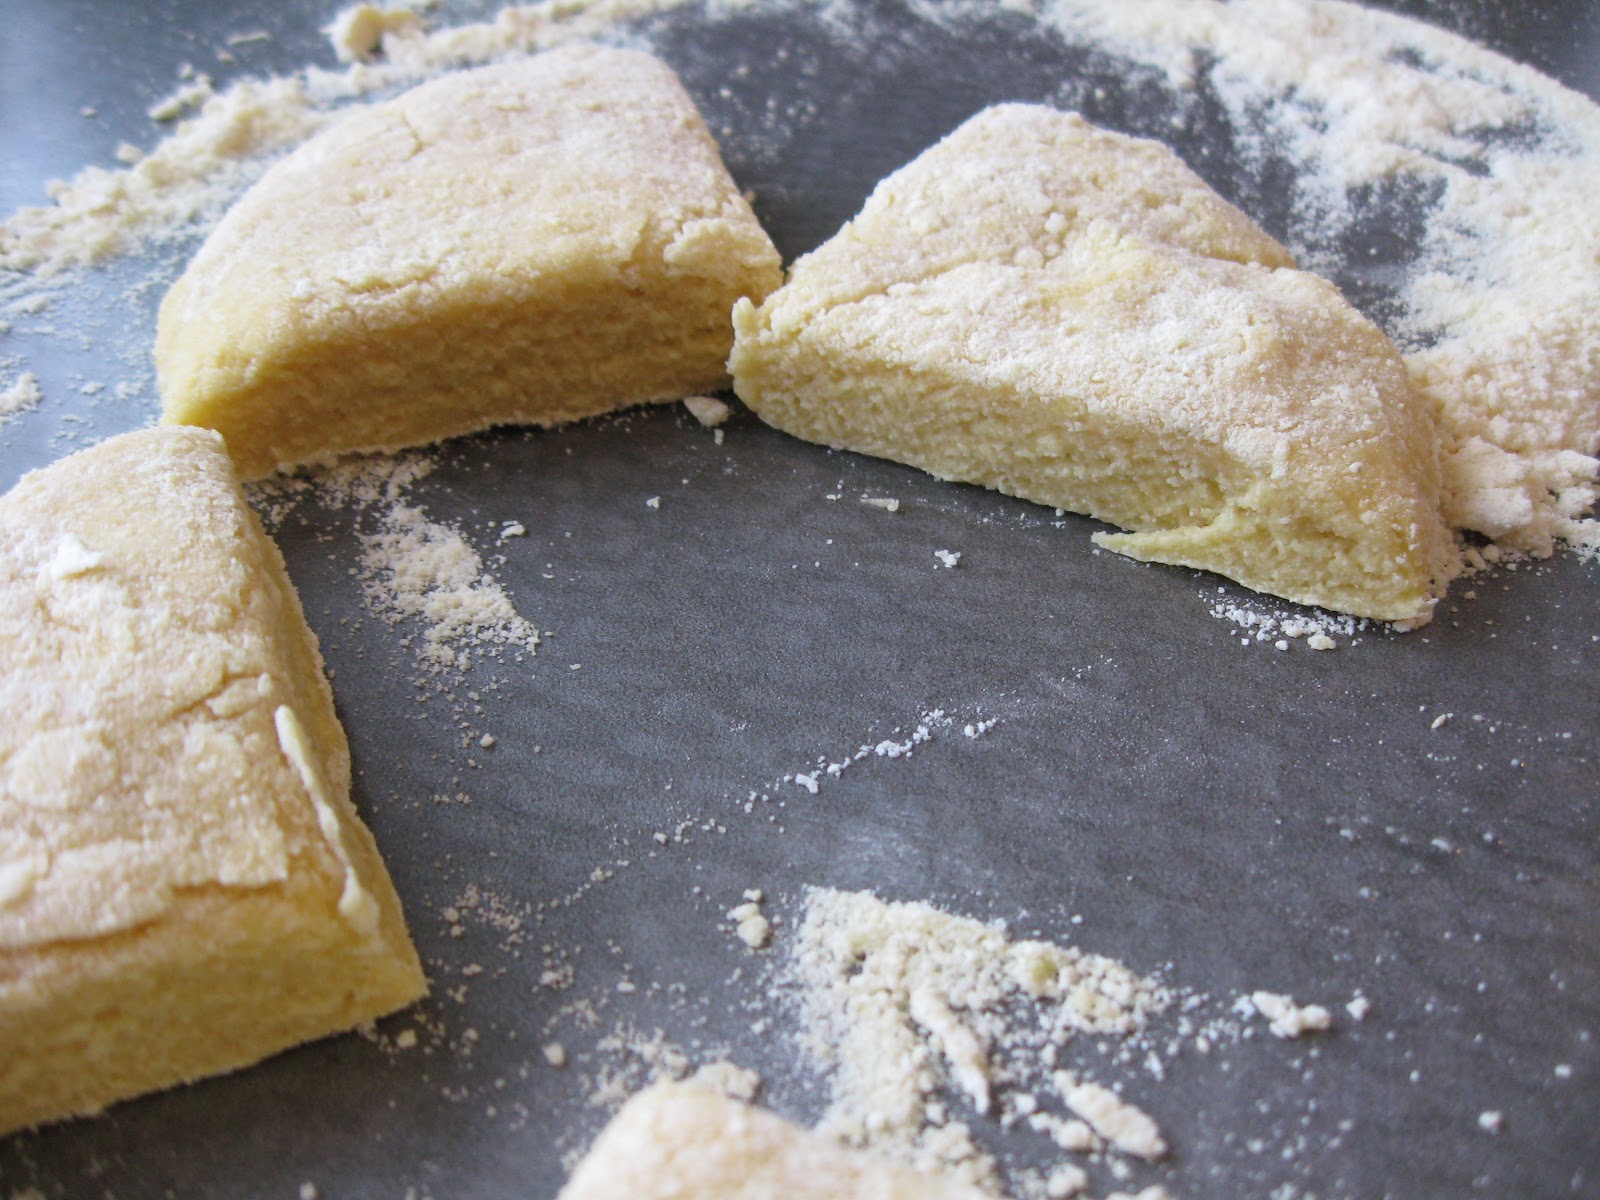
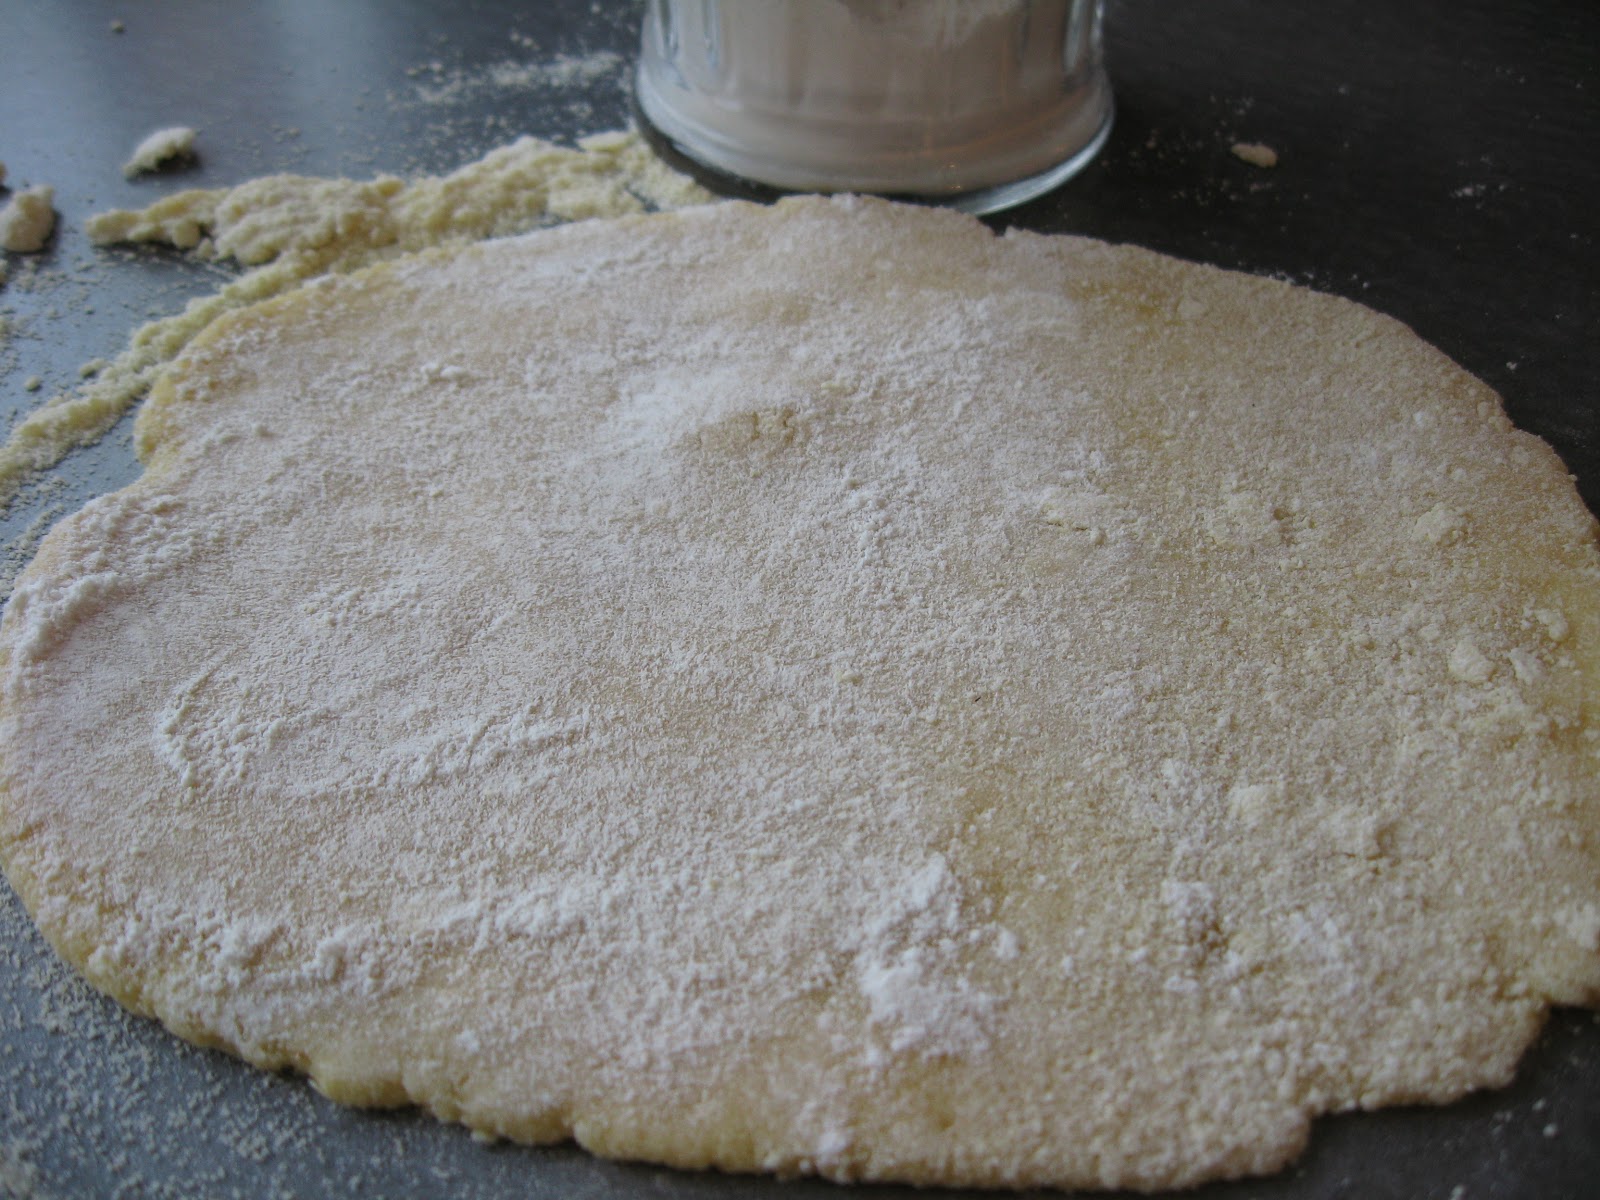
Mix resulting mess well with wooden spoon, knead a bit using flour when sticky, divide and roll each piece into 6 x 12" piece and place on baking sheet.  Score each sheet with deep grooves using a pizza cutter, the shapes should be the shape you want the crackers.  Then, dock the whole surface with the tines of a fork, be thorough.  Bake at 350°F until brownish.  Remove, from oven, cool a bit and snap pieces on the score lines.  They're a big hit here at the ranch.

I used unbleached white to give them a bit of  structure.  100% Spelt was too challenging (tender, tasty, but crumbly).  The yeast PLUS baking powder was an interesting mix; the idea suggested to me by Rachel having studied ingredient lists on cracker boxes, thanks Rachel.


Related articles
Enhanced by Zemanta

1.18.2011

Behold, the Piggle


Something a bit different today. Venturing into the domestic arts, I have formed a union between cow, pig, bbq, cooking and enlightenment. Inspired by Jim's tweet regarding the desire to have a bacon-scented candle, this is my brainchild (the kid helped put them together and the wife came up with the name at dinner last night).

All you low 'n slow guys out there should have a stash of pork fat from all those pork butts. It's a pretty soft fat, but smoked and wonderful with a nice color and crunchy bits. It's soft though, not perfect for a candle. Tallow, rendered suet, however, is pretty firm and standard for making candles. Taking a 2:1 (w/w) tallow to pork fat (bits and all) mixture into plastic dixie cups and melting it in a hot water bath, followed by placing a wick inside each provided an adequate candle (snip off the plastic dixie cup). I think we got a trace of water dissolved in the fat, because there is a bit of sizzle when they burn (bonus!). Listen carefully to the video. Unfortuately, they don't smell as wonderful as bacon, so next time the source of pork fat will be bacon instead of pork butt.

So, decent candle, good source of fat for sauteeing lentils or finding your way around the house when the apocalypse happens, but, keep in the fridge. I think they may go rancid quickly. Warm to room temperature before serving.

1.15.2011

Spelt Berry Crackers (no, really)

This post is a work in progress and is promising.  Depicted here is a pictorial path to the crackers and my thoughts on future plans.  I post this early in hopes of others jumping in with experiments of their own.

I ground 135 grams of spelt berries using the fine setting on a coffee mill (these are abundant at thrift stores, do a dry cleaning with a sacrificial batch of grain, any grain, to remove residual coffee).

Even on fine, the ground "flour" will be pretty coarse. Here you can see the husks as well as the insides, we're going to use it all.

To this grain I added water (92 g), salt (3 g), vegetable oil (20 g), baking powder (1.5 t) and mixed it up. It's a coarse slop.

I plopped this on a piece of parchment paper, placed a piece of plastic wrap on it and gently rolled it out to something like a 15" diameter circle. The plastic was then removed to leave this.

These were baked at 375°F until an edge just started to burn, about 15 minutes. They were removed from the oven, cut with a pizza cutter while still warm and allowed to cool.

In my experience, any cracker's flavor evolves for hours after they finish baking. Their flavor is indescribable and, to my surprise, good! Not great, but that's where the development comes in.

What's next?
1. fats? Not a big fan of butter in most breads, I like vegetable oil in breads because of the texture it creates and the neutral flavor. Other fats might be good... lard? suet?
2. preferment? Why not preferment the grain flour to develop some sugar and flavor and then, just before baking, give it a shot of b powder to get the biscuit/cracker-like crisp.
3. grain? I only had spelt on hand. The original thought was for wheat berries. There are lots of options here for fun mixtures, etc.

Let me know of any ideas you all have and share in the comments.

1.07.2011

Semolina pasta, hand rolled and rustic

Tonight we host a guest that can't have dairy and is a carb monster. Carb monsters usually are sated with pasta and butter. Tonight, only olive oil thank you. With so few ingredients, the pasta better be good. So, I tossed some together.

I don't know why, but I don't use a high fraction (or any sometimes) of semolina. I will from now on.  Today, I made a pound with 1/2 unbleached white and 1/2 semolina (fine). What an easy dough to work with! The recipe is simple: 150 g unbleached white flour, 150 g semolina (fine), 170 g eggs (ca. 3), 5 g salt, 5 g olive oil. Mix with wooden spoon until a big blob forms. Don't worry about kneading much, rolling it out will finish the kneading. Divide in 4 pieces, let rest wrapped in fridge for a few minutes (up to a few days I think), roll out each piece to a ca. 15" circle, cut into ribbons with a pizza cutter.

The initial blob of dough cut into 4 pieces, each piece is rounded and let rest in fridge.

Dust a piece with flour and start to roll out. The dough is pretty tough. Flour a bit if it sticks to the rolling pin or counter.

Don't go insane trying to get it too thin. Here's a sheet rolled out. You can see a shadow of my hand. Hard to describe how thin it is, but don't worry, even thick noodles are good.

Slap the sheet (roughly a circle) on a cutting board and cut into ribbons any size you like. A simple pizza cutter is faster than you think.  I like short noodles.

A pound o' pasta. I'll let it sit out in the dry winter air, shake it once in a while to insure it doesn't stick to itself and save what we don't use in the freezer (uncooked). I'll cook the pasta in salted water until al dente and serve dressed with olive oil and some toasted bread crumbs (instead of cheese, no dairy tonight). Maybe I'll serve something green on the side to assuage my parenting guilt because the kids certainly won't eat it.  They are probably hoping for Kraft.

PS
Wow, the kids liked it.  And, I took the risk and served it tossed with peas - peas mixed in!  Very satisfying simple treat.  I cooked the entire batch and got a few minutes after dinner to eat some with my hands standing over the sink while cleaning up after the marauding children.  Quite the luxurious dinner.  Yes, honey, this postscript was added in case you read this post while dining "for business" at Deepwoods.  Maybe you could bring me your leftovers?
Enhanced by Zemanta

1.06.2011

A 50L SS reactor with overhead stirrer

I'm working on the impeller now. It'll be a slow stirring reactor for single infusion mashing to get more uniform water tempature and better extraction.

12.16.2010

Chicken 'n rice

Grilling in the Summer is de rigeur, in the Winter grilling is special!  A few projects culminated in a simple and tasty meal the other night.

A few days ago, I was continuing my foray into all grain brewing.  I have been accumulating a lot of spent malted barley.  Before it got dumped in compost, I grabbed a couple hundred grams to play with.  Yes, as regular reader(s) know, I love the meatball in all its forms.  Combining the coarsely ground thighs (200 g) with the hydrated spent barley (100 g), spices (salt, pepper, oregano, basil) an egg, couple T of milk (chicken, milk and grain - add some pork fat and we couldn't desecrate Kashrut more) and enough bread crumbs to keep it together, I formed them into patties and grilled them.  I used a hot direct flame for a few minutes per side per patty.

These little grilled patties were very nice and even better as a leftover. I served them with a simple pilaf, asparagus and a dipping sauce of labne, water, lemon juice, crushed garlic (trace), honey and salt.

12.12.2010

Pizza on cast iron

Some time ago, Bethia asked if I used cast iron for cooking pizza a la Heston Blumenthal.  Blumenthal's pizza may be good, but the method is too clumsy for me to consider when cooking for a crowd.

The valuable nugget I did glean from this is the possibility of baking pizza on cast iron.  What a wonderful, buy-it-once-per-lifetime cooking surface.  While there exists a 15" round cast iron pan at Amazon that makes me salivate excessively, I found a cheaper griddle for a few bucks the other day at the thrift store to experiment with.  My first pizzas on this were going to be wispy thin pizzas inspired by California Pizza Kitchen (love their pies - think CPK will give me ad money now??).  Made some dough [water 300 g, salt 5 g, sugar 10 g, olive oil 30 g, yeast 1 pkg, unbleached white 300g, kneaded in a machine, placed in fridge for the week].  A few hours later, I pulled 100 grams of the dough to make a couple afternoon snacks.

Preheated oven to 450F, rounded the balls and rolled them into 8" diameter shells (click image to make larger).

50 g rounded dough rolled to a ca. 8" shell
Here's a shot of the cast iron griddle in the oven.
Topped the shells with a bit of tomato paste, thinly sliced, roasted cauliflower, ham, sprinkle of parmesan and a drizzle of oil and baked it about 12 minutes.

In conclusion, the cast iron was awesome.  I'll be getting a nice round for the Firedome.  In the meantime, for these 8" personal pies, I may make them a tad thicker, but this thinness was pretty nice.  And, califlower is pretty nice as a pizza topping.

12.05.2010

Savory flatbread / sticks

Note the surface has been painted with oil and scored using a pizza cutter.  
One of the flatbreads out of the oven.  The pizza cutter scoring isn't showing up, but they are there.  Also, this scoring is as good as docking the bread, so no worries about it puffing like a pita.  This was 180 of dough rolled to 14" x 8" (roughly).
Once thoroughly cooled, break apart and hide them.  The flavor develops over an hour after baking.  They need no special packaging.  They're fine out on the counter, they won't last very long.

12.01.2010

Every crockpot needs a thermocouple

Our first crockpot ever. I've always used a cast iron Dutch oven in a low oven. This is probably a cheaper alternative.
I'll also be checking the warm setting and its temp fluctuations for a sous vide attempt.

11.23.2010

If it floats, it is a witch and should be burned on the briquettes

Anyone who knows me even a little, knows I am one congenial bastard when it comes to the holidays. This Thxgvng (twitter spelling), I'm brining the bird, cooking the bird, and drinking beer while others in the home cook. So, here it is. I hunted for my bird near Weiland's today. I plopped it in a bag-lined box, topped it with brine (1/4 C salt and sugar/quart water) until it was swimming. It floats. It'll brine for a day and a half and then to the coals. Probably medium, indirect, cut and eat. Have an awesome frickin' day y'all.
Enhanced by Zemanta

11.16.2010

notes to self for pain au levain

x = 30 g

1. 1x(flour) + 2x(pineapple juice) + 2d ---> 3x[A]

2. 3x[A] + 1x(pineapple juice) + 1x(flour) + 1-2 d ---> 5x[B] see image

3. 5x[B] + 1x(water) + 2x(flour) + 1-2 d ---> 8x[C] see image

4. 4x[C] + 1x(water) + 3x(flour) + 1 d ---> 8x[D]

5. 4x[D] +9x(water) + 12x(flour) + 4-8 h ---> starter= [S]

>> [S] can be refreshed according to:
1x[S] + 2x(water) = 3x(flour) ---> 6x[S]

Pain au levain

3x[S] + 5x(water) + 8x(flour, mixed) + 6-8 h ---> levain

16x[levain] + 11x(water) + 16x(flour) + 1% w/w salt ---> dough

(a strategy to follow based on Reinhart's Artisan Breads Every Day (some rounding)

11.06.2010

Just Ale

(Lot = http://j.mp/9mqoXv --> 14-Nov-2010: archive sample bottled and remainder kegged)
I started brewing all grain recently and haven't had much luck with logistics. Most stuff now, I think, is worked out. Today I'm doing a simple practice ale to check out techniques and equipment. After reading a bit, I decided to try a higher dilution single infusion mash. I wanted to do as much as possible with an in place kettle because carrying around hot liquids is heavy and unpleasant. Higher dilution mash, ca. 2L / pound grain, means I'm not going to sparge, simpler. Results? We'll see.

Dave's Beer (Ale)
Breiss 2 row, 10 lbs
Crystal Malt, 60°, 1 lb
Black patent, ca. 1/4 lb
hops, Fuggles, 1.6 oz

1. Took a 50L pot (one can never have too much headspace) to 162°F and placed the cracked grain and mesh grain bag in (using a half-assed cooling rack/false bottom), stirred and let sit at ca. 150-145°F for an hour.
2. Warmed to 170°F and let sit 15 min.
3. Pulled grain bag (kind of messy pull, got snagged), squished it and rinsed it a bit, total 22L 10°Brix, ca. 225 points. This grain bag will be replaced with a fine stainless mesh more rigid bag when I finish it.
4. Brought to boil, added hops intermittently throughout an hour, careful huh?
5. Cooled to <70°F using an immersion chiller (thanks cold weather) in ca. 15 min.
6. Aerated the pulp out of it.
7. Dumped into a bucket to ferment while filtering out hot/cold breaks. OG = 12°Brix (1.048).
8. Charged yeast slurry to wort at 68°F.
9. waiting patiently...
10. gravity after 3days = 1.016, bummer, a little high, another 2-3 points and I'd be happy. Taste is pretty good (as much as I can tell at this stage).

Enhanced by Zemanta

10.31.2010

Firedome: A new and easier fuel configuration, indirect - still a work in progress

Warning:  Long post (with water balloons)

What seemed correct with the Firedome to date was a symmetrically placed ring of fire about the cooking surface.  It's served me (and friends) well for over a year now, but a few lingering flaws forced me to persist in its development.

1. briquettes are good, but lots of byproducts and I could not boast "wood fired" to a more discerning crowd. I wanted to switch to wood. Something easier and cheaper to use and recharge on the fly without a mid-burn disassembly.
2. A wood fire would be hard to maintain in a circular configuration.
3. Any good pizza oven I've observed has the fuel source "indirect," not directly below the food, but in a pile offset.
4. I have a continuous stream of wood on my property.  Oaks give it up every time it's windy (remember Ike?).
5. One pile of fuel is trivial to start; a ring is often a pain.
All modifications must still result in uniform cooking top and bottom of the dough.

Today the wood fuel vision begins to come into focus; I think we might be hitting the oven that was intended in the first place.

A chilly morning seemed the perfect time for a fire and it's always a good time for lightly smoke-infused flatbread.  Made some dough, fired up a chimney of briquettes (briquettes are a killer starter for any fire by the way).  After  a few clumsy reorganizations, I placed the fuel on one side of the lower grate of the Firedome, placed the cooking surface on the upper grate and positioned the clay cooking surface on the opposite side of the grill.  On top of the briquettes, I placed several pieces of oak, they started immediately, a kick ass fire in minutes.  I capped the dome, lifted the door, positioning the opening so the blazing fire was on the right and the cooking surface to the left.

Here's how the morning progressed in a few frames and a few movies:

The circle of fire is ok, but laborious to maintain. Also!.. note the decorative chimnea stand I scored in someone's trash. Elegant? I think so.


This was shot after I moved everything to either side.  In this way, I could add to the fire by pitching wood right through the door as I need.  The flames would swoop around and I'd be cooking "in the tube" of the firewave.  It also tolerates water balloons tossed in when you need that extra bit of humidity.


Final product.  To be eaten with tonight's roasted red pepper hummus.
I'm waiting for a replacement thermocouple or this post would've been oozing with temp data.  However, a pita cooked in about 90 seconds.  I'm guessing the oven was about 750°F while the flames were up, maybe a bit higher.    There will definitely be more to come on this.

Final notes for those following along with your own pet Firedome:
1. one chimney full on one side of the lower grate
2. add small, ca. 8" logs of wood, on the briquettes
3. place upper grate in place with one side of the grate open in a way you can toss wood in
4. place Firedome on top of roaring fire with the hatch open, wait a few minutes and cook away
5. getting some wood this size might require a chainsaw
Enhanced by Zemanta