Showing posts with label bread. Show all posts

5.28.2011

mini molds

Ah, I remember why I don't make brioche much. When I do the final glaze, the glaze drips below the edge of the bread into the loaf pan and makes the bread stick. When a beautiful loaf comes out of the oven, nothing is more anger-provoking than that kind of complication. So, a better mold - a mini too. I like to make small breads to share, especially such rich ones.

I recently tried cupcake wrappers, but these suck for breads, they don't release. Here's my yet untested solution. Wish me luck. Parchment never fails, it always releases a bread. I'm going to line my little muffin trays for the loaves tomorrow morning.


Cool huh!
Enhanced by Zemanta

4.19.2011

Crusty breads in a pan using passive steam

Recently I was poking around Ruhlman's Ratio and noticed his raving of the cooking a boule in the covered, then uncovered, pot as the most valuable part of Lahey's no knead bread. I've had some luck with this, but the results weren't always consistent, but I think it's because of the hydration level of the dough inside. I wanted to explore this more.

Last weekend I made a sourdough starter. I don't know if this really counts as a sourdough starter, but it's close enough. I made a poolish of 1:1 flour:water (w/w) and a ca. 1/8 t yeast and let it ferment overnight, dumped out all but ca. 50 g and refreshed a few times over the next few days with 1:1 flour:water (100 g each) and by the 2nd-3rd refresh, considered it a starter. Purists, go stomp on grapes or dissect a rasin or whatever it is you do to get a starter, I'm busy.

I plopped a 100 g of the starter into water (300 g) and unbleached white flour (Montana Sapphire, 500 g) and salt (9 g) and let it knead in a bread machine.* The first rise went overnight and formed it into a boule and placed it in a covered sauce pan to proof until "double," always a tricky estimation on a sourdough - in this case 5 hours, but it's tough to overproof a sourdough, so don't fear. I baked it in a simple 3 3/4 qt sauce pan covered for 40 minutes at 425, removed the cover and baked until brown on top.


*Bread machines are abundant and about $5 in any thrift store.

Notes to me
-Cast iron isn't needed for this capture of steam (steam from the dough alone is referred to by some as passive steam), in this case, I only used a medium heavy saucepan.

-Cooking like this, as in the Baparoma steam pan, doesn't even require the oven to be preheated

-This covered/uncovered method appears incredibly robust compared to any baking on a stone or other surface I've tried (with regard to spring and crust).

-I don't like the size of the Baparoma steam pan and may fabricate my own covered aluminum/ss/? pan, more efficiently sized for the oven based on this and ongoing expts.  Lowes has some conveniently sized pieces of metal to work with.  I'm thinking about 24" long and cylindrical with a slightly flat bottom and loose fit lid ...

-If anyone has ever heard of another term for passive steam in this context, please let me know via the comments, thanks.

(Did anyone catch the white squishy hot dog rolls in the background of the first image?  Hah, I'll eat anything.)
Enhanced by Zemanta

3.22.2011

Twitter baguette giveaway...

Update Mar 25 
Thanks to all who stopped by or received in some way the demi baguettes this week.  I gave away about 15 in a couple days.  The ratio of flour to water (1.67 w/w) so far is the dominating factor in the volume and taste.  I also varied the shaping a bit this morning, 130 g (precooked weight, ca. 110 g final) was a nice size for a petit dejeuner.  I'll probably work on the final proof next, since the oven spring was too much.  I was baking in the morning of a busy day and rushed it a little.  Stay tuned for more giveaways...

Original post
My breads of the past months have, well - sucked.  Not real bad, just not good.  I just got into a slump of sorts that I couldn't figure out.  Based on my previous manic outburst, I climbed out of the rut with a new (or rediscovered old) ratio.  I'm up and running again and the volume is perfect.  Now, the crust is sometimes soft, sometimes perfect.  For a baguette, the perfect crust is razor thin, sharp and crackles as it leaves the oven.

At 20 liters per tablespoon of water, steam is an abundant commodity, even for a hack no matter what awkward technique one uses.  The real challenge for the home baker without an oven equipped for steam injection and evacuation is to remove the steam sometime into the baking cycle.  Therein lies the much bigger challenge for the home oven.  Ovens vary and this may be the source of reproducibility problems from person to person, recipe to recipe, etc.   The breads need to steam a bit and then bake in a dry environment.  I'm not going to go into to too much detail on this.   All I'm saying is that I'm in experiment mode and I'm baking faster than we can eat.

So, I'm introducing the first in an occasional series:  I bake early in the morning and you get to taste my experiments.  Tomorrow morning about 6, the dough will have risen overnight and I'll produce, by 7 am, some demi baguettes.  About 100-110 g with or without a good crust.  Don't worry, they'll taste good even if the crust isn't right.  DM me on Twitter and I'll reserve one for you and give you the address.  Just stop by at 7 and I'll toss one in your car.  For tomorrow, I should have about 8-10 available.   With your mini, you get a little pat of butter and jam.  Enjoy - and thanks for helping me not waste food and get some experimentation in. I love you guys.

Enhanced by Zemanta

1.22.2011

Spelt Crackers (better than last time)

click to enlarge, the image is much more clear when bigger


Spelt Crackers
spelt berries, 100 g, ground into coarse flour with a coffee mill
(berries obtained from a recent @GreenerGrocer's weekly market bag, thanks Amy)
unbleached white, 100 g
water, 150 g
yeast, 1/4 t
Mix these ingredients and let sit in fridge a couple days.
Remove from fridge (no need to warm up) and add:
vegetable oil, 20 g
sugar, 20 g
salt, 4 g
baking powder, 2 t

Mix resulting mess well with wooden spoon, knead a bit using flour when sticky, divide and roll each piece into 6 x 12" piece and place on baking sheet.  Score each sheet with deep grooves using a pizza cutter, the shapes should be the shape you want the crackers.  Then, dock the whole surface with the tines of a fork, be thorough.  Bake at 350°F until brownish.  Remove, from oven, cool a bit and snap pieces on the score lines.  They're a big hit here at the ranch.

I used unbleached white to give them a bit of  structure.  100% Spelt was too challenging (tender, tasty, but crumbly).  The yeast PLUS baking powder was an interesting mix; the idea suggested to me by Rachel having studied ingredient lists on cracker boxes, thanks Rachel.


Related articles
Enhanced by Zemanta

12.05.2010

Savory flatbread / sticks

Note the surface has been painted with oil and scored using a pizza cutter.  
One of the flatbreads out of the oven.  The pizza cutter scoring isn't showing up, but they are there.  Also, this scoring is as good as docking the bread, so no worries about it puffing like a pita.  This was 180 of dough rolled to 14" x 8" (roughly).
Once thoroughly cooled, break apart and hide them.  The flavor develops over an hour after baking.  They need no special packaging.  They're fine out on the counter, they won't last very long.

11.16.2010

notes to self for pain au levain

x = 30 g

1. 1x(flour) + 2x(pineapple juice) + 2d ---> 3x[A]

2. 3x[A] + 1x(pineapple juice) + 1x(flour) + 1-2 d ---> 5x[B] see image

3. 5x[B] + 1x(water) + 2x(flour) + 1-2 d ---> 8x[C] see image

4. 4x[C] + 1x(water) + 3x(flour) + 1 d ---> 8x[D]

5. 4x[D] +9x(water) + 12x(flour) + 4-8 h ---> starter= [S]

>> [S] can be refreshed according to:
1x[S] + 2x(water) = 3x(flour) ---> 6x[S]

Pain au levain

3x[S] + 5x(water) + 8x(flour, mixed) + 6-8 h ---> levain

16x[levain] + 11x(water) + 16x(flour) + 1% w/w salt ---> dough

(a strategy to follow based on Reinhart's Artisan Breads Every Day (some rounding)

8.28.2010

Bread: School lunch edition

It's the new school year, and, another year of school lunches.

Frankie's bread preferences for school lunch aren't in sync with what I've given her.  She's currently in a PB&J phase and her bread of choice is the Giant Eagle "Italian."  It's a squishy white semolina loaf with, dare I say, a very nice flavor.

I'm no snob when it comes to bread.  I like my crusty artisan loaves and crackly baguettes, but I do love white squishy bread (and boloney and mustard).  However, white bread has always been an insurmountable challenge. I've never been able to reproduce it in my kitchen.  I dismissed it as an industrial process formulated with secret knowledge only Dick Cheney is privy to.

This morning, I studied all the labels in Giant Eagle's bread case and tried to identify the ingredients responsible for: volume, moisture retention, sweetness, texture and a preservative - although, if it's good, the preservative won't matter.  Any loaf, good or manufactured will last at least a couple days.  I was pleasantly surprised that I recognized most ingredients in the loaf she liked; my pursuit gained importance.  The toughest attribute to reproduce in a home kitchen is volume.  I've never been able to get that one.  Moisture retention can come from whole grains, even in a low concentration (bulgur, semolina).  Texture is usually tight, indicative of a fast straight dough process, also easy to reproduce.  Sweetness - also pretty easy, a handful of sweeteners are all you need to play with.

Formulating any new dough, I start with 600 grams grain : 400 grams liquid (my standard starting place = 67% hydration) and a notepad.

Recipe
water, 390 g, near boiling
white vinegar, 10 g
bulgur, medium grind, 10 g
semolina, fine smeed, 40 g
salt, 10 g
yeast, dried, 1 packet (contains ascorbic acid)
vegetable oil, 20 g
sugar, 10 g
dextrose, 10 g
unbleached white, Montana Sapphire, 560 g

Process particulars
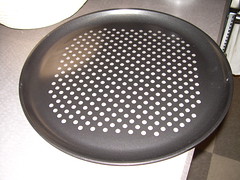
Straight dough method.  Hot water and bulgur set until water cooled to 120°F.  Then added everything and spun it in a bread machine dough cycle for 7 minutes, dumped into a container to rise at room temperature for an hour.  Punched down and let rest for 20 minutes.  Shaped into a batard on a floured counter and covered for 20 minutes.  Slid whole thing onto my perforated stainless flat baking sheet.

Baking
Baked in preheated 425°F with 2 tablespoons water tossed in bottom for steam shot.  After 5 minutes, cooled oven to 400 and let cook 40 minutes.  After a few minutes, placed a loose foil tent over the top to prevent dark browning.  Pale is the kid's preference.

Removed from the oven, let cool an hour and sliced.
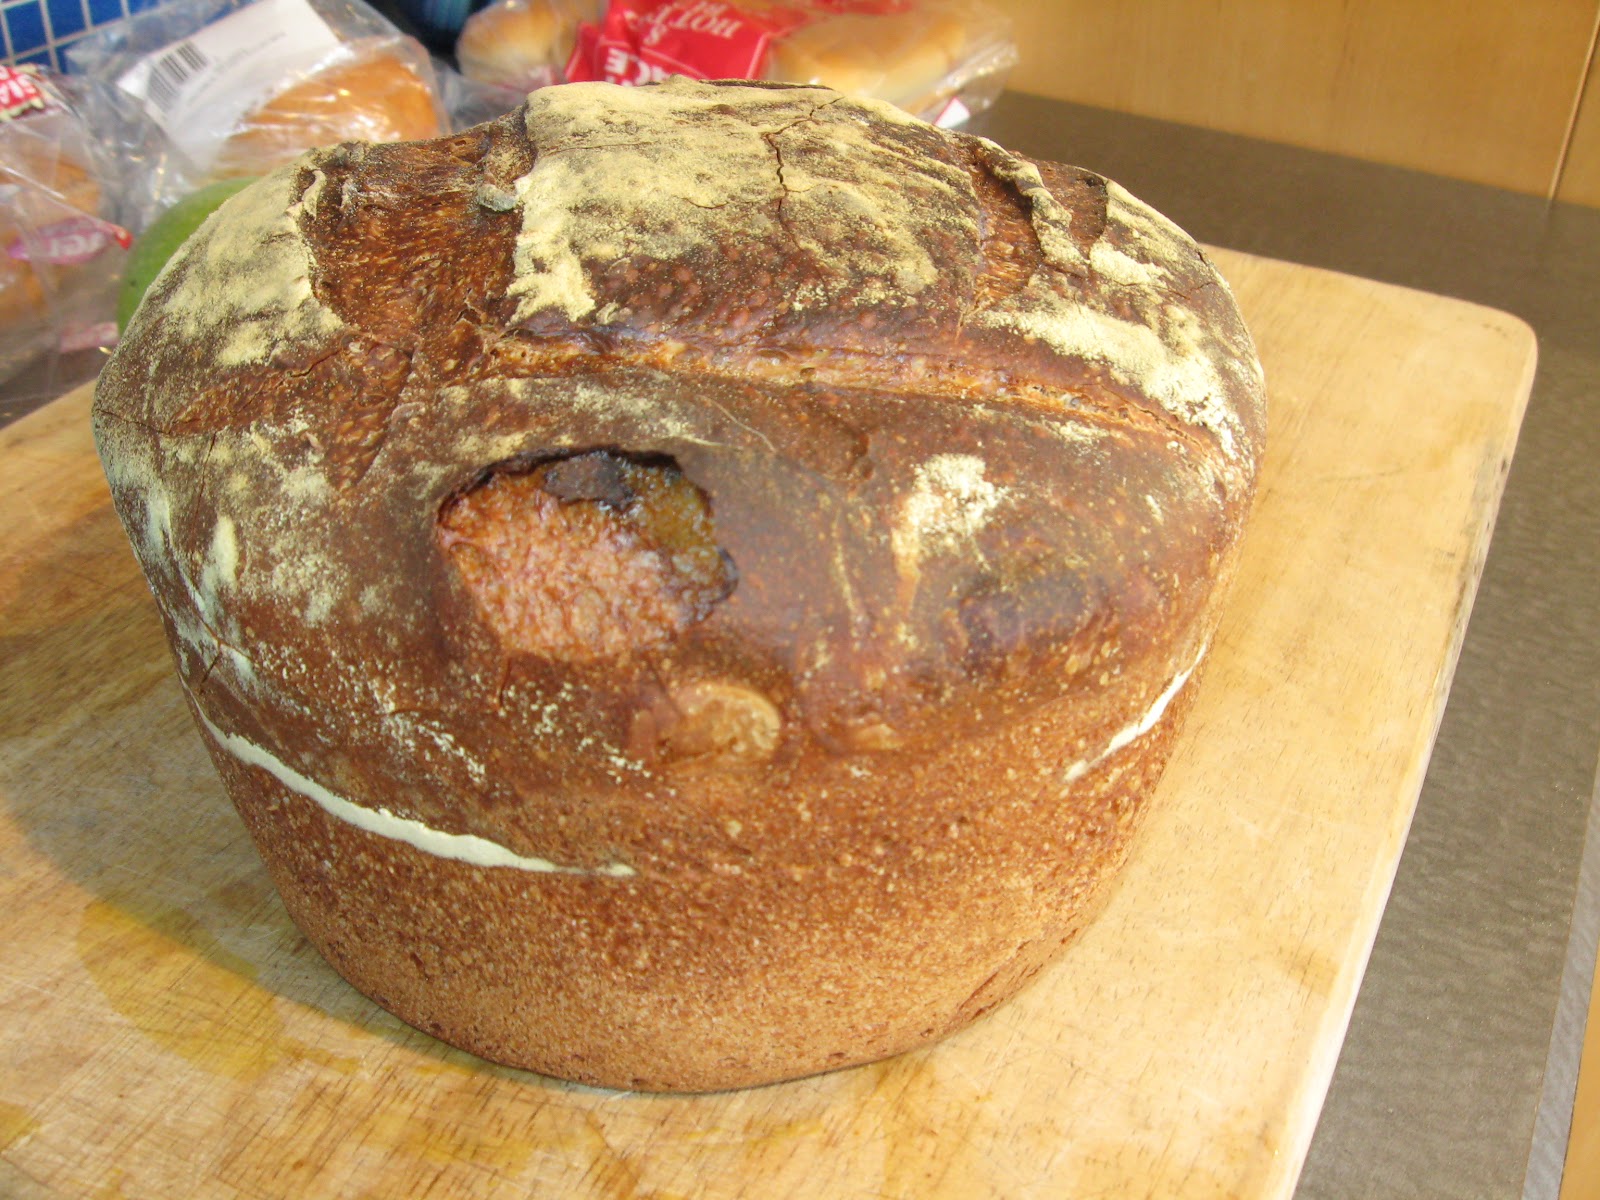
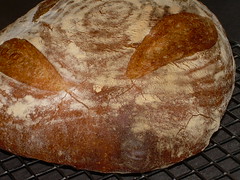
Giant Eagle                                              Mine

Conclusions
Texture inside looks spot on.
Crust: tougher and more crisp than store bought
Taste?  Kid will check it tonight at dinner.
Wife suggested cooler baking temperature and I think maybe a tad more shortening.
Any ideas?

Post mortem
Kid never got to taste it.  It was obviously not the squishy white bread I yearned to make.  I think the recipe was good, but the loaf was crustier, drier and didn't age well.  I'll be trying different baking methods and will report back if I get something closer.

7.27.2010

Baba Ghanouj on the Firedome (and some additional notes on the continuing saga of the Firedome development)


I'm happy with the use of this thing, but I need more experience.  A big problem I'm having is dome temps.  They're all over the place.  It may not be a problem, it just has to do with whether there is a live fire or if the fuel is smoldering.  

The objective I set out to acheive at the beginning of this project was evenness of cooking, crucial for a pizza.  With this rig, the only thing that will burn the bottom of a pizza is placing the fuel beneath the stone and not on the perimeter.  I've observed this several times.  

What keeps tugging at me is using wood for fuel.  After briquettes are started, this thing is pretty damn hot and new fuel catches fast - and burns fast.  Also, since so much of the perimeter is accessible with the hinged grate, removing the dome, charging fuel and regaining temps isn't such a big deal.  I do it routinely.  Now, I want to try to recharge with two logs on either side.  Once they catch, I'm curious about the temperature and the burn time.  So, that experiment's on tap.  I also have a few friends queued up who need some samples for tolerating my babbling about this thing.

1.14.2007

The Results

Peforated Pan/Brotform Loaf In yesterday's post, I babbled about the opportunity to use of this nifty new pan and bannetton I was using to bake a boule with nice volume and crackly crust.

Although, my recipe was only a quick rise dough, the results were very nice. The crust, initially was crackly and the interior tender; after cooling, because it was slightly enriched (with olive oil and honey), the crust became softer but still maintained some tooth.

The real victory of the day came using these tools and this kneadless process. I've been somewhat obsessed ever since I watched this video and I had an amazing success story yesterday. When I get reproducibility on it, you'll be the first I tell. I used the recipe, but my own cooking method.

1.13.2007

On humidity, perforation and the Brotform

Perforated thin panbrotform
It's about frigging time for a new post. Giada's nuts was a good chuckle, but it's time to move on.

Historically, I've had problems achieving good crackly crust on anything but my baguette. I think it's primarily an issue of humidity attacking the new loaf on all sides in the oven when the yeast is experiencing its final gasp of life (a.k.a. oven-spring). The perforated baguette pan simply allows the steam to hit the loaf from the bottom (and all other sides are simply exposed, so they get it too). Today's experiment involves the application of a perforated, thin, flat pan I found the other day at good 'ol Giant Eagle. ANY size loaf could fit on this thing and best of all, you don't need stones in the oven or a peel to get the loaf in and out. This thin pan, I hypothesize, should heat up quickly and permit my steam shot (ca. 60 - 120 mL water, tossed into the hot oven floor or squirted from a bottle) to completely bathe my loaf in steam, regardless of shape, producing a crackly mosaic of crust surrounding a tender inside (a.k.a. "Papa's good bread" Frankie calls it and I stand proud).

Additionally, since I'm making a boule today (a round bread), I'm using a nifty item my love bought for me a year ago called a Brotform (2nd image). It's a bamboo-like bowl used for the final proof. There's surprisingly little (I've found) on the web for using these. Do they need extensive seasoning/use? Is a slack dough going to stick? I'll be exploring these and other questions in weeks to come.

Today's recipe is not a good control. It's not the simple baguette recipe; there are a lot of variables tossed in. Life is simply too short for rigorous factorial experimental design everytime you need some bread. So phthththth. And, I need this for dinner at Amy and Mario's tonight!

My recipe for today is:

water, 250 g
honey, ca. 1 T
olive oil, 1 T
Montana Sapphire unbleached white, 375 g
rapid rise yeast (Fleischmann's), 1 packet
salt (not kosher), 7 g

First kneading and rise in the bread machine (my kitchen slave), 2nd rise will be about 20 minutes and the final proof somewhere around 20 minutes (cold kitchen today, we'll deal with the final proof when it comes). Baking will be at 450-deg-F (convection) until deep golden color. I'll post the results.